Home

 Creators
 Search
 Recent
 Random
 Posts
 DMs
 Tags
 Random
 Importer
 Import
 FAQ
 Account
 Register
 Login
 Favorites
 Keys
 Logout
 Telegram

Stage Tutorial Setup Resolume Composition (Patreon)
Content
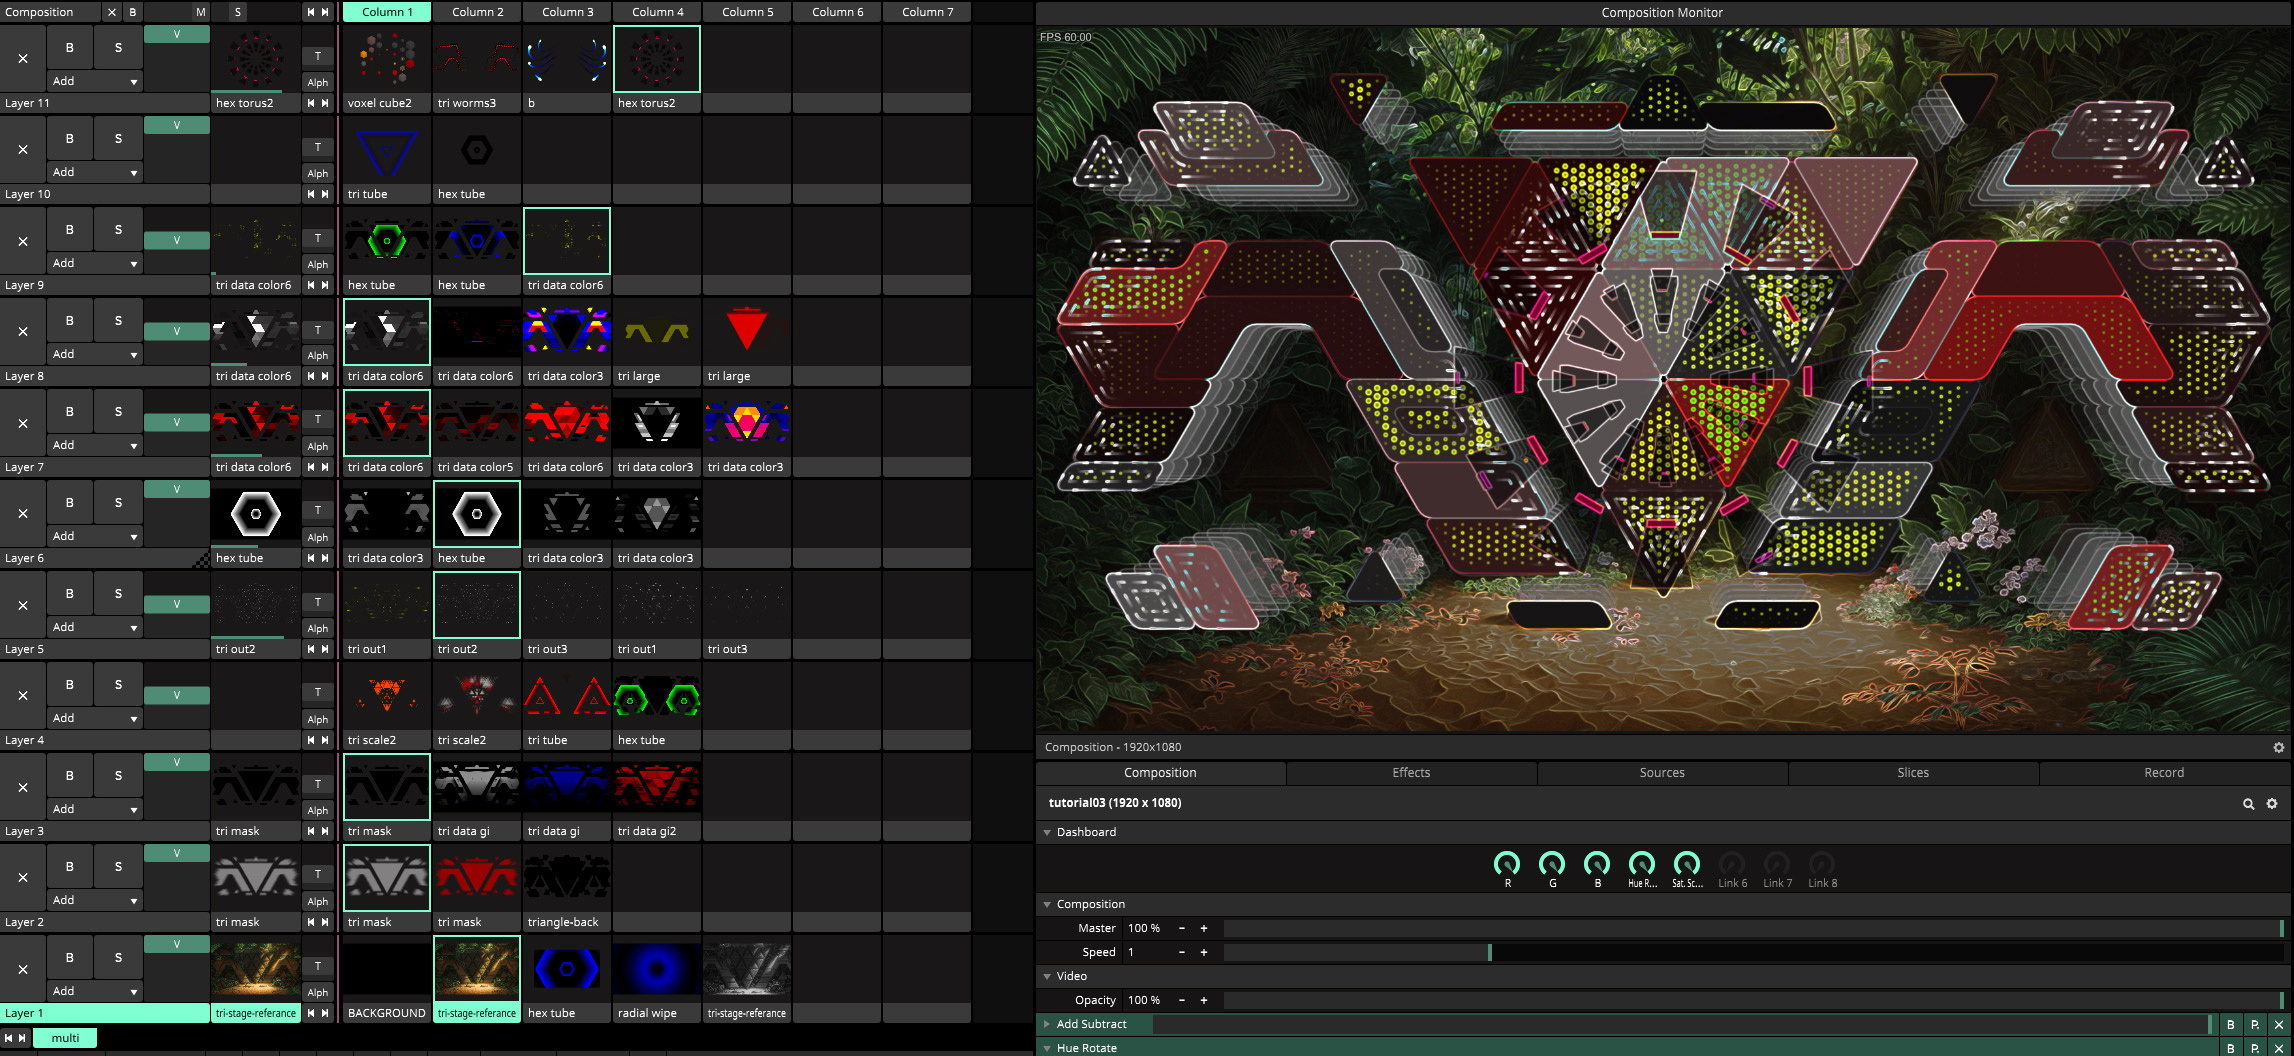
Stage Tutorial Resolume Composition and loops. In this tutorial I want to show you a composition where I organize clips for a stage mappi
thank you for your patience and your ongoing support ! It helps a lot to create more visuals and tutorials for you !
INFO: I packed it under this path C:\tutorial03\ if you unpack it to a different location than C:\ you will need to relocate files. simply click on a clip/relocate. save and then relocate first file in the list and then choose "Fix all" done. If there is still one clips mission repeat and relocate files. You can merge the "Media" folder with the folder from tutorial02 if you want and have all files in one location. this composition is for Resolume 7.
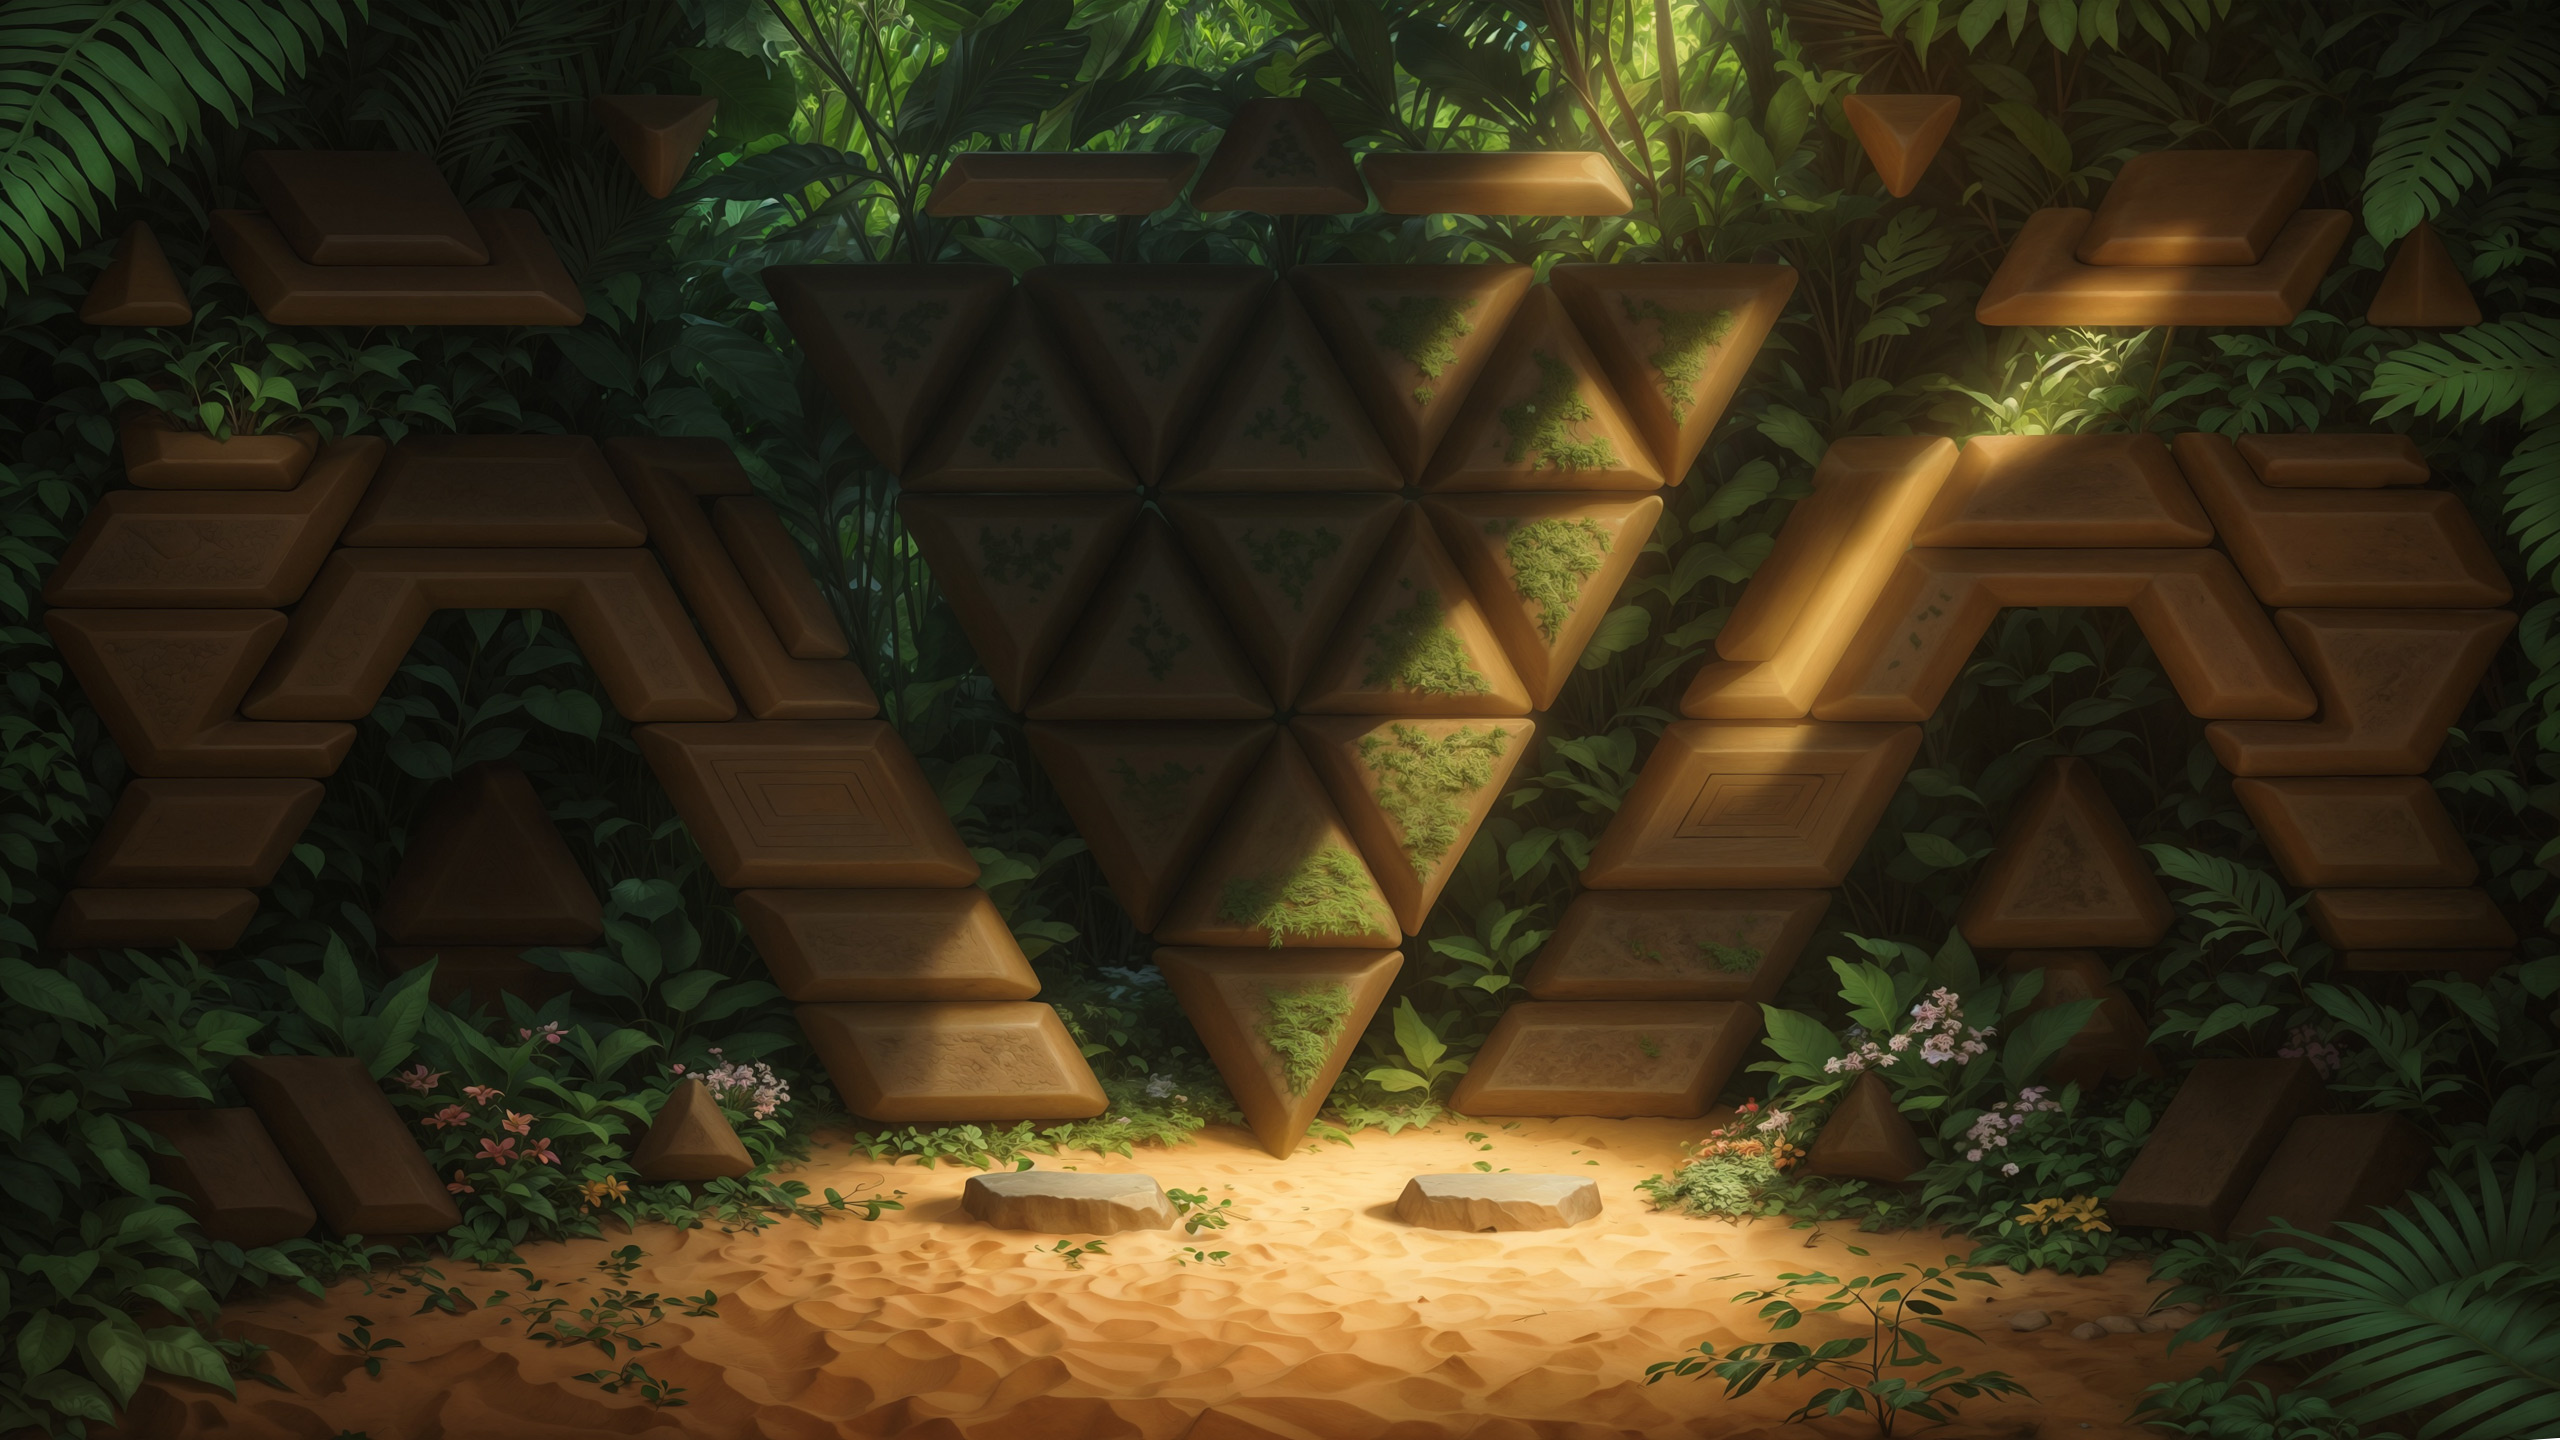
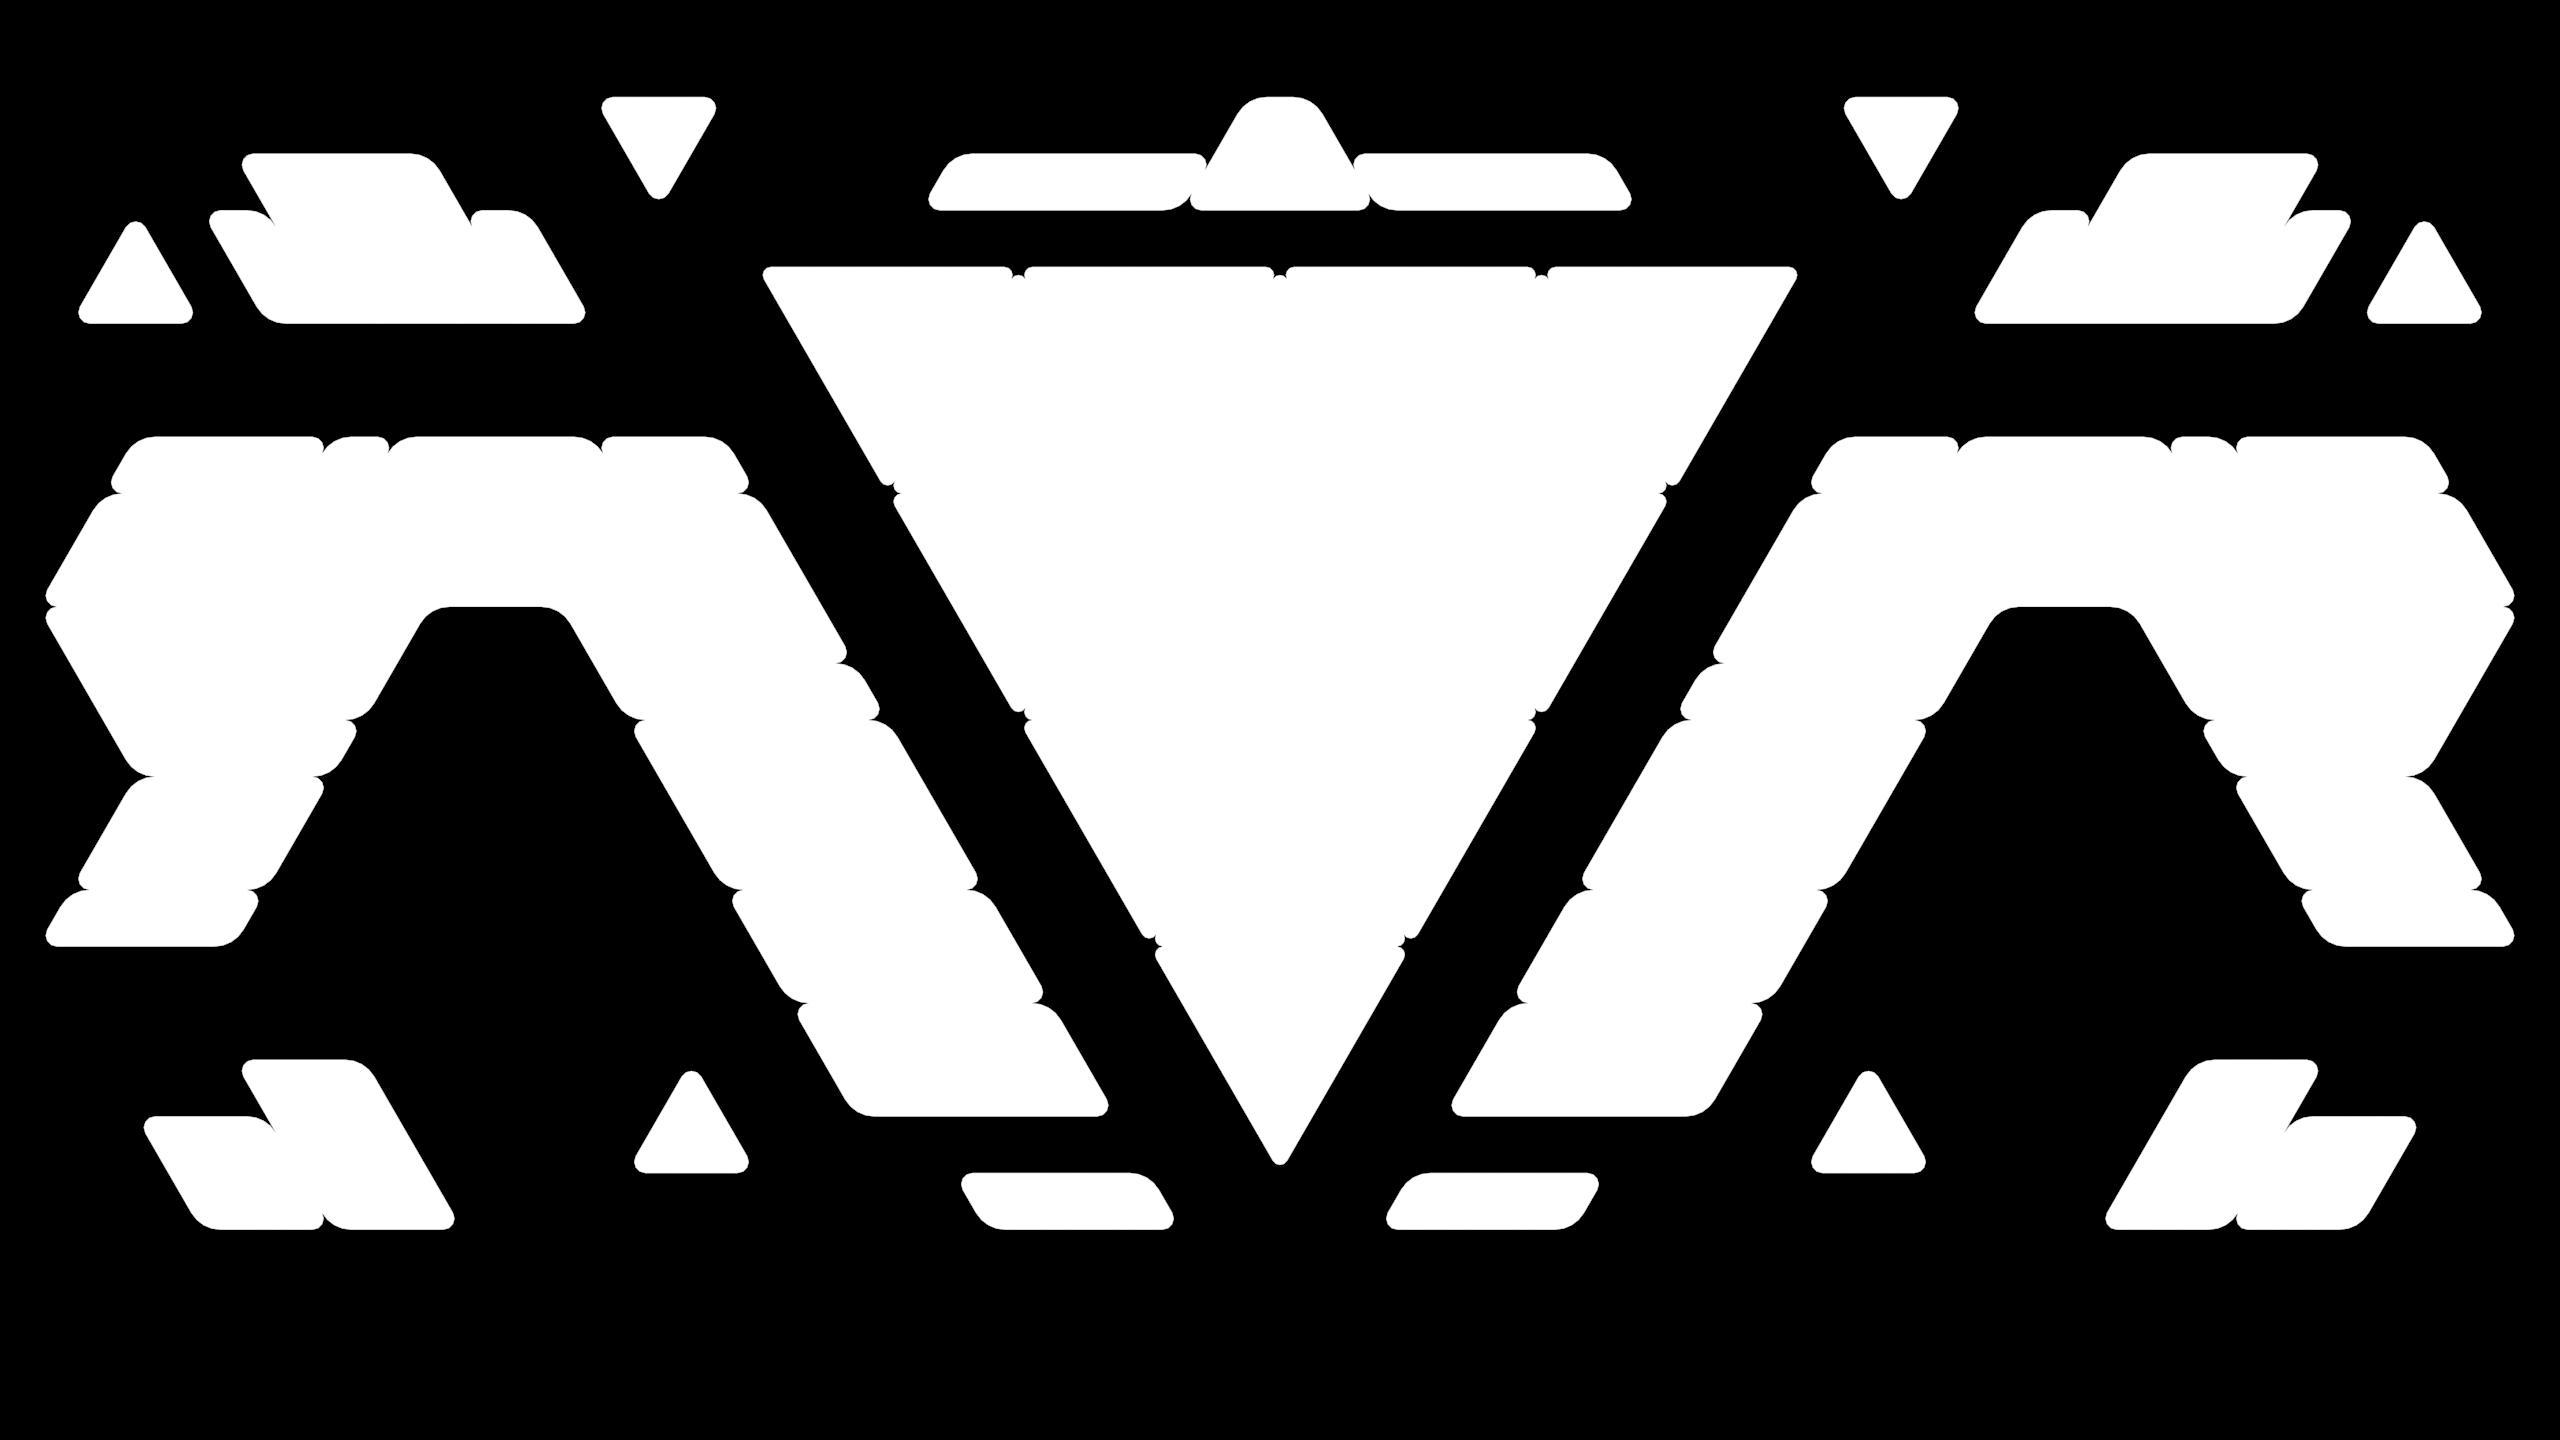
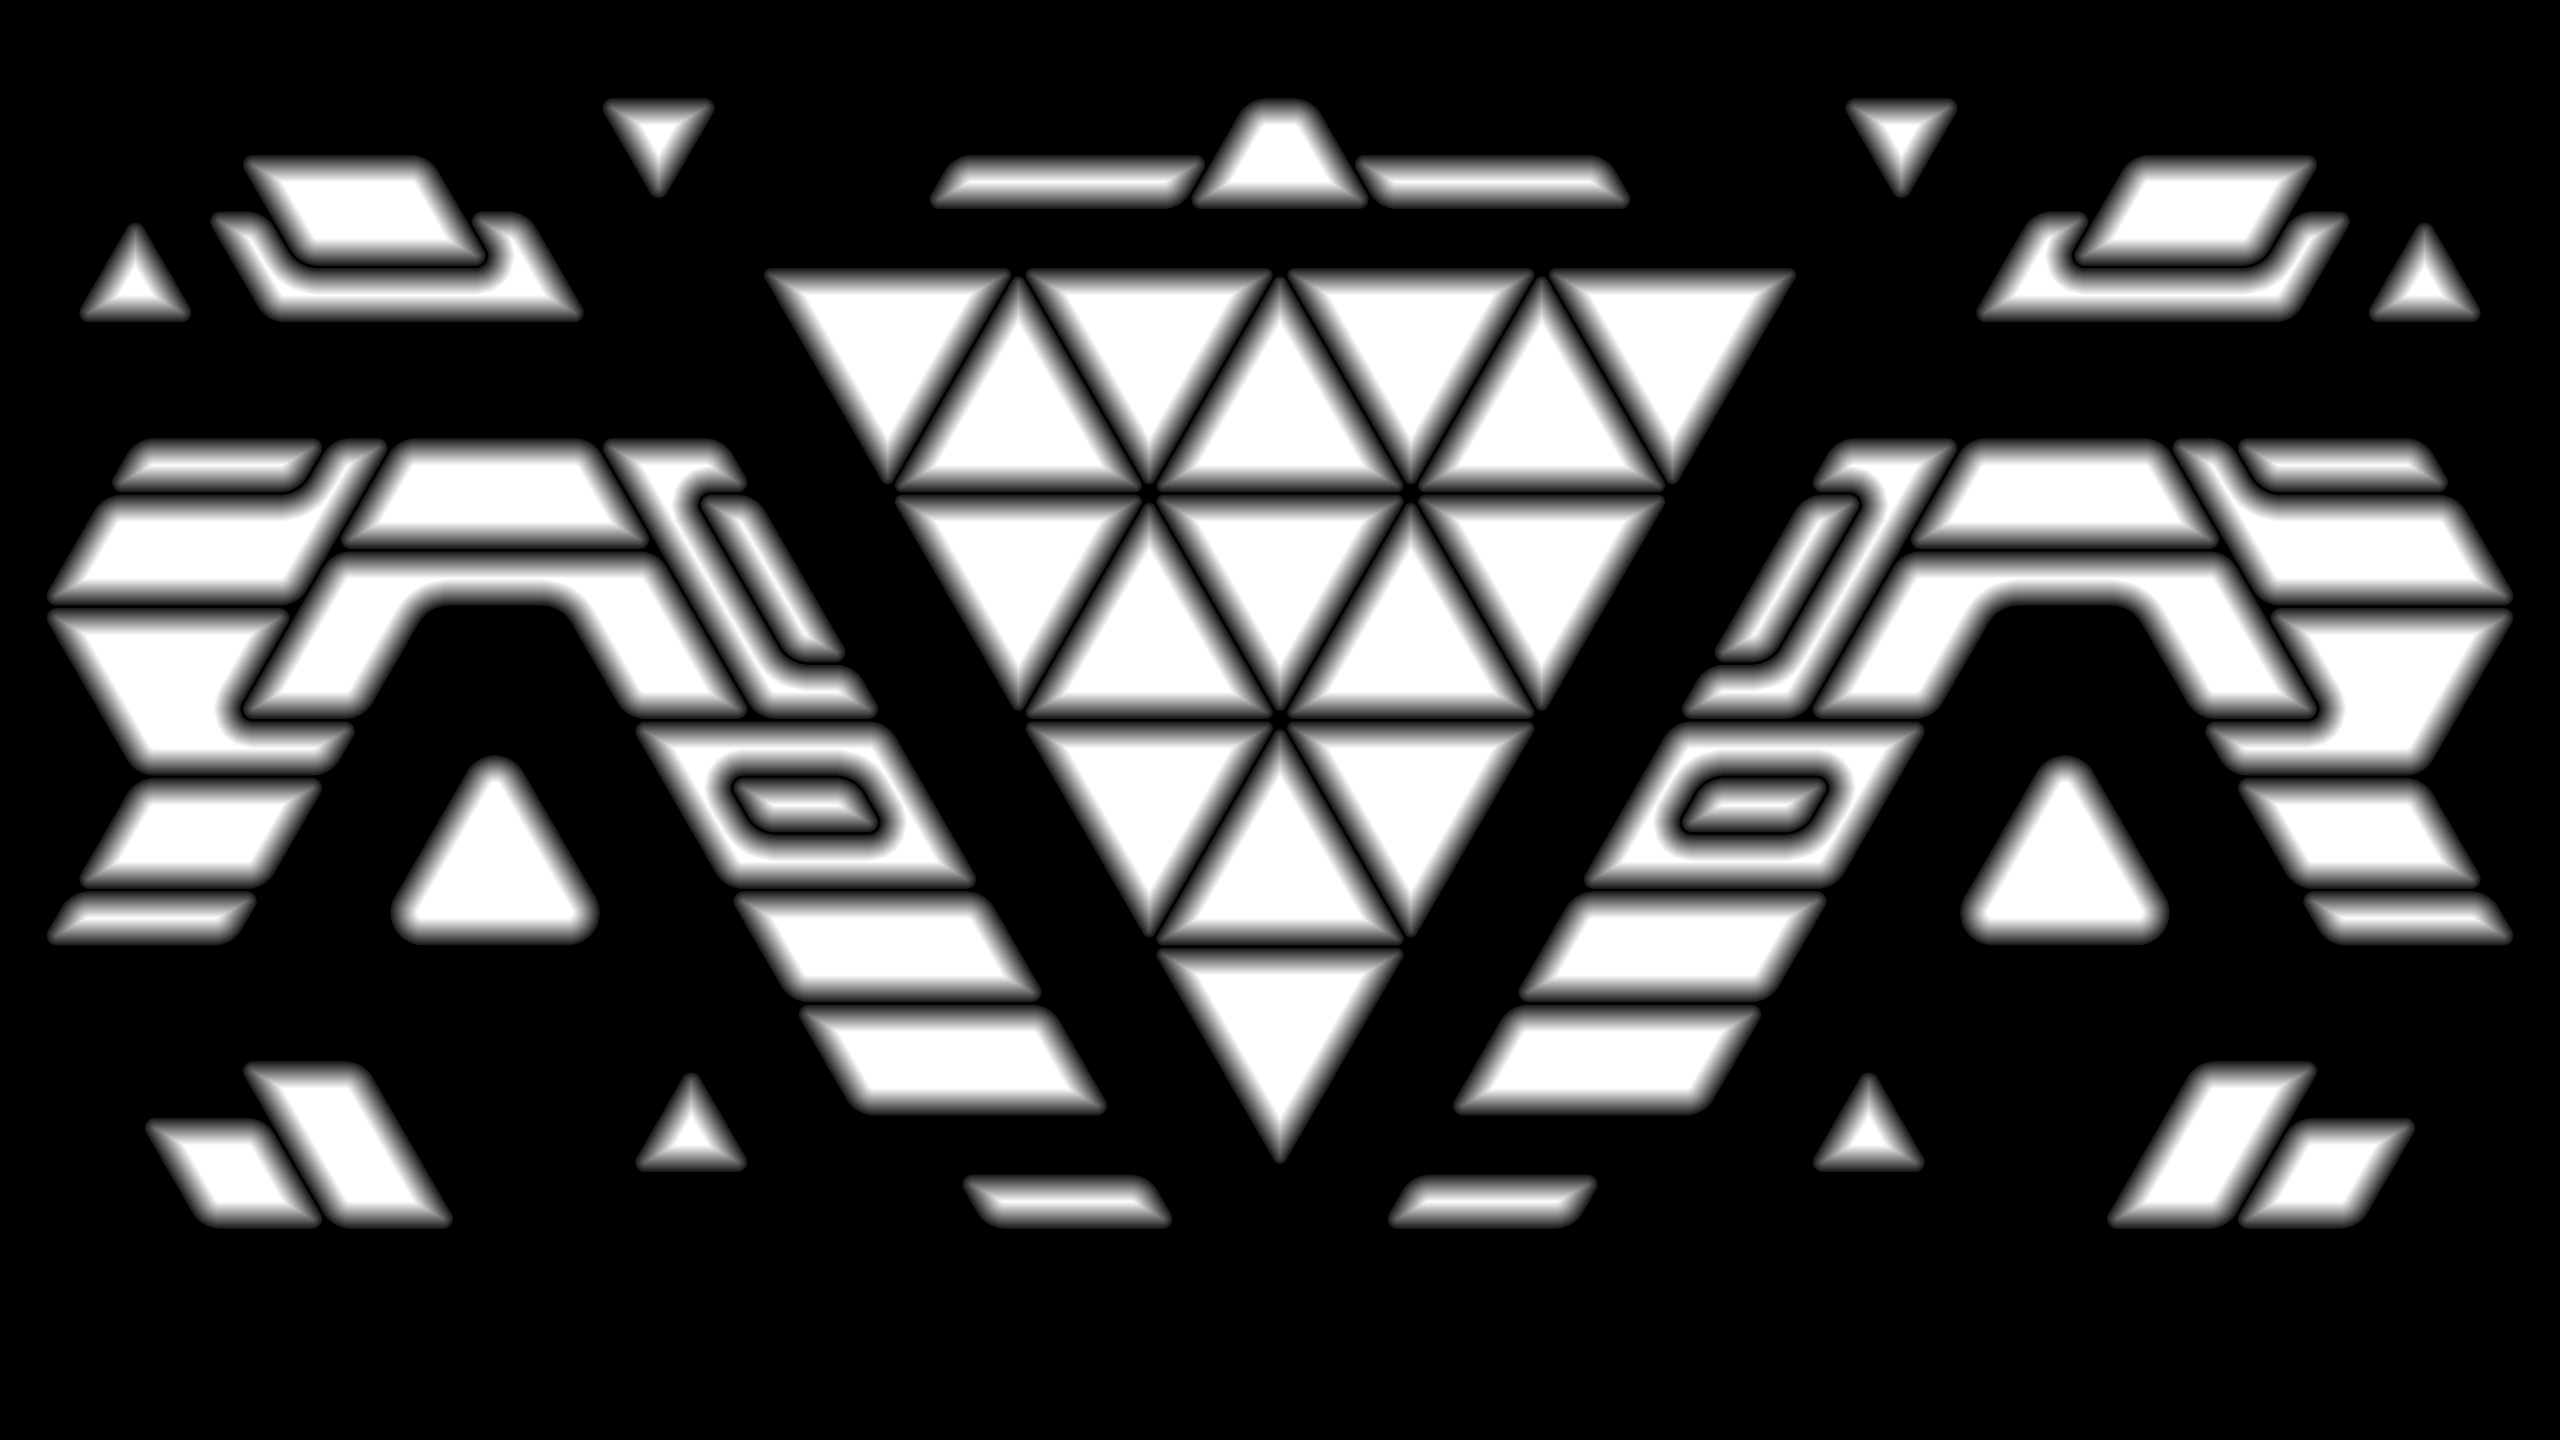
Download the ziphttps://drive.google.com/file/d/1HDGGt-tVB5b-fEwakBznliCa-B2BefWr/view?usp=sharingIn this tutorial I want to show you a composition where I organize clips for a stage mapping for a festival. I created this stage design for a music video and designed the shapes in Illistrator based on a hexagonal grid. In an upcoming tutorial I go a bit deeper on how to go from Illustrator to the 3d software to generate content. the process is similar for a festival stage mapping where the vectors are based on a photo. In the Media folder and Resolume Composition you will find a AI generated image that represents a photograph from the stage. I created it with Stable Diffusion and Controlnet based on the stage mask. let me know if you are interested how todo this.I also included the vector Illustrator file so you can do some more stuff with it and generate content or masks ...In the Resolume composition there are basically 3 groups of layers. 1) top overlay layers with clips with alpha channel 2) stage specific layers and clips: color shape animations, outline, line animations and light/shadow animations 3) background or full screen clips and textures.IMPORTANT: one clip in layer1 in the backgroud has to active all the time otherwise edge detection master effect won't look nice. that's because of the alpha channel. the first clip therefor is just black. so before you start activate a clip on layer1.STAGE REFERANCE IMAGE: play and mix with the reference image in the background on layer1 and start adding clips from bottom up. edge detection master effect is one of my signature effects and is activated by default. also try to deactivate it and tweak clips and effects.THERE IS A LOT TO EXPLORE. 1) try different combinations of clips 2) check the effects of clips and clip channels RGB. often I create black and white clips and then I mute color channels of clips to colorize and create variations with more effects 3) I am using masks for certain clips as well to create variations. soft mask for polkadot effect check this (on layer9 tri data color6.mov) 4) mask layers to effect one below. 5) master color effects ! the real fun and magic happens with the master effects. check out add subtract/hue in the composition effects and map it to your controller. like i did with the composition dashboard and go wild with the colors to explore the visual. with these effects you can do some great changes.let my know any questions !I am working on an extended version with higher resolution clips, effects and a combination of tuorial02 and tutorial03 into one extended composition which I will share for the FULL SUPPORT tier only if you can please consider upgrading. I will also share artworks loops in dxv. starting with MYSTICAT.In the next tutorial I will get into the process of content generation based on the stage vector. In the next Composition I will share really useful techniques like effect layers to spice up and transform your composition.
LICENSE: You can use it for learning and your VJ gigs live as long as you are subscribed to my Patreon. By downloading you agree not to redistribute or sell these files.
Files