Home

 Creators
 Search
 Recent
 Random
 Posts
 DMs
 Tags
 Random
 Importer
 Import
 FAQ
 Account
 Register
 Login
 Favorites
 Keys
 Logout
 Telegram

Welcome to the Barrens - Orc Watch Tower (Test Print) (Patreon)
Content
Hello everyone!
Sorry for taking this long to show this miniature (If I can even call it that), this waiting is justified by the amount of work that It took to make this tower. To be honest I thought It was going to be a fast job but it was not.
Making the sculpture was the easy part. Then came the splitting, I had to split every file in order to fit a small printer (Elegoo Mars 2 Pro, the only one I have for testing the model). The model is big and had a lot of parts, so I had to print a few amount of pieces per build plate. I failed a few times, and fixed the supports.
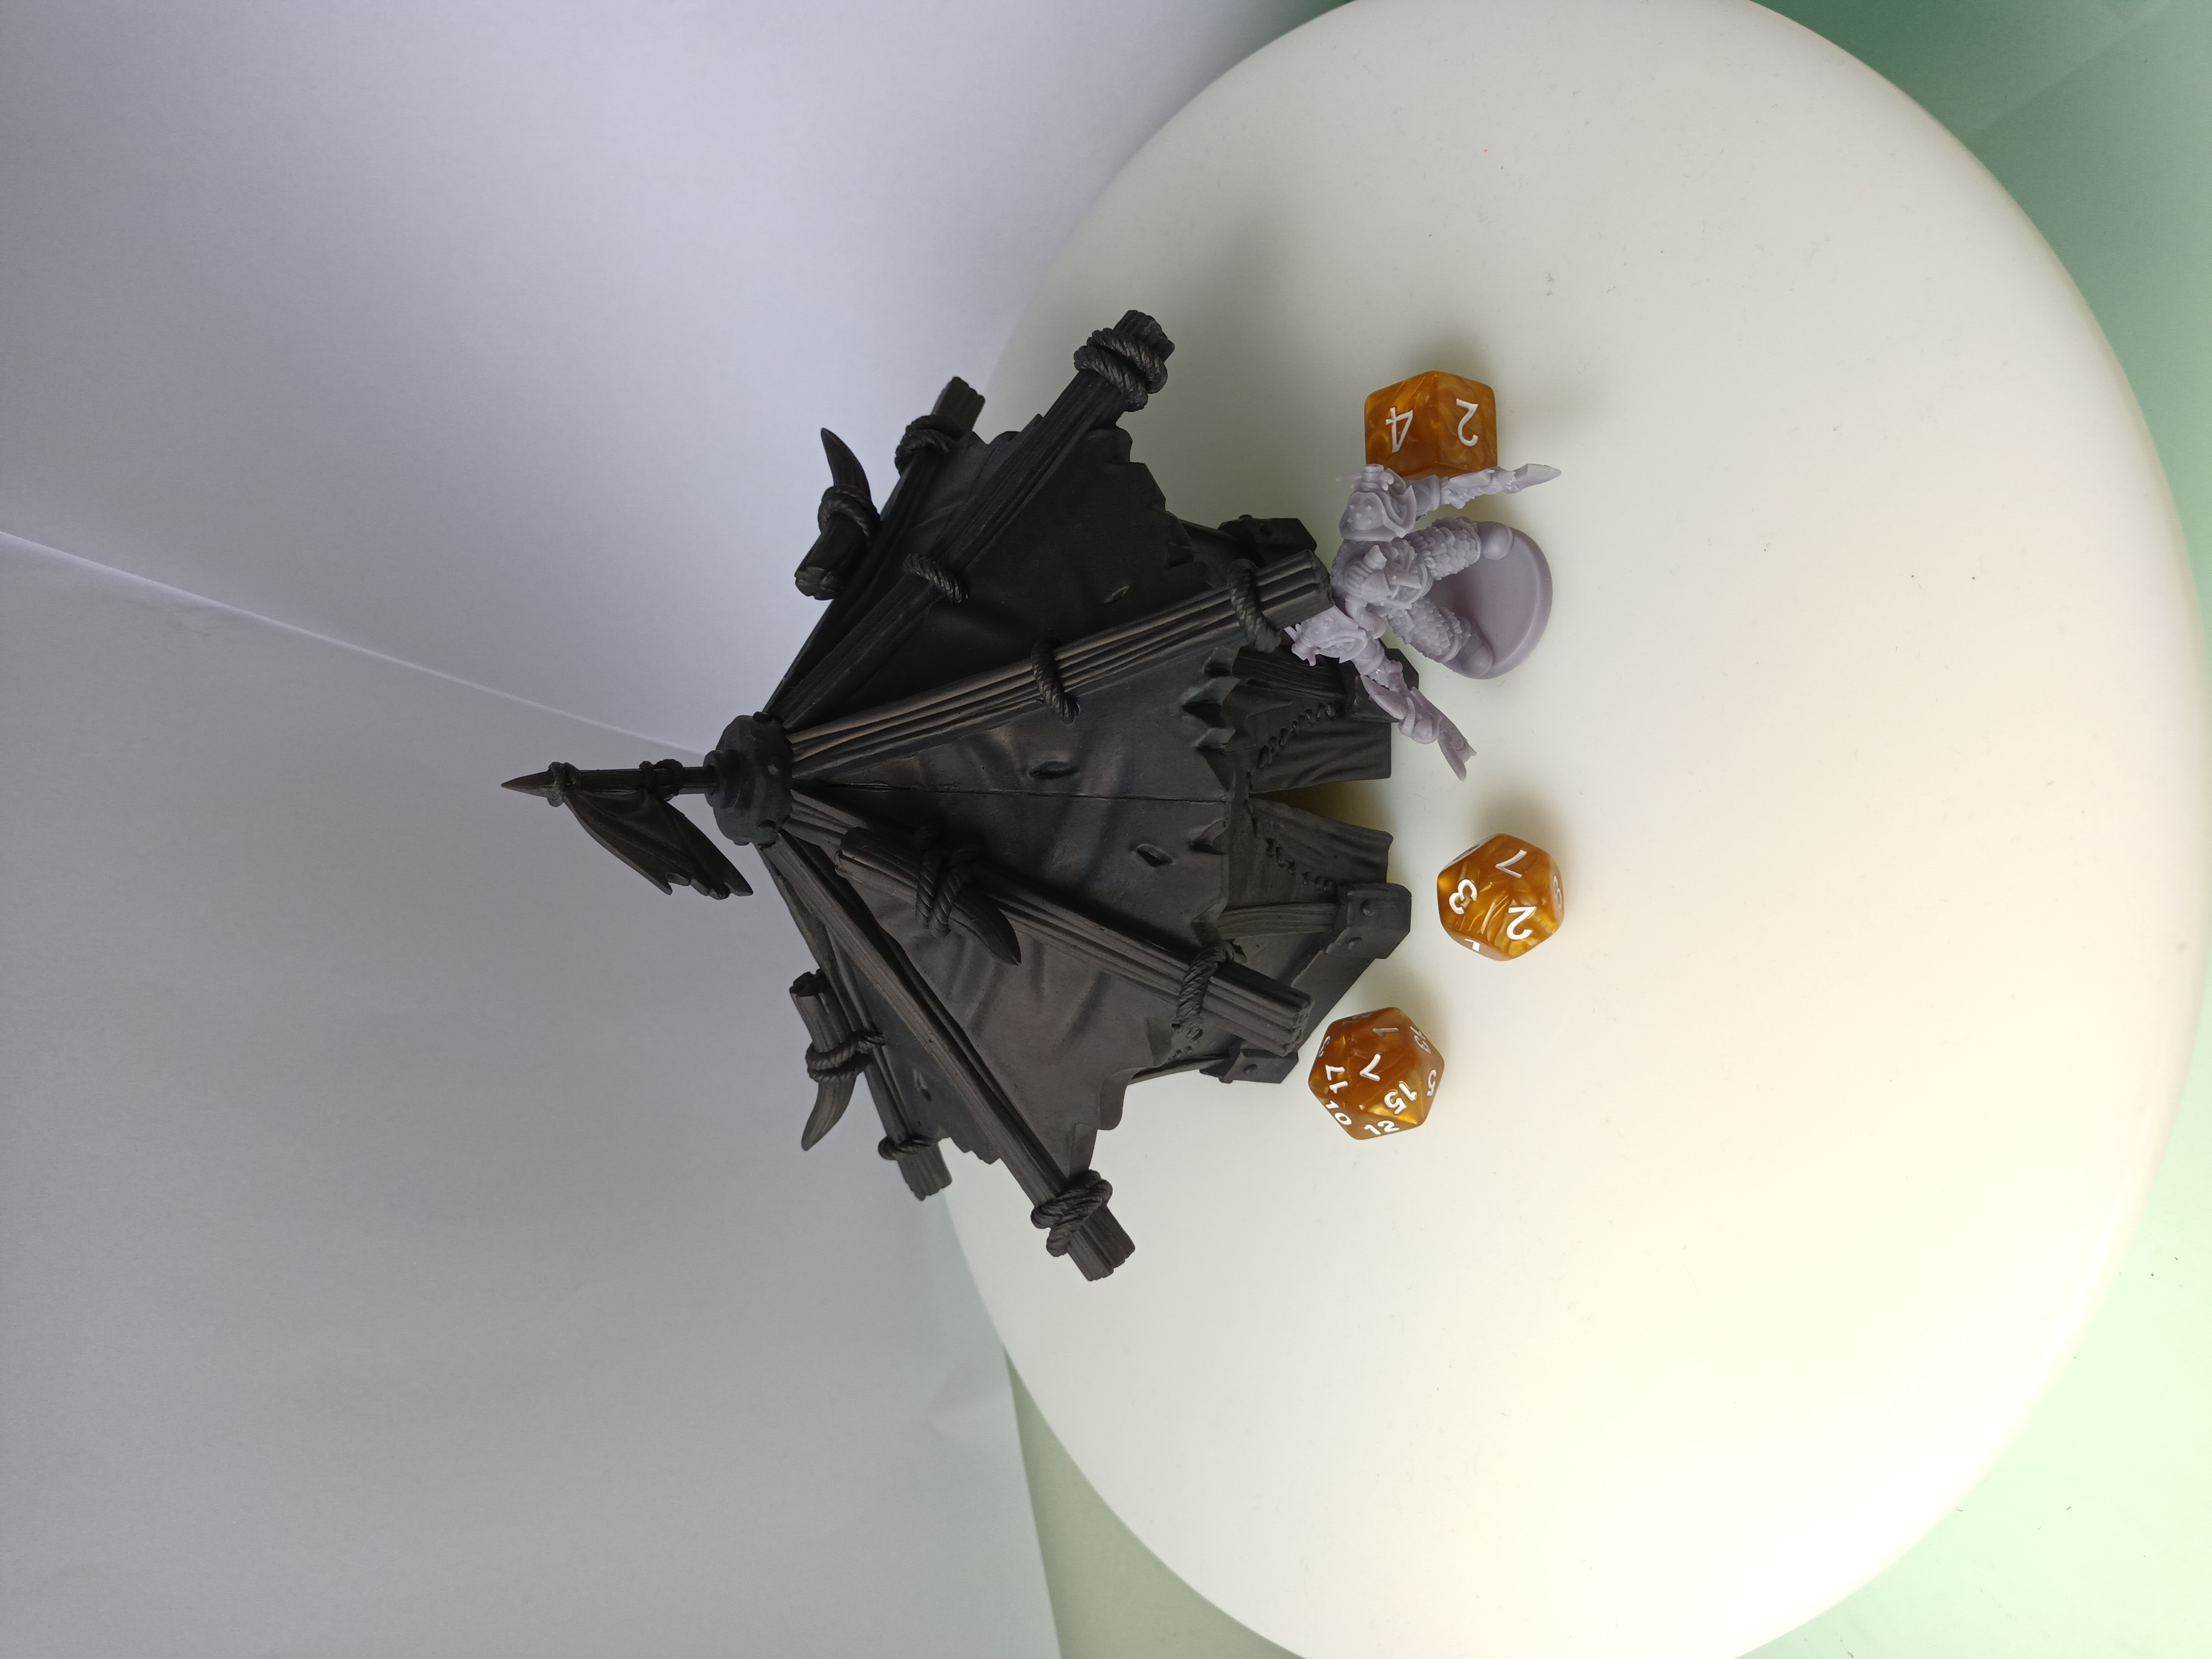
While printing the pieces the resin ended halfway and I had to change the manufacturer. Making this change resulted in a Frankenstein building with many shades of gray, to solve this issue and take some nice pictures I primed everything black.
Speaking of nice pictures, you won't find them lol. The building was huge that it did not fit my small photo booth and I don't have a good set up for bigger miniatures. I tossed the miniature to a desk close to the window (not really, I gently it placed there), I used the sunlight (with the windows closed, here the sun is too bright) and a A3 sheet of paper as my background. The paper ended up being small and therefore you can see my wall behind it. This was the best I could do.
Let's talk about the model and what you can do with it:
The full tower has something around 31cm tall
I think I used a bit more than a 1kg bottle of resin to print it (considering failures)
Even though it's a big building it's playable and you can assemble in a way that you can split the building to make many playable areas. Like: Only bottom platform, Mid Platform + Hut, Only Hut, only mid platform.
The model was printed using:
Printer: Elegoo Mars 2 Pro
Layer: 0.03mm
Resin: Gamer Gray and D20
Slicer: Lychee
Primer: Black by Smooth 3d
Assembly tips:
I don't have a manual for this assembly but I would recommend start the assembly from the top to the bottom and pay attention to the bottom most pillars and supports. When glueing 4 pieces structures make sure to glue them 2 by 2 or else you won't be able to assemble, their connectors are the same, so pay attention to the sculpture.
Due to my lack of experience with larger prints I make the supports stronger than what they needed to be. This means that they are harder to remove in some parts.
Final thought:
I'm not used to make buildings and big miniatures, so I can't manage my time very well for this cases, and this building took more time than what I had planned for it.
Making building it's fun and relaxing but expensive to print with a resin printer.
If I had to redo I would make a few things smaller to save a bit more of material and split a bit more some pieces to reduce the amount of gaps.
One more miniature to my pile of shame, at least it's not gray... it's Black!
That's it for this miniature, now I'm finishing the supports on another big miniature to print it today, after it's done I will make the renders of this miniature and release it (probably this afternoon, BRT).
Best regards,
Ivo
Files