Home

 Creators
 Search
 Recent
 Random
 Posts
 DMs
 Tags
 Random
 Importer
 Import
 FAQ
 Account
 Register
 Login
 Favorites
 Keys
 Logout
 Telegram

Continuing a Species (progress shots) (Patreon)
Content
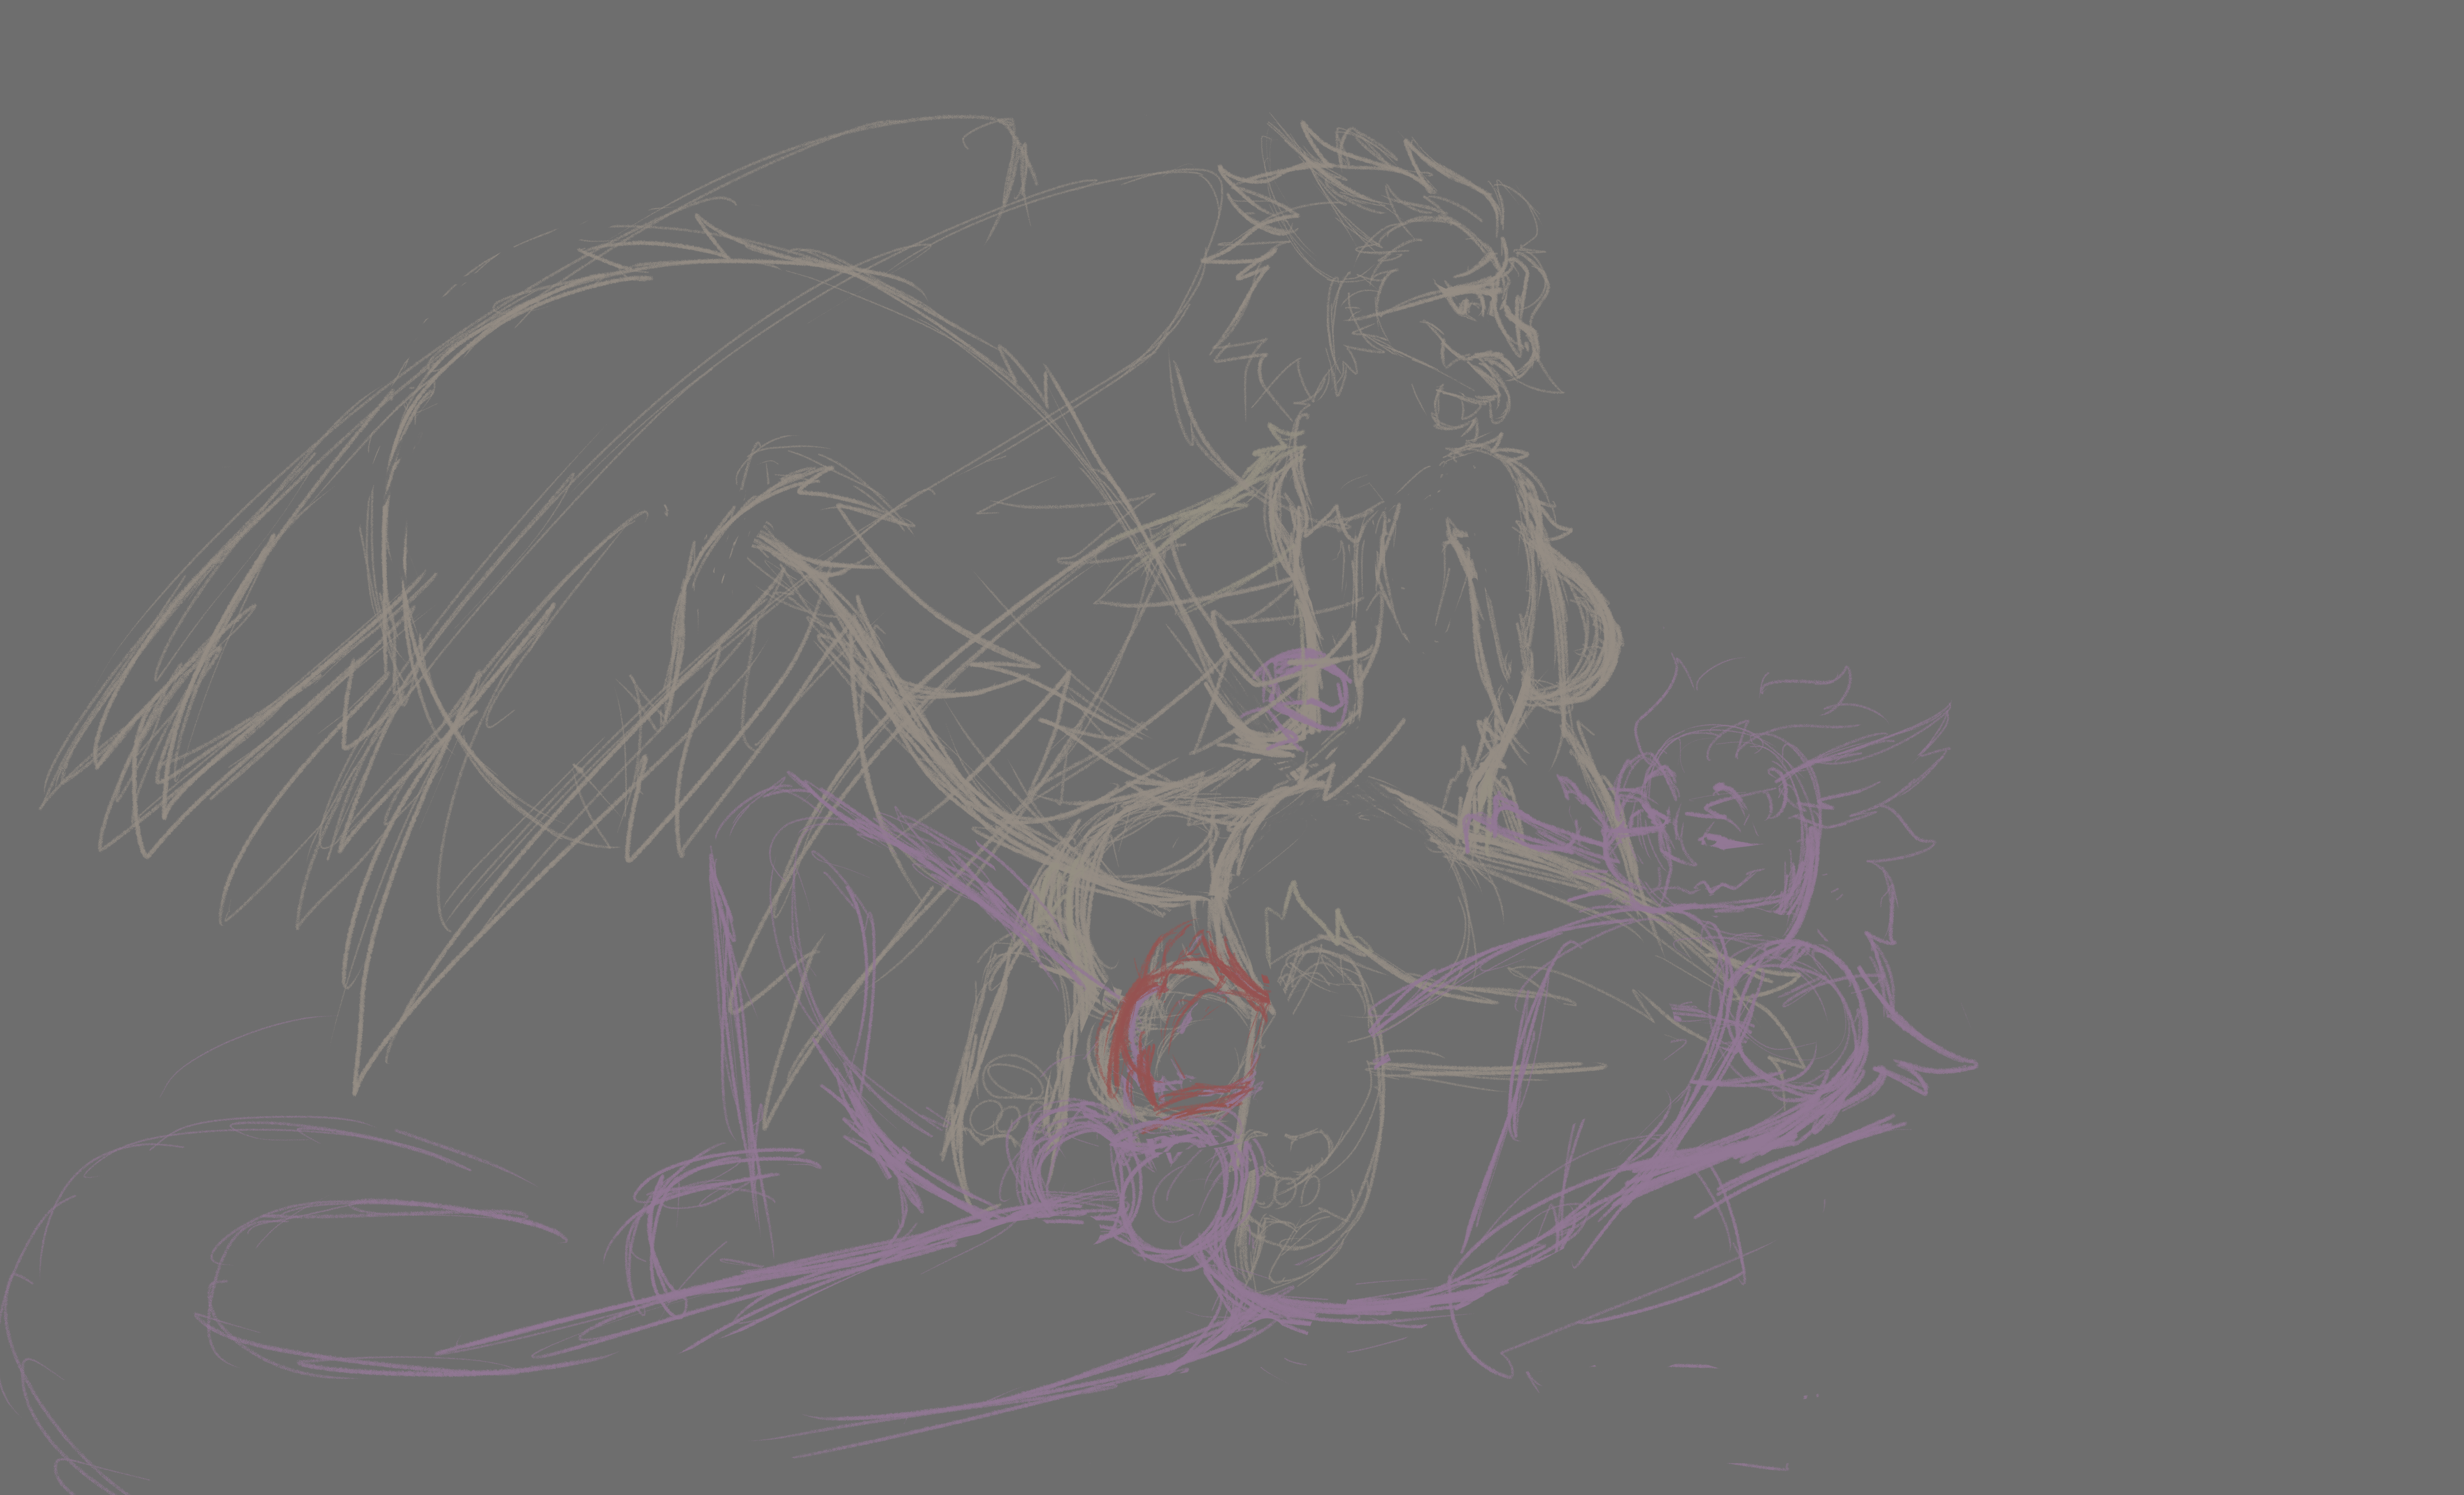
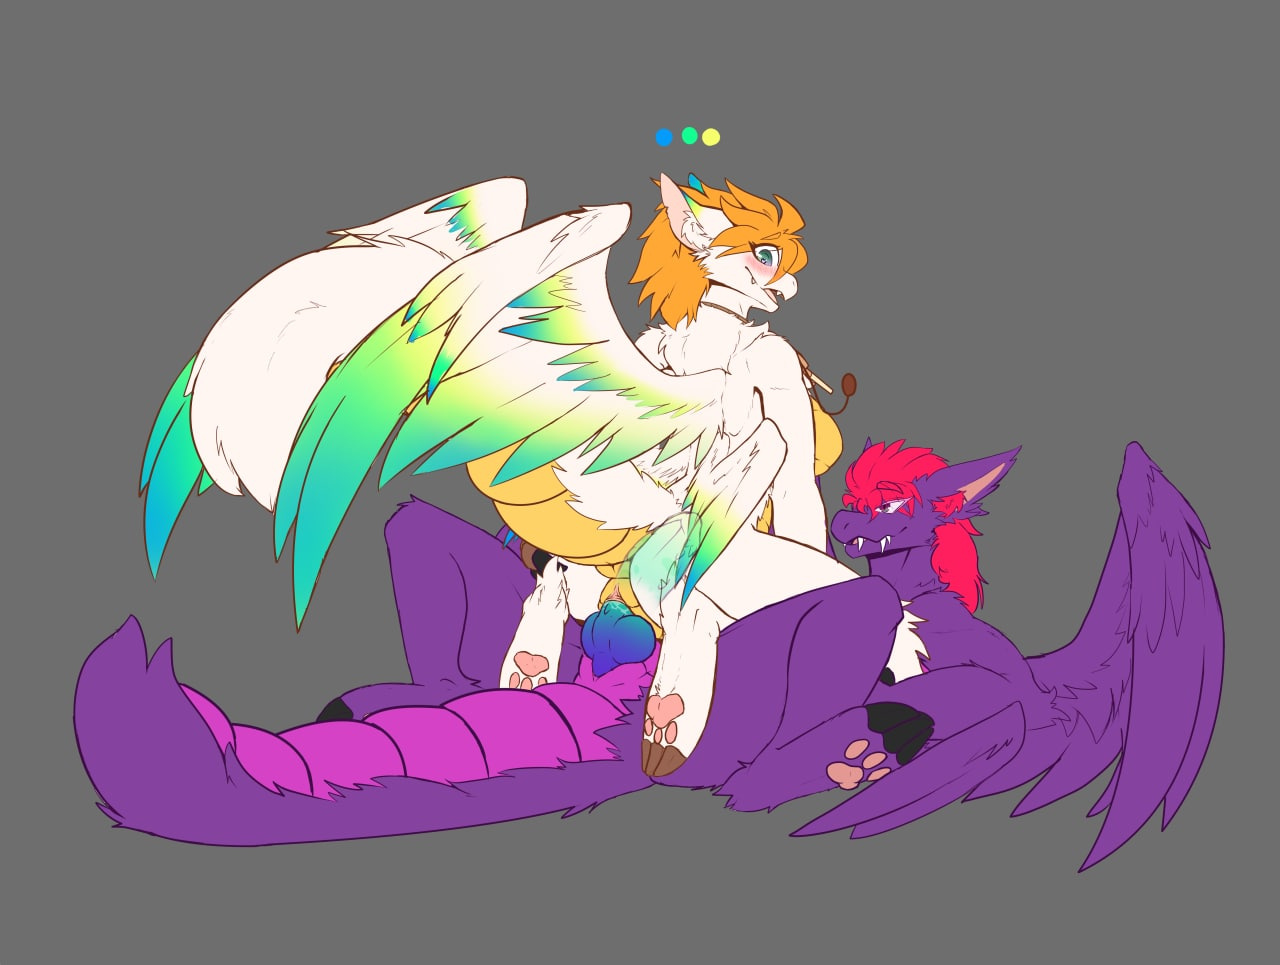
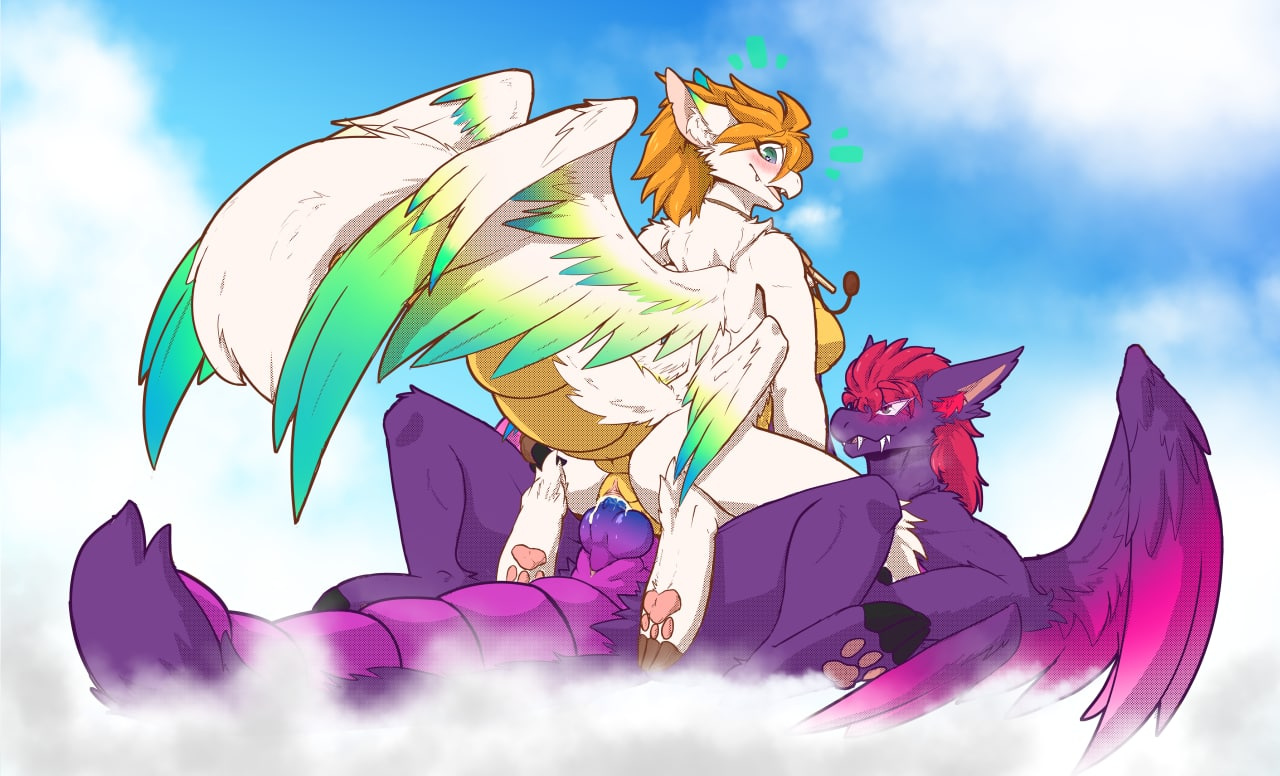
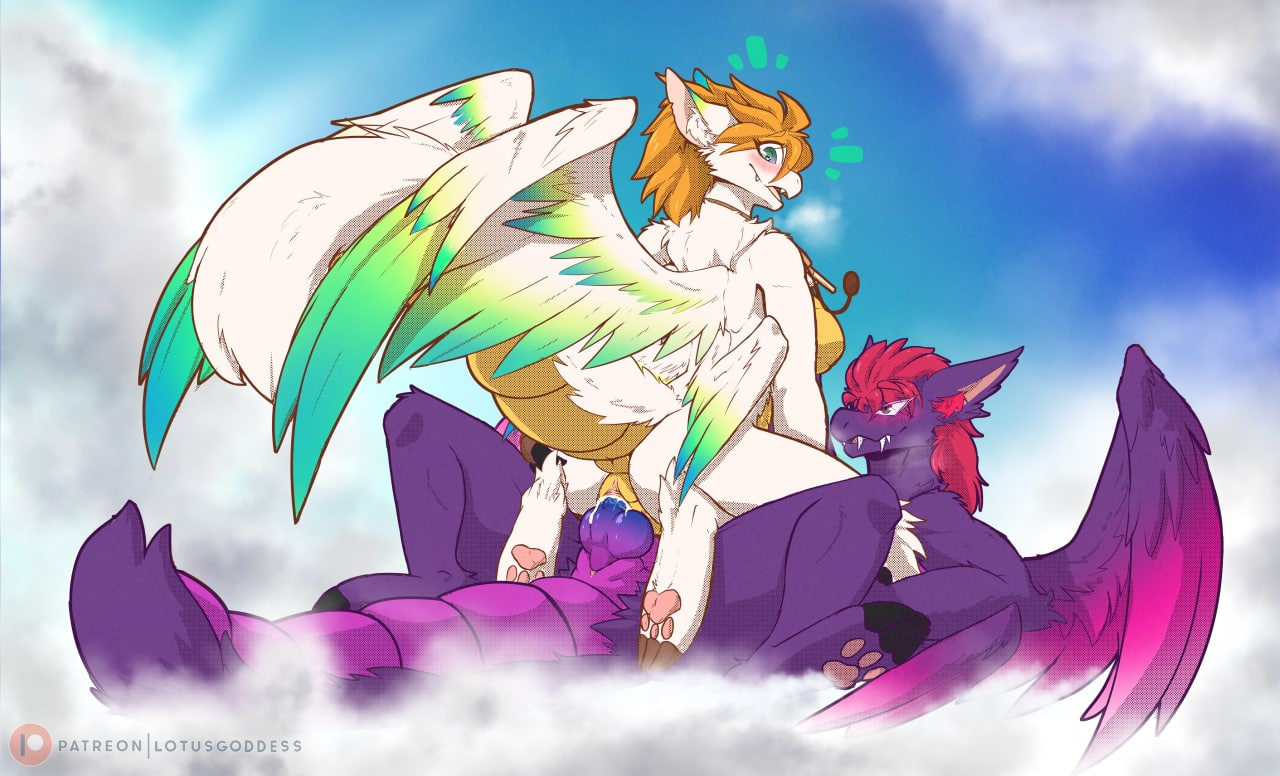
Something that may be interesting for you guys, some progress shots of the way I did this piece of a Obi in the Mana universe and Flammie.1: I usually start with a rough idea of what pose I want to go with, not worrying myself about if things are the right size or not quite yet. These stick figures are for plotting and planning and help me figure out where I want to put my shapes!2: This is when the rough sketch comes in! I rough out the position with simple shapes and some small details! I use separate colors to dictate each character as it makes it easier for my brain to wrap around how the twos bodies will interact with each other!3:I clean up the sketch! With clean up some things can change from the original idea, and this is the perfect example. I changed Obsidian from normal form to a fluffy derg version of him as if he was the same specie as Flammie! Then Started the line work. I usually use dark colored lines over pure black but sometimes pure black works as well. Here I decided to use brown for Flammie and purple for Obsidian which you will see in the next photo!4: Flats! I pull a reference up for Flammie and grab the colors I need from it. Sometimes color grabbing can be hard and the eyedropper is not always correct so make sure to fiddle with the colors as well to get them right. I also went and figured out what I wanted to color Obsidian like and went with something near the original Mana beast since Obsidian is usually in the chaos and "evil" side of the light and dark spectrum, but with a little Chaos Obi twist to it.5: Background! I figure out the background, which originally was going to be the Temple of Mana but I decided to save myself some work and do a simple in the skies background since time is short. After the background, I start focus on shading, using the tone shading tool using the same color I lined them with (Brown for Flammie/Purple for Obi) At some point in this step I also sketched and drew a Xray which you will see in the finished versions posted after this.6: Color correction and shading! I finish off the shading for the characters and start shading the background before going into the characters and making sure their colors are not to standout-ish. Making them slightly less bright while still having them hold their original pizzaz of color. It helps make the eyes not burn when looking at it, like dark mode over light mode!This is a very watered down explanation of how I do my work! I hope you enjoyed regardless with these little tidbits on how I work and maybe it will help you learn some things as well!
Files