Home

 Creators
 Search
 Recent
 Random
 Posts
 DMs
 Tags
 Random
 Importer
 Import
 FAQ
 Account
 Register
 Login
 Favorites
 Keys
 Logout
 Telegram

Teddy bear restoration WIP 1 (Patreon)
Content
ENGLISH/ESPAÑOL
Hello everybunny!Today we have a very special work that we'll be doing during today and over the weekend.
We were contacted by a girl on Twitter who had seen that we have repaired a few old plushies. It's a kind of work we don't do often but we offer, and we really enjoy it. At the end we know how important a plush can be for many. So if we can make its life longer, we'll be happy to do it ^^
This plush is a teddy that is already 30 years old. He has been cared for but very loved as well. The main problem with it is that the cotton fabric parts (not fur), are very worn out and weakened. It also haves holes, ripped seams, stains and other things due to being cuddled for years.The most important thing for the customer is that the restoration stays as close to the original as possible, that we don't replace any piece and make it more resistant. It's hard to do the latter without remaking the body with new fabric, but we came up with an idea that we will show during the restoration!
But before that let's start from the beginning. We have to unstuff it. The customer doesn't want to change the eyes nor nose, so we covered them with washi tape to avoid them to get even more scratched than they already are. After that, we ripped the back seam and removed aaaaaall the old and clumped stuffing. It's interesting because it's not regular polyfill, it's actually stuffed with quilt batting scraps. That shows hoiw old this plush is!we had to unstuff it carefully, because the stuffing was sewn to the plush at some points (it has thread sculpting on the muzzle, and many mendings all around the body) so we can't just pull it out or we could rip the fabric. It took us around 20 minutes to empty it completely.
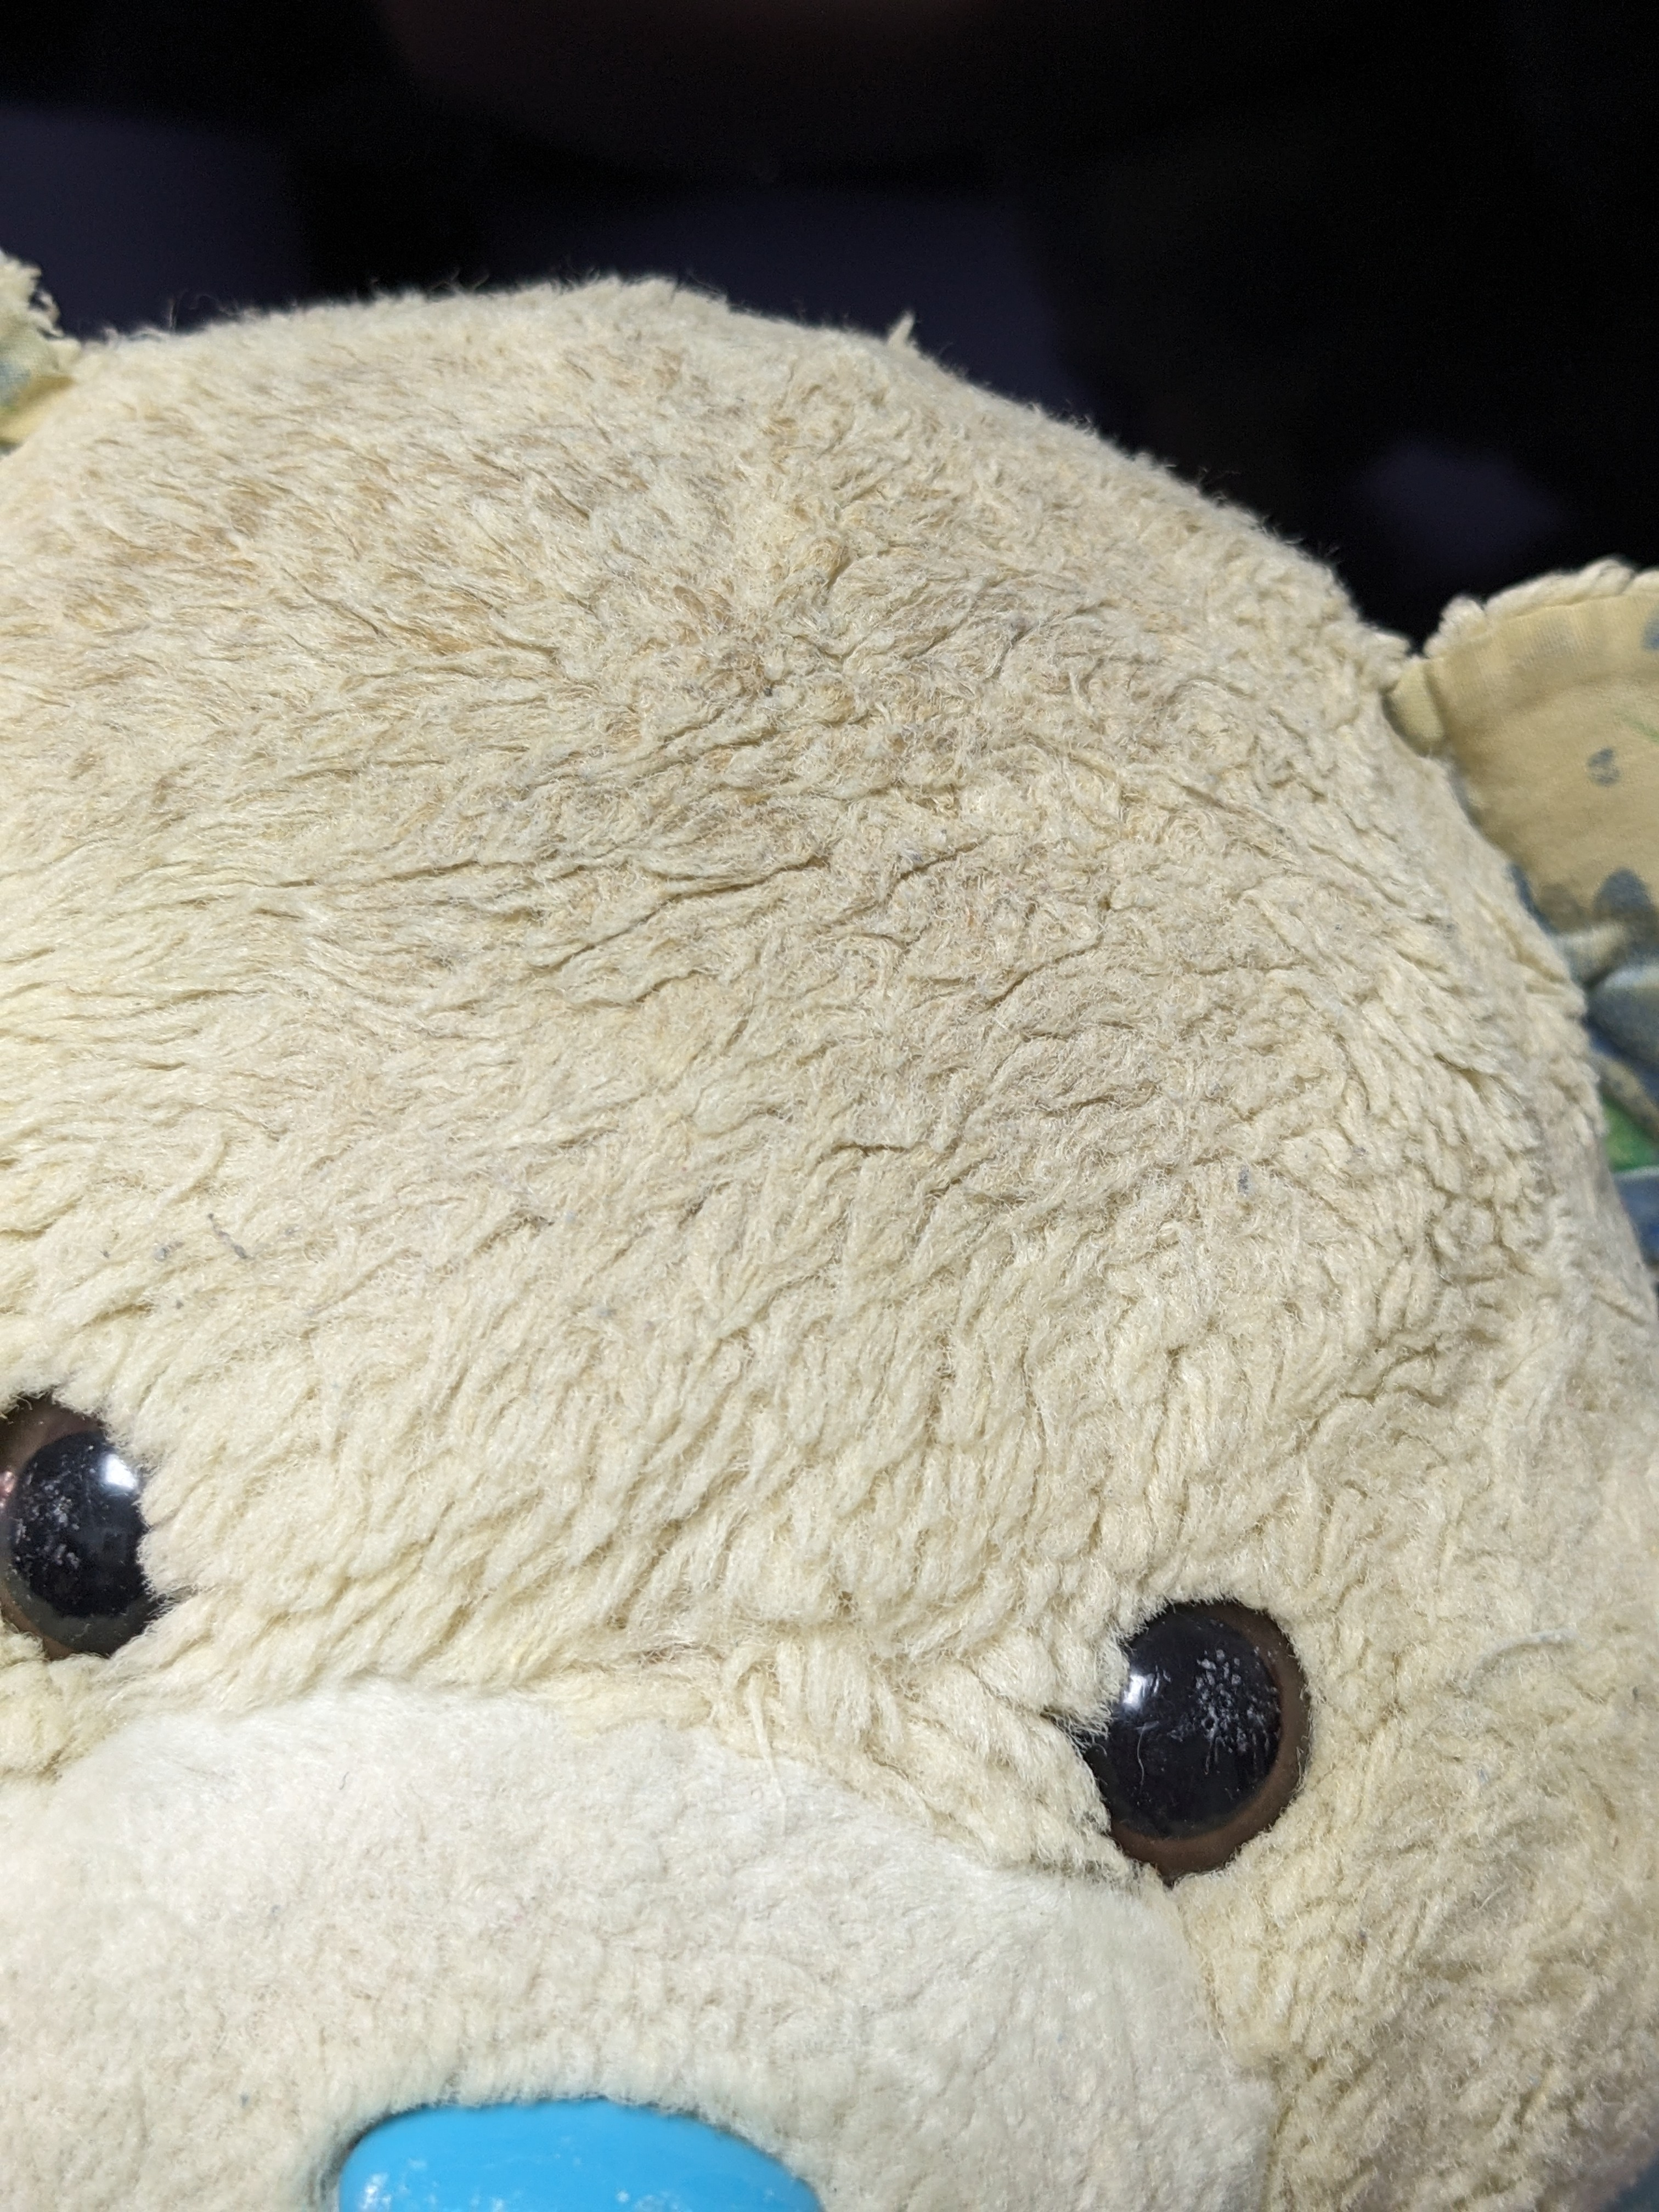
Now that it's empty, we could see how matted the fur is and the actual state of the fabric.
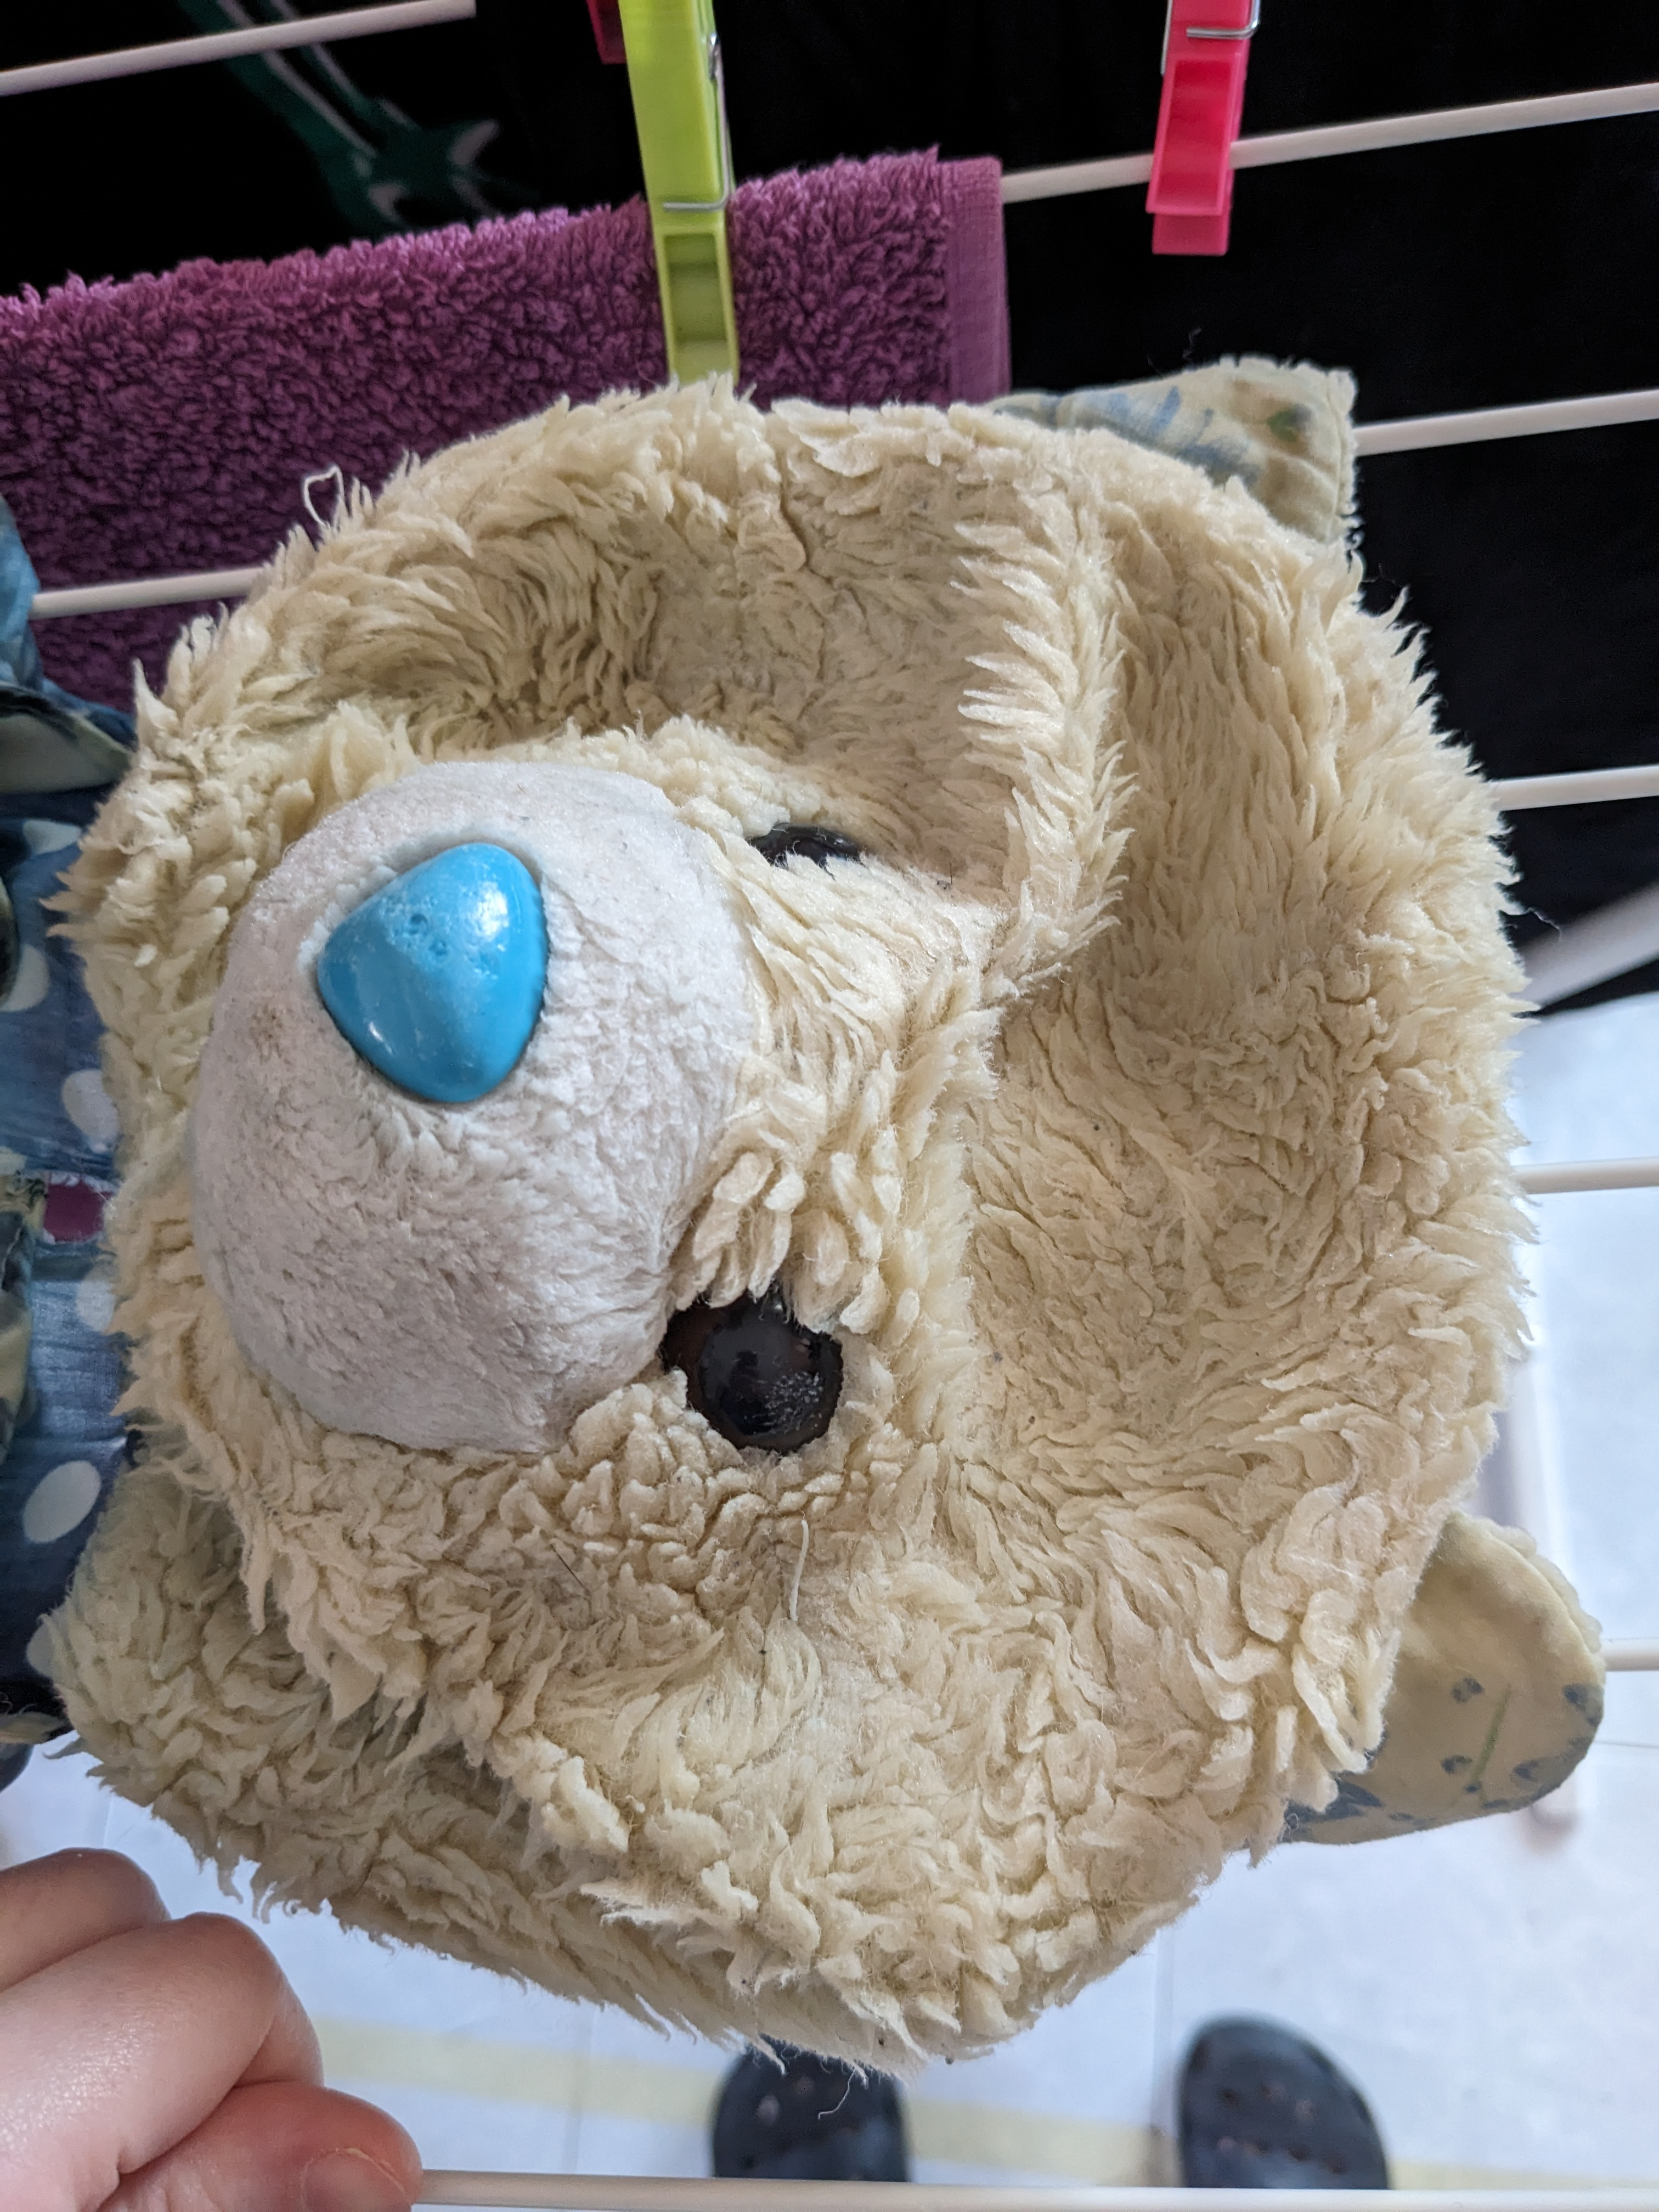
Once empty, it's time for a deep wash. In this step we have to be even more careful. We can't rub or squish too hard or we could damage the fabric further.For washing it, we first rinsed it twice with room temperature water to remove superficial dirt. After that, we added laundry soap and hand washed it five times. We rubbed the cotton fabric carefully, and the fur with a bit more strength. But not too much or we would mat it further. A balance between careful and intense.This part of the process is slow and tedious, but we have to leave it as clean as possible.
In the last photos you can already see how light the cream fur already looks! It improved a lot. We rinsed it until the water came out clean, and then squished it carefully to remove as much water as possible. Finally we left it flat over the clothing rack, making sure no part is hanging, since wet fabric is too heavy and it could rip the body fabric.
Now we have to wait until it dires out completely to be able to continue restoring it! What do you think so far? Do you like seeing the process of this kind of projects? Do you want to see more of these? :3
----ESPAÑOL----
Hello everybunny!Hoy os traemos un encargo muy especial que haremos entre hoy y el fin de semana.
Nos contactó una chica por Twitter vio como habíamos restaurado un par de peluches. Es un tipo de trabajo que no hacemos a menudo pero que ofrecemos, y disfrutamos mucho de ello. Al final sabemos lo importante que puede llegar a ser un peluche en tu vida. El cariño y el significado que tiene para muchos. Así que si podemos alargarle la vida, nosotras encantadas ^^
Este peluche es un osito que tiene ya 30 años. Lo han cuidado mucho pero también lo han querido mucho. El principal problema que tiene es que las piezas de tela (no pelo) están bastante desgastadas y débiles. También tiene agujeros, manchas, y otros elementos que vienen por el uso en los años.Lo más importante para la clienta es que la reparación sea lo más fiel al original posible, que no le cambiemos piezas y sea más resistente. Es difícil hacer lo último sin cambiarle las partes de tela tan desgastadas. Pero se nos ocurrió una idea para ello que os enseñaremos durante la restauración!
Pero tocar empezar como siempre por lo primero. La clienta no quiere cambiar los ojos ni la nariz, por lo que los cubrimos con washi tape para que no se rallen más de lo que ya estaban. Luego, abrimos el peluche por detrás y le quitamos toooodo el relleno viejo y usado. Es curioso porque está relleno de retales de guata, no relleno como tal. Se nota que es un peluche antiguo! Esta parte hay que hacerla con cuidado, porque el relleno en algunos puntos está cosido al peluche (en la cara tiene thread sculpt, y varios remiendos que engancharon relleno) y no podemos sacarlo a lo bestia o desgarraríamos la tela del pecho. Nos tomó como 20 minutos vaciarlo 100%
Ahora vacío se puede ver más lo apelmazado que tiene el pelo y el estado de las telas.
Ya vaciado, toca lavarlo a conciencia. En esta parte tenemos que tener aún más cuidado que al vaciarlo. Tanto por no frotar muy fuerte las piezas de tela como a la hora de secarlo no darle peso de más a esta. Para lavarlo, primero lo aclaramos un poco y quitamos la suciedad superficial. Luego, le añadimos detergente de ropa y hacemos 5 lavadas a mano. Frotando con mucho cuidado las piezas de tela y con intensidad las de pelo. Pero sin pasarse o se puede estropear. Equilibrio entre intensidad pero con cuidado.Esta parte del proceso es repetitiva y algo lenta. Pero hay que dejarlo lo más limpio posible.
Podéis ver ya en las ultimas fotos lo blanquito/crema que se ve ya el pelito! Ha mejorado muchísimo. Así que podemos dejarlo ya secando durante hoy y mañana. Al ser un peluche, pesa bastante al estar húmedo. Y no hemos podido escurrirlo a conciencia porque el pecho está demasiado débil. Así que vamos a dejarlo secar en el tendedero totalmente plano para que ninguna pieza quede colgada, ya que el peso de la tela mojada podría ser demasiado para la tela del cuerpo.
Ahora toca esperar a que se seque bien y seguiremos con la restauración! Pero qué os va pareciendo? Os gusta ver estos procesos poco a poco con nosotras? Queréis que os traigamos más del estilo? :3
Files