Home

 Creators
 Search
 Recent
 Random
 Posts
 DMs
 Tags
 Random
 Importer
 Import
 FAQ
 Account
 Register
 Login
 Favorites
 Keys
 Logout
 Telegram

3D Scanning and more cyberpunk bits. (Patreon)
Content
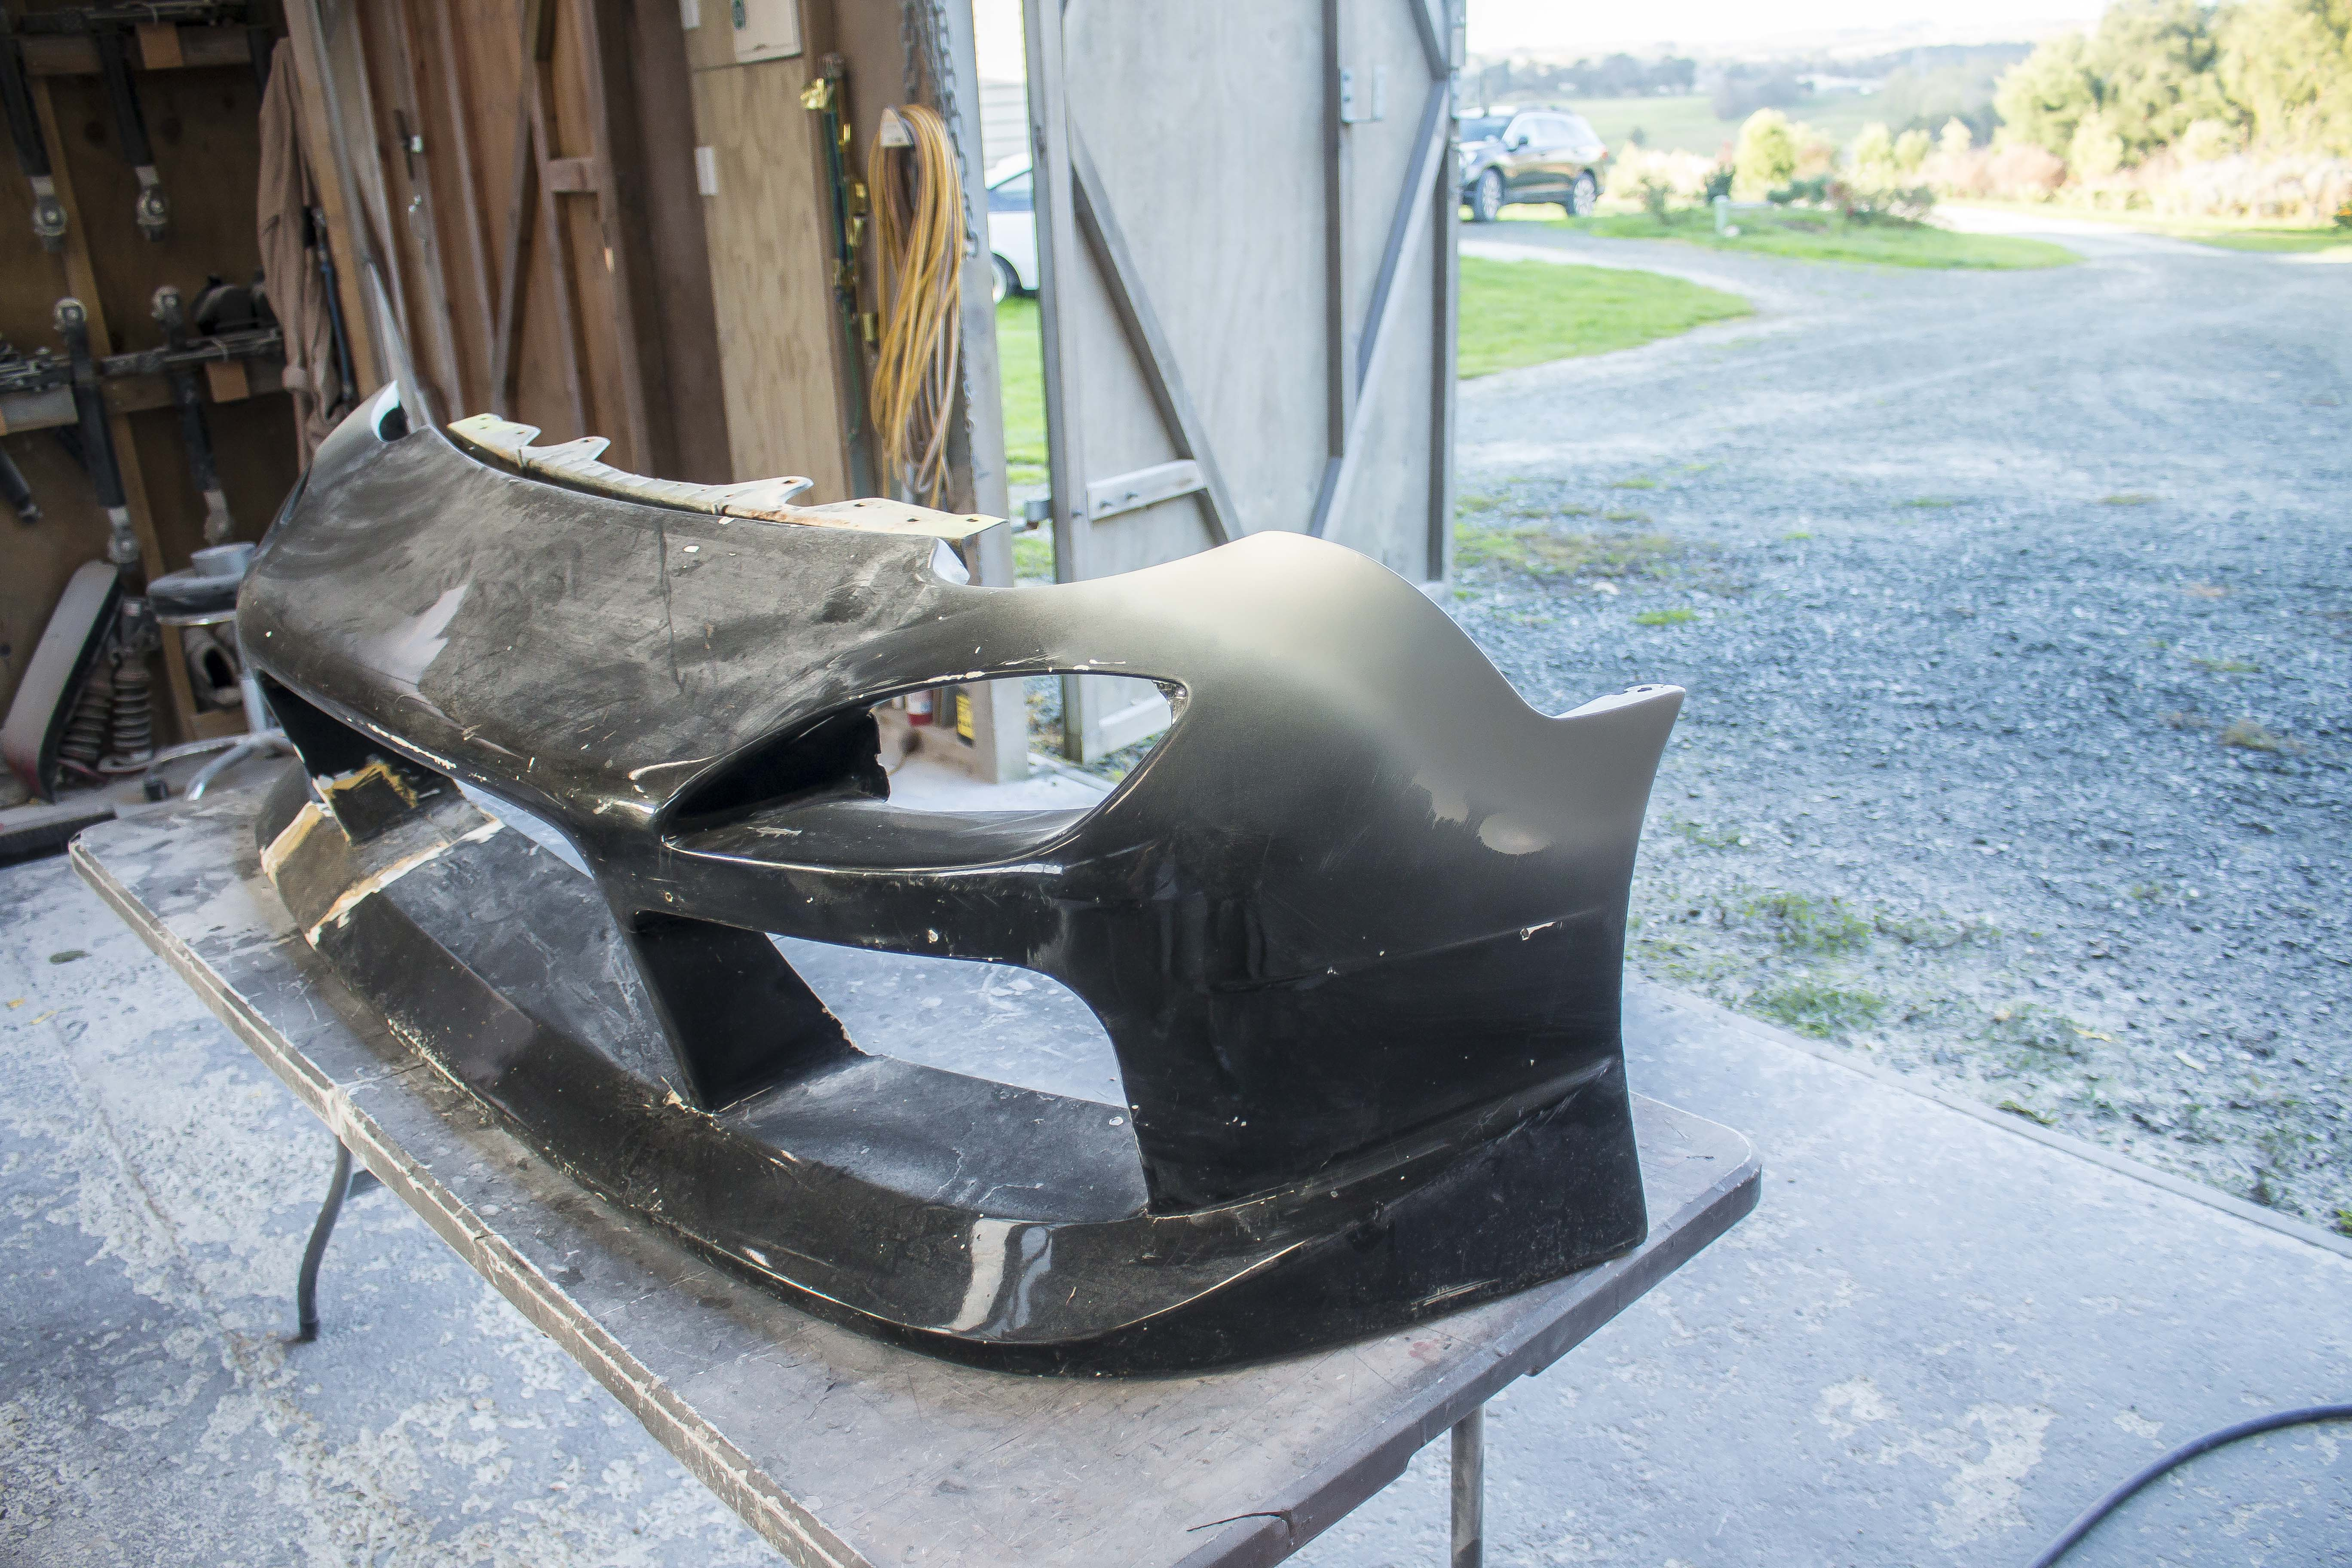
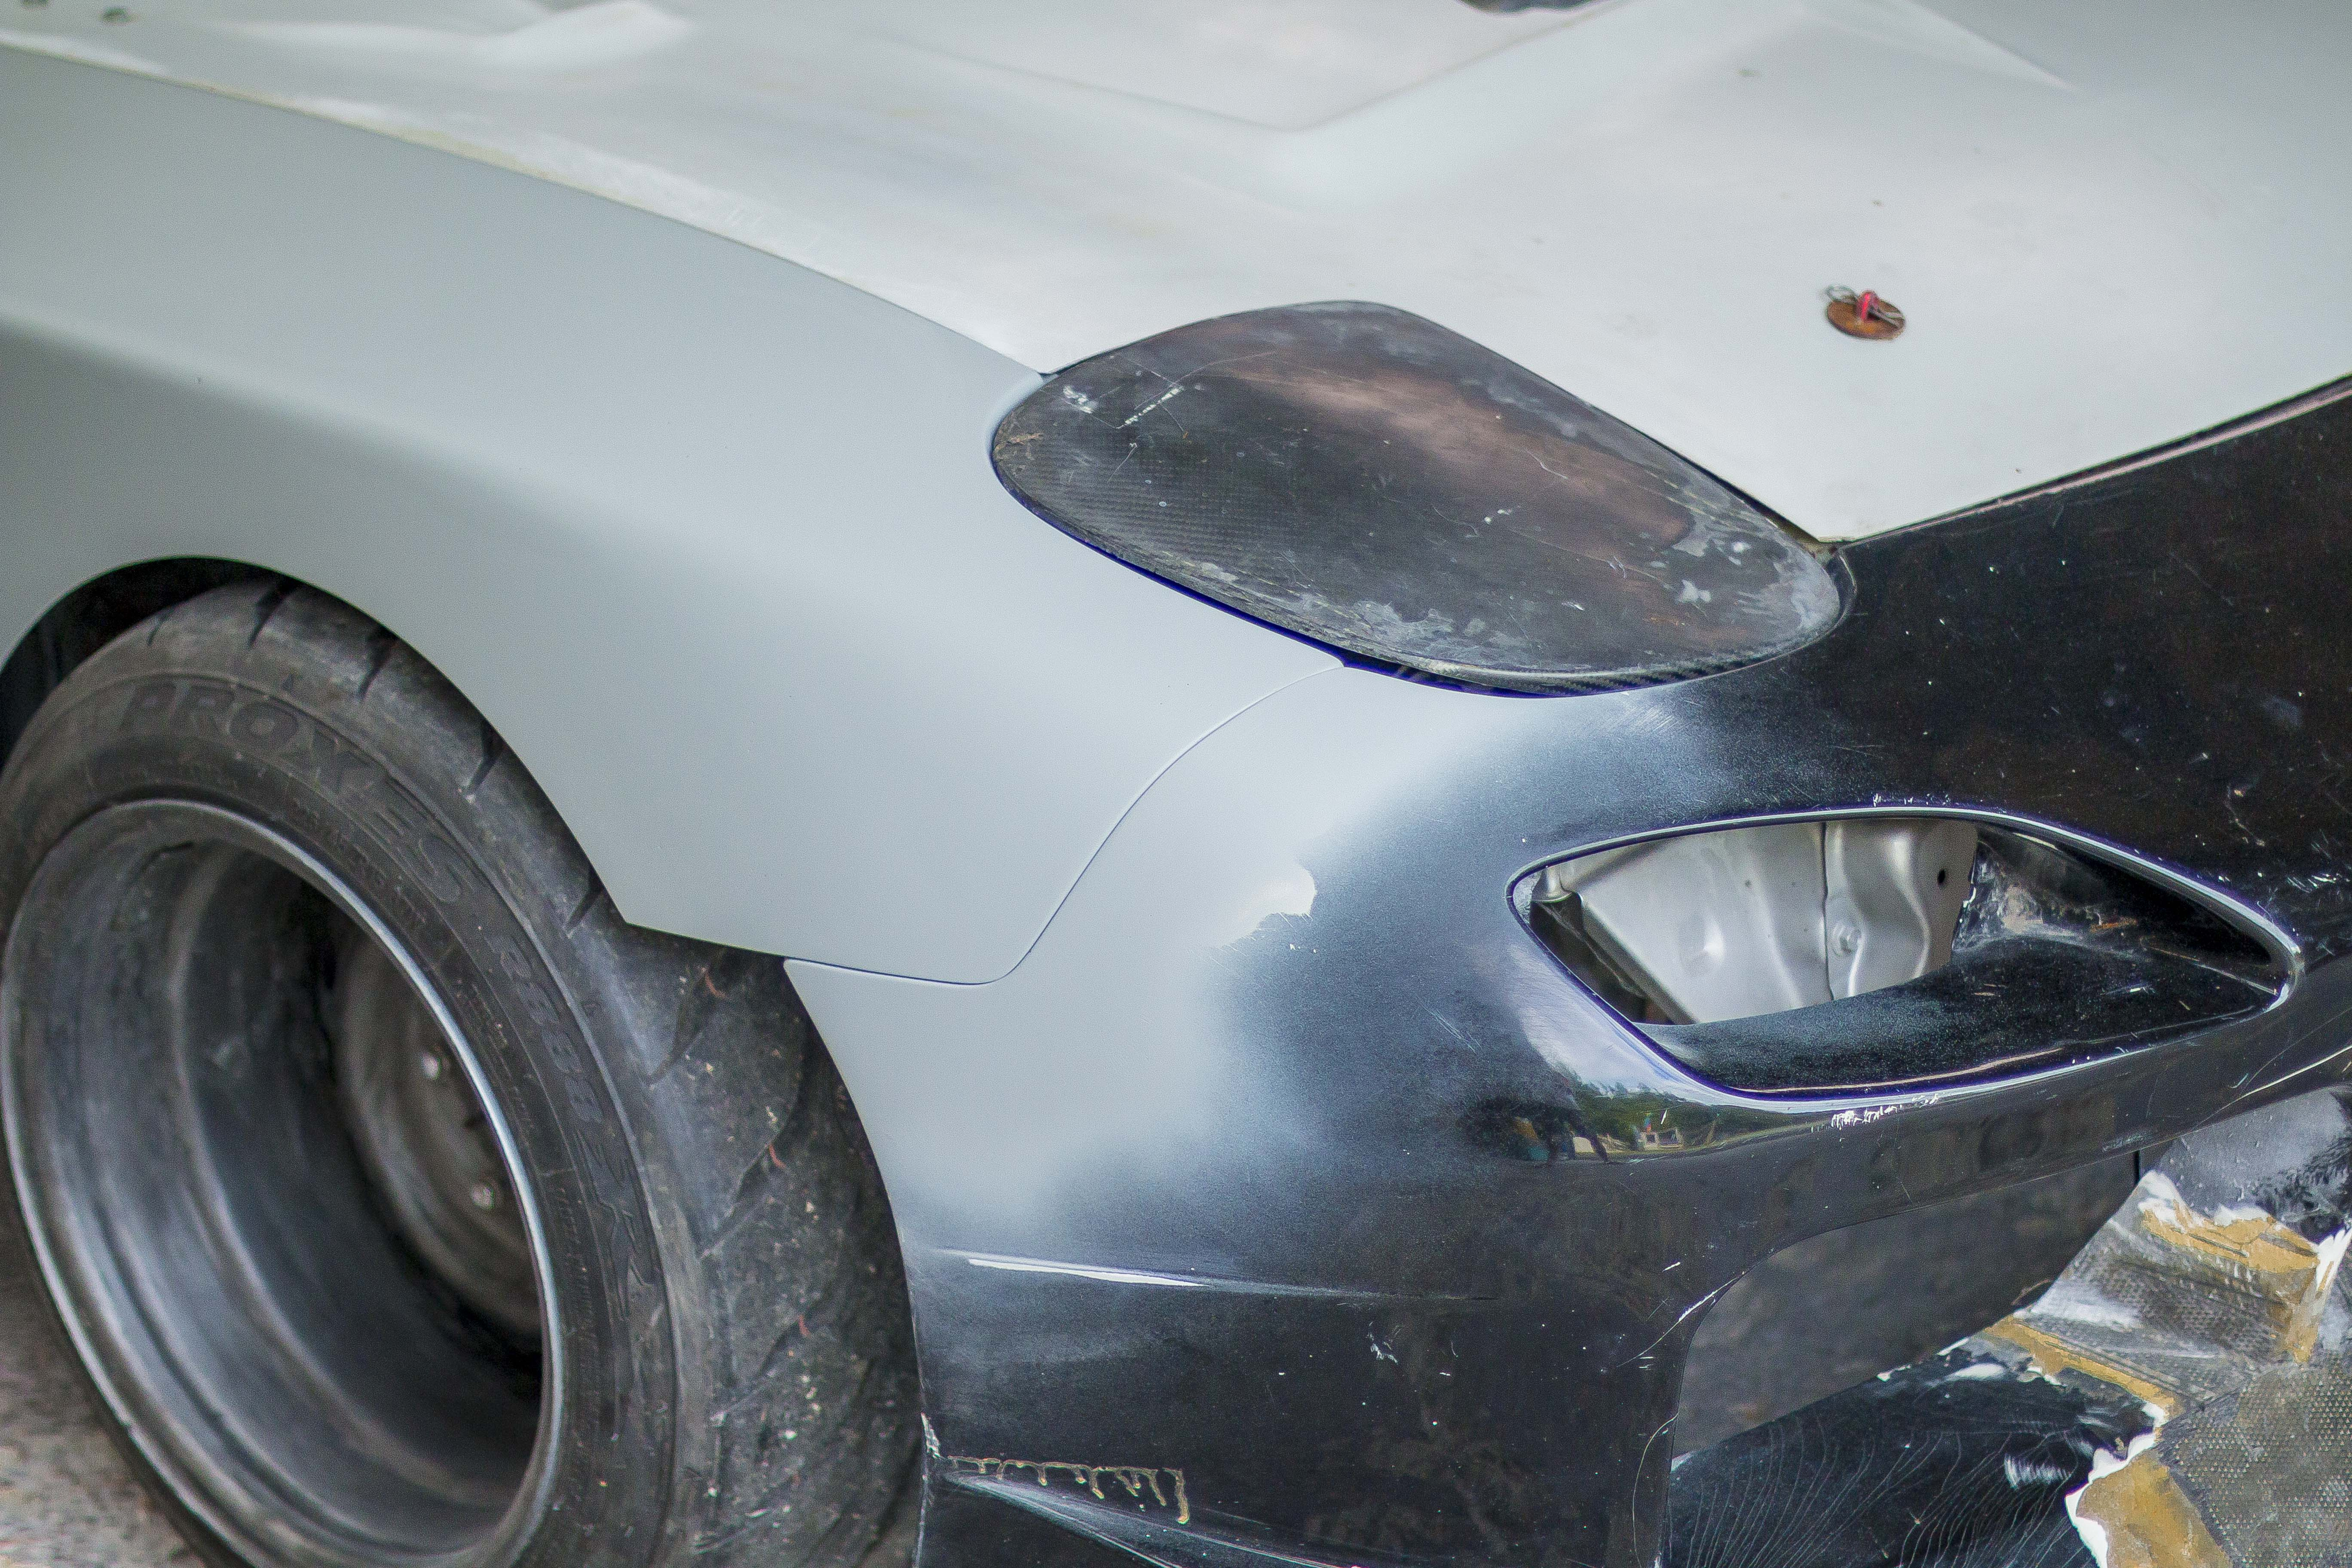
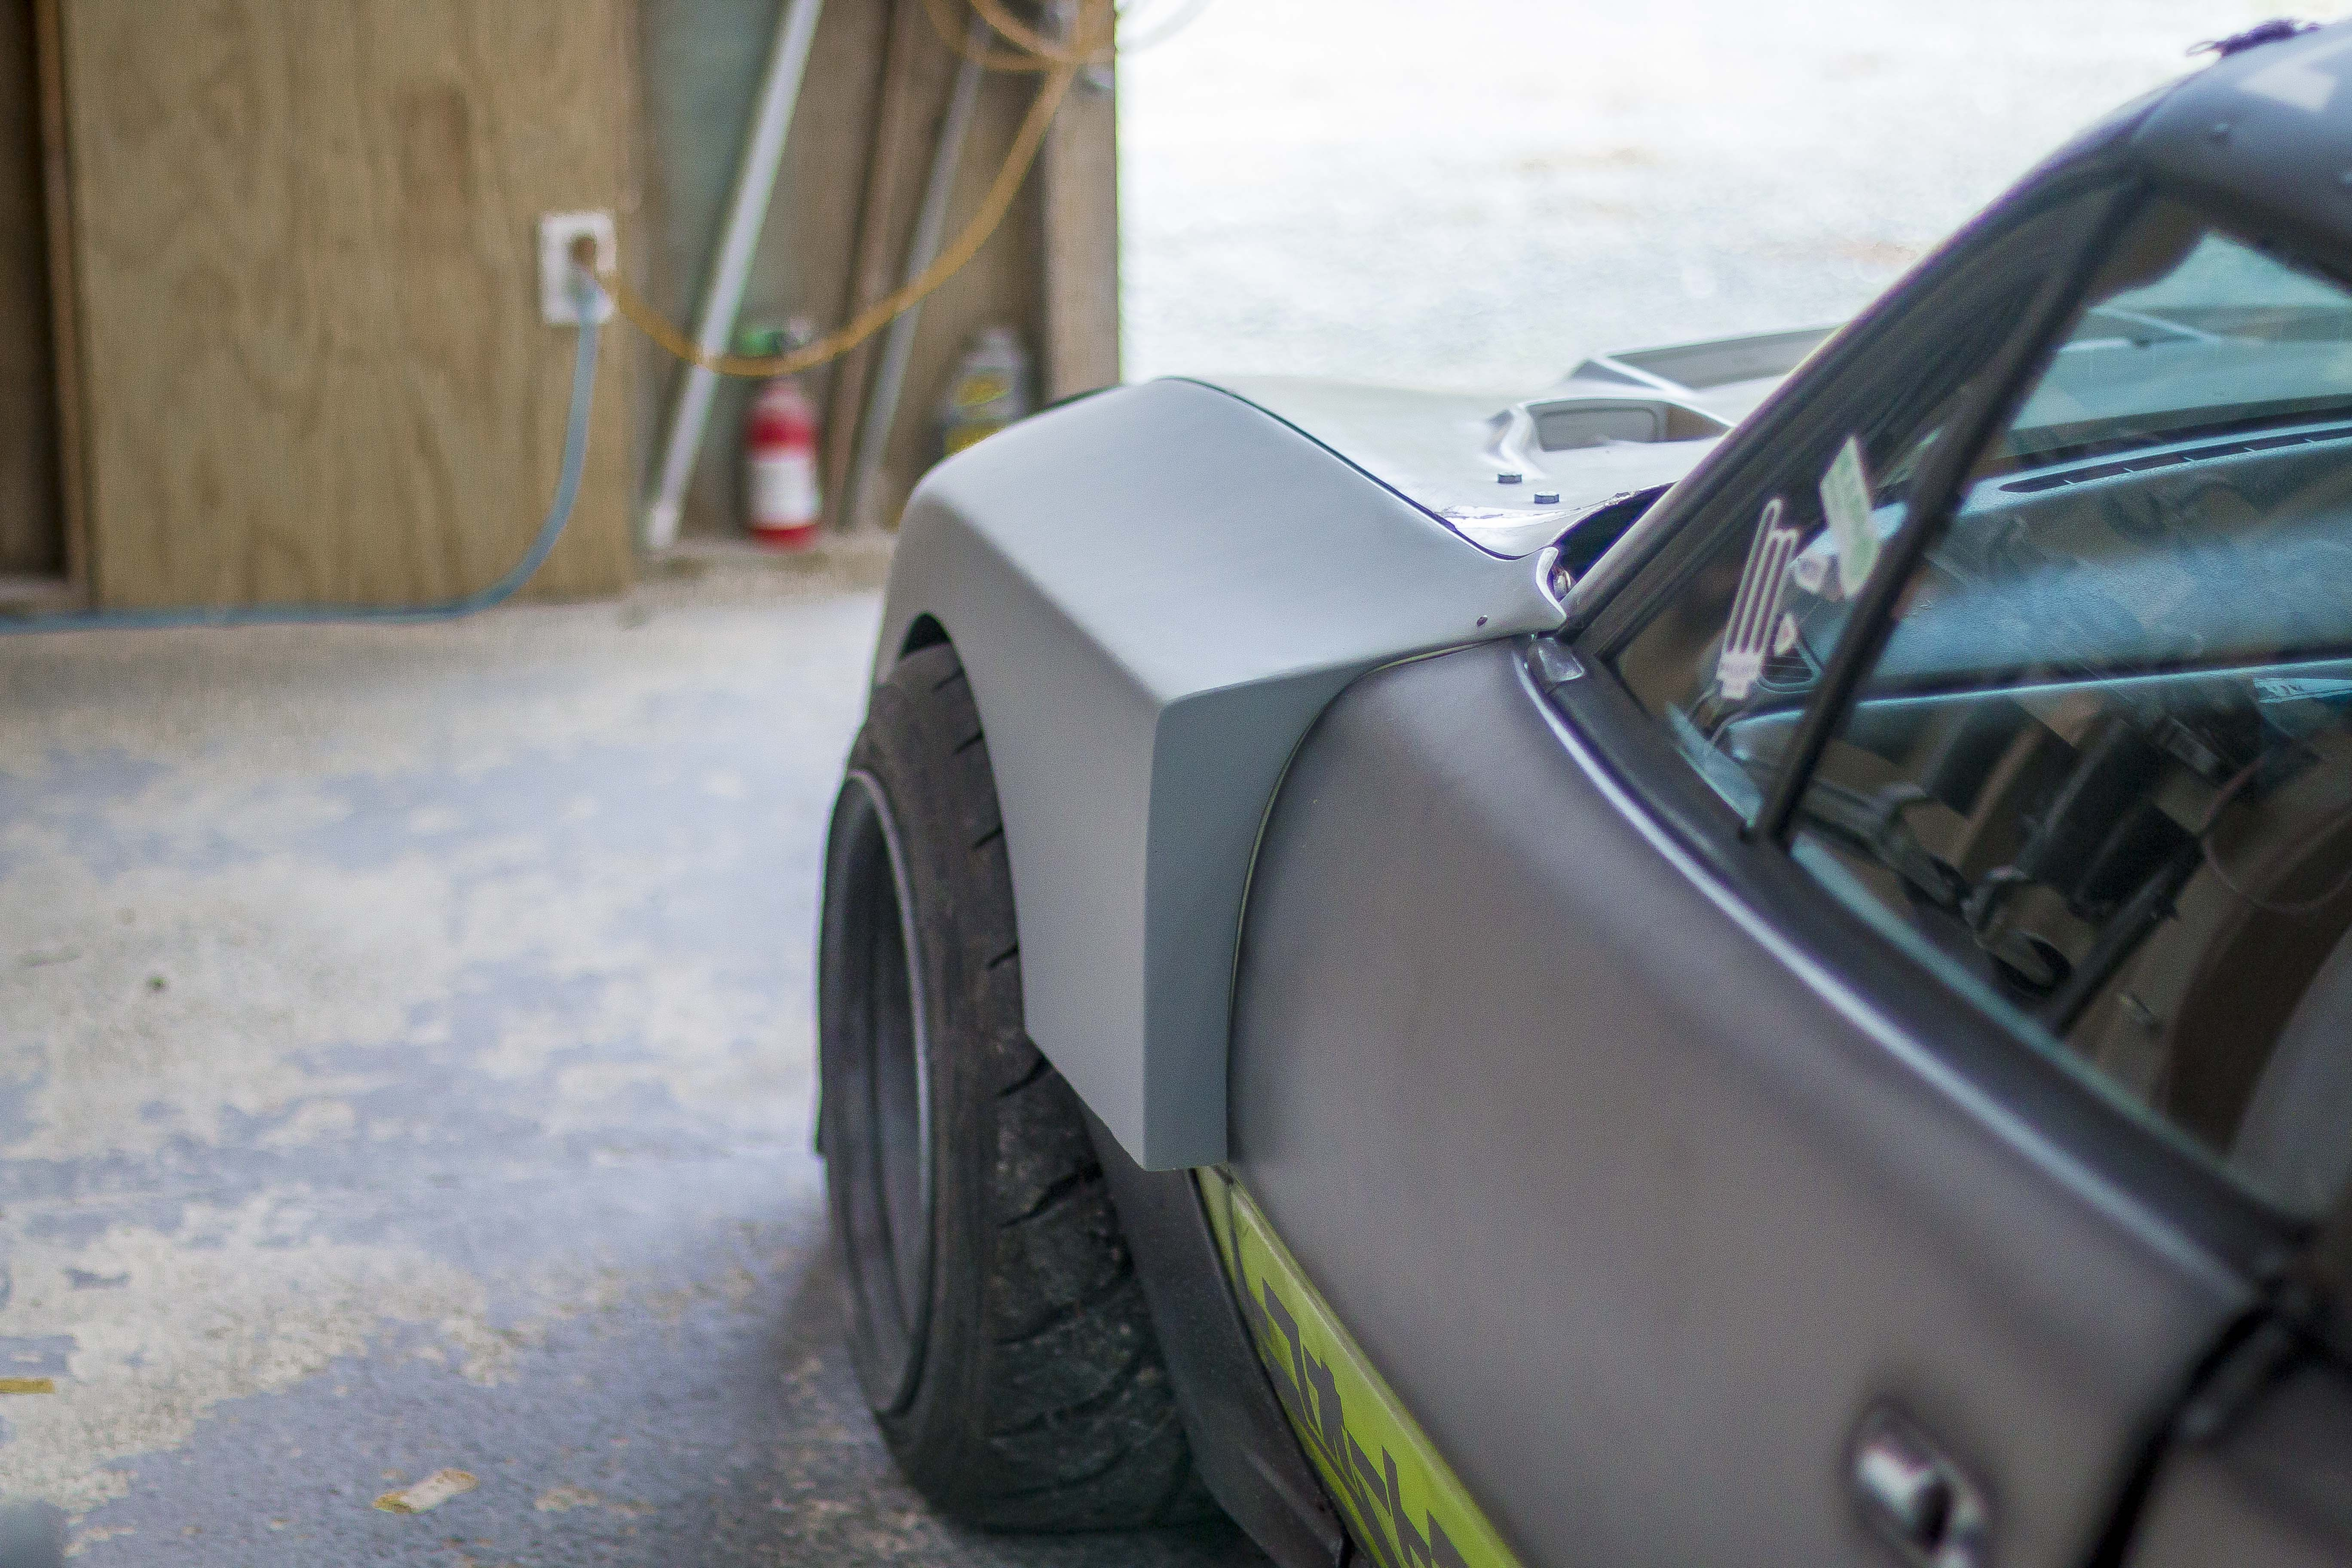
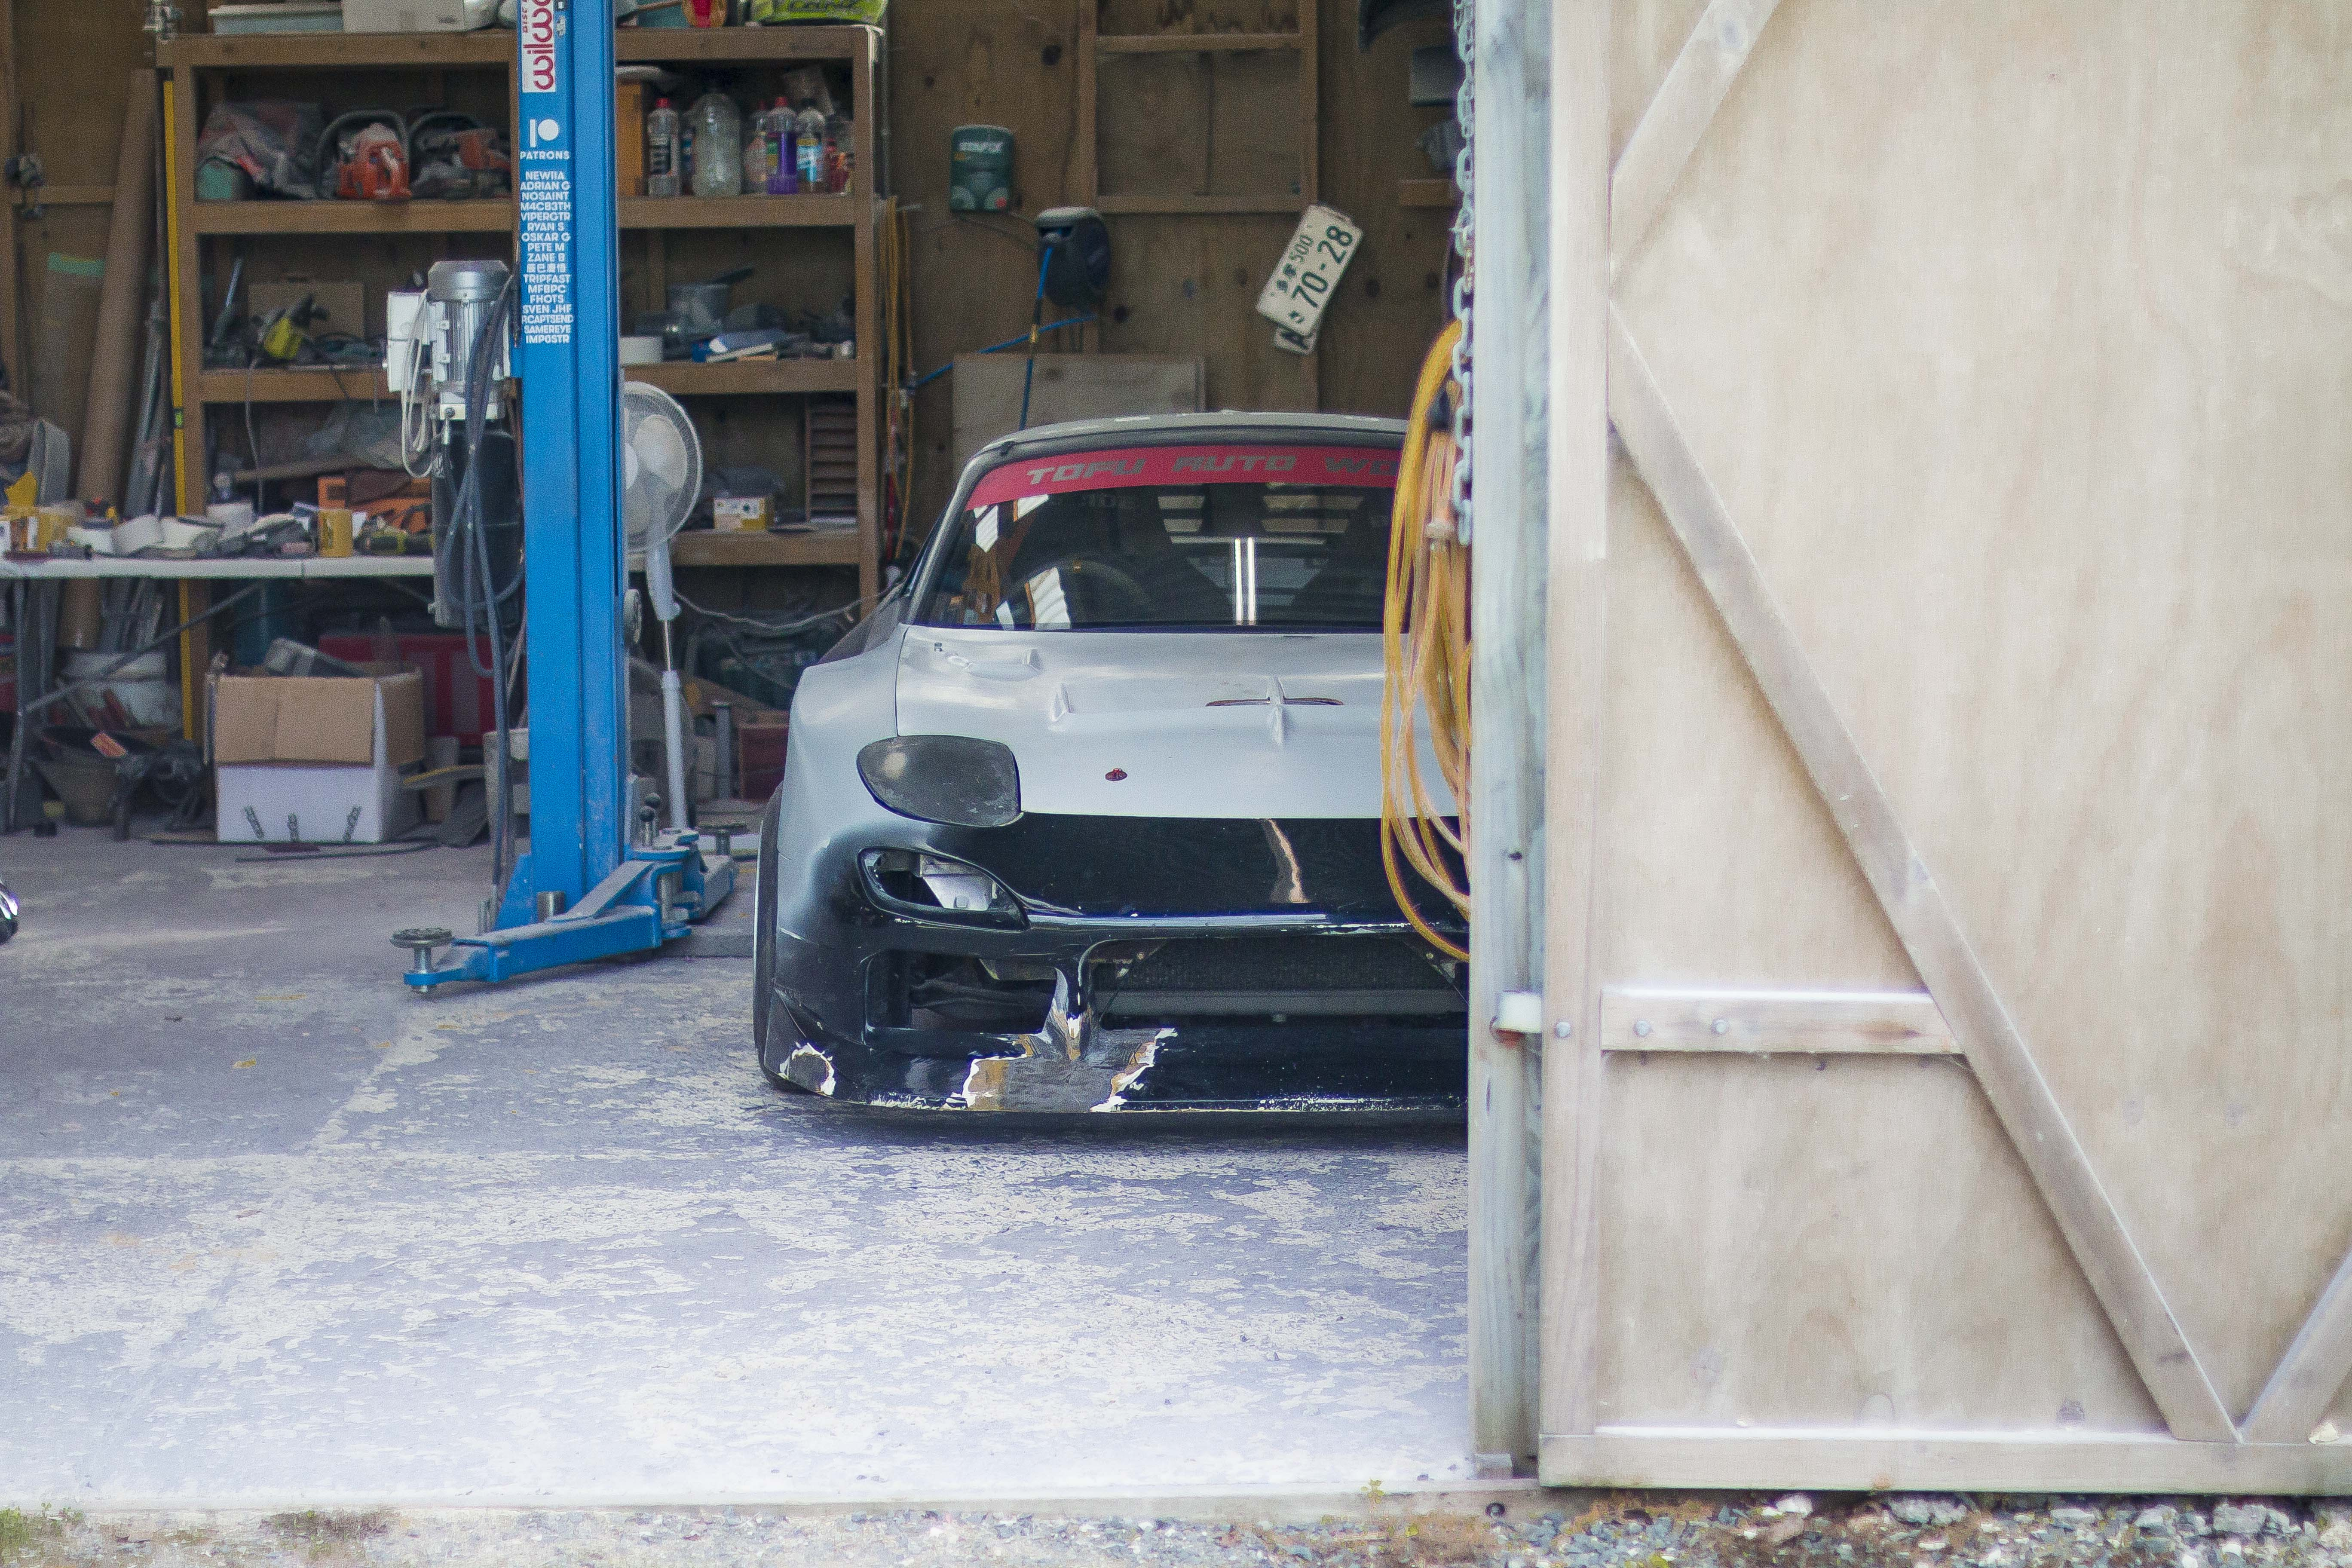
So once again, crazy amount of work the past couple weeks so forgive the delay, but catching up with last weeks episode, we got all the body filler sanded on the fenders down to 240 grit and then gave it a light coat of primer as an inspection pass.
You'll see I also threw together the vents for the tops of the fenders. I still haven't cut out the actual slots in these or any of the vents because I'm still tossing up placements and if I even want them so I'm not going to spend time on something I might not use.
Overall I couldn't really be happier with how at least these parts of the fenders have come out. There's still a few decisions to make on vents both on top and on the bottom of the fender as I showed in that sketch.
I also played around a little bit with some funky lighting for more of that cyberpunk atmosphere.
So that's us all up to date with the current video. Not really that much for me to say about the process, after cutting and repairing the fiberglass, this was all pretty straight forward. But now to address the image in the title, we're moving on to the topic of the next video and a very cool step in this build, 3D scanning and actual real CAD. Not with cardboard, with a mouse and keyboard.
I'll go into detail on this in the video, but I've got a 3D scanner now, and I've been figuring out how to use it the past couple months. (This is actually the scanner I used to copy that Stagea fender mould.) But for this project I needed to scan the front of the car so that I could visually test a few ideas before committing to them. We've talked about gamechangers before over here, but boy lemme tell ya, game changer.One of the unspoken things a lot of car builders hate is the amount of time we've put into making something only to realize once it's done that we don't even like it or that it needs to be tilted or shifted slightly. It sucks. And so a huge improvement to that is being able to mock things up virtually and if you want to move something it's just a couple mouse clicks instead of 2 weeks of sanding.
What I'm using the scan for is to test layout and design of some of the cyberpunk greebles that I'll be scattering around this car.
For anyone unfamiliar, greeble is a modelmaking term and it basically just means taking random parts out of kit set models and pasting them on your own scratch built one for extra detail. All the set design in blade runner, star wars, basically anything sci fi that uses scale miniatures will have a bunch of these greebles scattered around, things like tank hatches, gear shifters, roll cages, hub caps etc.... Just random things that you make up some purpose for.
So much of this car is about balance and proportions of certain items to others and making sure there's the right amount of asymmetry, empty space, heavy detail etc... It's a lot to try and work out purely inside your own head and so now that I'm able to mock things up in CAD and actually use that to make final designs is an unbelievable time saver.I had this idea for a light bar and in my head it's sort of like when you have a dream and you can picture it perfectly, but you cant describe or draw it. I put a couple ideas down but it ended up being trickier than I though so I shifted my focus to these 2 completely unnecessary greebles for the front. After figuring out the scale and design I printed off the moulds for each side so that they could be reproduced in fiberglass.
The quality on these prints was pretty rough, I didn't have the time to print them off in a finer resolution or with a better orientation so I just went for the quickest I could get away with. To fill in some of the print lines I gave them a super quick sand with 120 to key the surface and the sprayed them with a thick coat of filler primer. I then spent a little more time sanding that primer down to clear out most of the print lines and then sprayed a coat of polyurethane varnish on top.
The goal of the varnish was just to give a nice glossy finish that would mean the part releases nicely from the mould. After the varnish had cured I put down a layer of wax, followed by PVA and then just for safety I did one more coat of wax on top of that.
Then it was just the usual fiberglass process. Gelcoat in the evening, come back the next morning and put down the 225, followed by 2 layers of 450. I once again used this to experiment with doing all layers of glass at once so that I could trim the edges with a knife while it was still partially cured to save me a lot of angle grinder time.
The part came out of the mould absolutely fine, and honestly that mould held up pretty well so I could probably make a few of these if I wanted, even though I did completely forget that the moulds were PLA when I left them out in the scorching sun to bake the filler primer. I knew the finish of the parts would be pretty average and take a bit of sanding which is why I didn't put that much effort into the mould. It also helps when you think about geometry and which is gonna be easier to sand. In this case the parts themselves were way easier to sand than the mould so that's why I left most of the sanding for then. But after that (and with a quick coat of prepsol for a glossy finish to check) I was rewarded with a super cool... thing.
Again, these things are purely cosmetic and I've got vague ideas of what they could be for in the lore I'm building for this thing in my head. But I'd actually be keen to see what ideas everyone else has for what these could be. That's all for this update, the second side is currently curing overnight and I'll attempt to pop it out in the morning, hopefully all those sharp details dont snap off in the mould and it releases nicely.
Files