Home

 Creators
 Search
 Recent
 Random
 Posts
 DMs
 Tags
 Random
 Importer
 Import
 FAQ
 Account
 Register
 Login
 Favorites
 Keys
 Logout
 Telegram

I GOT SANDPAPER!! (also 3D printed some moulds) (Patreon)
Content
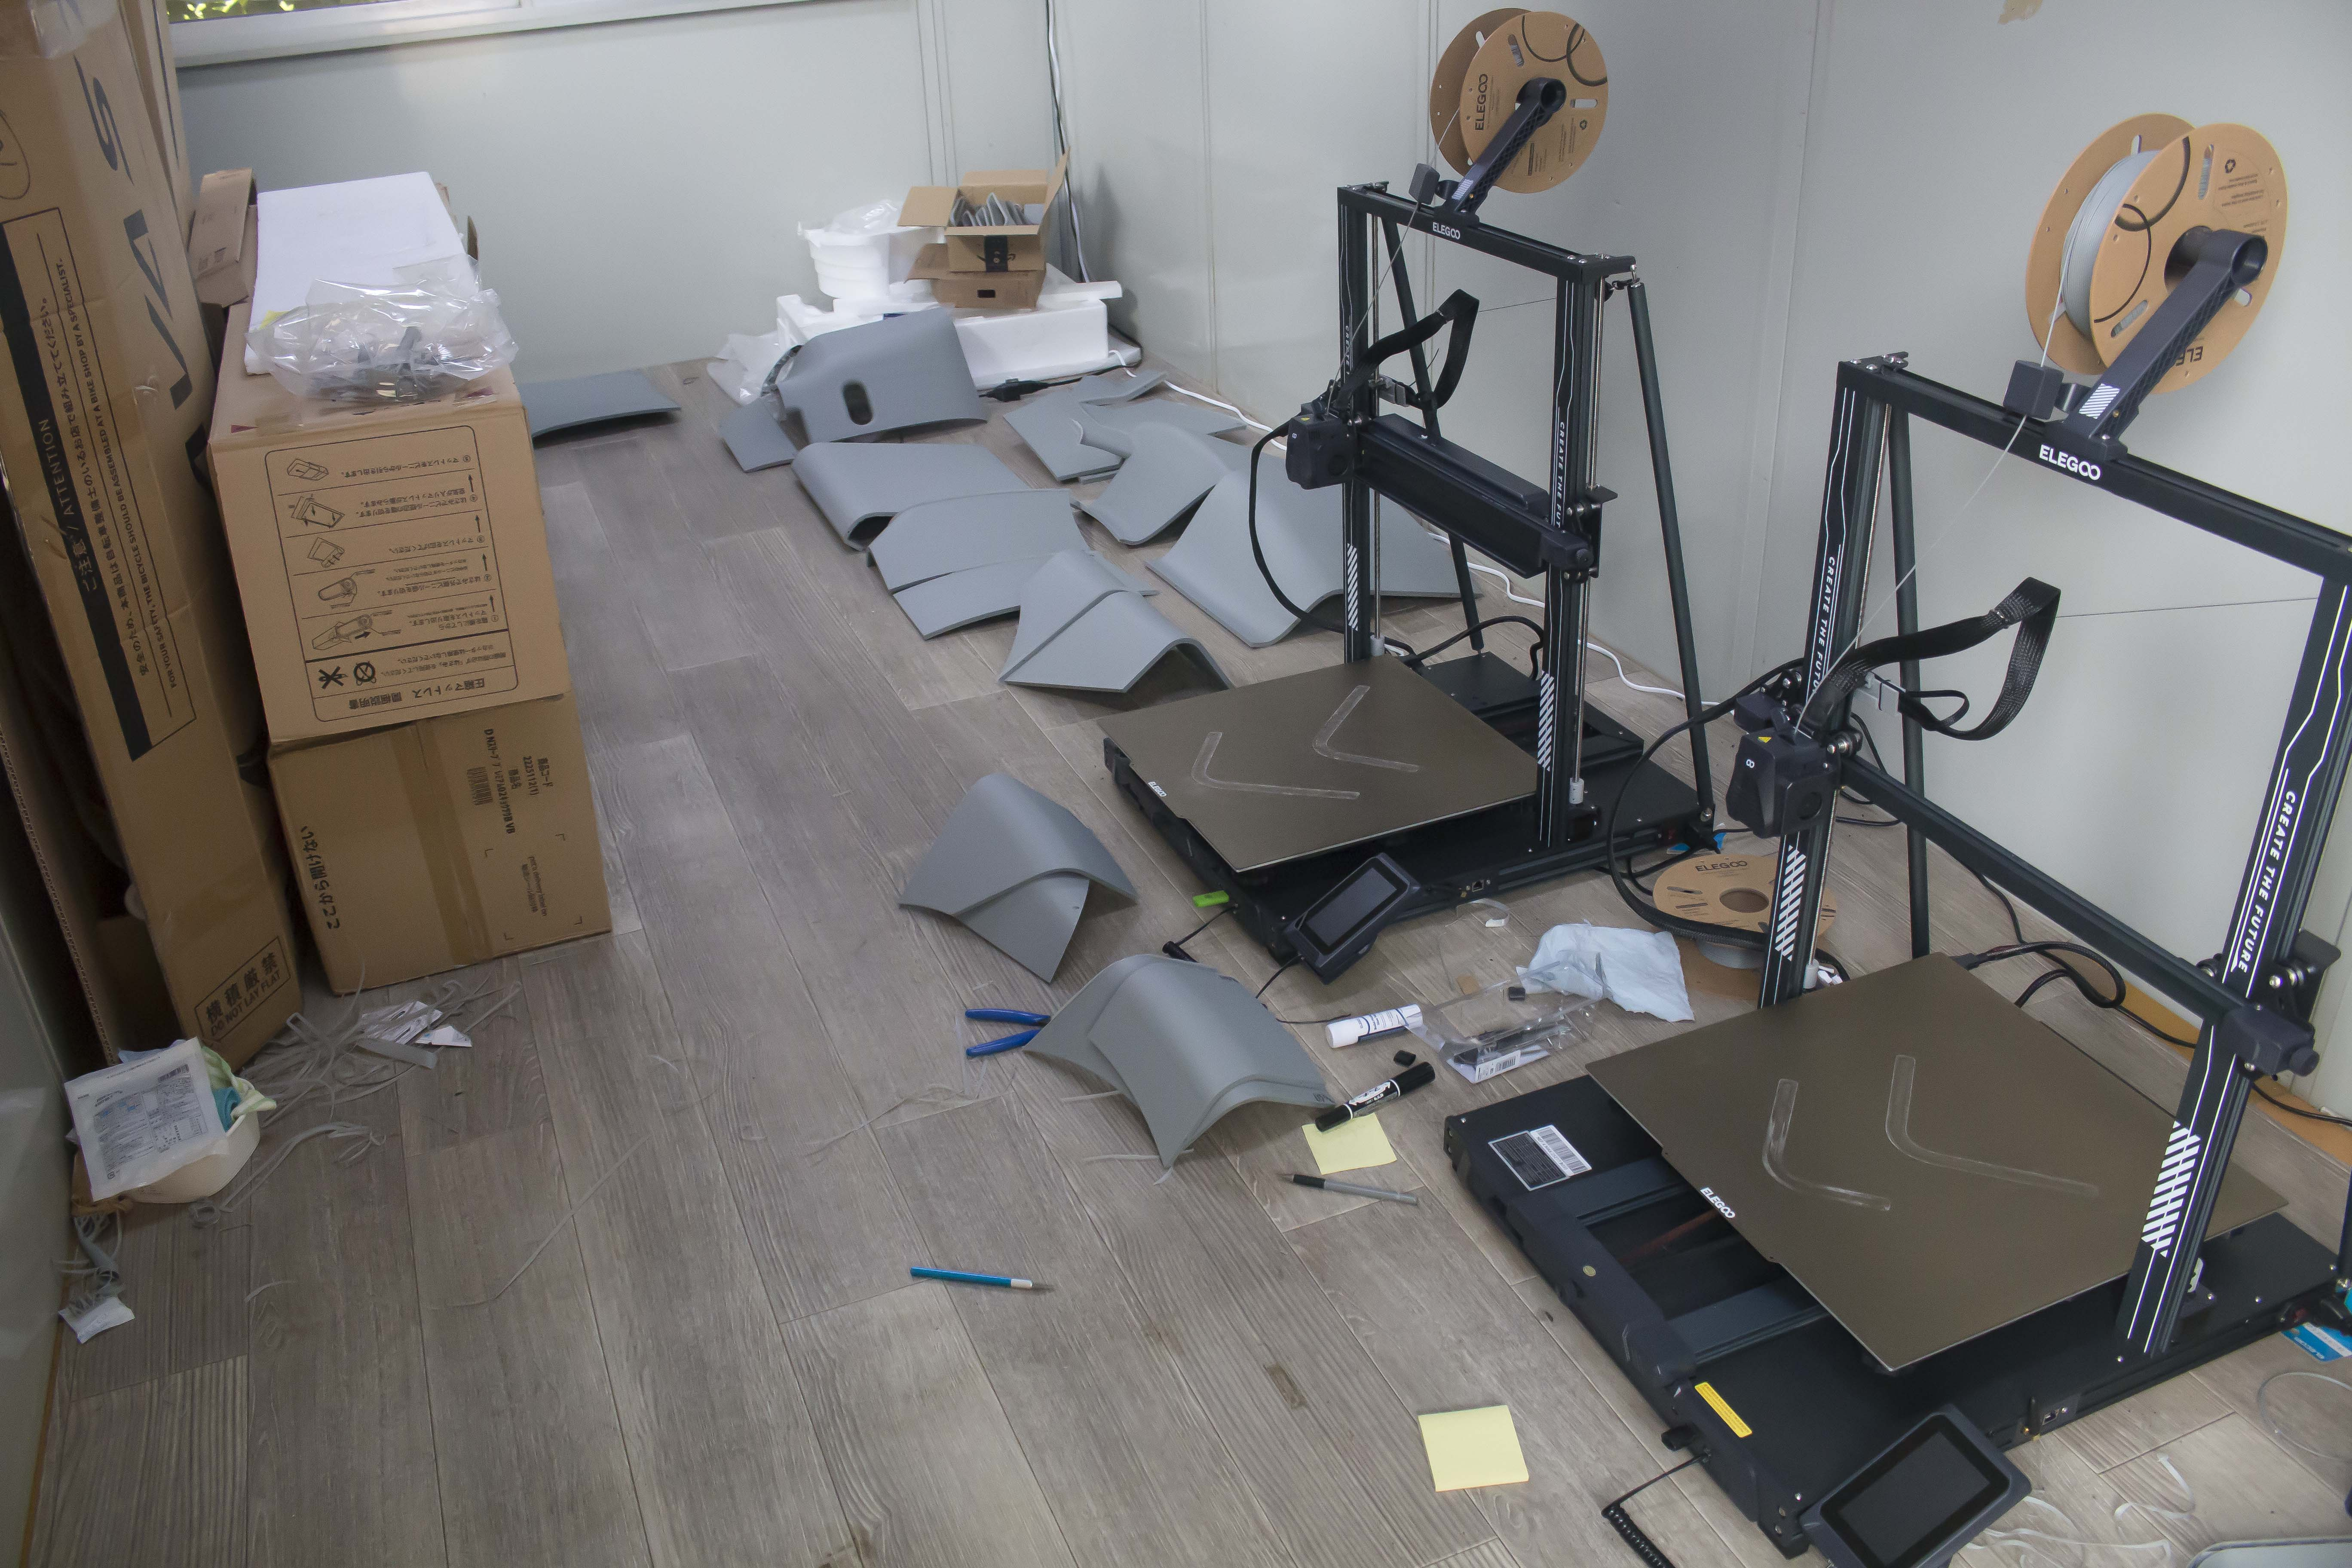
So in the last post we'd stripped down the car and I'd shown in the video me setting up the new 3D printers. So moving straight on from that I got stuck in and spent the past week and a half absolutely chewing through about 16 rolls of PLA + filament.
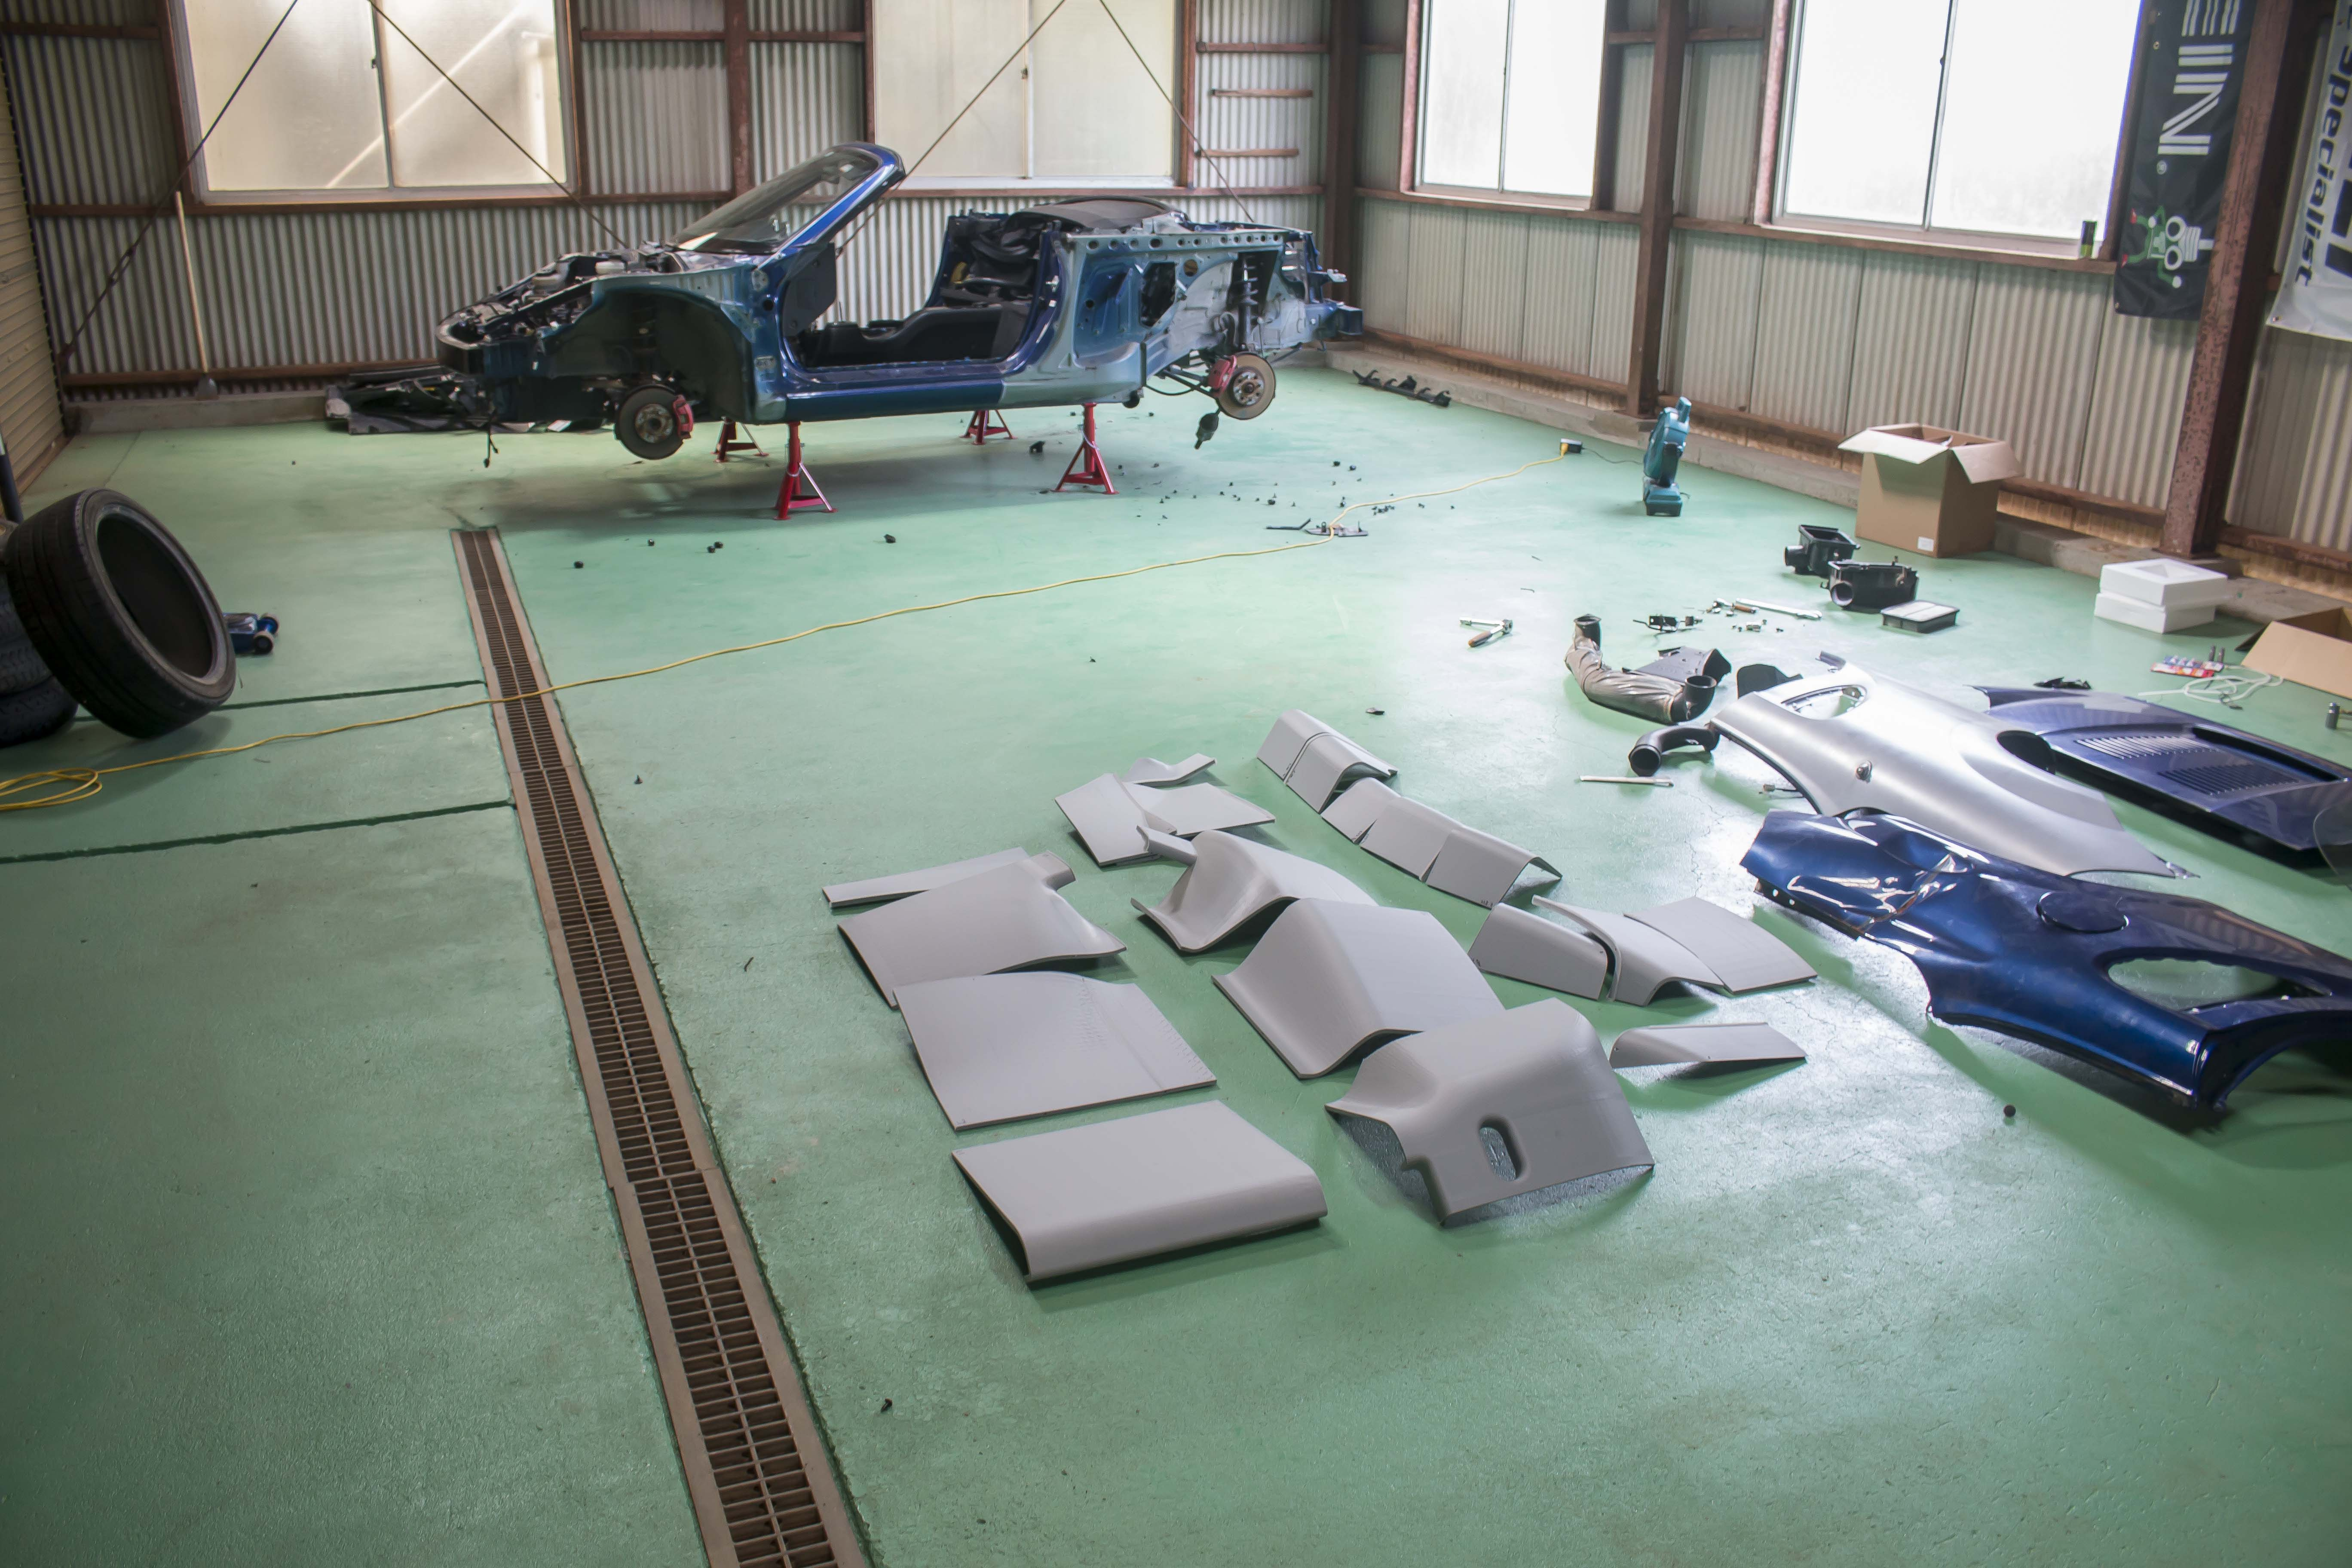
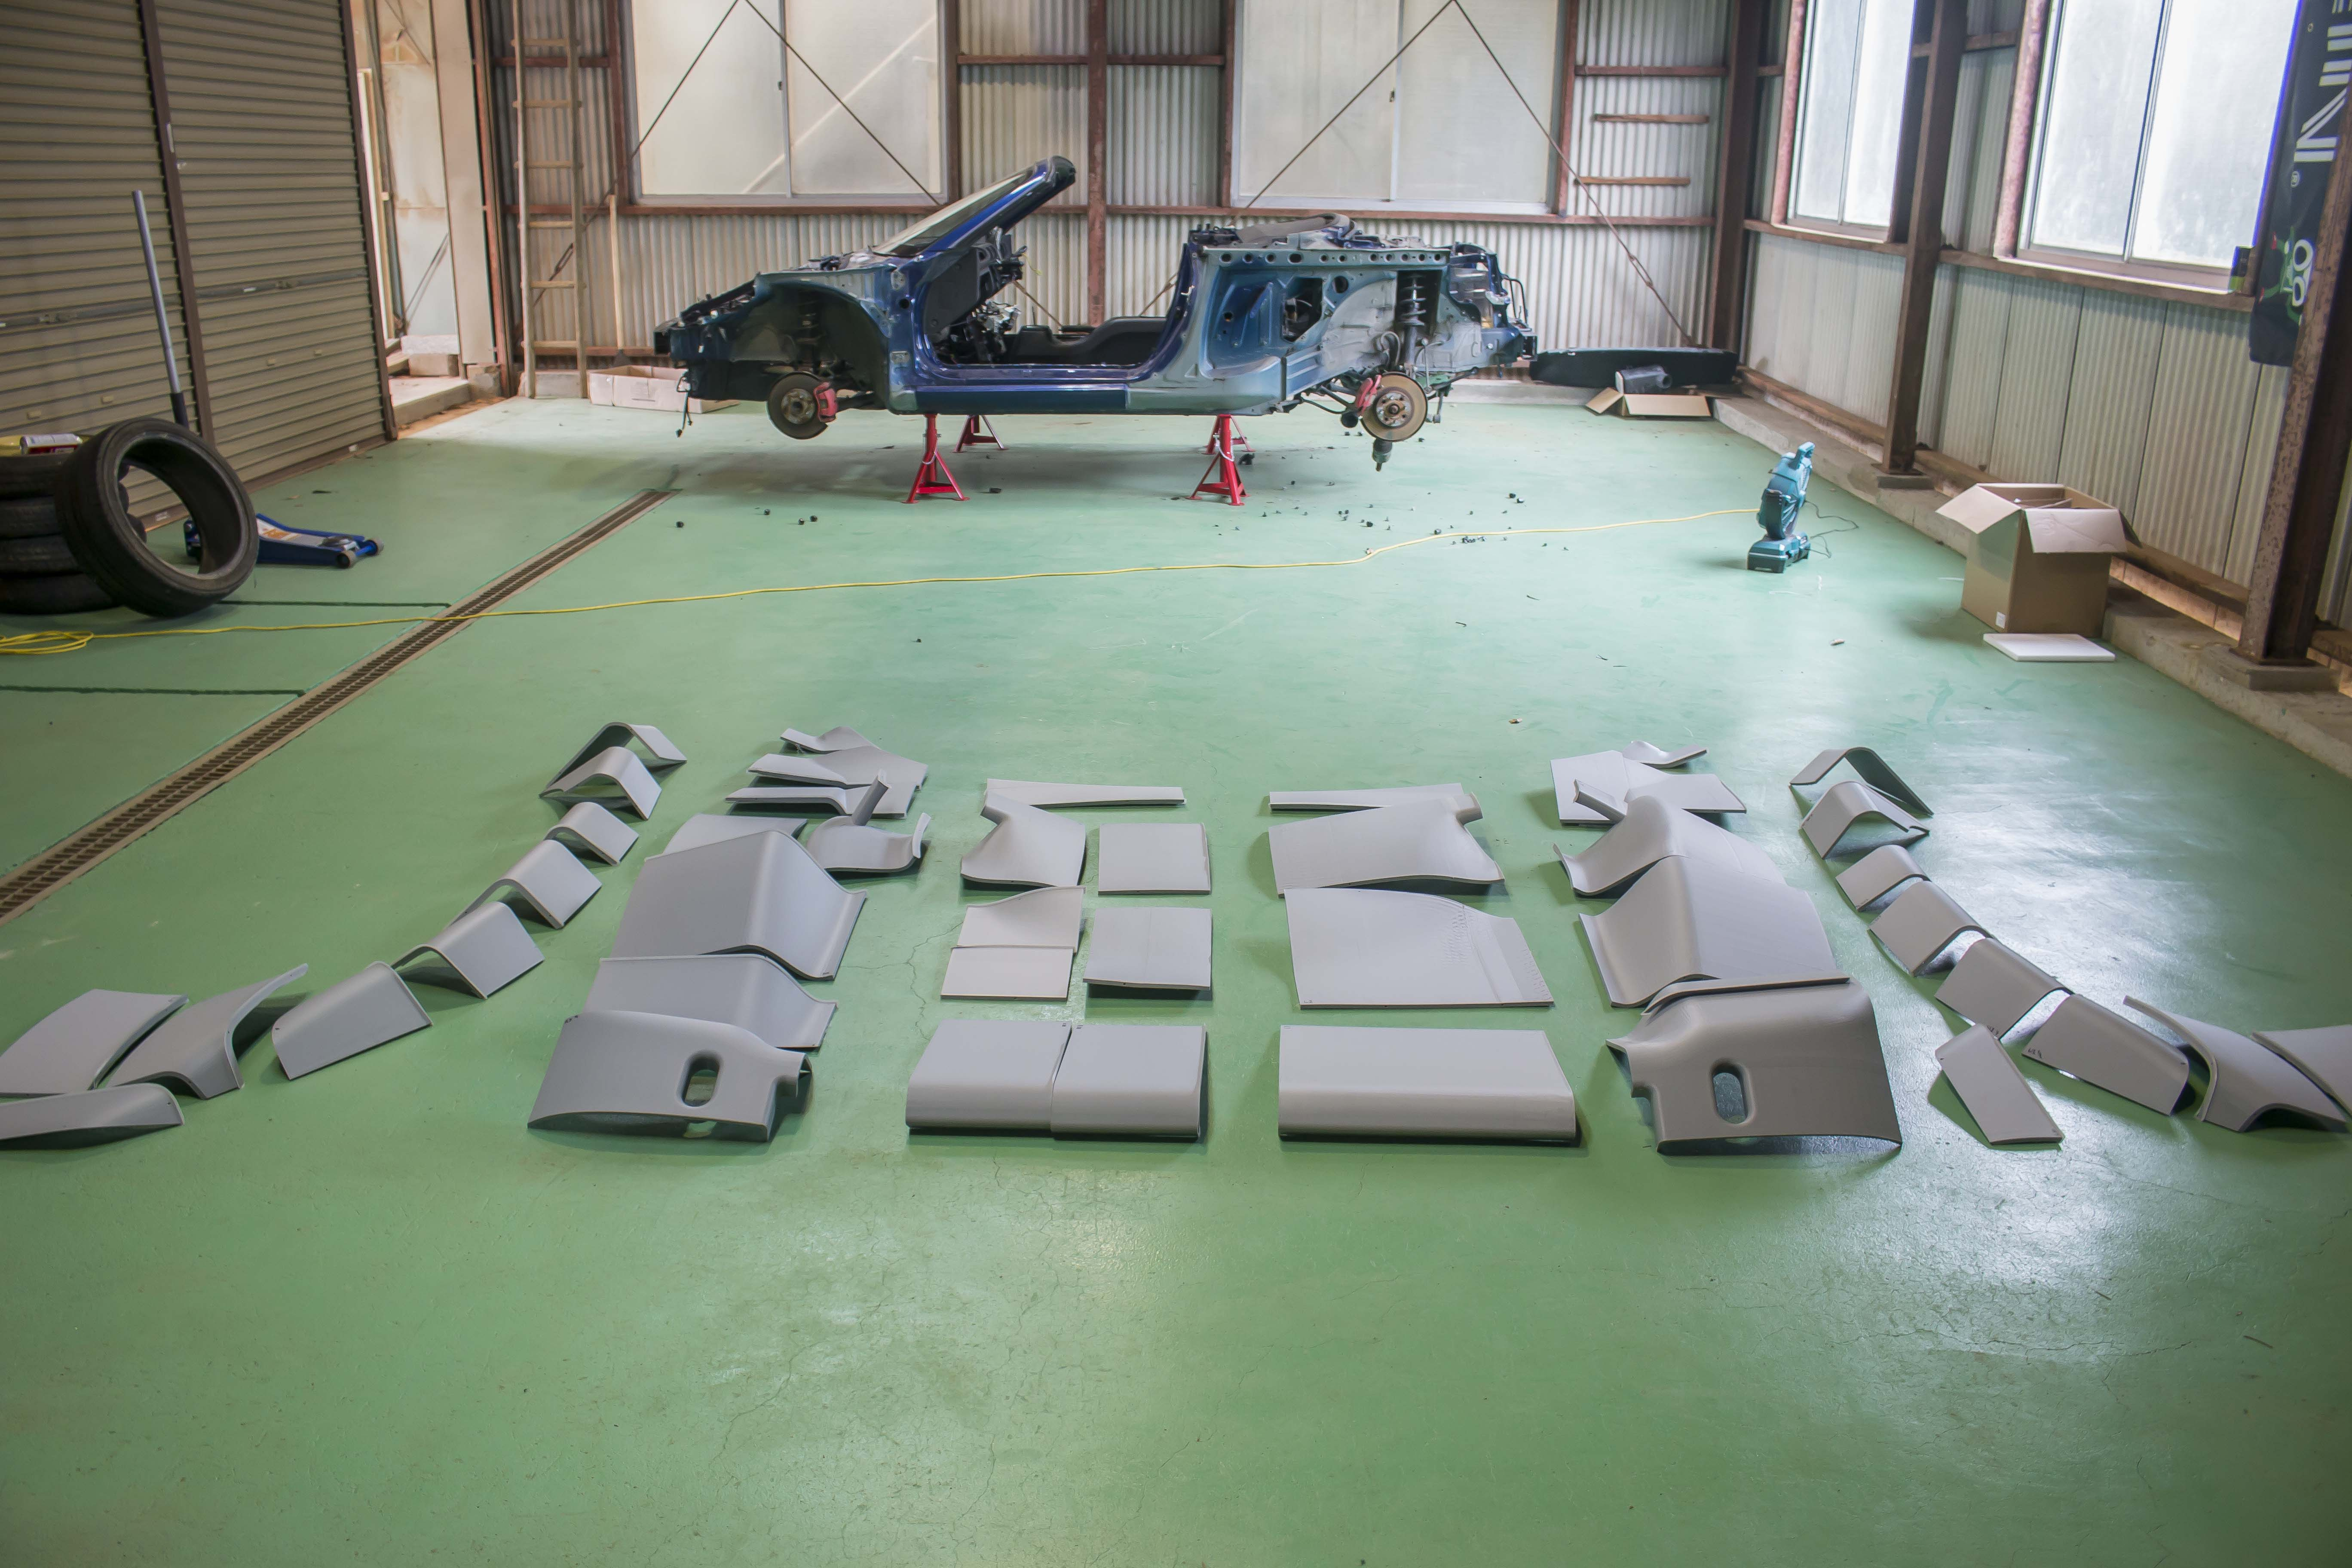
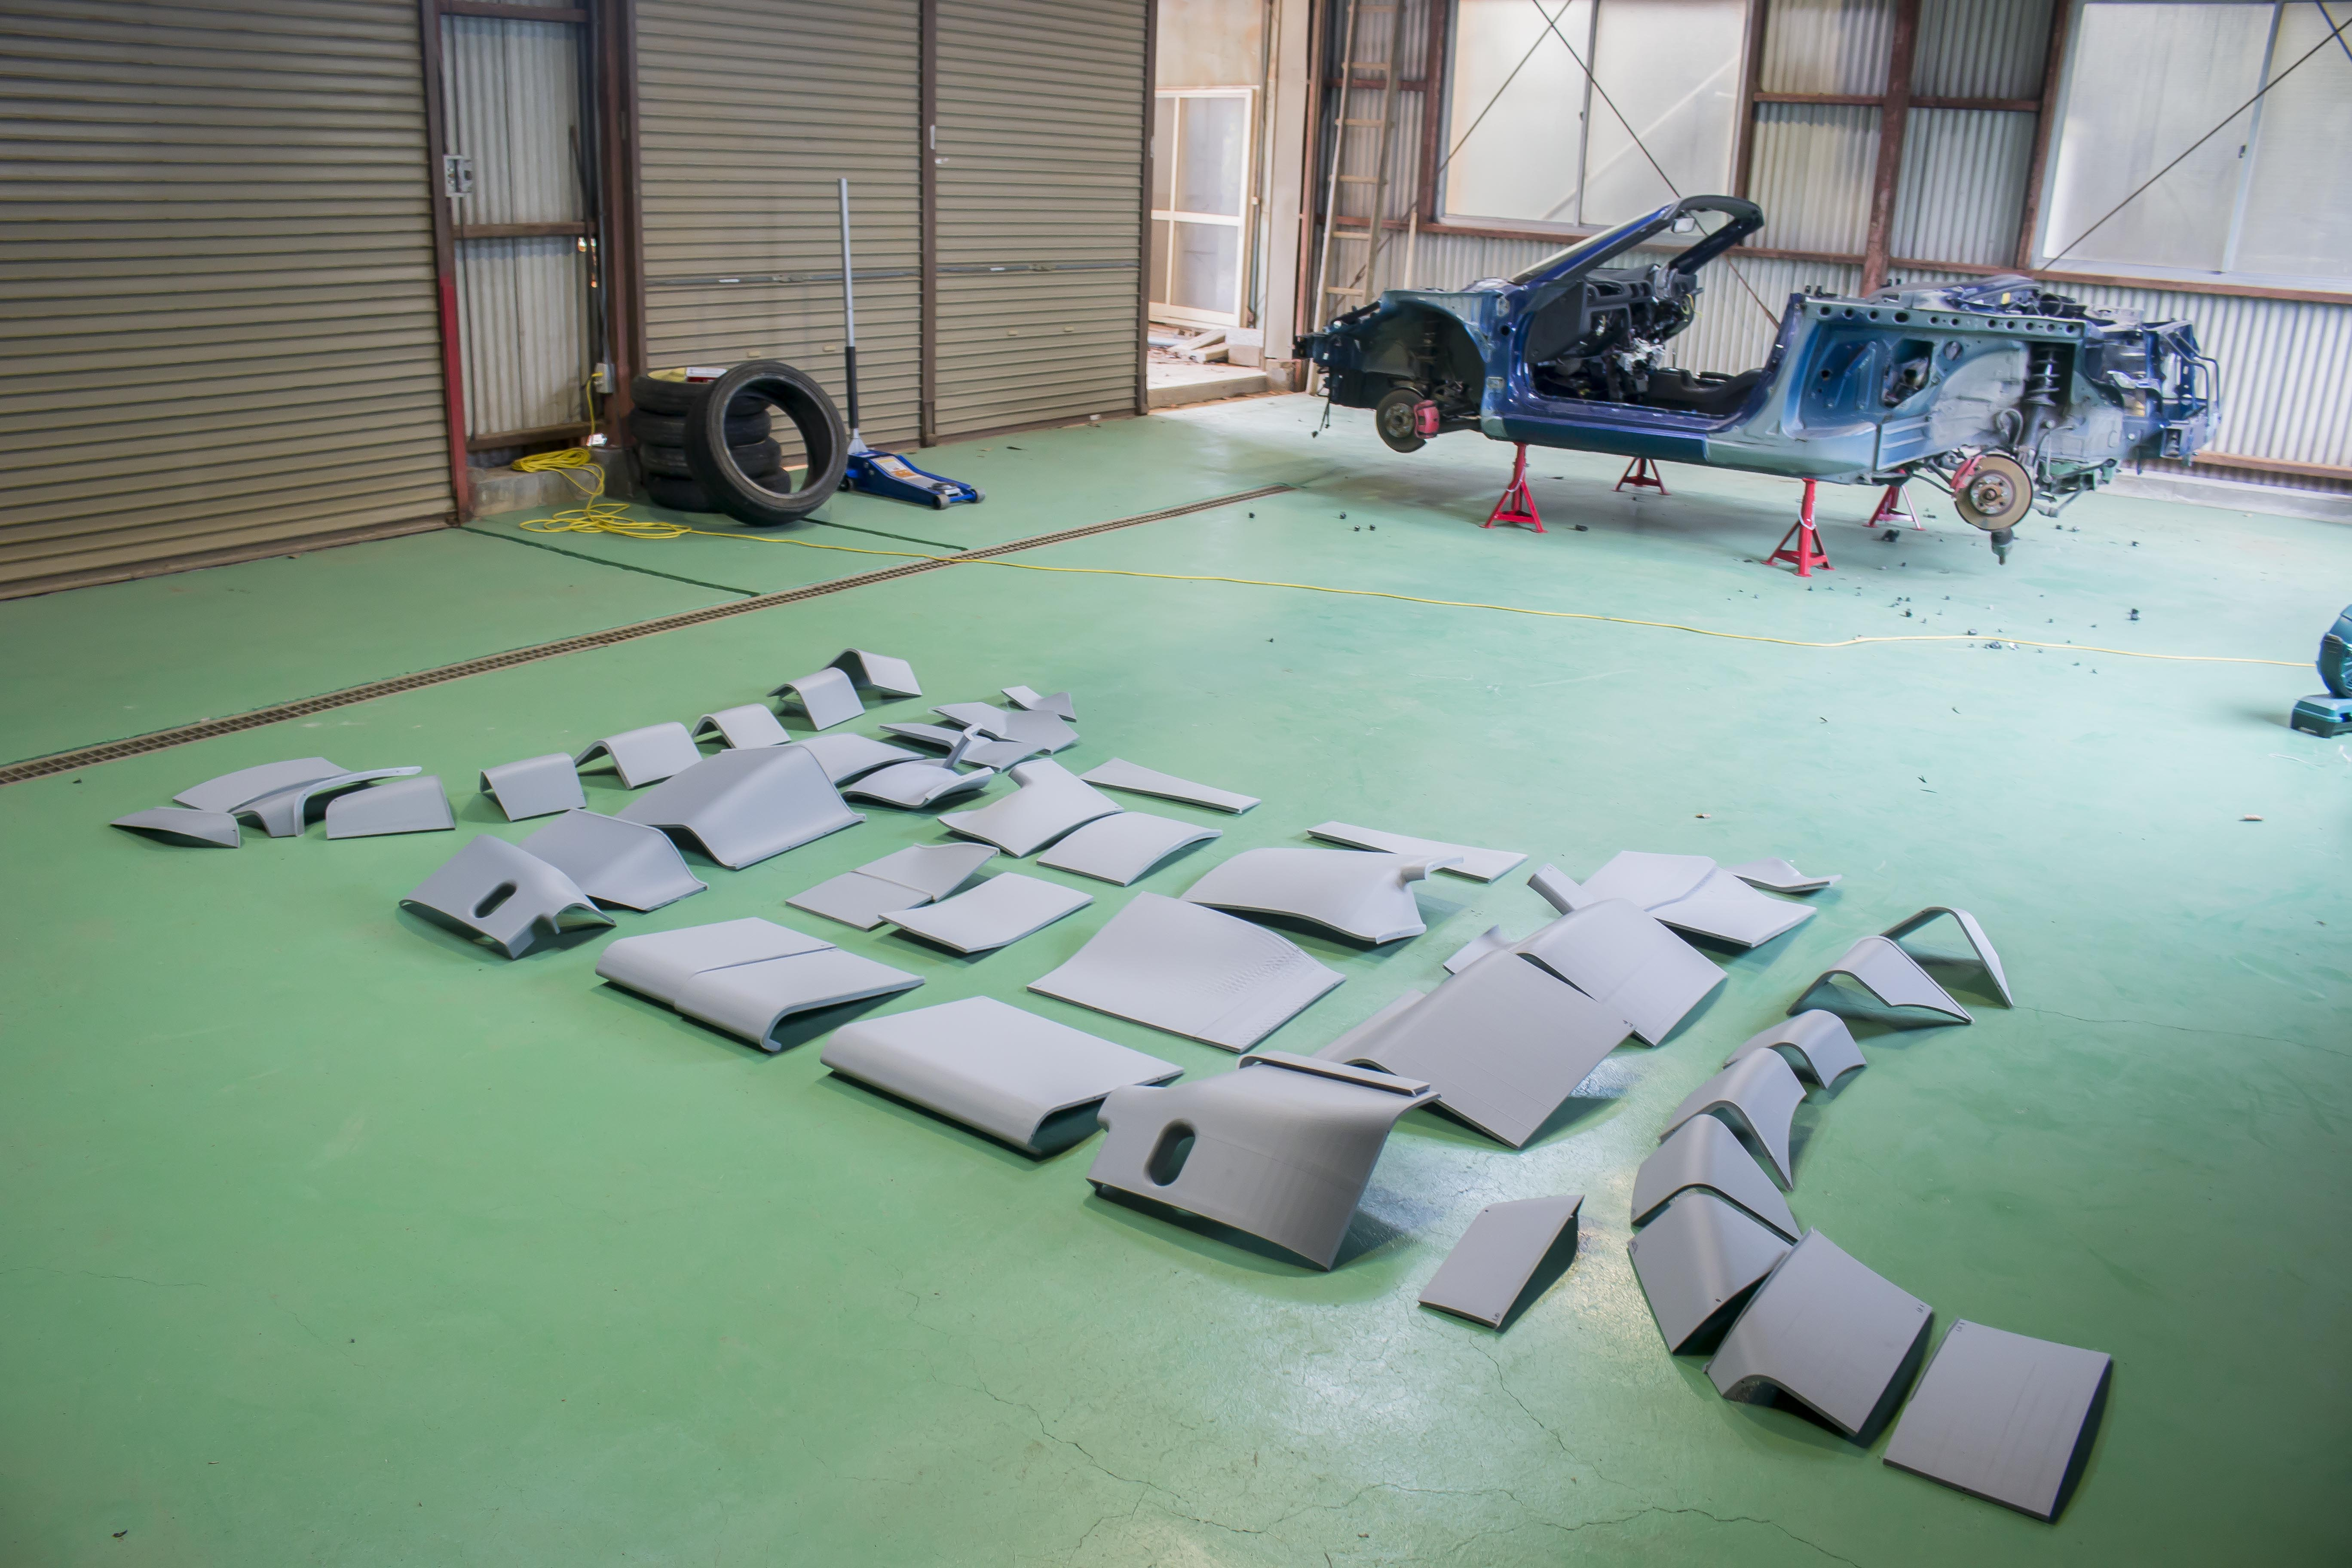
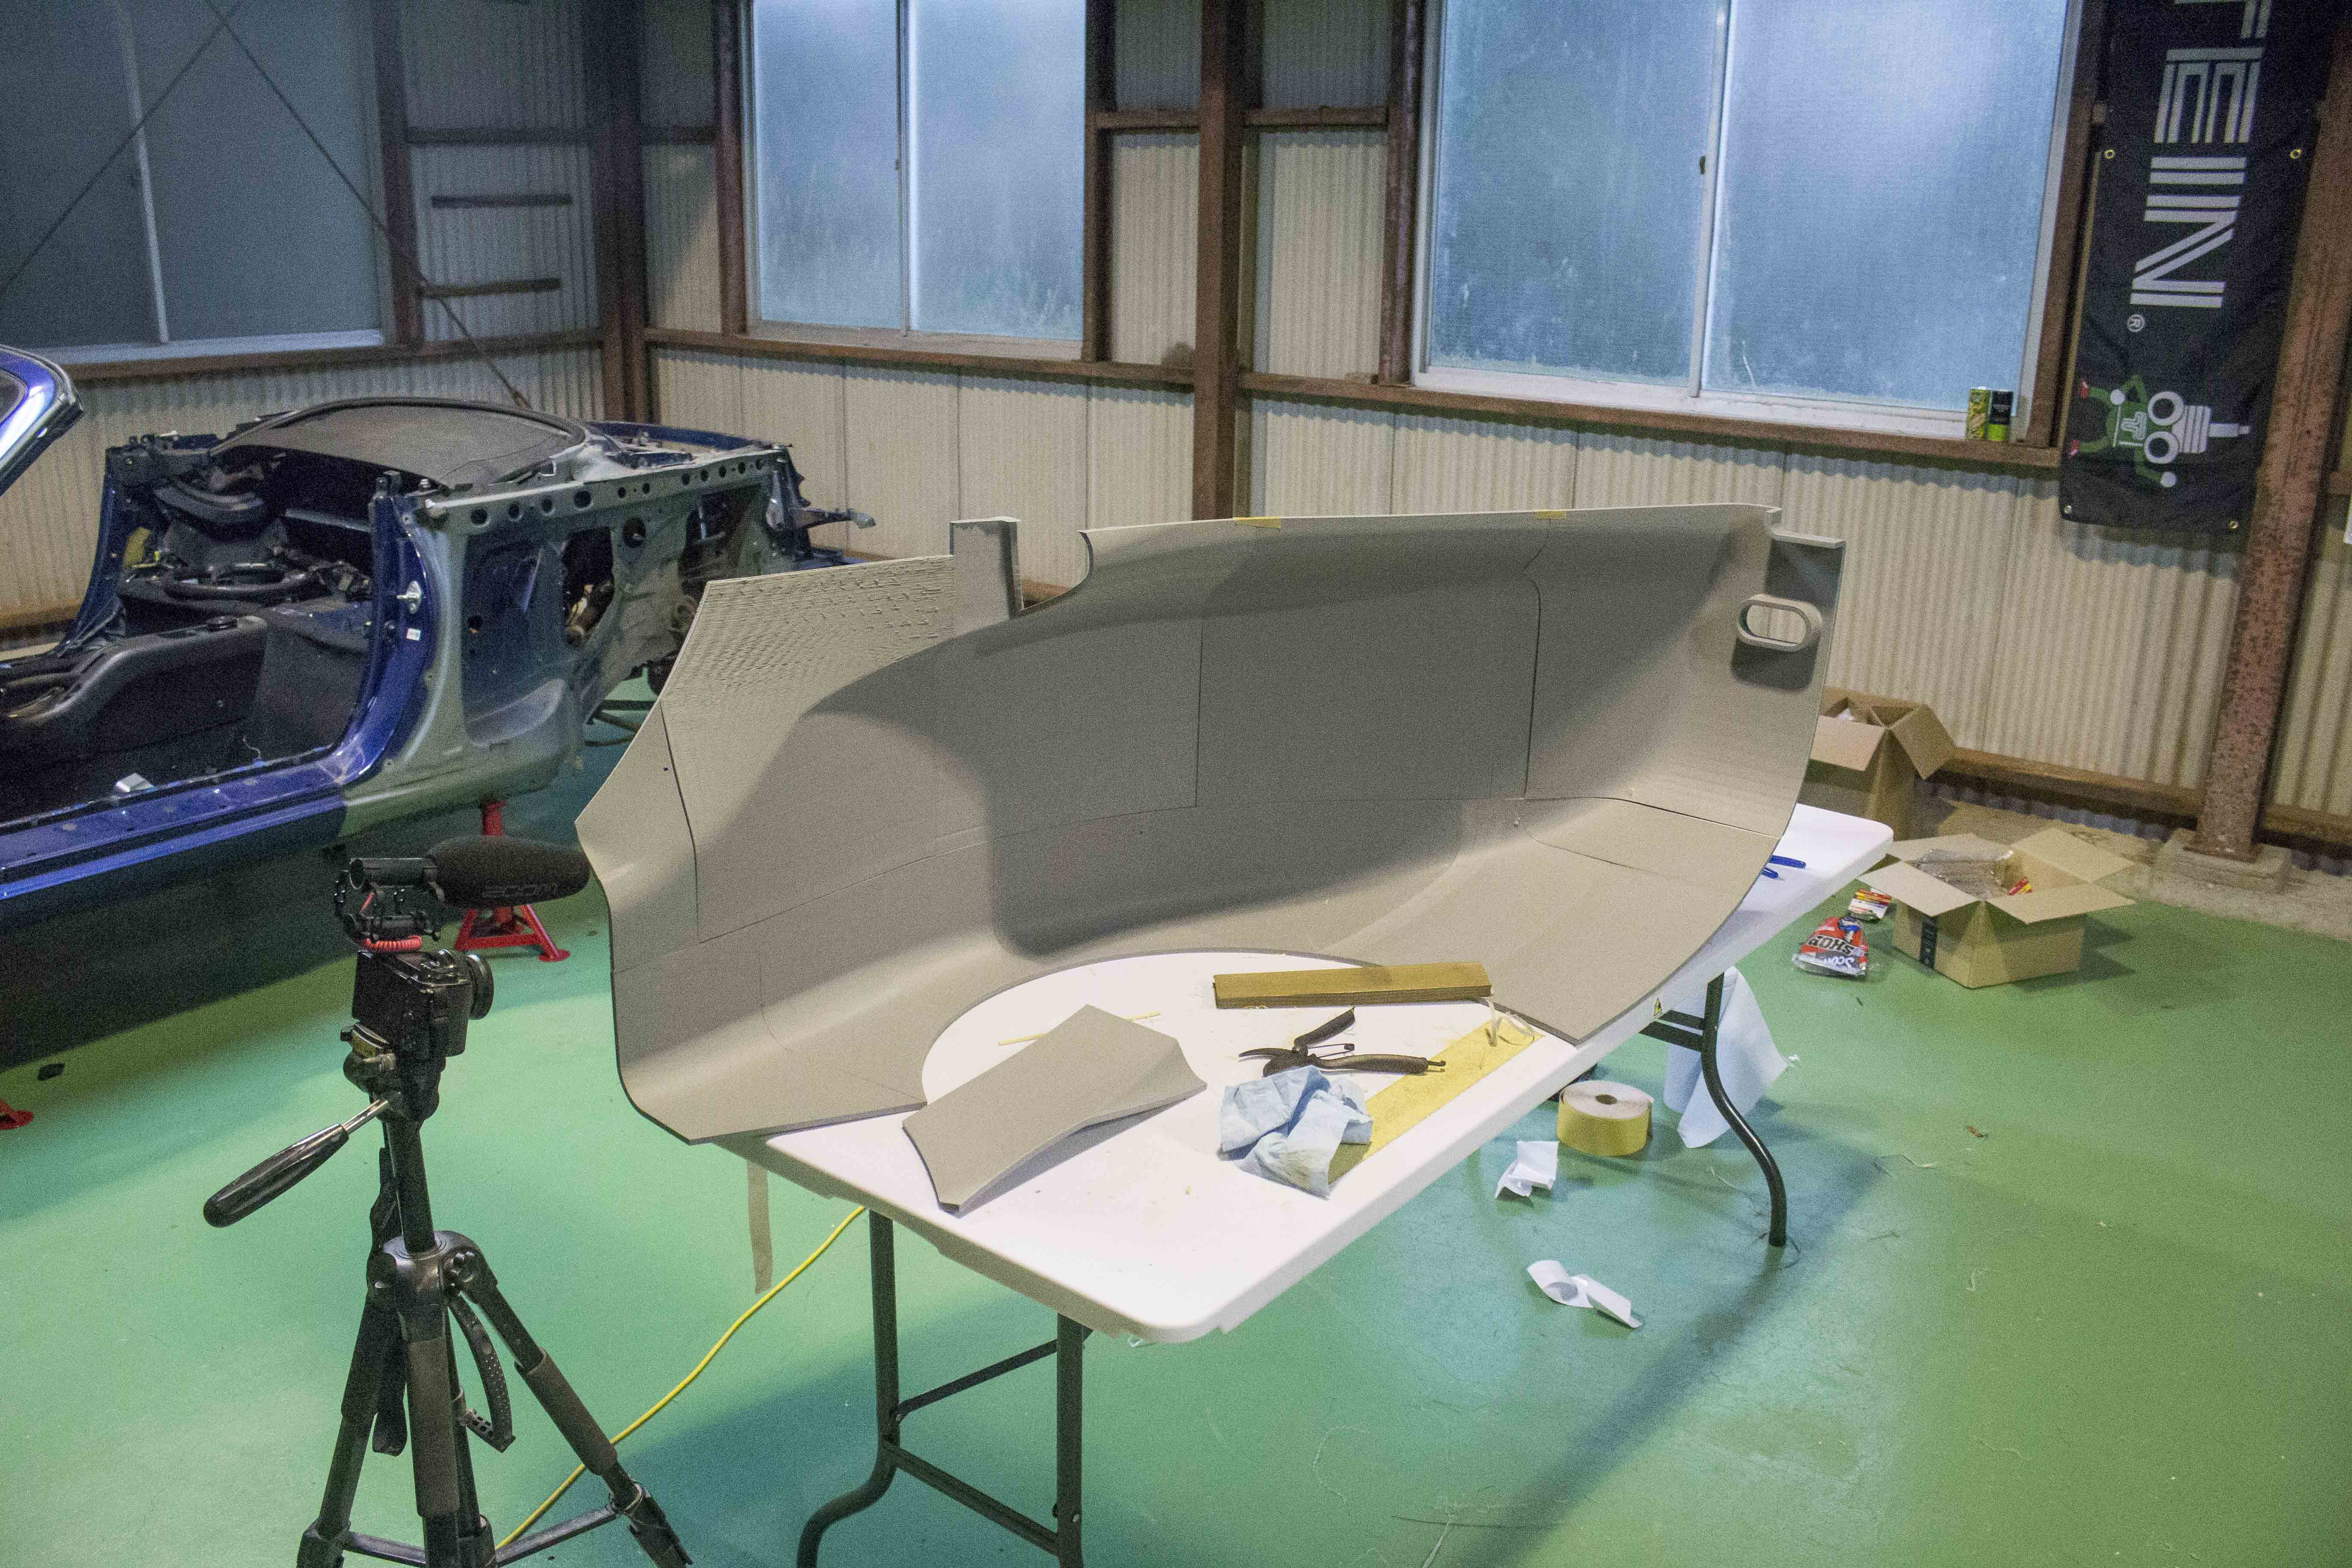
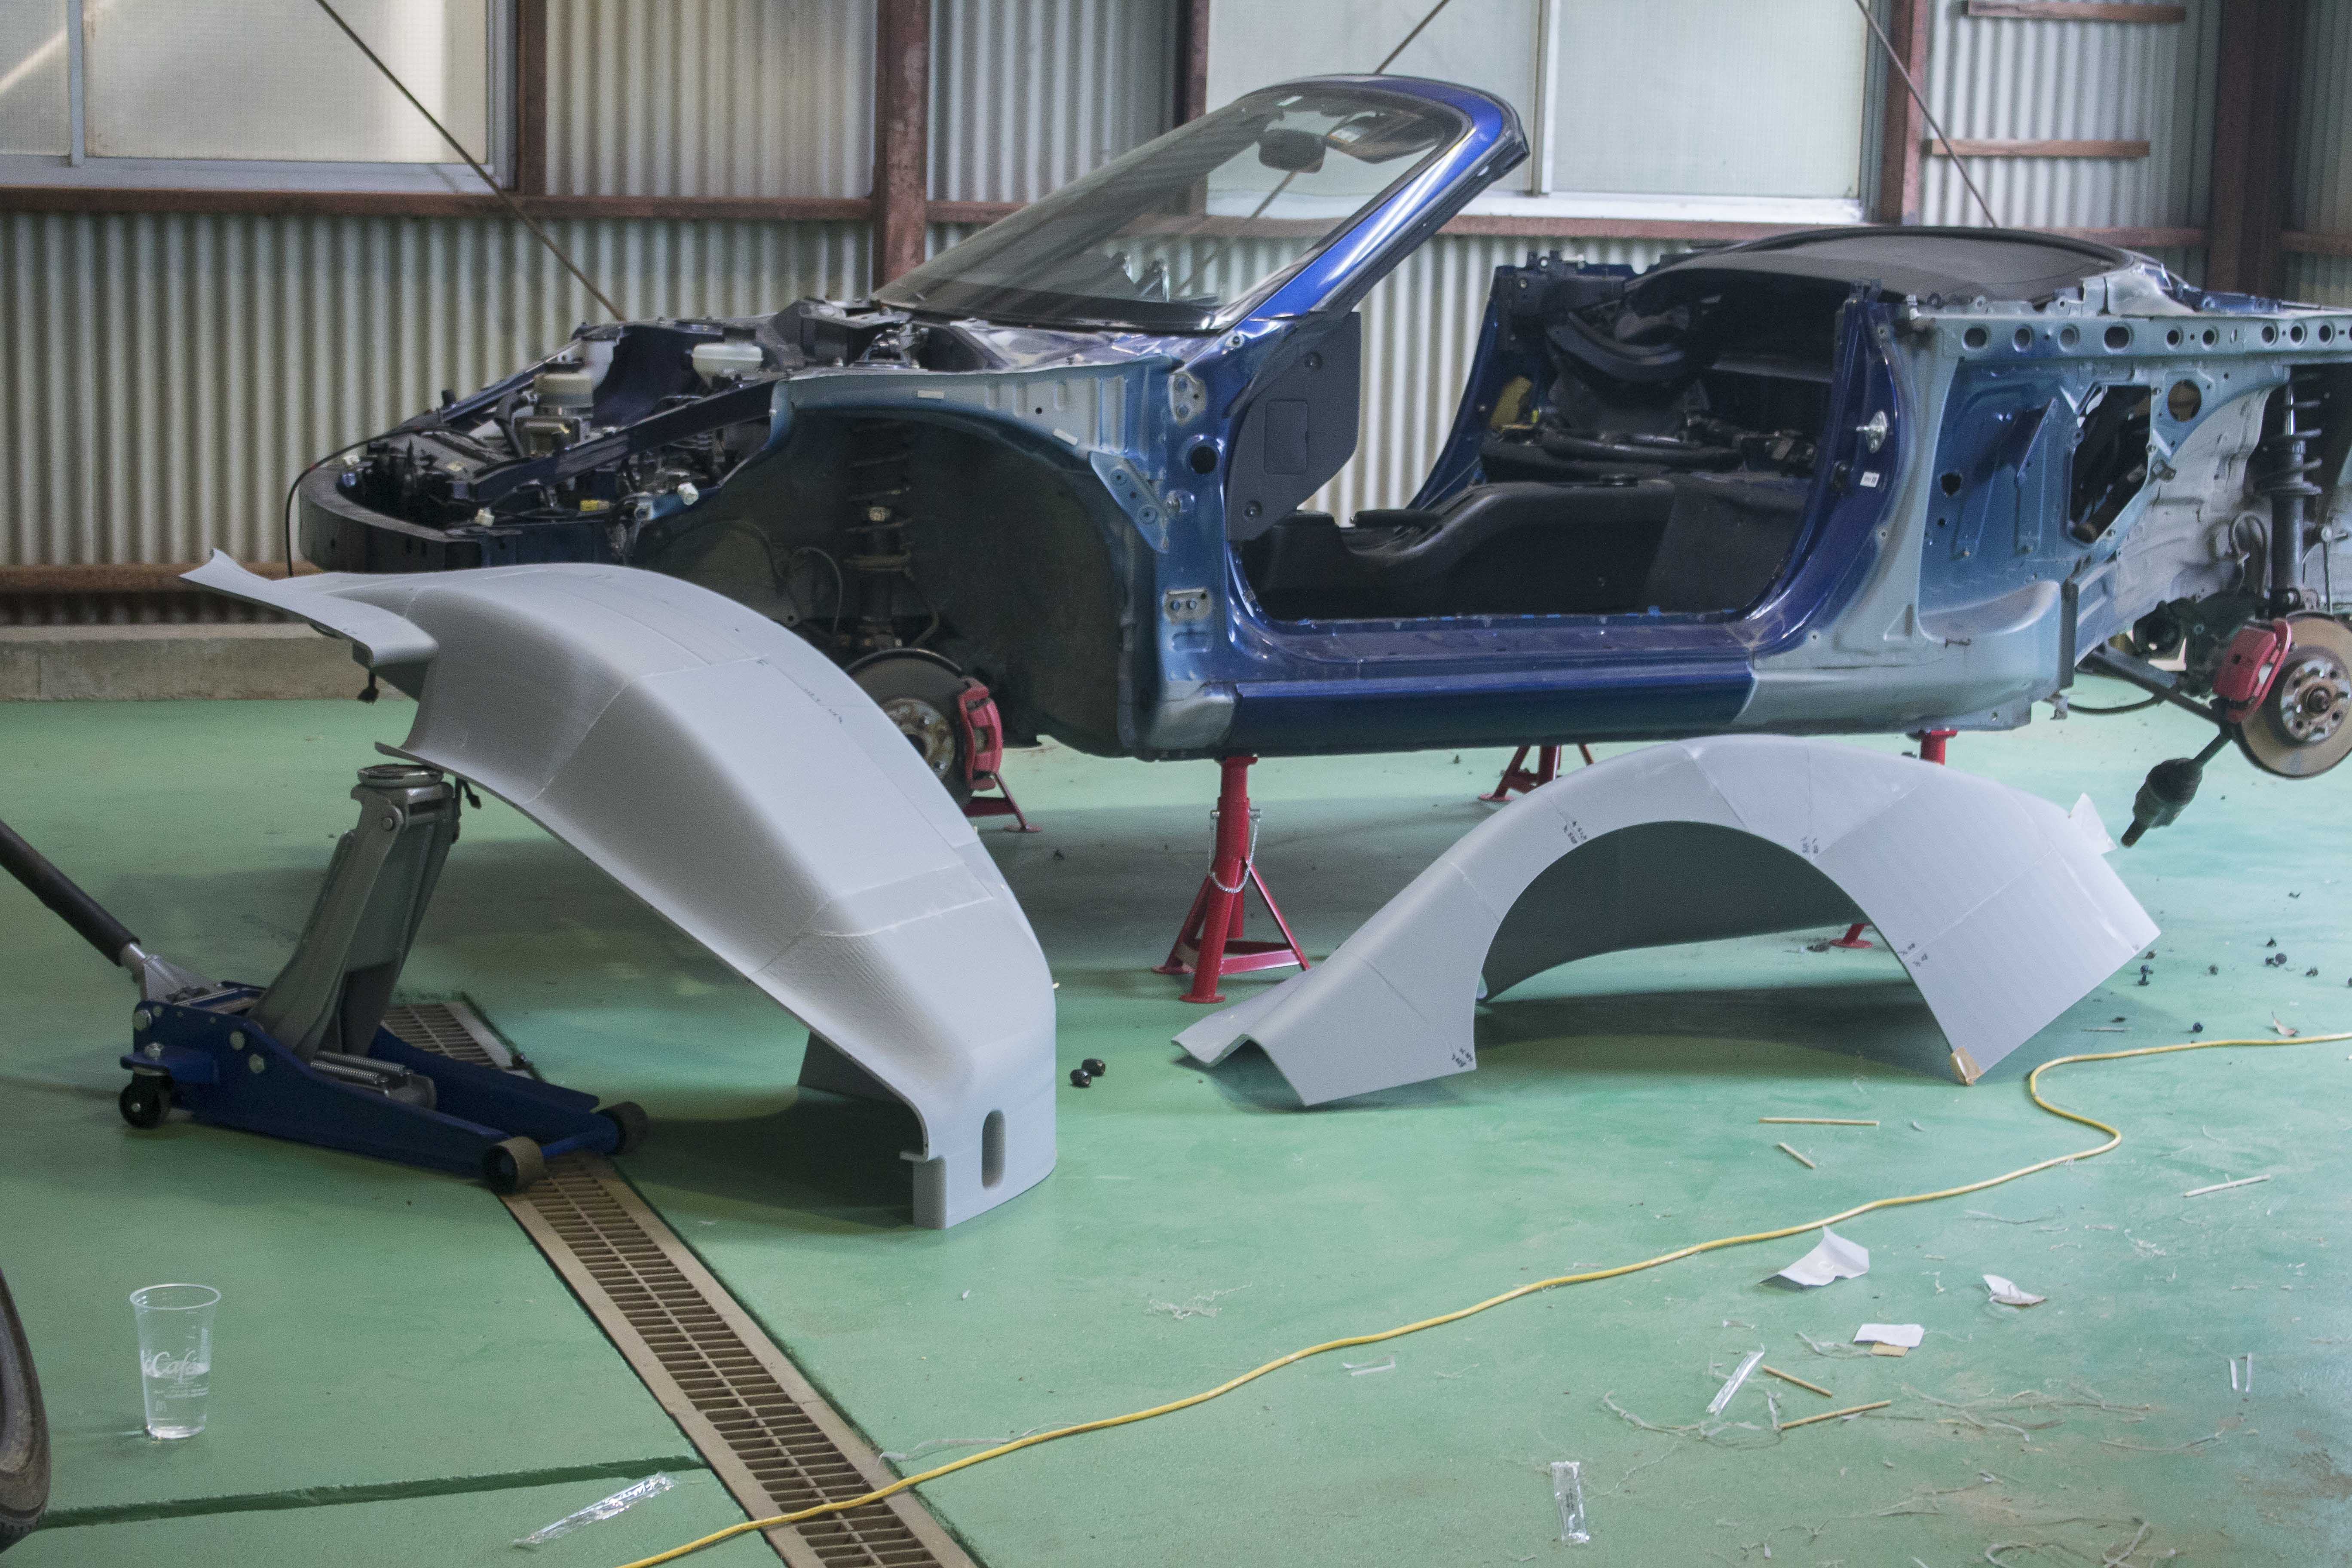
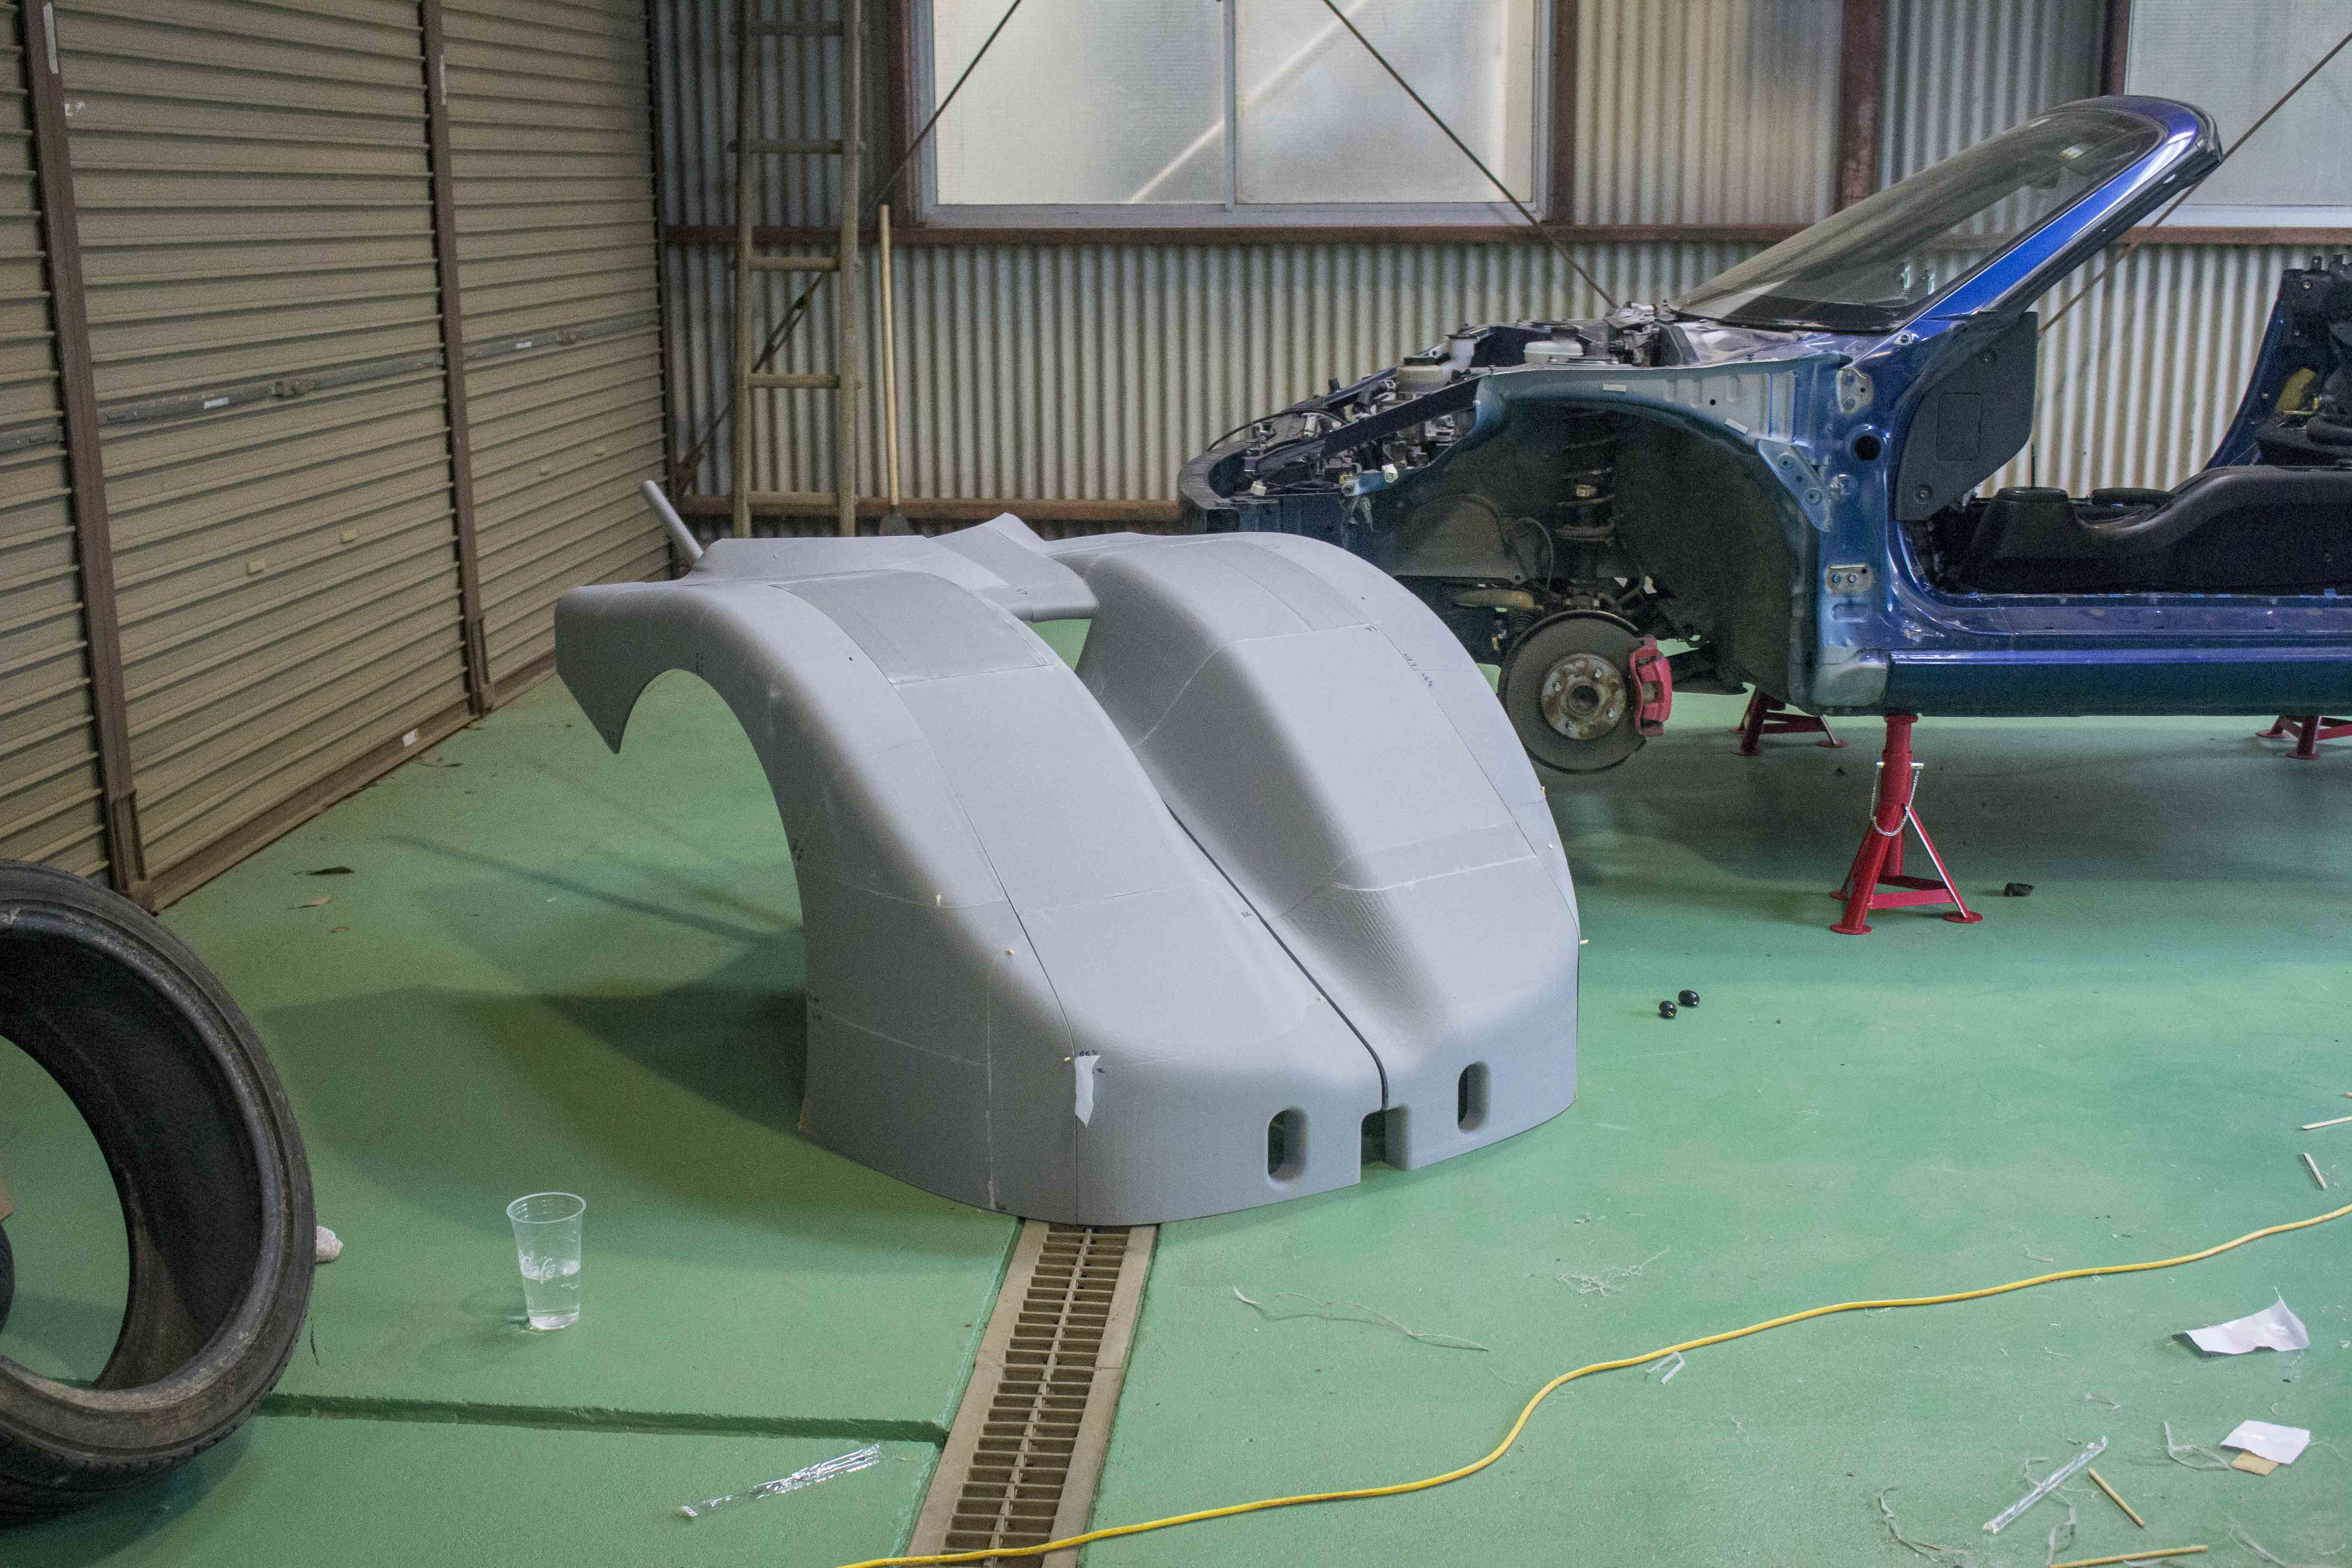
You can see straight away that there are a good number of pieces involved in this first mould I'm printing off. For a quick reminder, the process I like to use is 3D print a set of single use moulds out of cheap PLA, then make a prototype fiberglass piece out of that mould as quickly as I can so that I move straight into fiberglass where I'll then do most of my later refining.I do this because in my experience, PLA prints tend to warp and so I got fed up with trying to use them as plugs and bodyworking them to try get them perfect but having them move around on me. Fiberglass is more or less fixed once it comes out of the mould, so much easier to refine and get a nice plug from.For no other reason than because it felt right, I've started off with probably the most complex shape on this car which is the front end, and all in one solid piece meant that I had 14 pieces per side on my first batch of prints, but cut a few of the larger parts in half once they started wobbling around and ended up with around 45 prints in total.
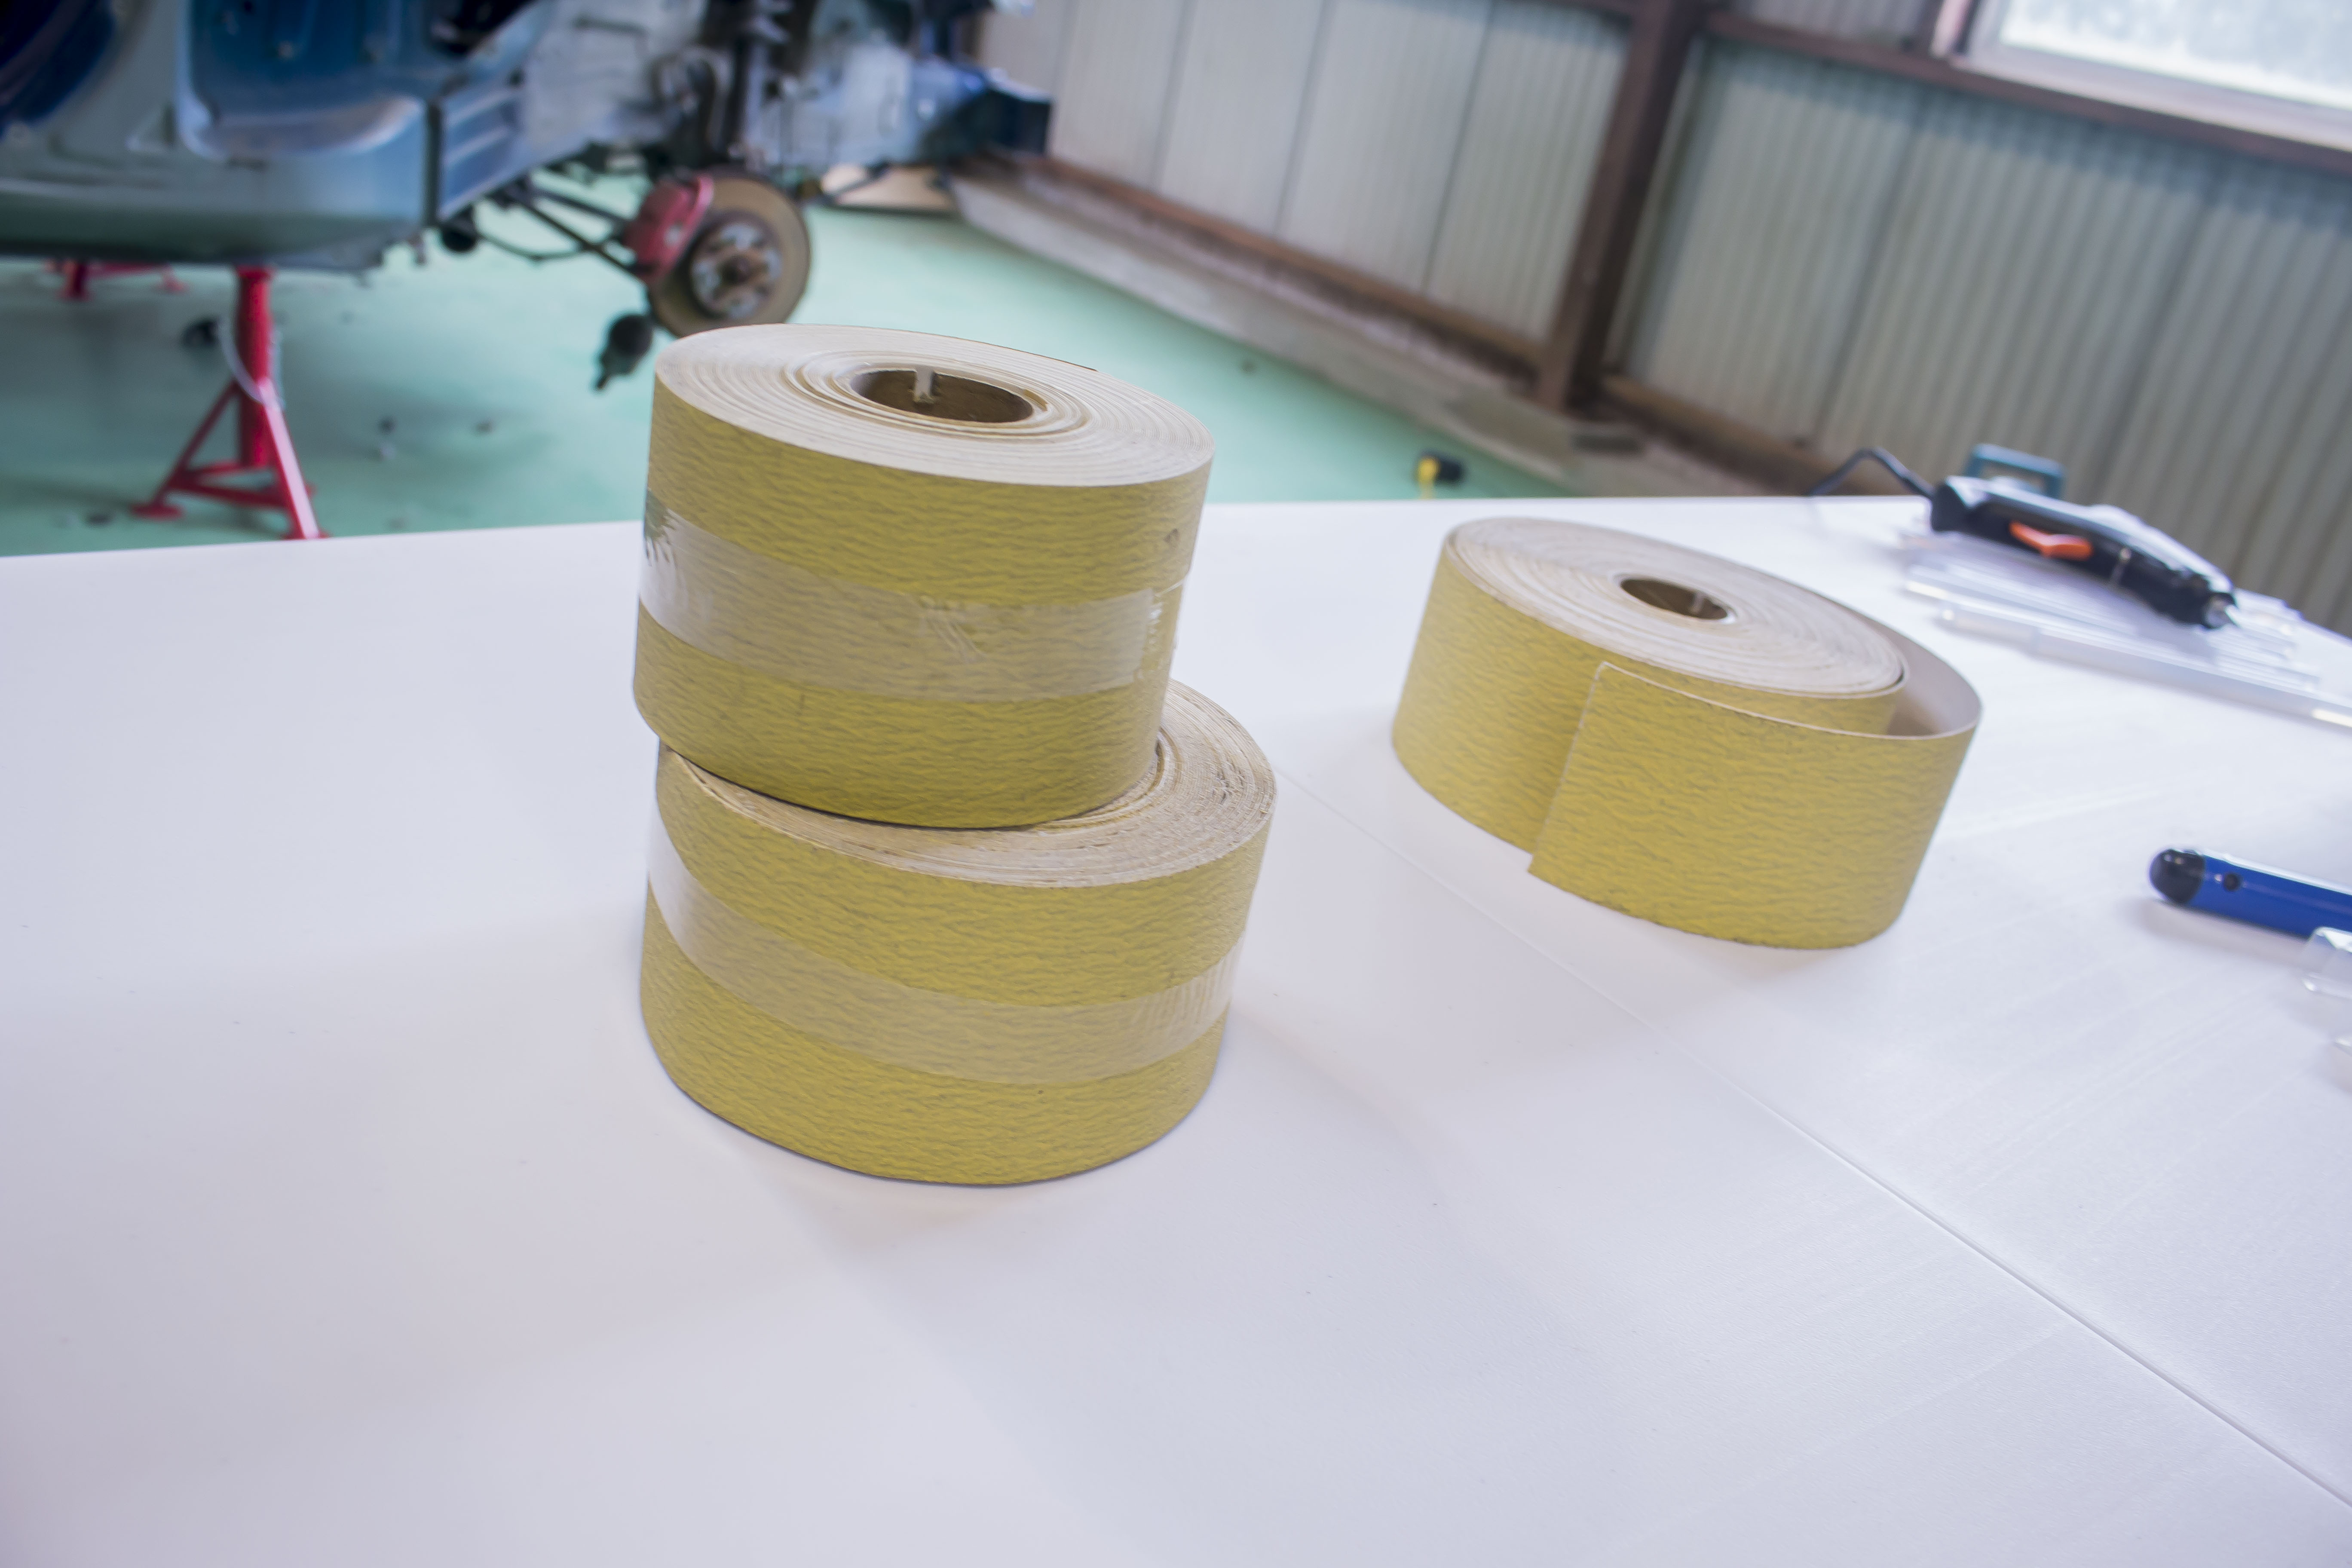
But bigger news than that by far, I've finally got my first rolls of sandpaper in the new shop, and absolutely historic moment for sure.
At last I feel complete again.
With the sandpaper and a few other tools that I had overnight shipped from Japan I was able to get starting piecing together my jigsaw puzzle.I designed it with dowels so that I would have some registration for each print to ensure alignment, and this helped for the most part in keeping everything straight. There were a few small warps in some of the prints from the colder nights but overall everything fit together like an absolute dream.
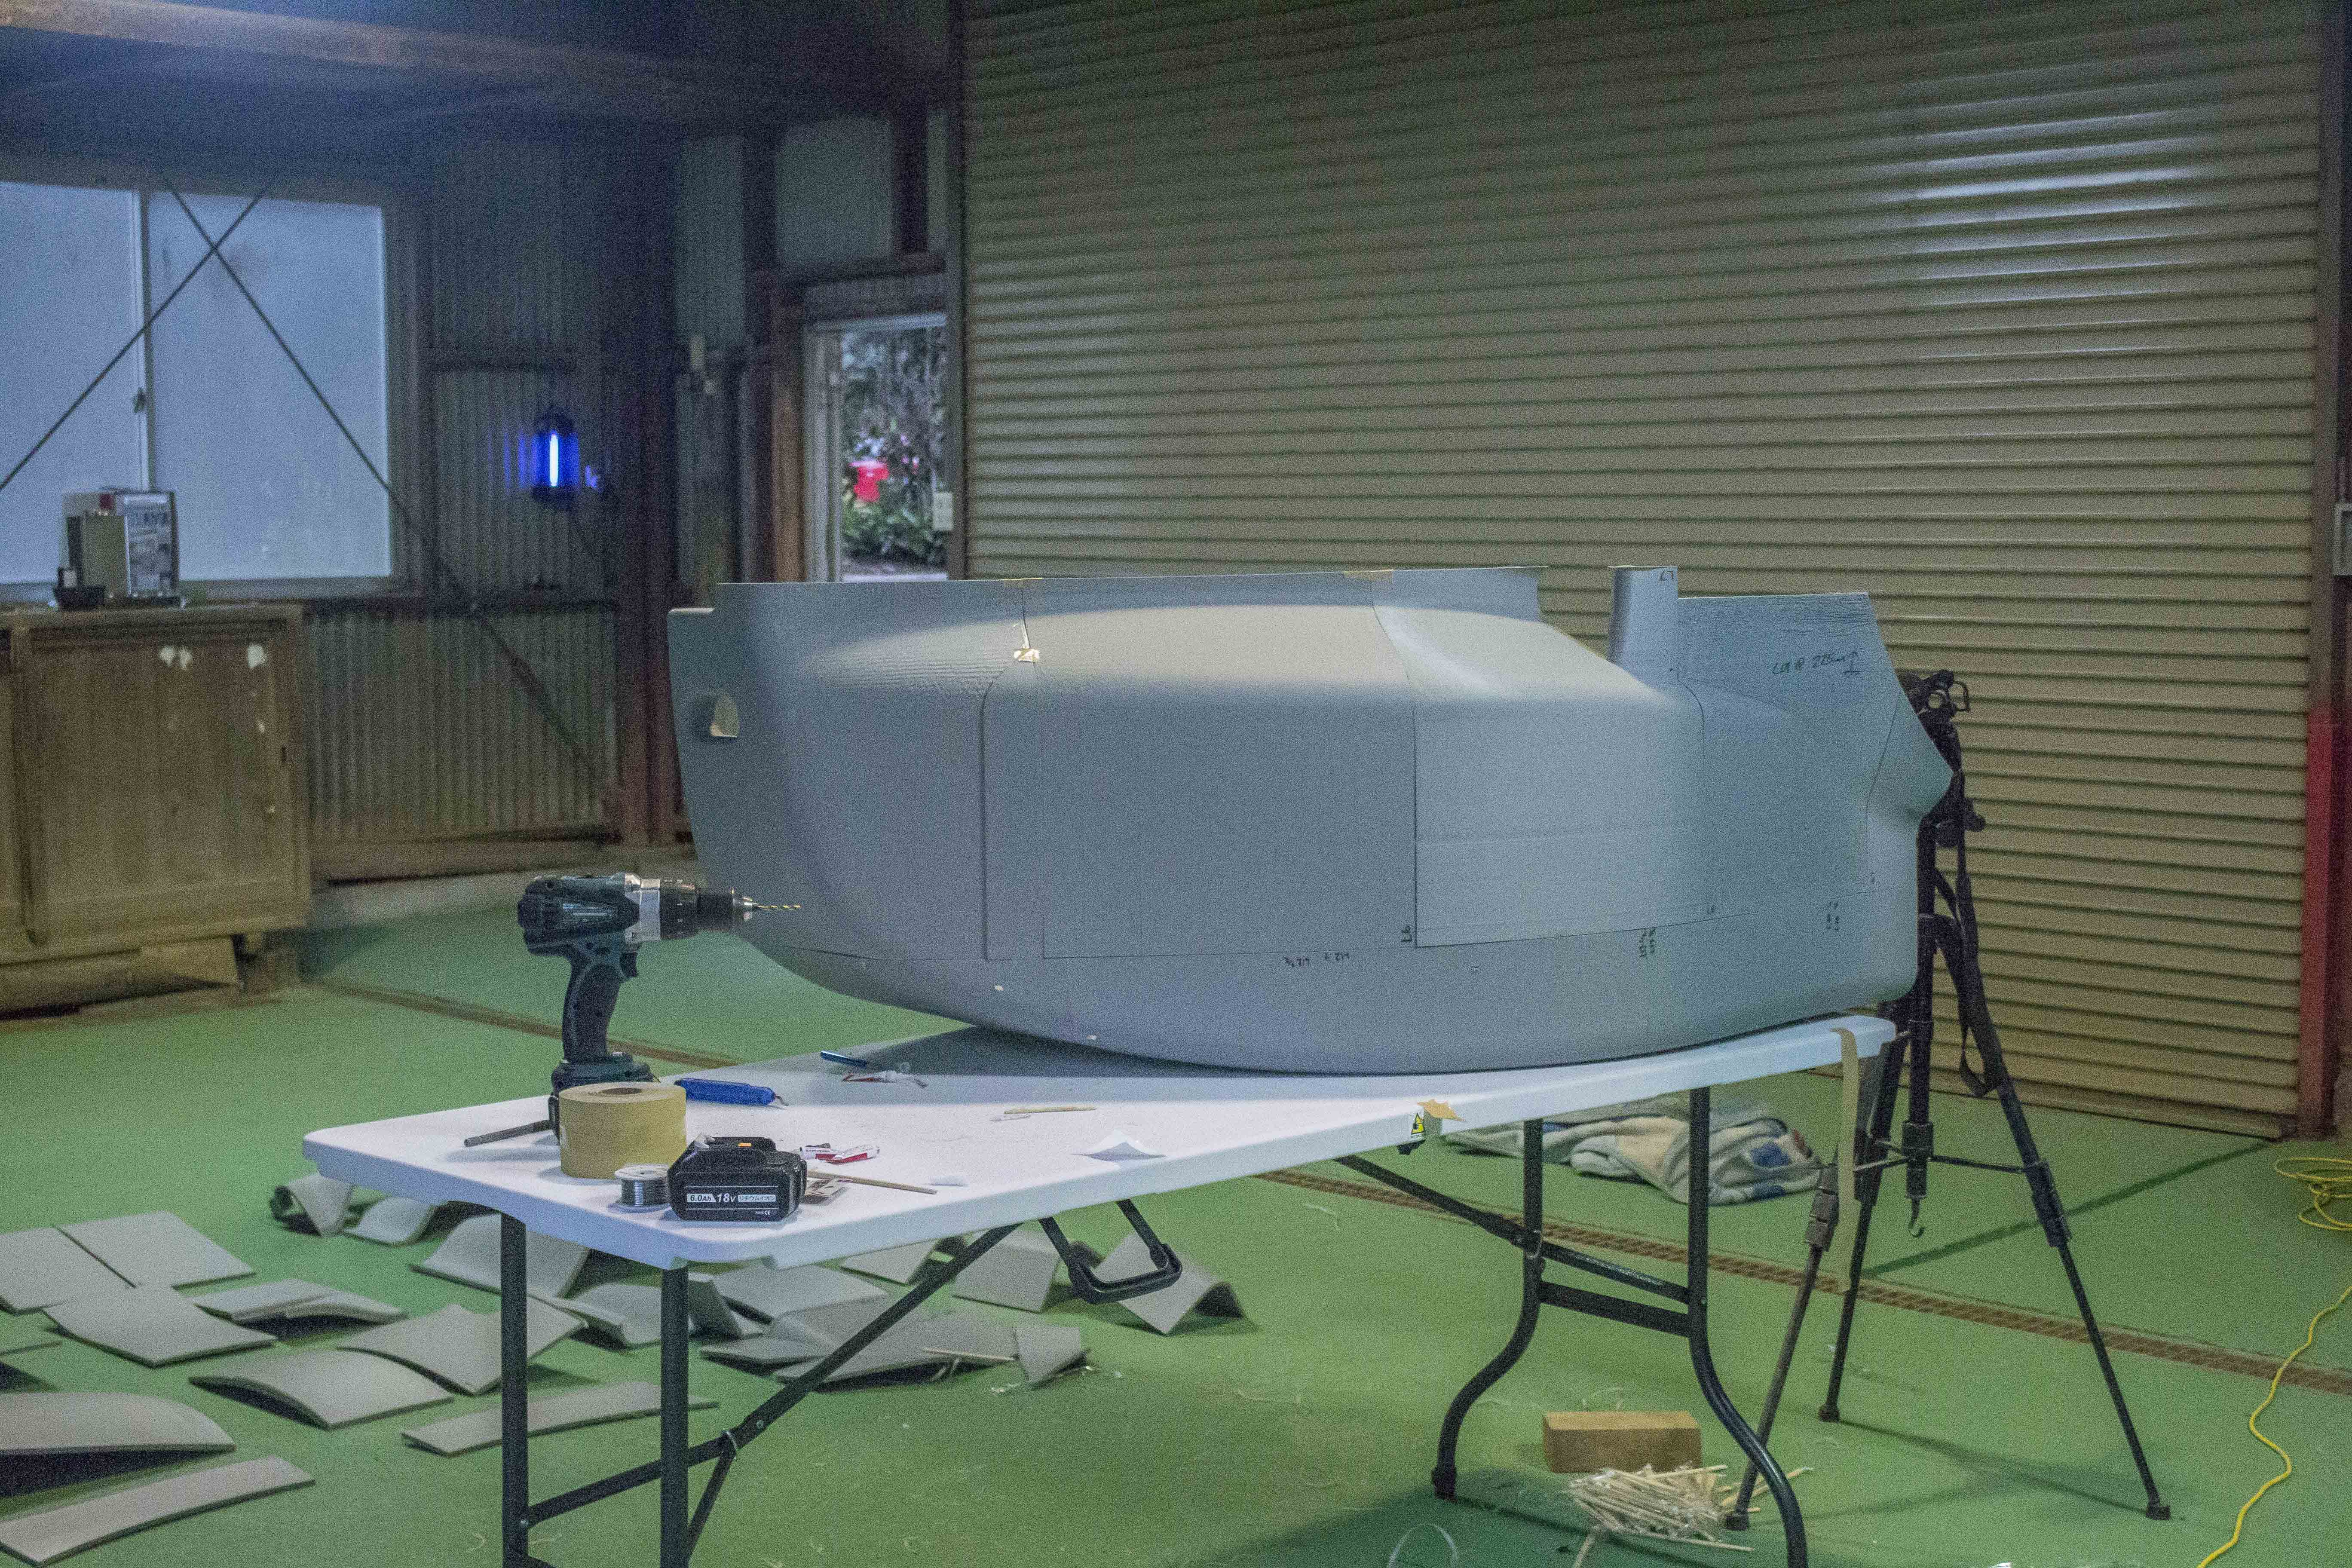
The two halves were coming together unbelievably well, but I was a little concerned about them meeting nicely in the middle so it was a slow and careful process of checking every surface was flat and level before gluing them in place.To bond all the pieces I used regular superglue with some bamboo dowels courtesy of 7-Eleven, also known locally as "hashi" and since technically they were provided for free, you could say that yeah, 7-eleven sponsored this build, not to brag or anything.
I prefer this method over plastic welding because unlike using a soldering iron to melt the prints together, the super glue bonds it the whole way along the mating surface including the innermost part, unlike plastic welding which is just on the outer surface.
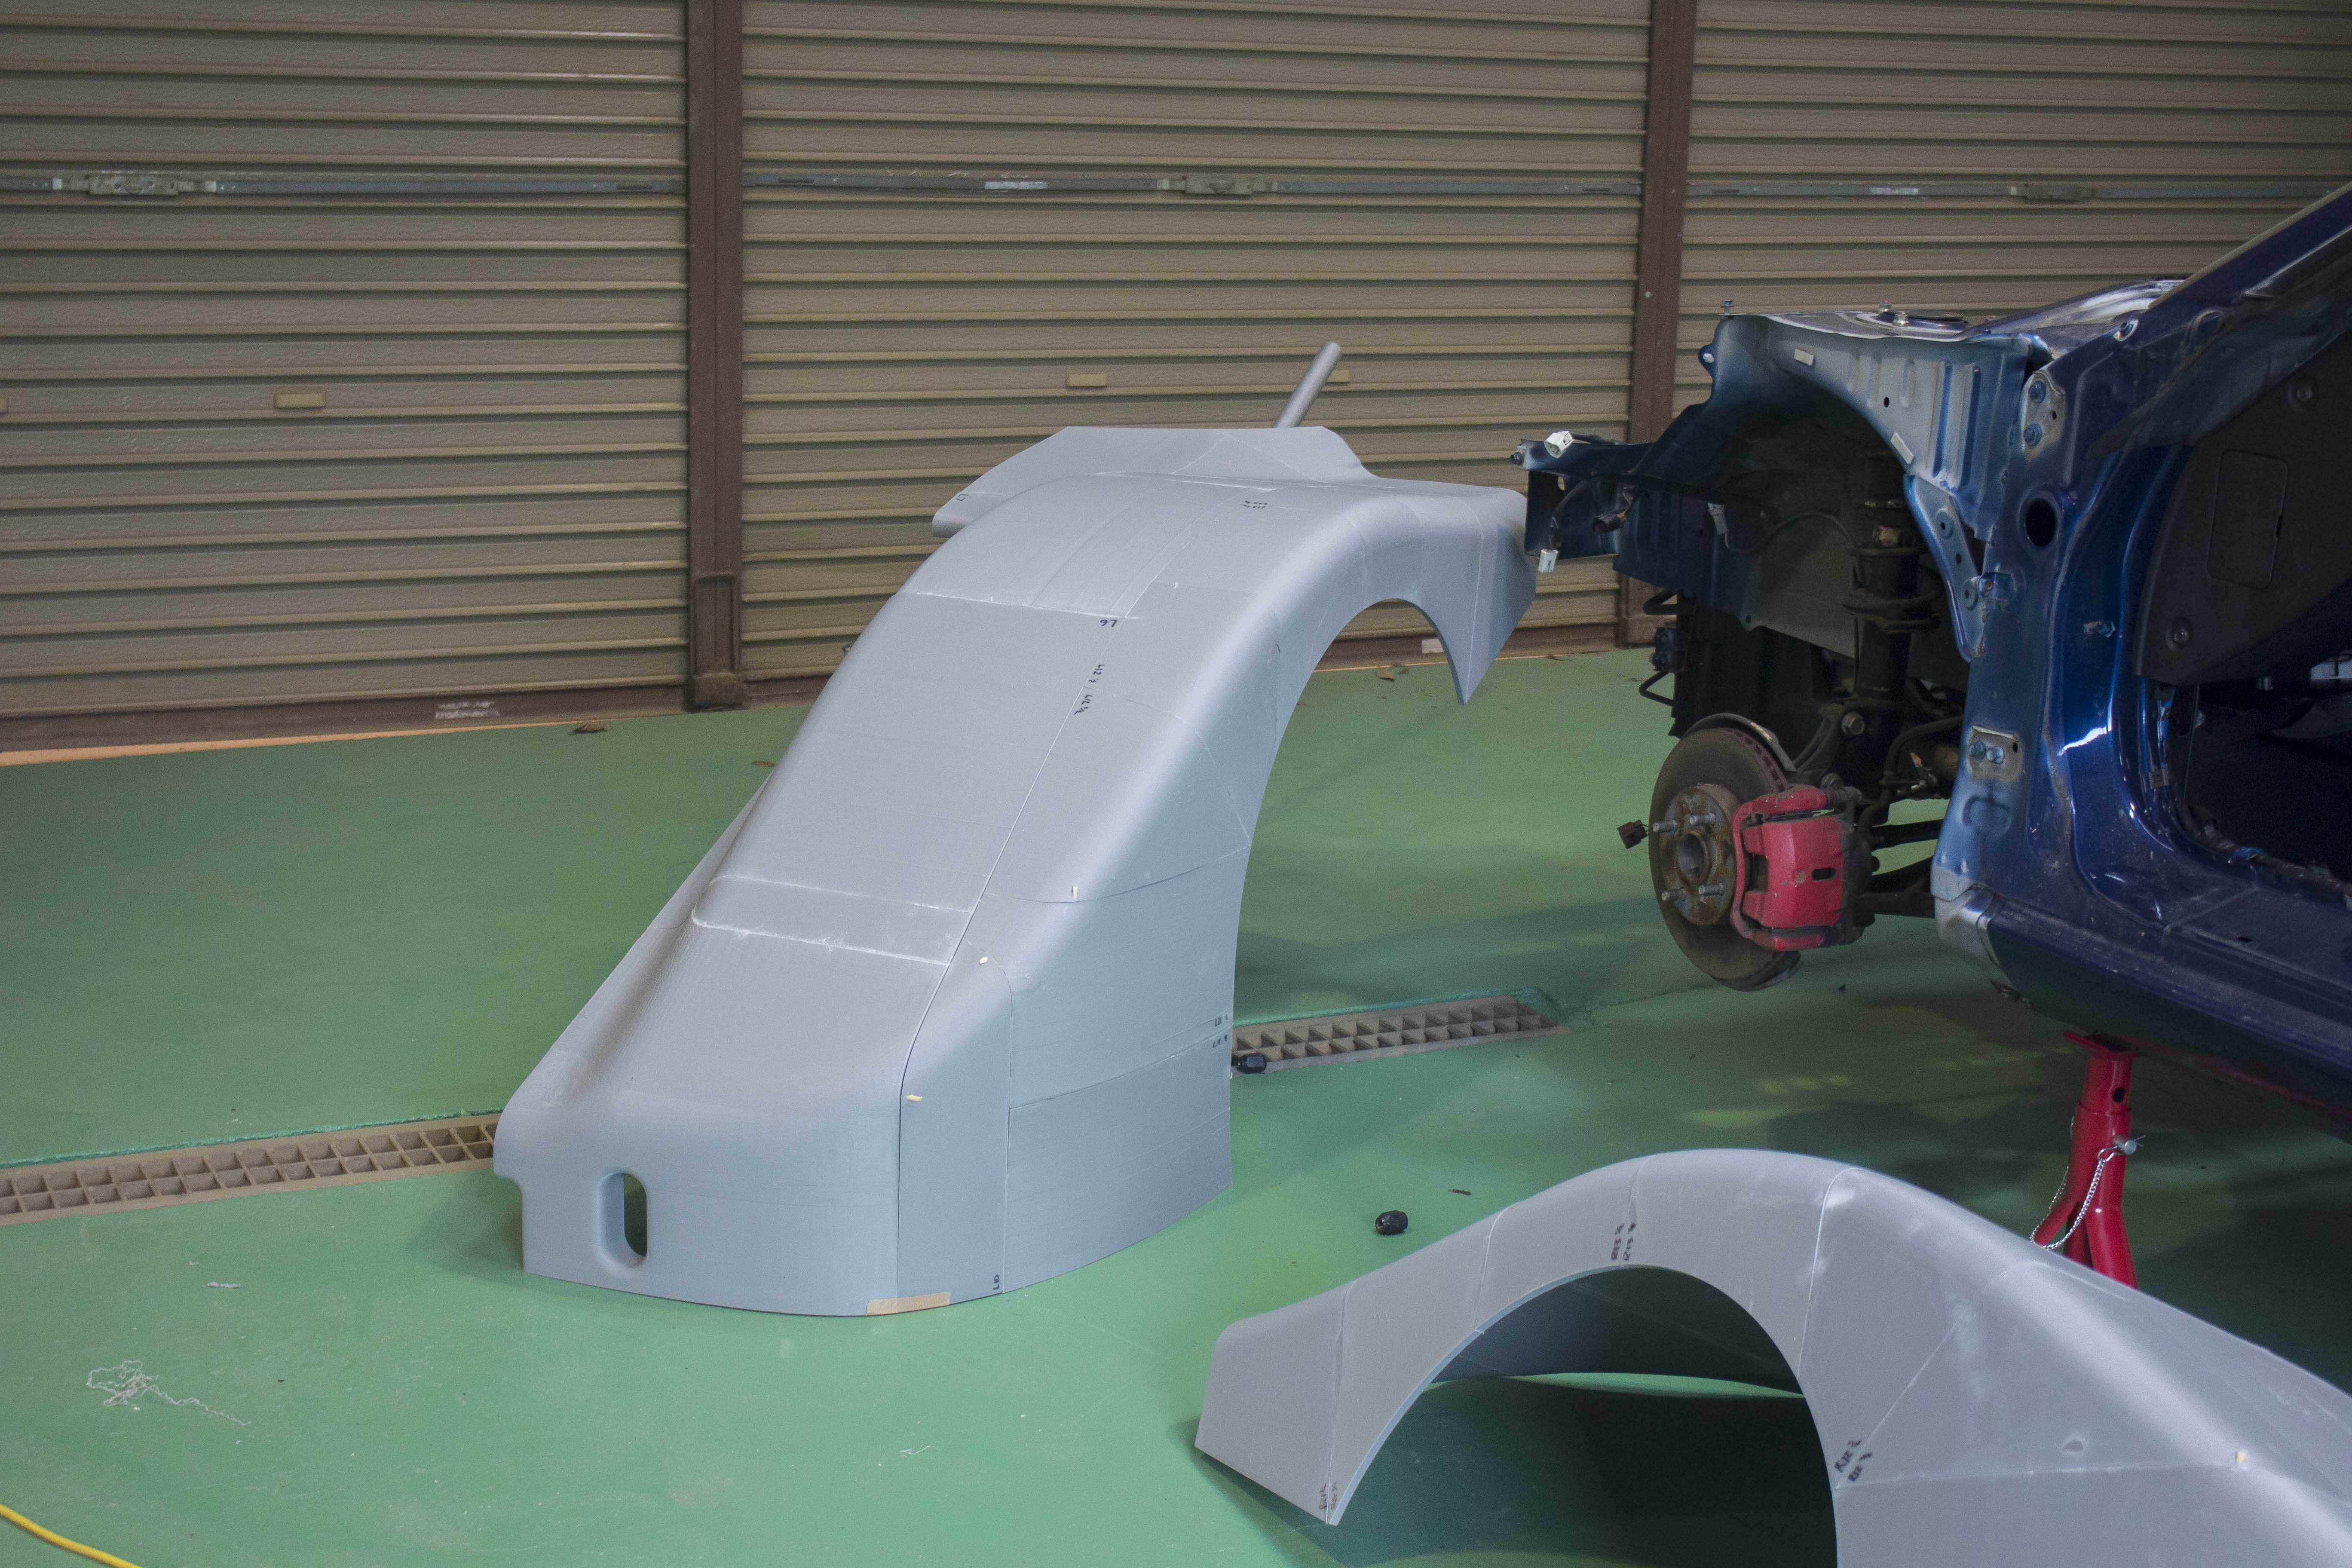
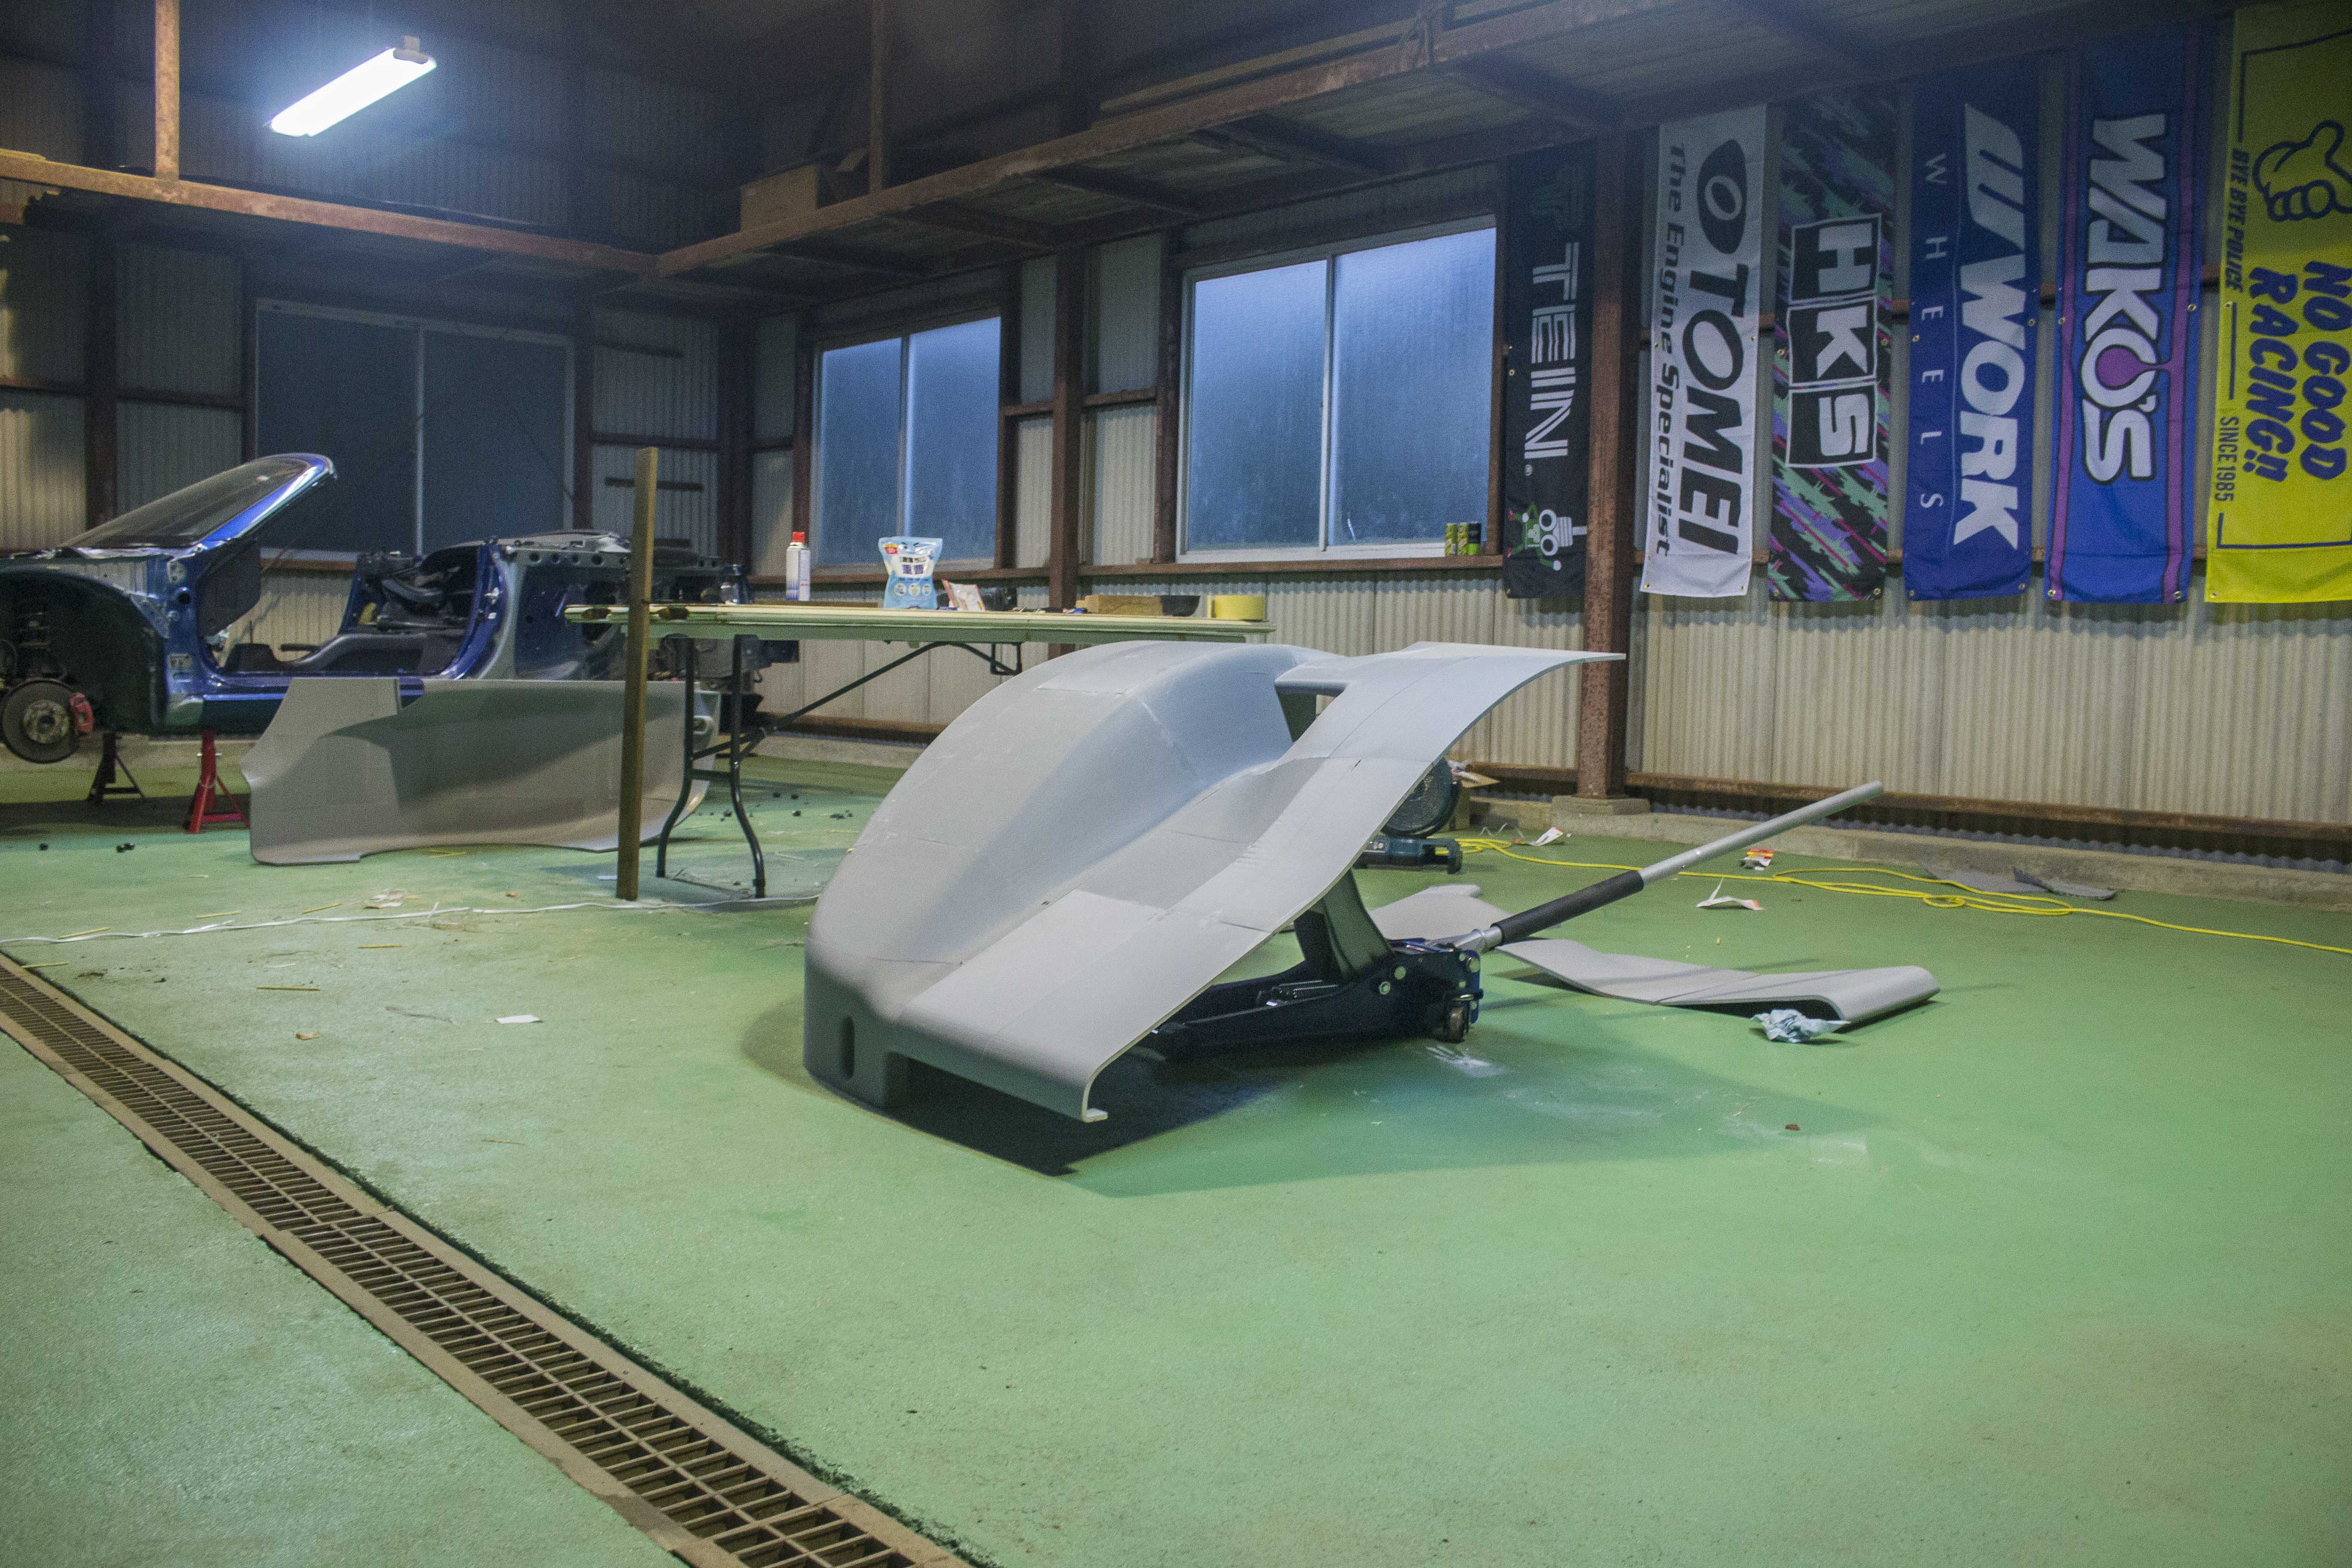
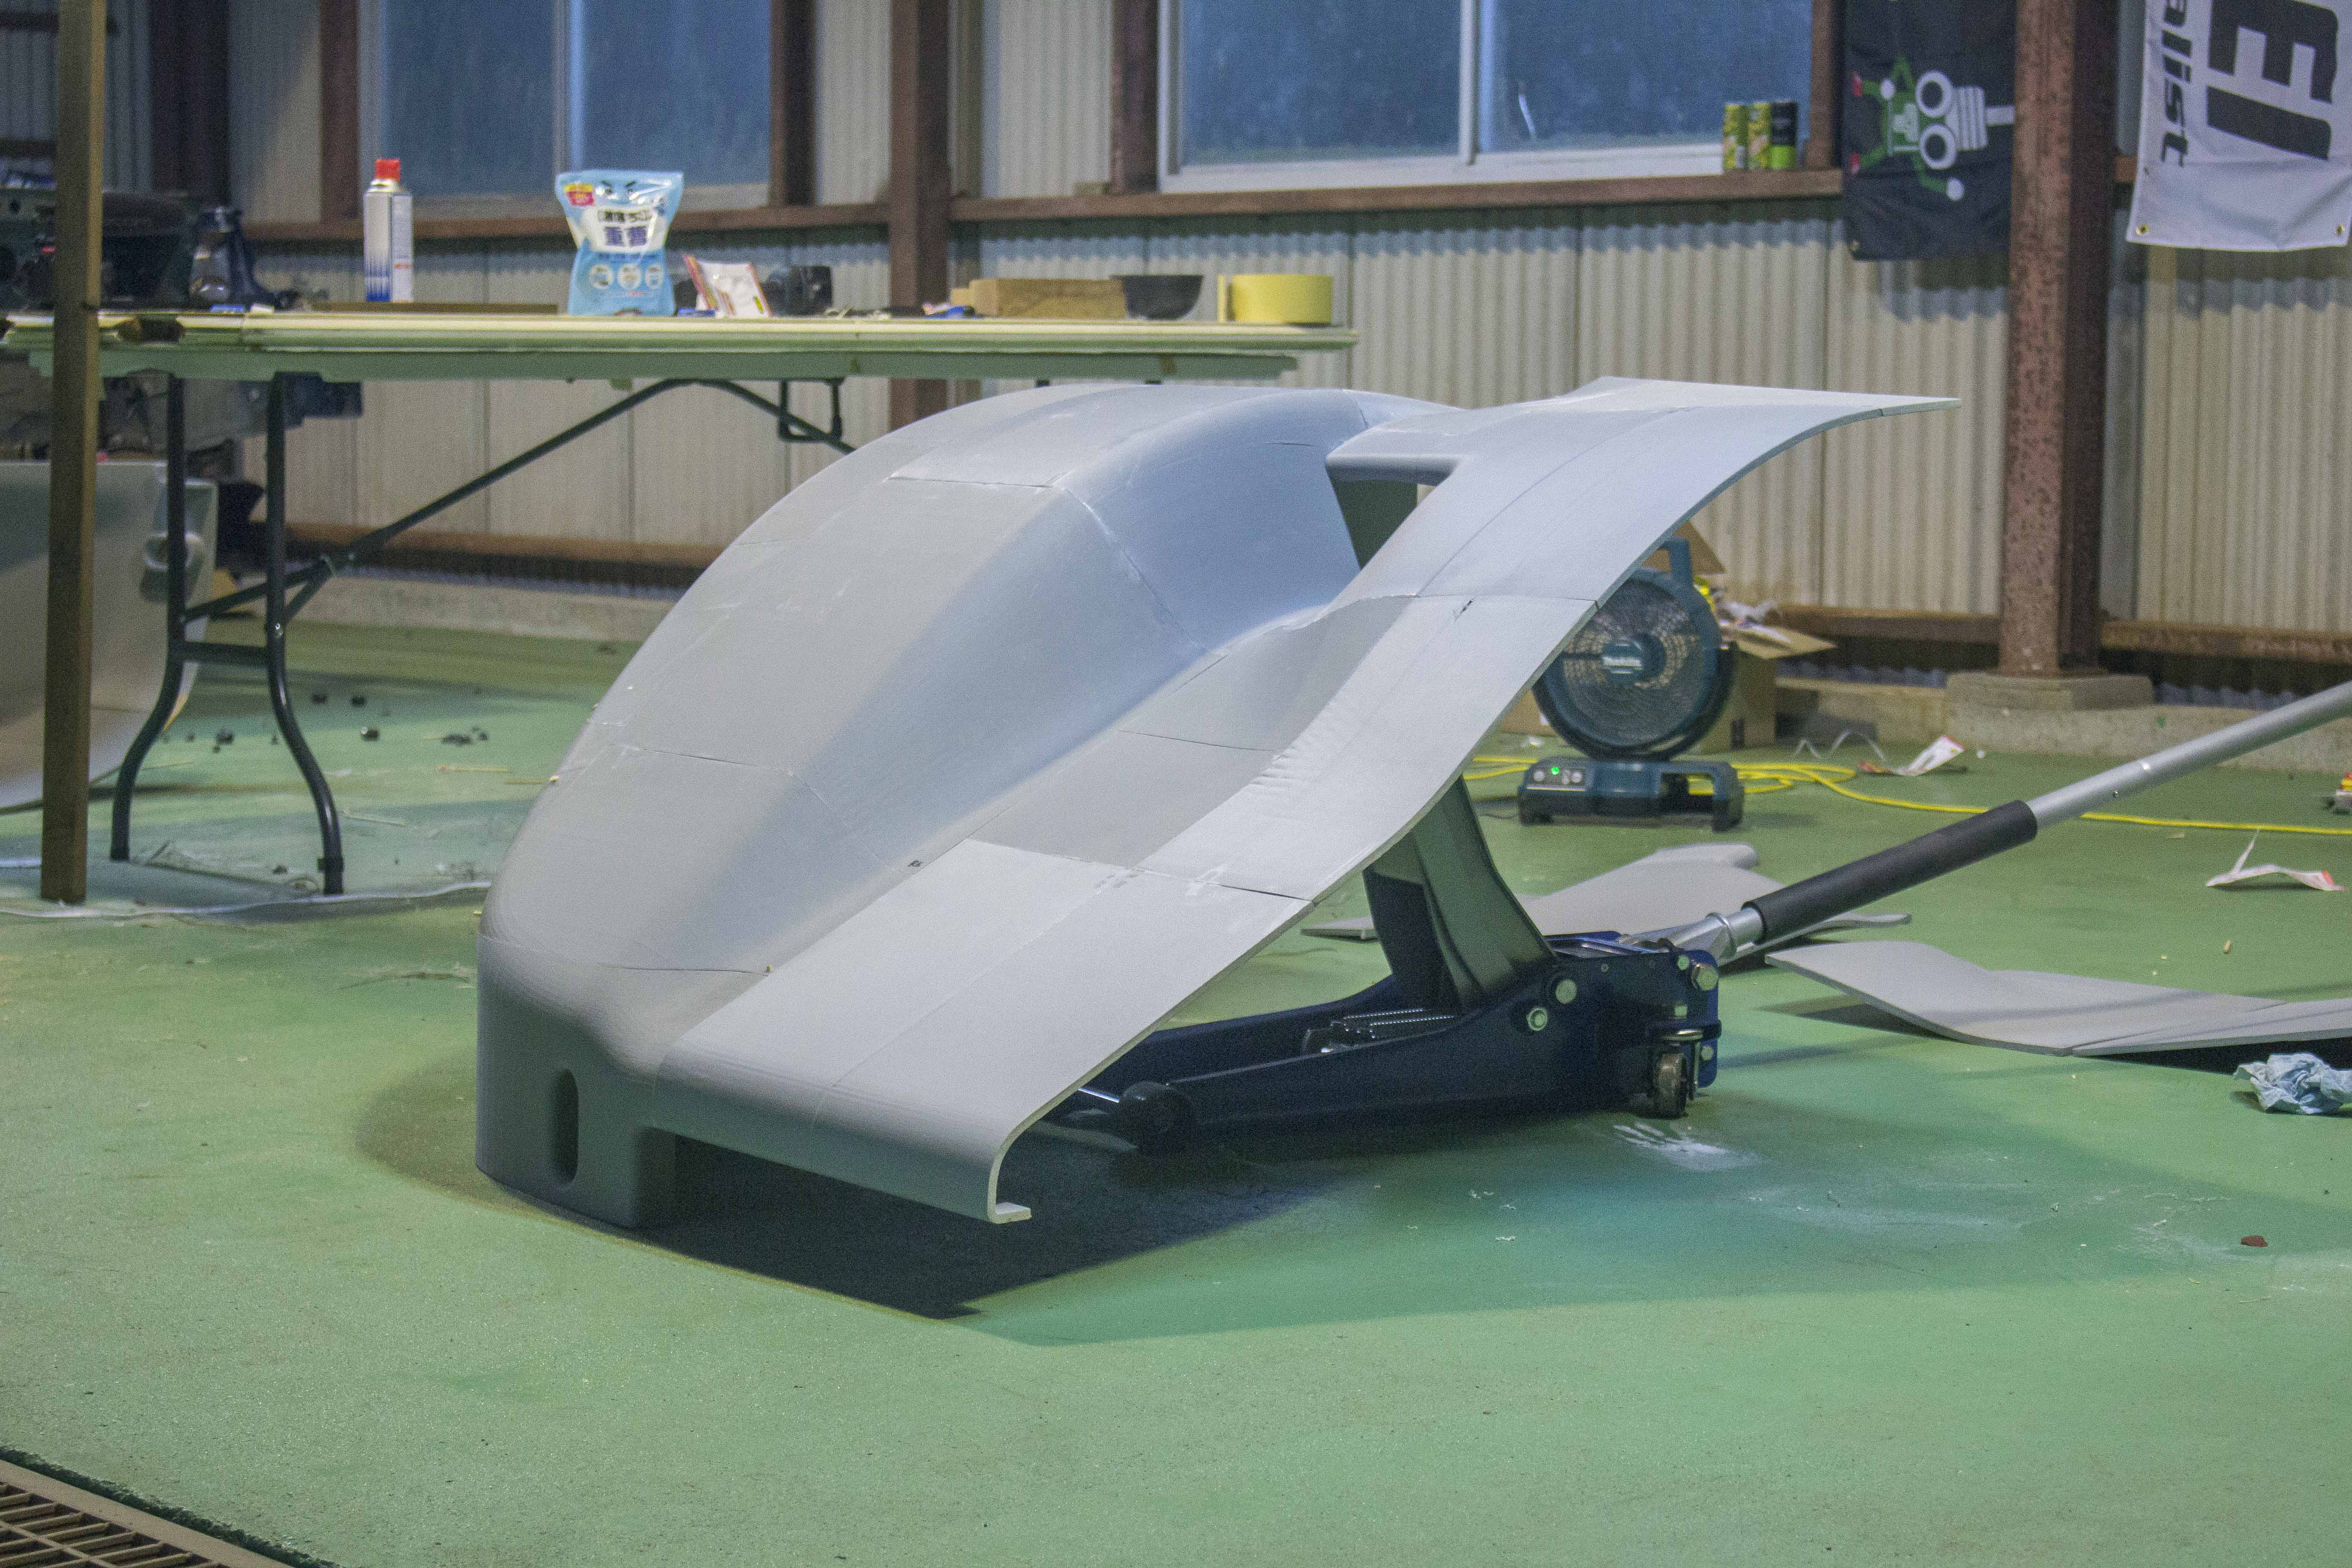
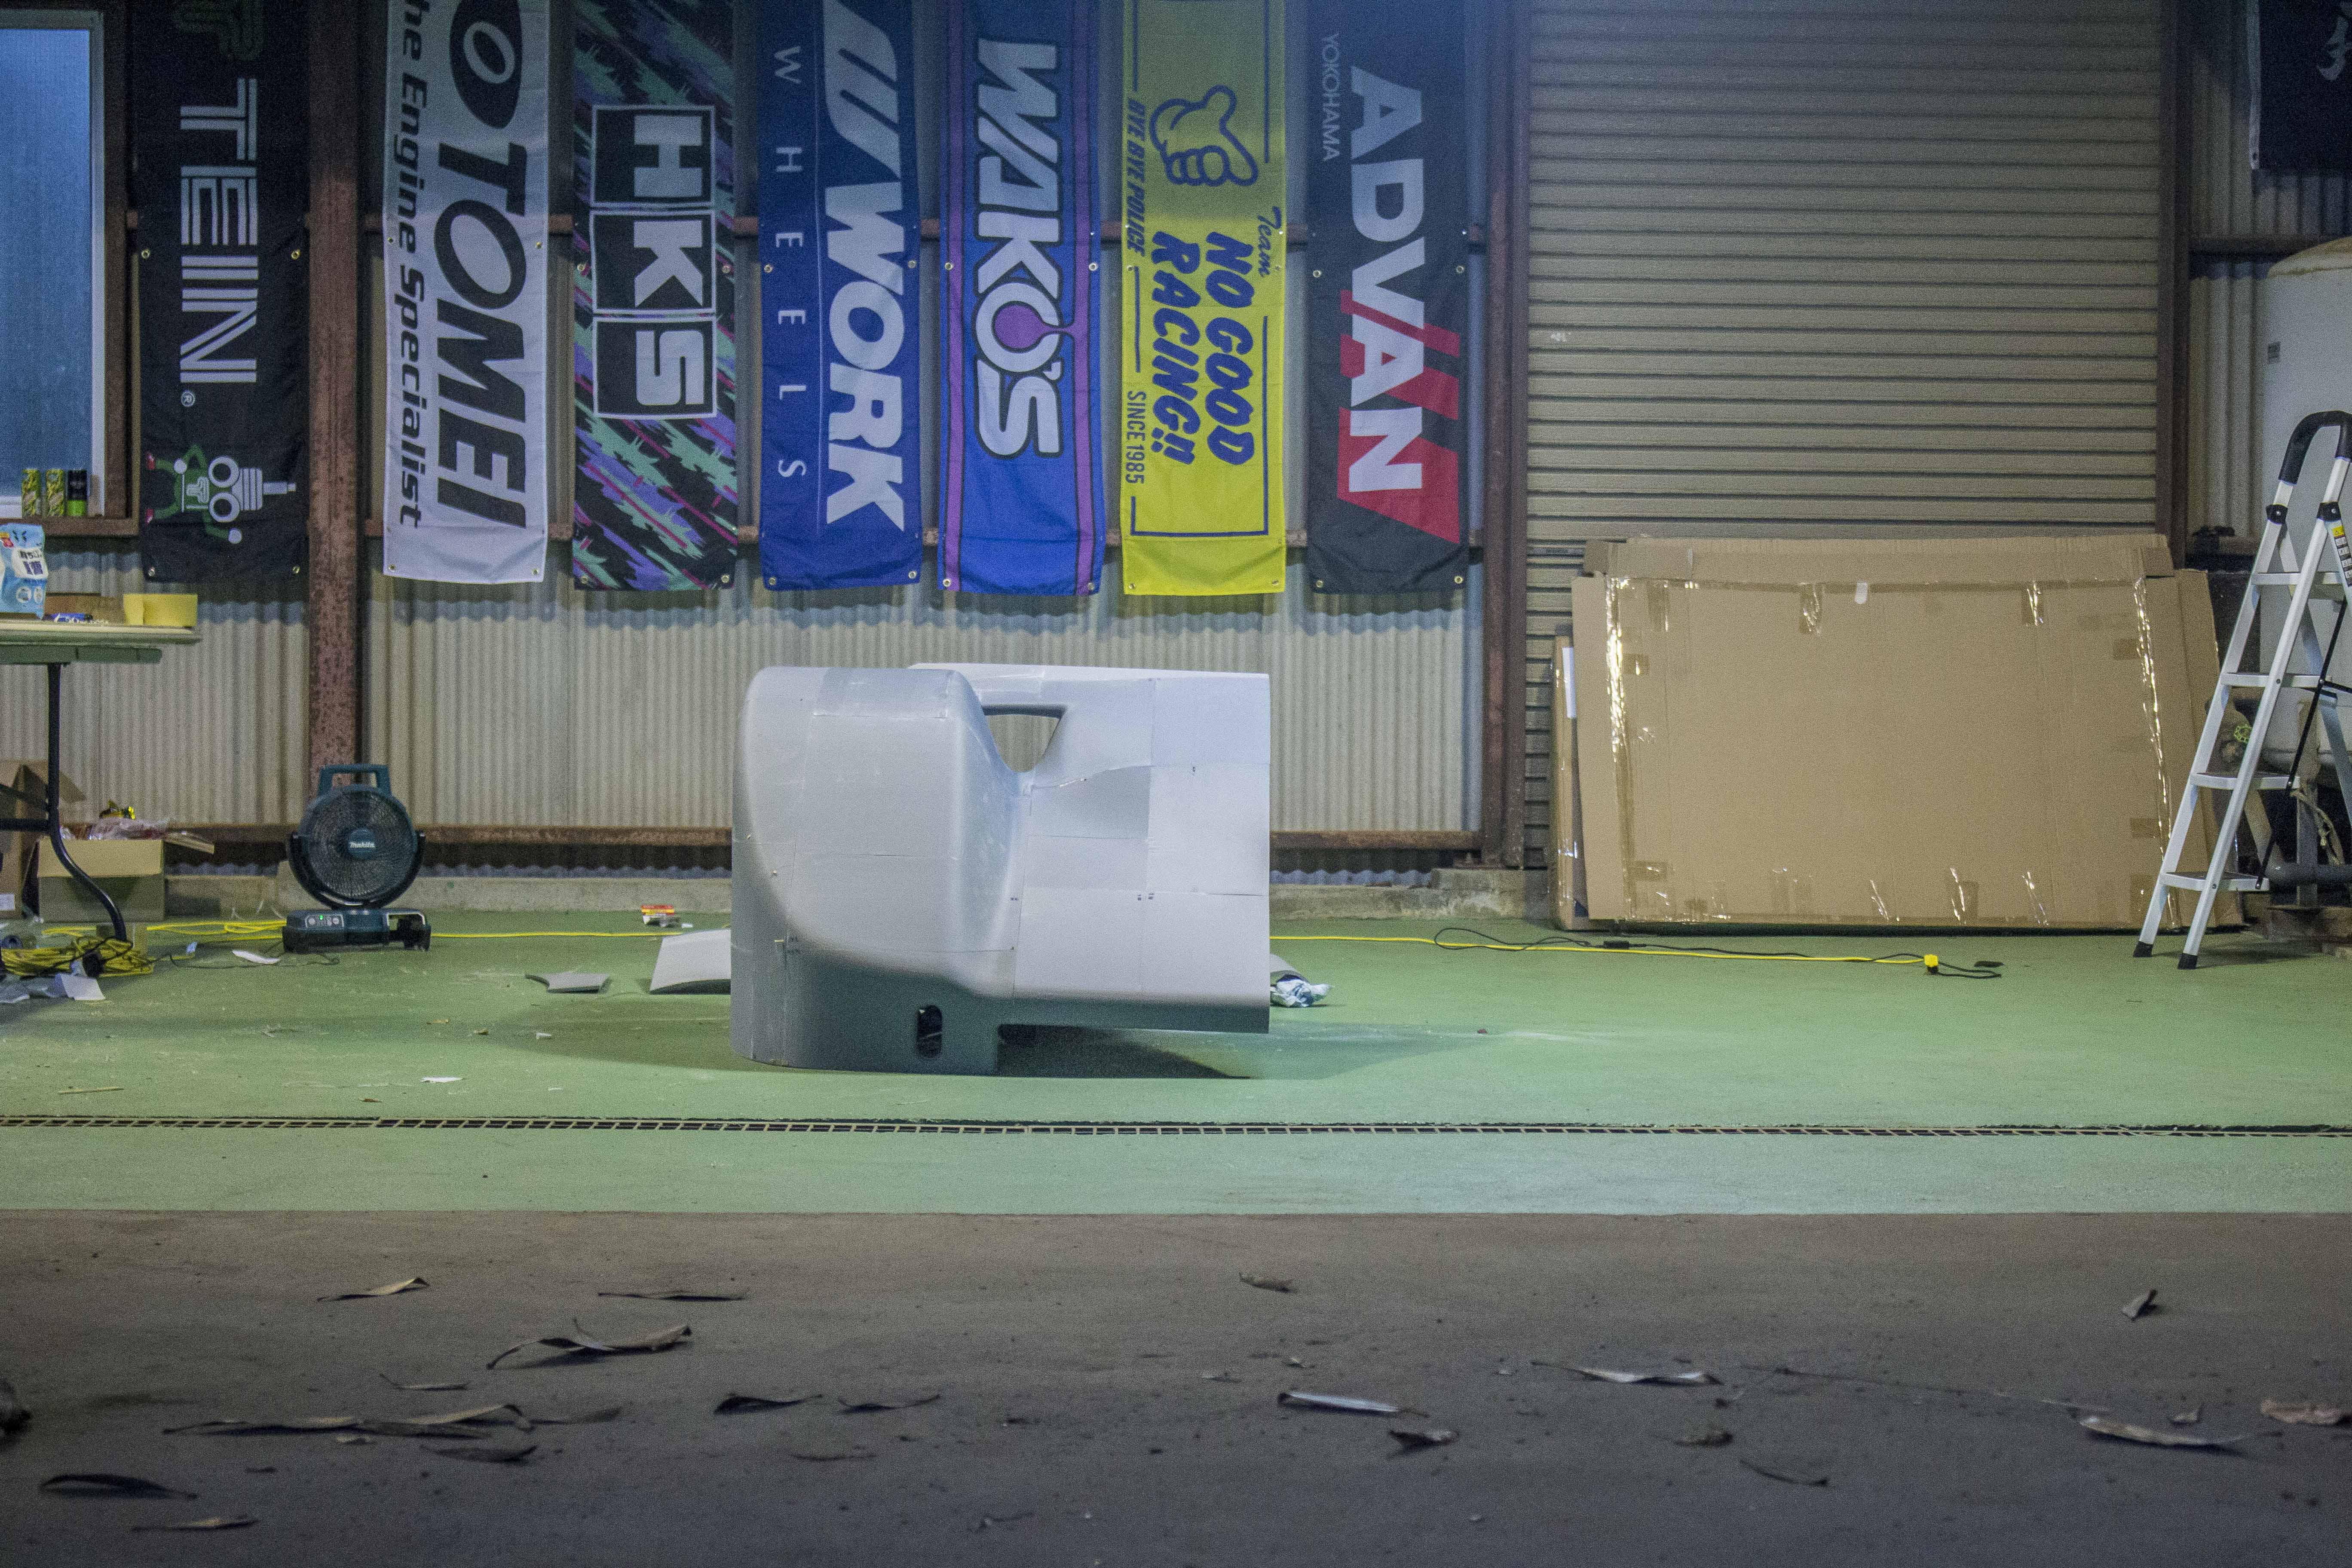
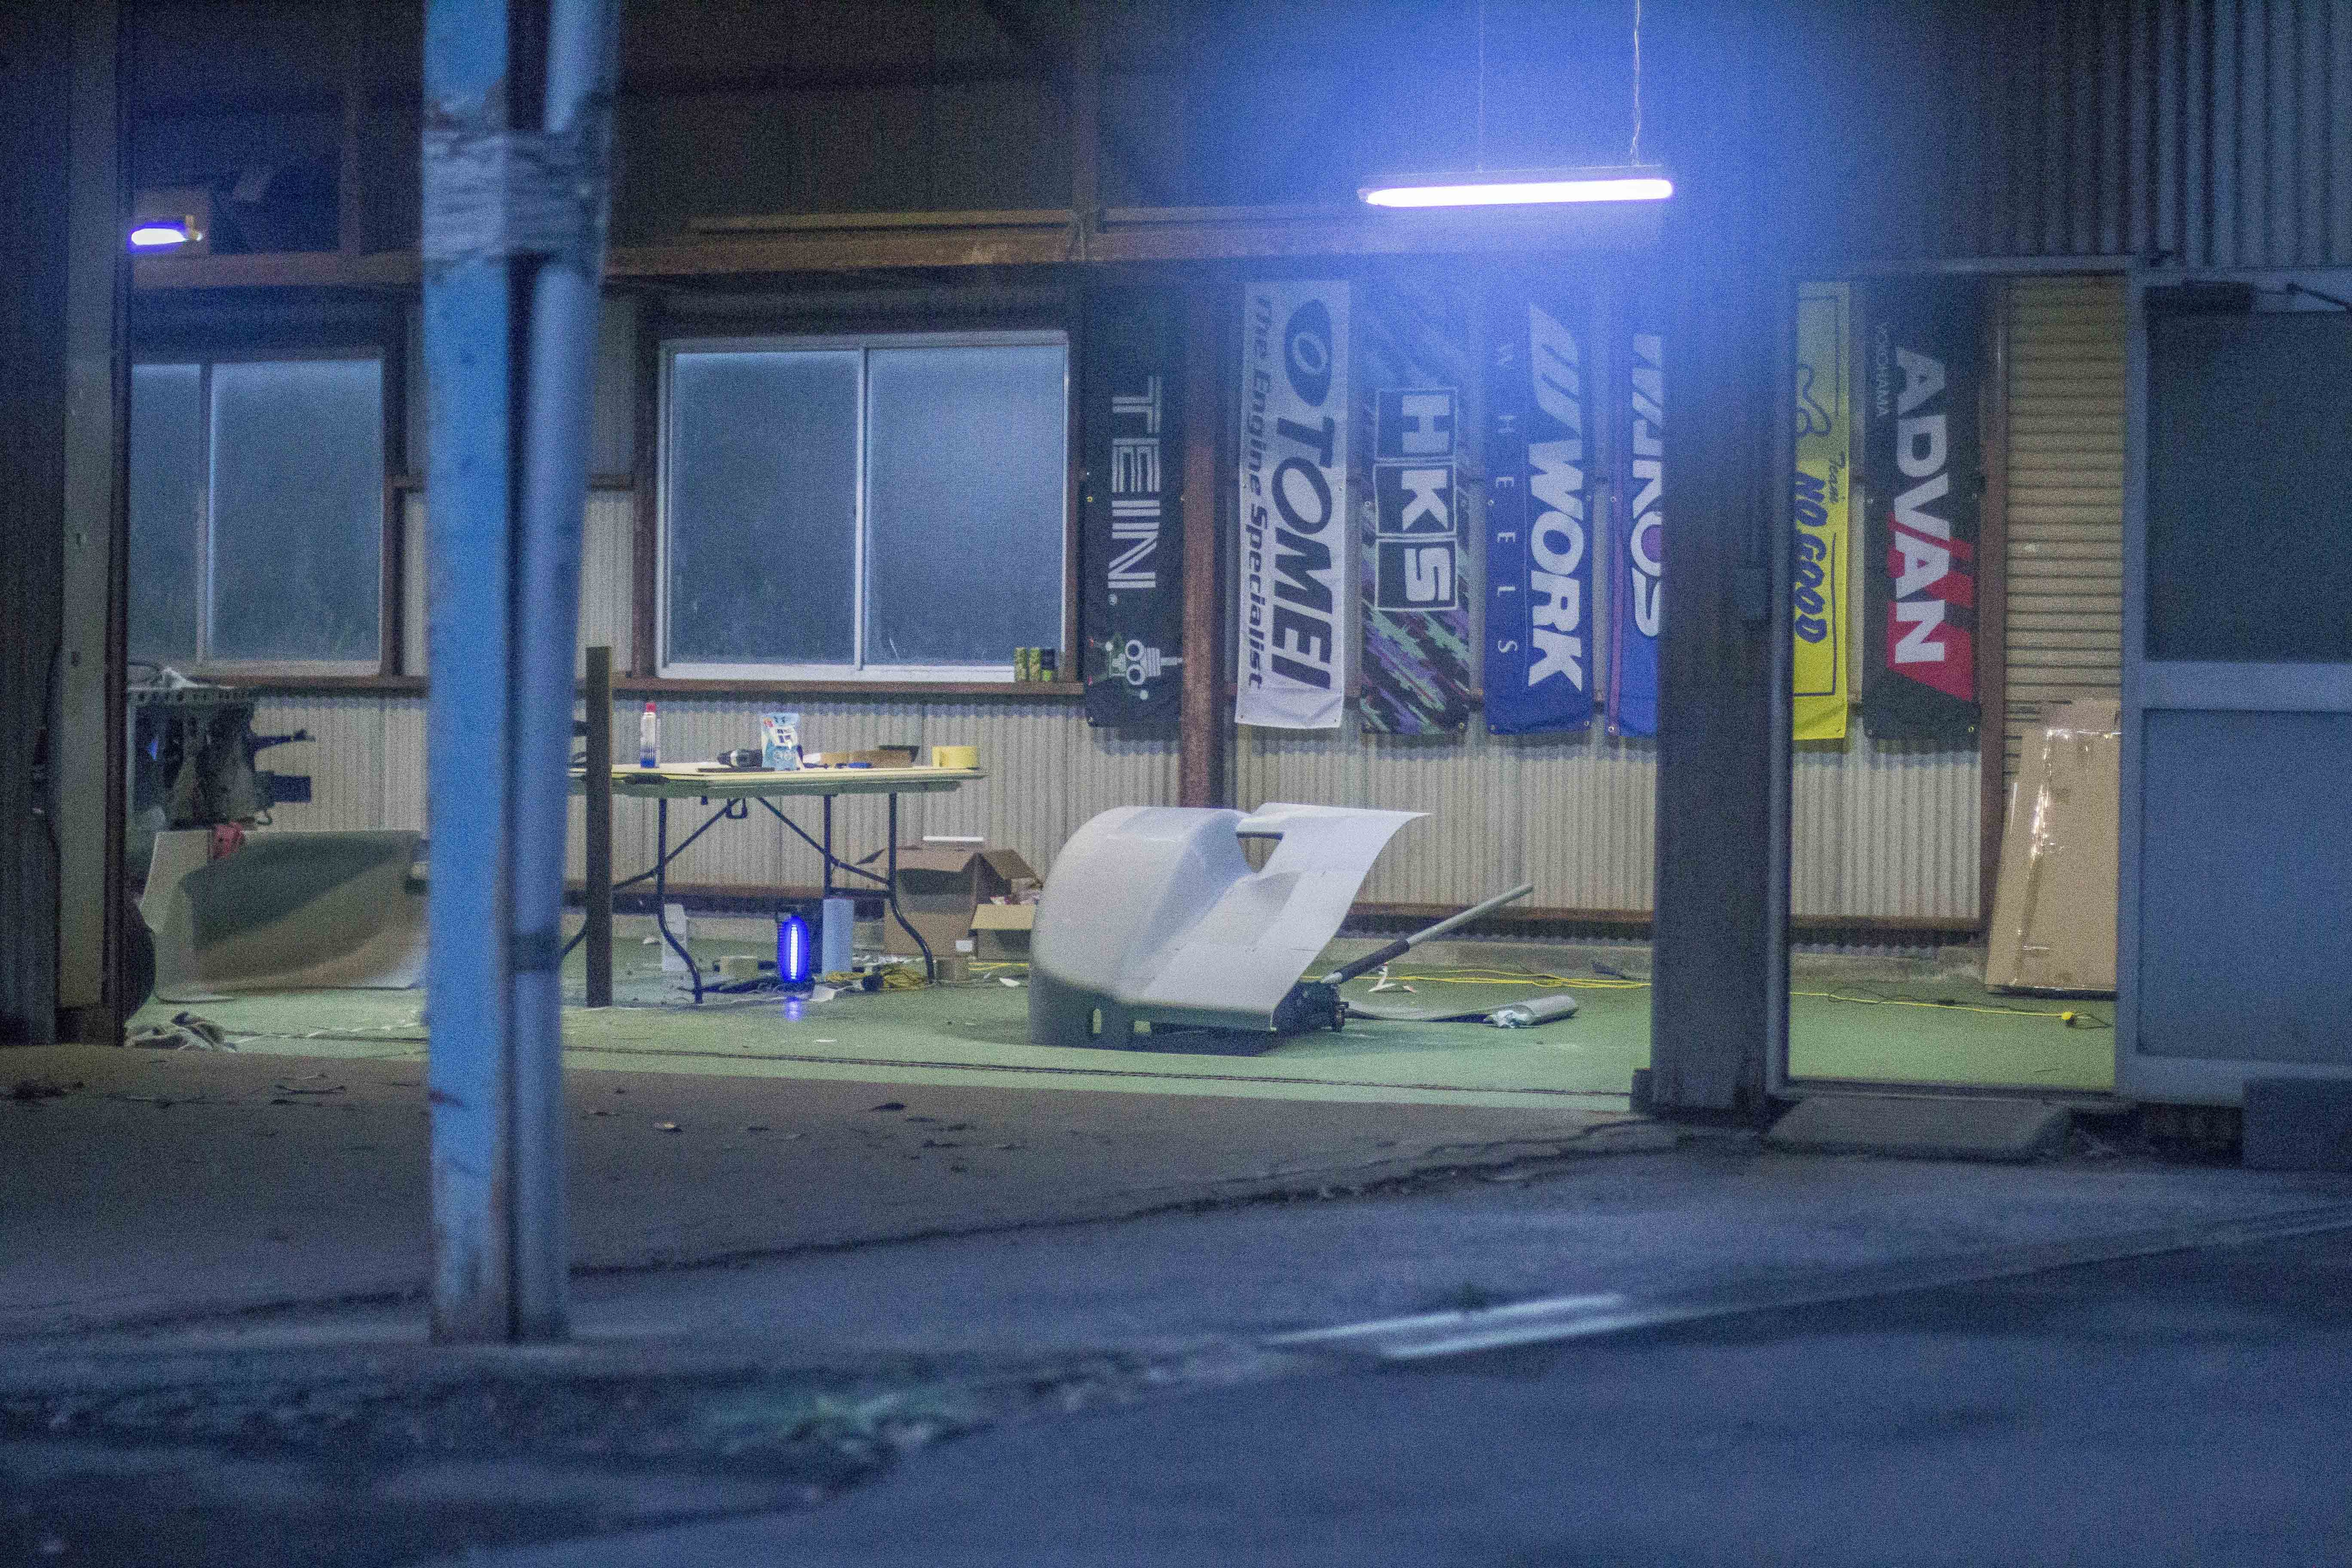
And in only a few days, I had the first of the 2 sides fully bonded together and I could step back and get a first glimpse at how this build is going to look.
I honestly almost cant believe it. When I had this first piece just thrown together and I was able to step back and look at it, that was when it finally hit me how absolutely wild this build is going to be.We've all seen pictures of these cars or driven them in racing games, but to actually see these lines and this lowness in person was something else. The final car will be about 30mm higher than this (there's a 45mm gap to the floor at the front, but I added a 15mm flange all around the bottom edge) but even at this height, the top of the arch is just up to my knee. Bologna you could say.And the "door wedge" analogy is so true, I don't mean to rag on an old man, but some of the gaps under the doors back at the farm in NZ where I used to live, you could jam this front end under them to stop them banging in the wind.
I'm just getting these photos posted now for a quick update as I like to keep you guys more or less up to speed in real time even if the videos take a little while to put together. I'll have the second half of this post up soon once I've had a chance to put the photos together, but I just finished gluing up the other side last night and I can't wait to share the finished product with you all.
Files