Home

 Creators
 Search
 Recent
 Random
 Posts
 DMs
 Tags
 Random
 Importer
 Import
 FAQ
 Account
 Register
 Login
 Favorites
 Keys
 Logout
 Telegram

Getting Some Paint on This Thing. (Patreon)
Content
This is going to be a very pic heavy update so strap in.
Here's where we were at with the last update. Body work finished, looking like a mess.
The shapes are great, it's definitely all getting that sharper look that I always had in mind. Gotta overpower those soft Mx5 curves.Got some primer on the flares, new sidepods and the wooden braces.
After that I set about removing the wrap. 5 years in the sun had left this stuff incredibly perished and so it basically just had to get scraped off with a heat gun and a spatula.
It took quite a bit of the epoxy primer with it, I didn't do my best job with the prep before I laid this down. You live and learn.
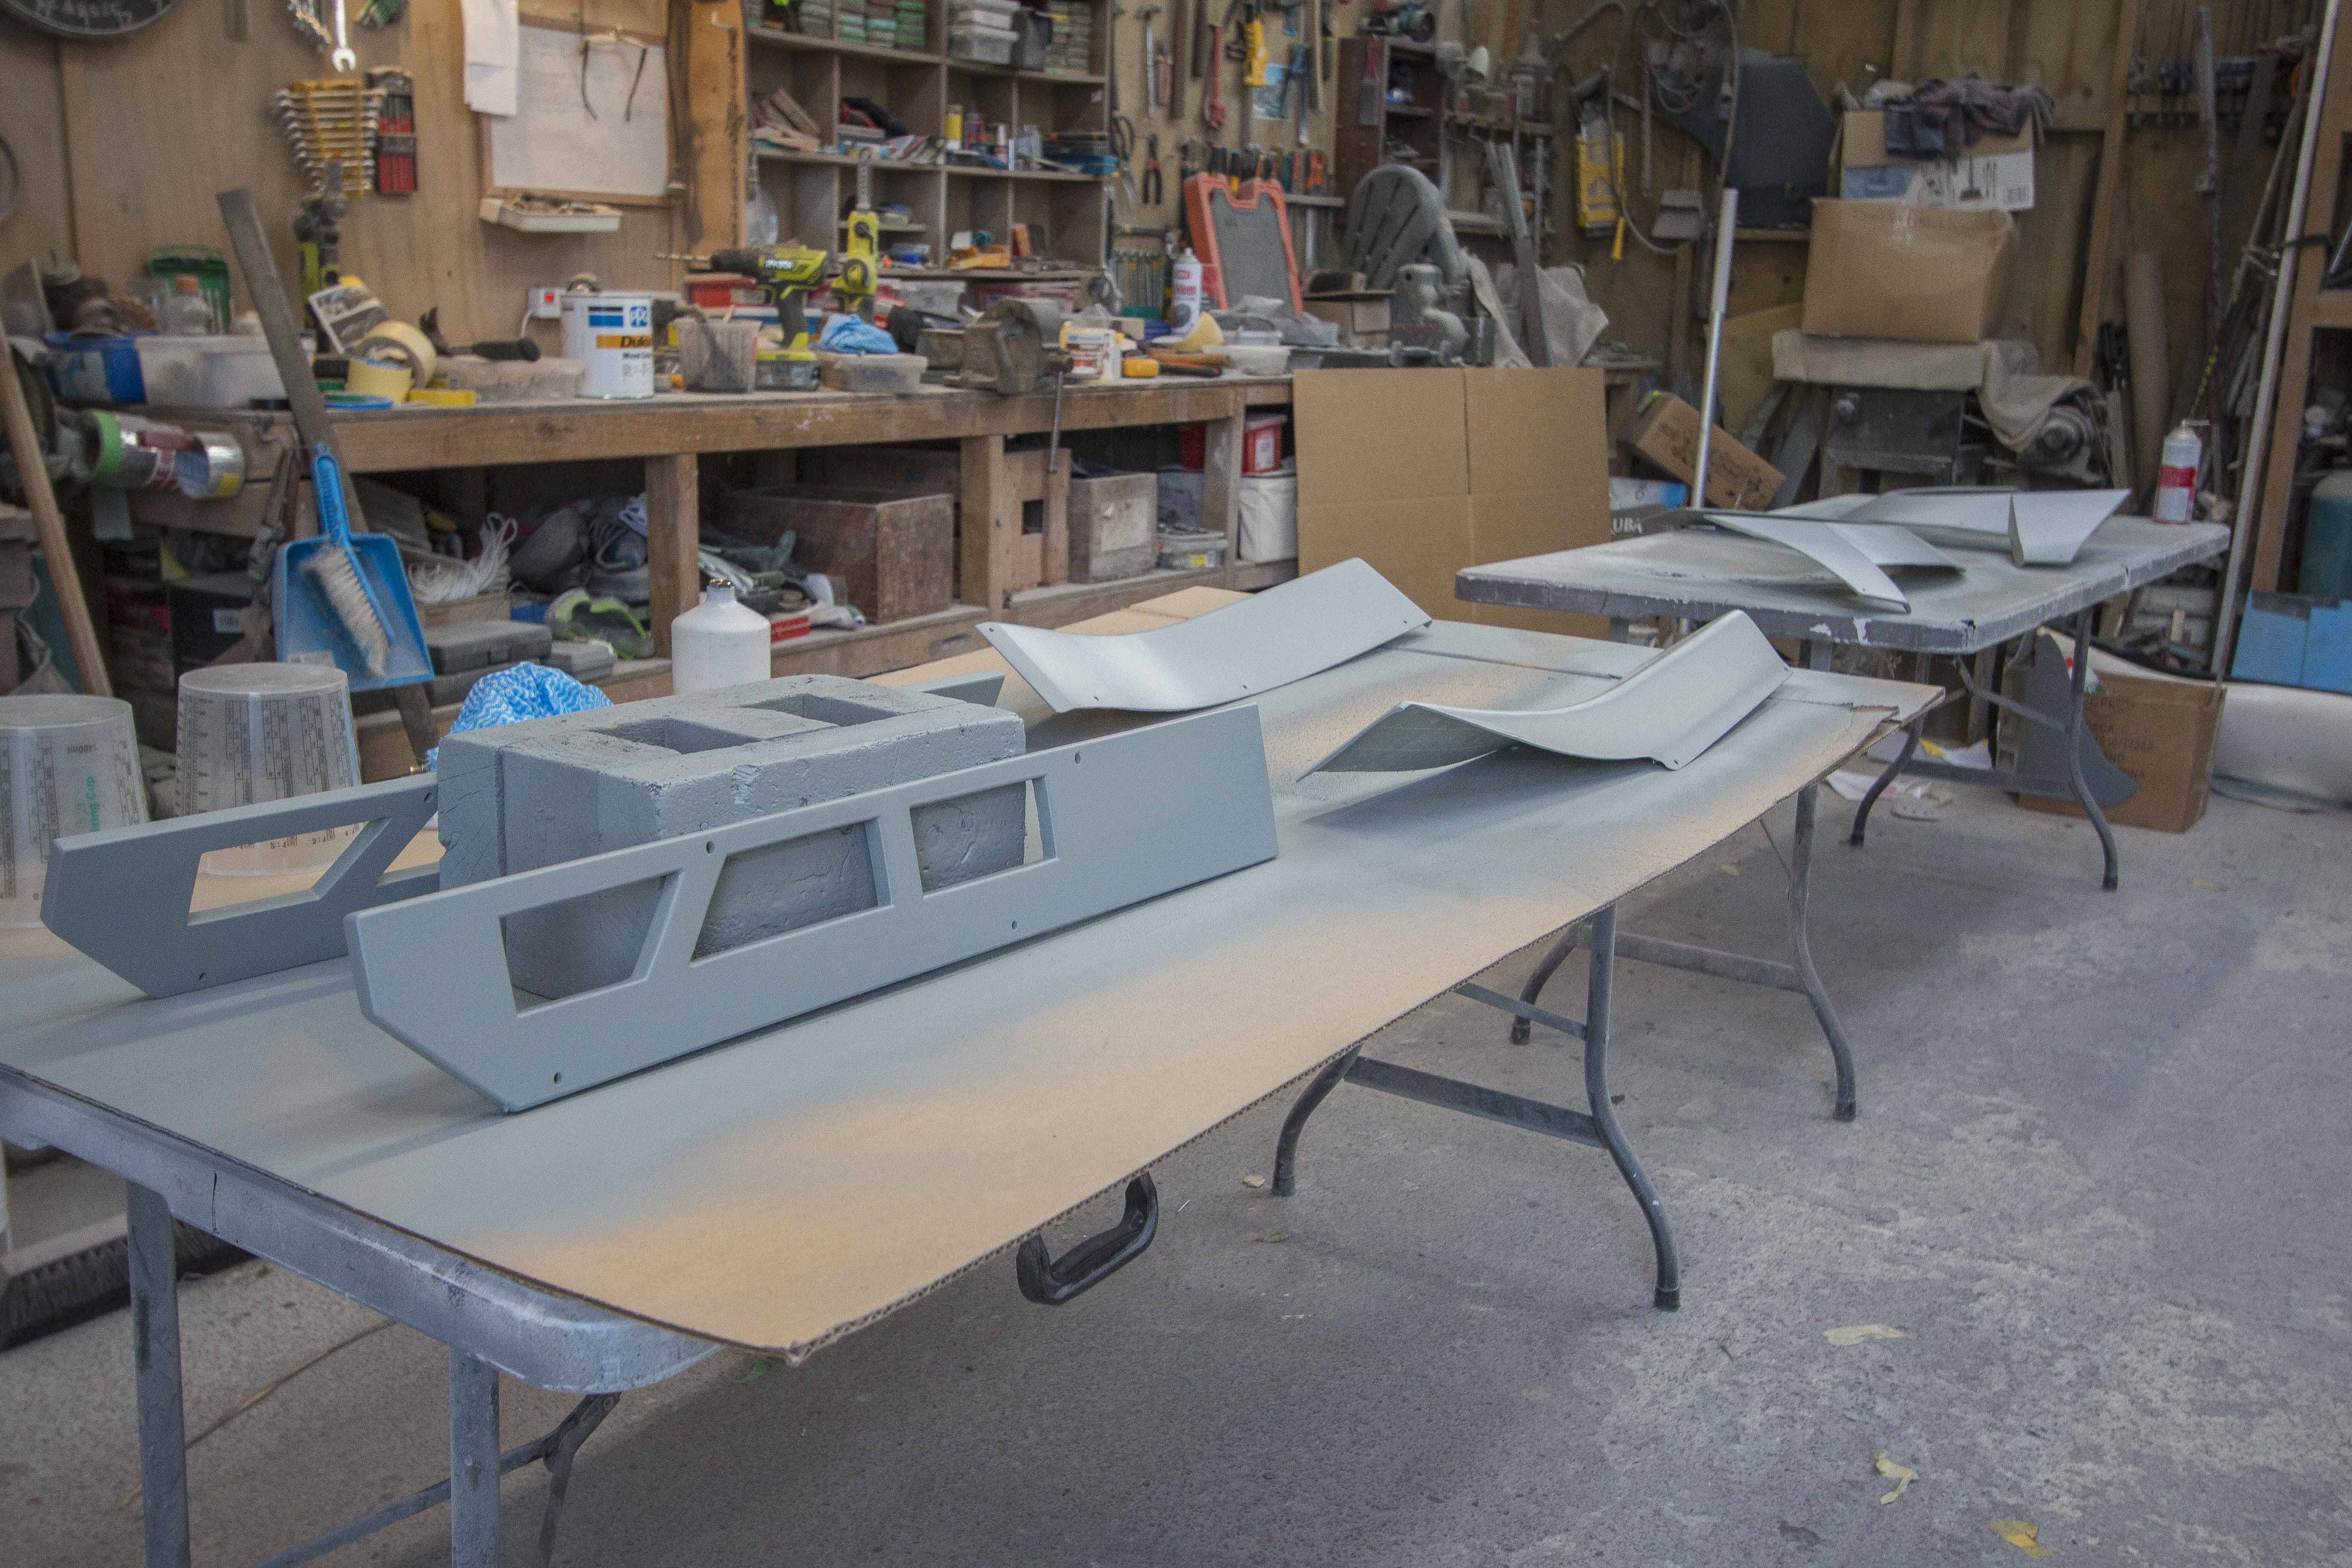
After going over the exposed metal and body filler with some fresh epoxy primer (white) I got started on the front bumper.
For the bumper I knew I wanted to go with the original yellow, but I could no longer find that colour in stores anywhere. I don't even know if they still make it. I had 1 and a half cans left from when I did some touch ups a couple years ago and so to stretch that paint as far as I could I went for a gradient on the bumper. Top half yellow, fading to black on the bottom lip. Similar to how the original MX5 bumper looked.
I gave the top a coat of white primer before the yellow to help it pop.
That lower section will get touched up with some black afterwards. I had to spray past my lines to make sure there was no white left.
Then I sprayed the wings elements black. This gloss was incredible just off the gun.
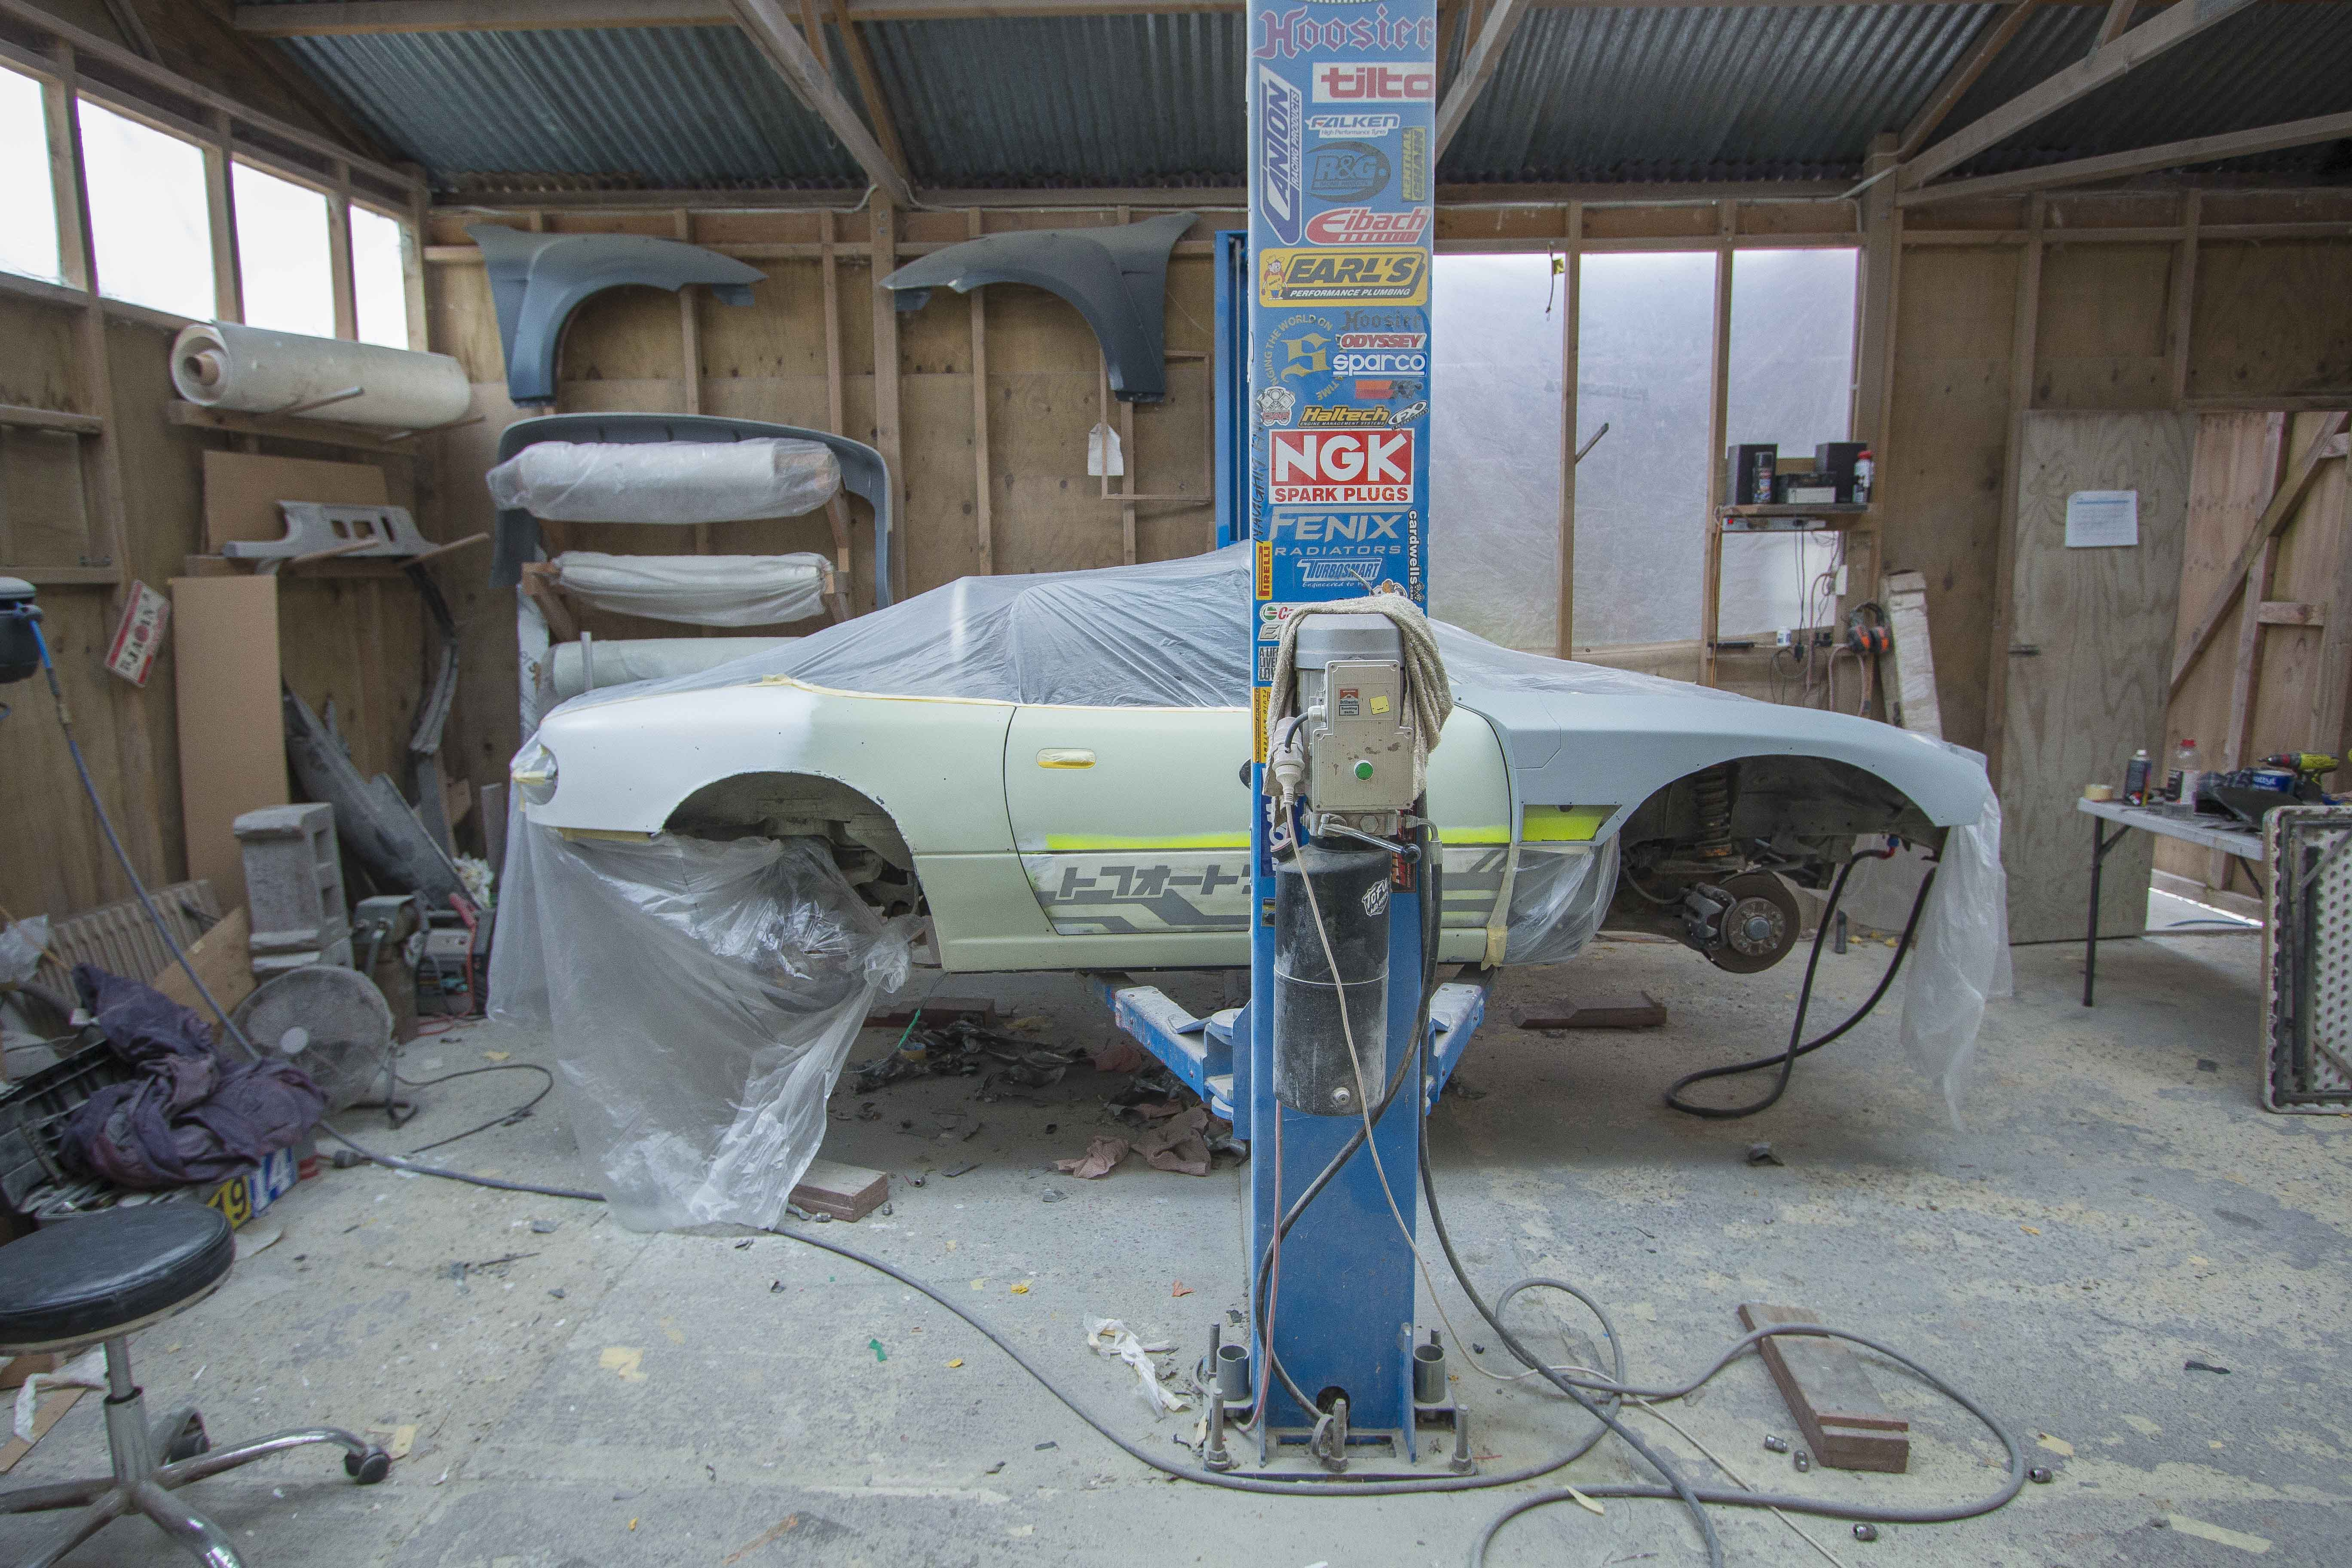
Then I finally got started on the bodywork. For this version of the car I wanted to do a dirty gradient on the side, with silver on top fading to a darker charcoal on the bottom half. Since I'm basically just using up left over cans at this point, I had a whole mix of different paints, oil, epoxy, lacquer, enamel. I tested all of them and through some experimentation found a way to spray them on top of eachother in a specific window of time that result in no wrinkling or reactions, so I started with the dark charcoal lacquer.
Followed straight away with silver epoxy enamel.
It's wild how after curing to a satin finish, this silver we've had in a can for about 10 years ended up nearly identical to the satin gunmetal wrap I ordered for this car when I did it the first time. Should have just painted it this colour the whole time.Then we move on to the first really satisfying part. I left the decals on the doors when I resprayed it, and so by peeling them off I was able to keep the original yellow but now with the colours flipped. Came out pretty cool.
Love how all the yellow bits pop. I also decided to spray the little upper wing bracket, just to bring that colour all the way around the car.
You can see in the above shot I've also painted the fender flares in as close a colour match as I could make to the originals. Mixing lacquers and epoxy enamels was something everyone tells you not to do, but I was able to smash it out and they came out great.
Then for a small detail that nobody will really see. For an accent colour on this car I really wanted pink. I've had pink already on the window banner and the original stripes on my wheels, but this was a really hot barbie pink.
I did the front crash bar knowing that it would be almost completely hidden. Sprayed some crosses on it because it leans into that dystopian graffiti look that I'm going for. Then Added a couple more splashes of pink on the side splitters and rear wing end plate.
I put these white stripes on to try and give it more of a cyberpunk feel, but I really ended up hating them to be honest.
For that industrial brace piece on the sideskirt I mixed a custom sage-gold colour. I love how it's got so much green in it but still a nice gold metallic look.
I ended up testing two different colours for the wing end plates. This side I actually wrapped it in some leftover pieces of the original silver wrap just to see if I liked it. The other side is dark charcoal. I definitely prefer the silver.
And again I chucked a little cross on there with the rattle can.
Then I didn't mess around and got straight into weathering. I went over all the edges with an airbrush and a tiny bit of black paint. Making some streaks on any raised details. Then using some acrylic black on a wet rag I went over the whole car and then with a clean rag tried cleaning all that black back off.
This leaves a great weathering effect as the paint is mostly lifted off in all the areas besides the deep recesses where it would be hard to clean. Giving it a really authentic weathered look.
One colour I wasn't expecting was the army green I did on the three added greebles behind the fenders and on the front bumper. It also works incredibly with the pink in my opinion.
Here you can see the dark side of the end plates. They don't look bad, but they do kind of lack some visual weight when looking at the car from the side. Would be incredible if I was trying to build a batmobile though.
Speaking of batmobiles, look at this rear view. Just insane.
This rear 3/4 view has to be my favorite angle of the car. Those massive exposed tires, that aggressive front fender, the wing, the tail light. This is the angle the car looks best.
Along with the weathering I immediately threw some black tape over the front fender where the white stripes were and it looks so much better.
For the bonnet I wanted to copy what I'd done with the original bonnet as far as the black on the inside of the vent, but for this version I wanted to stay away from any clean stencils and so all of this was done free hand with spray cans and air brushes.
Overall I absolutely love how this car has come together. It really feels like an evolution of the original build now and not just something with barely any resemblance.
As I mentioned in the previous post, I have literally thousands of photos of this car since I painted it, and so now that I've edited those I'll be releasing them on Instagram and stuff sort of periodically every time people forget about this build. I'll have some more photos of it outside of the garage up at some point in the next few days. Just trying to smash out these videos first. What you didn't see in these photos but will show up in the videos is that I had surgery on my finger for an issue that's been bugging me for years, and while I was recovering and had my hand in a sling, my dad helped me out a lot with cleaning up, prepping and sanding many of these panels. The car came out great and we were able to get it done just before I flew back, I don't know if I would have been able to finish it on my own so just want to say thank you to him here as well.Thanks for reading if you read any of this. Even if you just looked at some of the pretty pictures that's fine too. Hope you guys love that finish just as much as I do because I'm absolutely stoked. I finally like this car again.
Files