Home

 Creators
 Search
 Recent
 Random
 Posts
 DMs
 Tags
 Random
 Importer
 Import
 FAQ
 Account
 Register
 Login
 Favorites
 Keys
 Logout
 Telegram

Cyberpunk Mx5 - Making the Rear Ducktail Mould. (Patreon)
Content
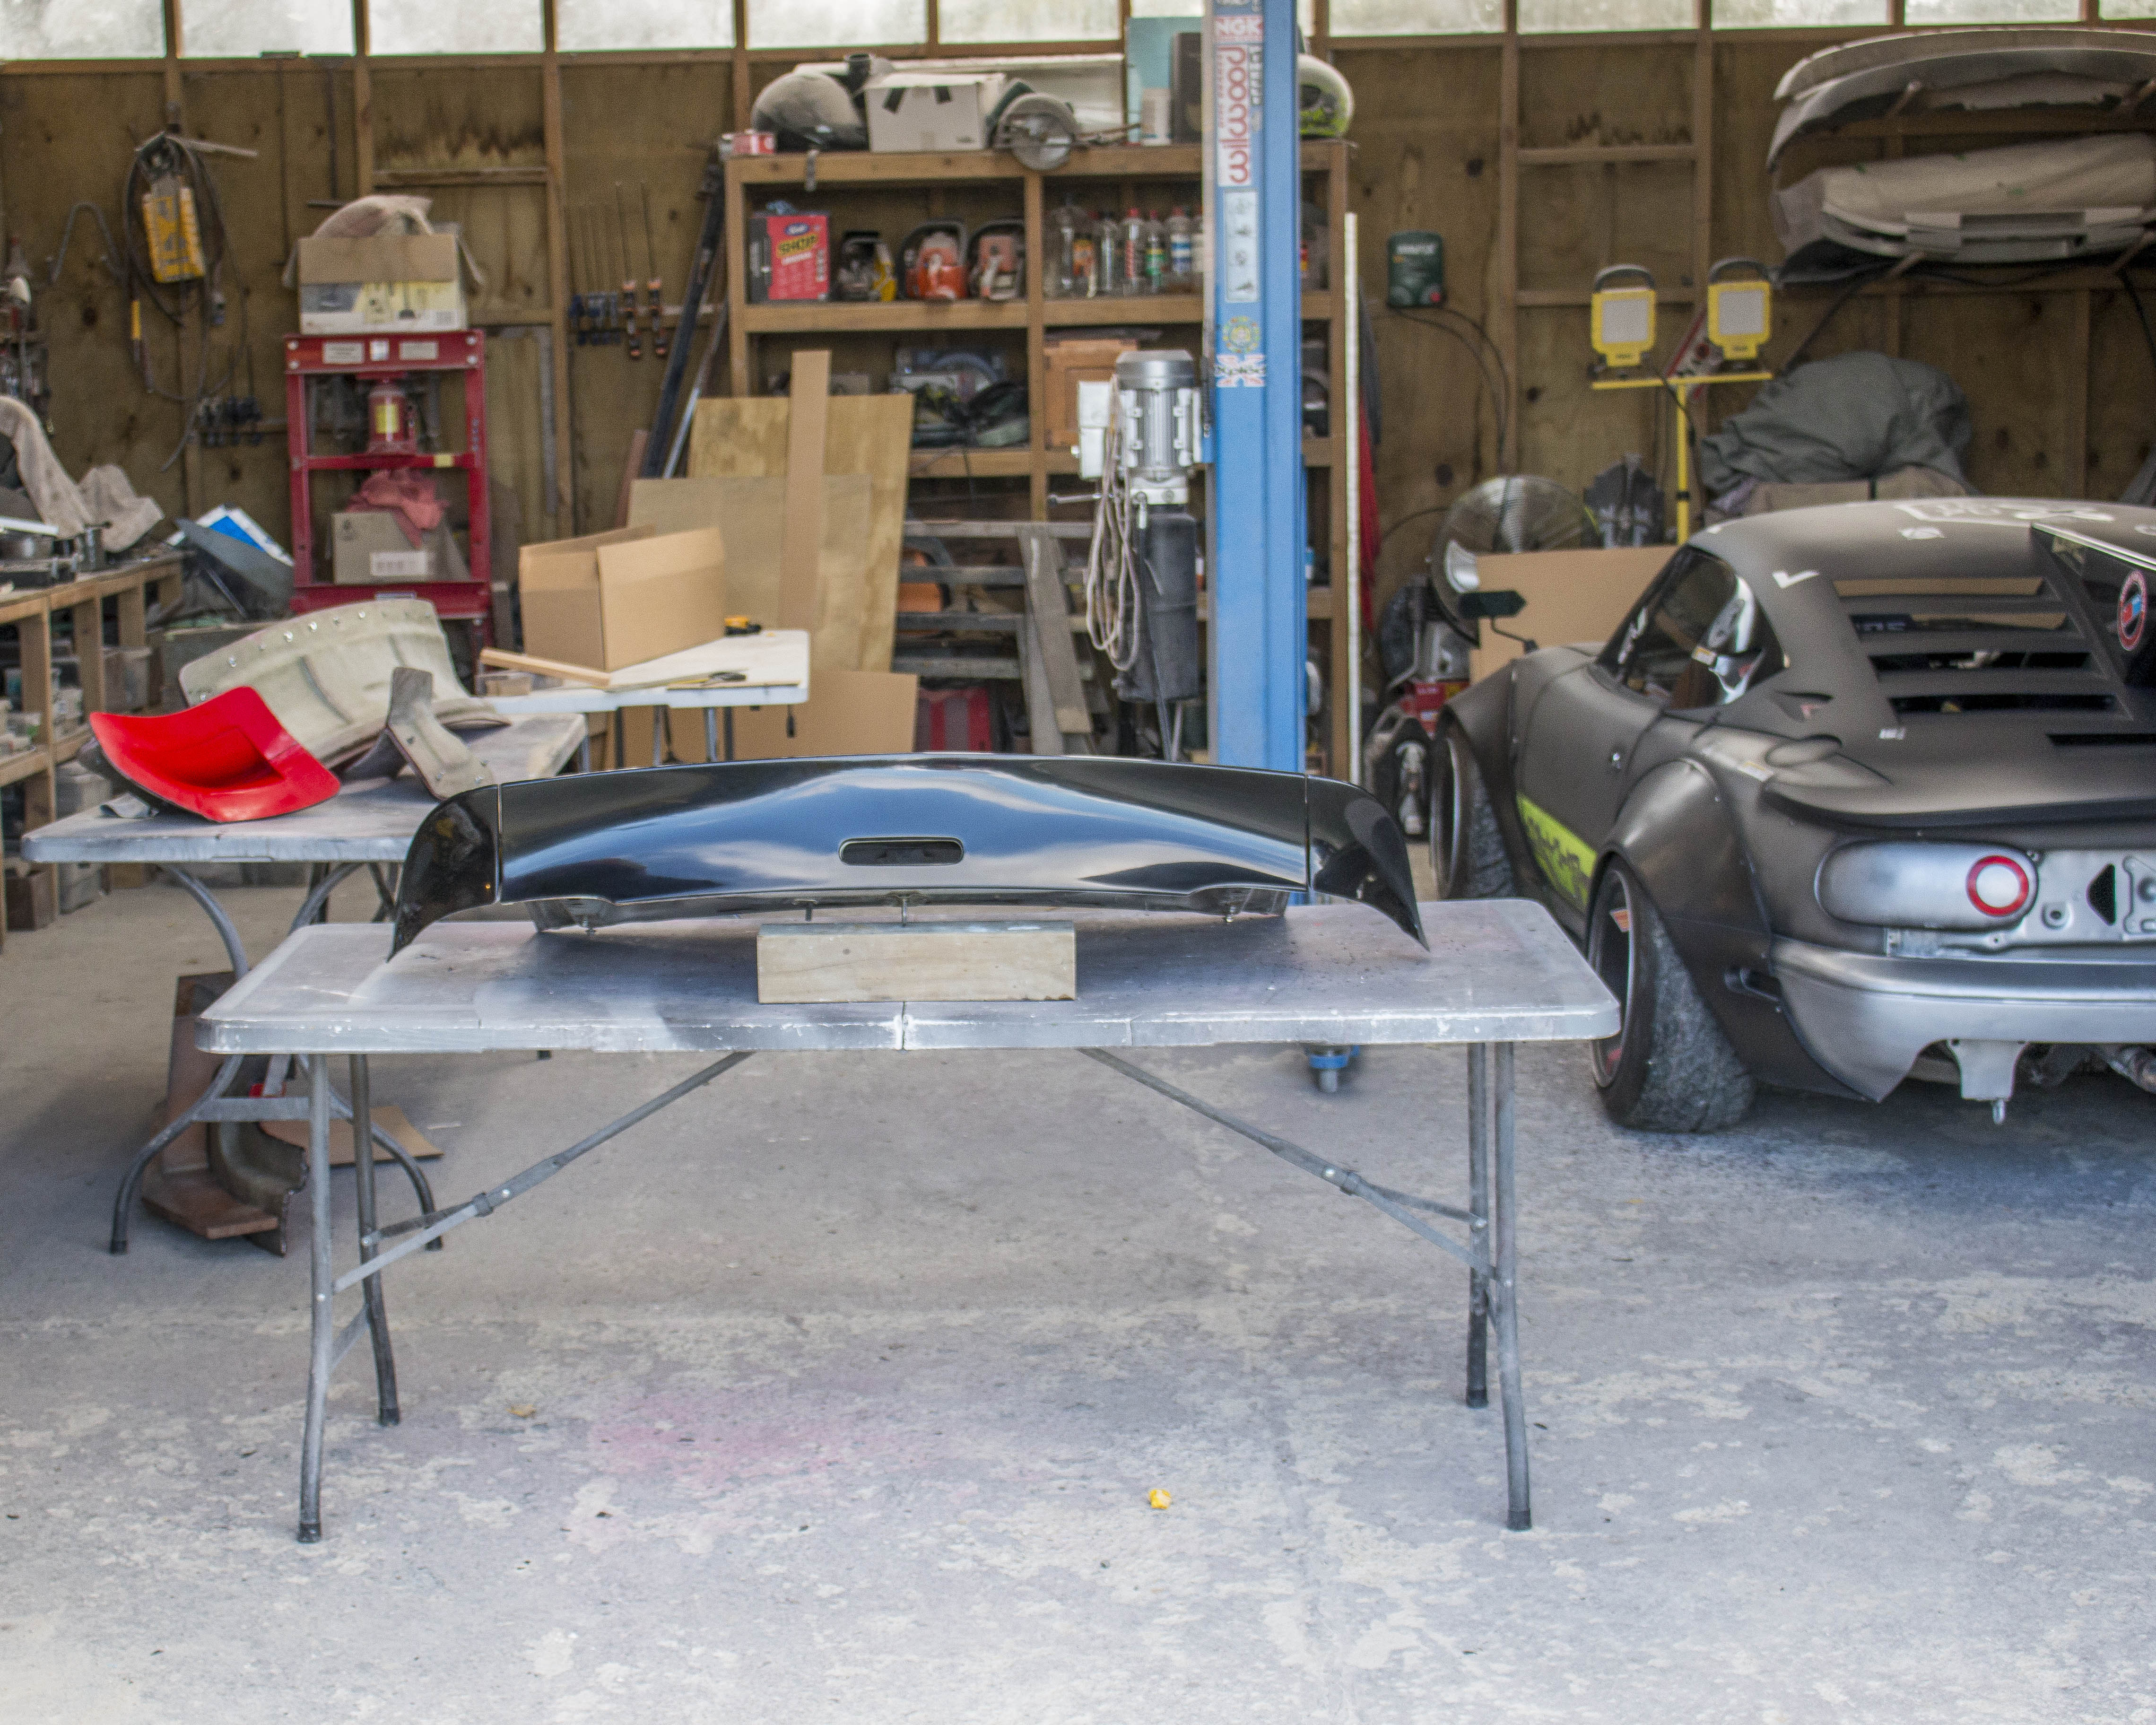
I thought for the first little behind the scenes post I put up on this Patreon I'd do a detailed post of the mould making step for my original 3 piece ducktail spoiler on the Mx5.I did this off camera just before I started on the fastback and so there's no record of it on YouTube. First step is tear down.So one thing that I've been meaning to tackle for a while is this rear ducktail spoiler. It was a semi custom piece that I made and since then a lot of people have expressed interest in it. Initially I wasn't confident with making these but I've expanded my skills a bit the past year and so think I'm finally ready.The first step was to rebuild the edges and get it to the right dimensions to work without my custom spoiler end plates.once I got the gaps looking good and lining up with the OEM fitment I could start working on plug prep.For this I used my standard clear plastic flange method as I find this just gives me a bit more rigidity than cardboard and lets me work with the plug a bit to make a really good quality mould.With the flanges designed and trimmed I went ahead and fixed everything together. Gluing and screwing the spoiler off to the boot to make sure that the mould would be a 100% form fitting shape and avoid all that horrible warping you often see on these spoilers.
THE NEXT DAY
Once the glue had set I was able to trim off all the screw heads and then primed the plugs with the same 2 part epoxy sealer I used on my other moulds for the Mx5 flares.The finish was pretty flat out of the gun but they all got wetsanded anyway.Went through the grits up to 3000 and then swapped over to cutting compound to get a mould quality finish.Then after that I gave the plugs a good 5 layers of wax and fitted the flanges.These flanges were such an unbelievable pain in the ass to make and I'm still wondering if I tackled it the right way. I made a carboard template using my contour gauges and transferred it to this clear plastic I like to use but only had 1 shot to cut it absolutely perfectly as I couldn't fill any gaps between the flange and the part.I need to have that seam down the middle of the spoiler because I will have to make the final parts in 2 pieces and glue them together. Having the seam down the middle was the easiest bet.
(Thinking about this with hindsight, I probably could have just put my flanges along the back edge of the spoiler and filled in any gaps with filleting compound, but at this time my fiberglass supplier didn't stock any and so I needed other solutions.)With that done though I could finally move on to applying PVA release film which I do for all my moulds and then I could spray my gelcoat. To spray gelcoat I use a 3.0mm tip HVLP spray gun dedicated for gelcoat.I found that I was running into loads of issues with gelcoat not spraying and it turned out to be because I don't go through my gelcoat very fast, it ends up sitting for a while. Gelcoat doesn't have a long shelf life and really needs to be used up within a year so the issue I was having was it was getting so thick that it wouldn't spray. Since then I discovered if you just thin it with styrene until it flows nicely then you can keep using it with no issues.Spraying is always my recommended way of applying gelcoat because it gives a uniform coat and avoids any weird distortions in the mould surface from varying thickness. You also use a lot less gelcoat when applying via spray because you don't have to wait for one coat to dry so you can brush on a second coat like you would do with brush application. This was my first time spraying my tooling gelcoat and wasn't even sure it was going to work since it's a bit thicker than my normal gelcoats, but it came out mint and I'm way happier with the more uniform coat you get with spraying rather than brushing it on which always leaves thick / thin spots.I always aim to spray my gelcoat in the evening once it's cooled off a little as it stops it all from going off in the pot. Then I just leave it overnight to cure and comeback and throw the skin coat on first thing in the morning.and that leaves us here at the end of today.Both the skin coat (1 layer of tissue followed by 1 layer of 225 gsm mat) and the first couple layers of 450 gsm are down so I'll let this cure up over night and then tomorrow I should be able to smash out the next 3 coats.Aiming to build this mould up to a total of 8 layers of 450 as well as a bit of reinforcement along the edge that bolts to the bootlid to hopefully prevent the awful warping you always see in this type of part.THE NEXT DAYSince last time I've finished off the first side of the split moulds.I tried out a new method for reinforcing my moulds after discovering a technique that I've been using on a few of the the parts I've been making.I use pieces of expanding foam that I cut from a bock I keep lying around to reinforce certain parts I make like my rear garnish. The foam itself does nothing, but when it is wrapped in a couple layers of fiberglass the added geometry provides a massive increase in strength for not much added weight.I find the trick works well and since the foam is a neutral material with no expansion or swelling like wood that I used on my original Mx5 fender moulds, I don't have to worry about any artifacts of the bracing showing up on the mould surface.With 8 layers of glass built up as well as the additional bracing for the central piece I could remove the flanges and start on the other side of the mould.Then exactly the same process as the other sides. Srayed the gelcoat, let it cure overnight then the coupling / skin coat of tissue and 225, then 6 - 7 layers of 450 over the span of a couple days to keep heat down and reduce chance of warping of the mould.Then the moulds were ready to be pulled from the plugs.Each layer of glass added approximately 1mm and so the final moulds came out to be around 8mm thick on each side. These things are incredibly solid. Possibly overkill but what's a little extra glass for the reassurance that every part will be exactly the same shape forever.One small issue I did run into was on the central piece. Over the week or so that it had been glued together with the flanges and everything, the spoiler had started to slowly separate from the boot. This meant that the curvature of the mould would not be a perfect match to the bootlid and so I had to fix this before building up the main body of fiberglass.The parts were clamped back together and a much stronger glue was used to bond them back together. I'm giving this 24 hours to harden before I remove the clamps and finish building up the fiberglass but when that's done the entire set of moulds will be finished.So for now I've trimmed up the two side caps and started removing all the masking from the car in preparation for the next step of this build.
THE NEXT DAY
Yeah the clamping thing didn't work. Which to be honest, I kind of expected but decided what's a couple extra days to do things properly.So off comes the mould before I waste too much fiberglass on something that I know wont be any good.
Then all the glue and old flange was removed and thoroughly cleaned out so new flanges could be made then the whole spoiler was screwed off to the bootlid to make sure there was no funny business this time around.So that was a pretty annoying extra 2 days of work and a couple steps back but now the plug is finished up and all polished and waxed ready for gelcoat.
THE NEXT DAY
So after waiting a few days for some more fiberglass to arrive I was able to finish up the moulds.Same as my last moulds, these ones are about 8 - 10mm thick. Makes them solid as hell and no chance that they could warp at all so the parts from it will fit 100%.In a sort of meta, behind the behind the scenes moment, while I was making this mould, I was also working on a set of universal vents. So I took this opportunity to finish the fiberglass on those as well.
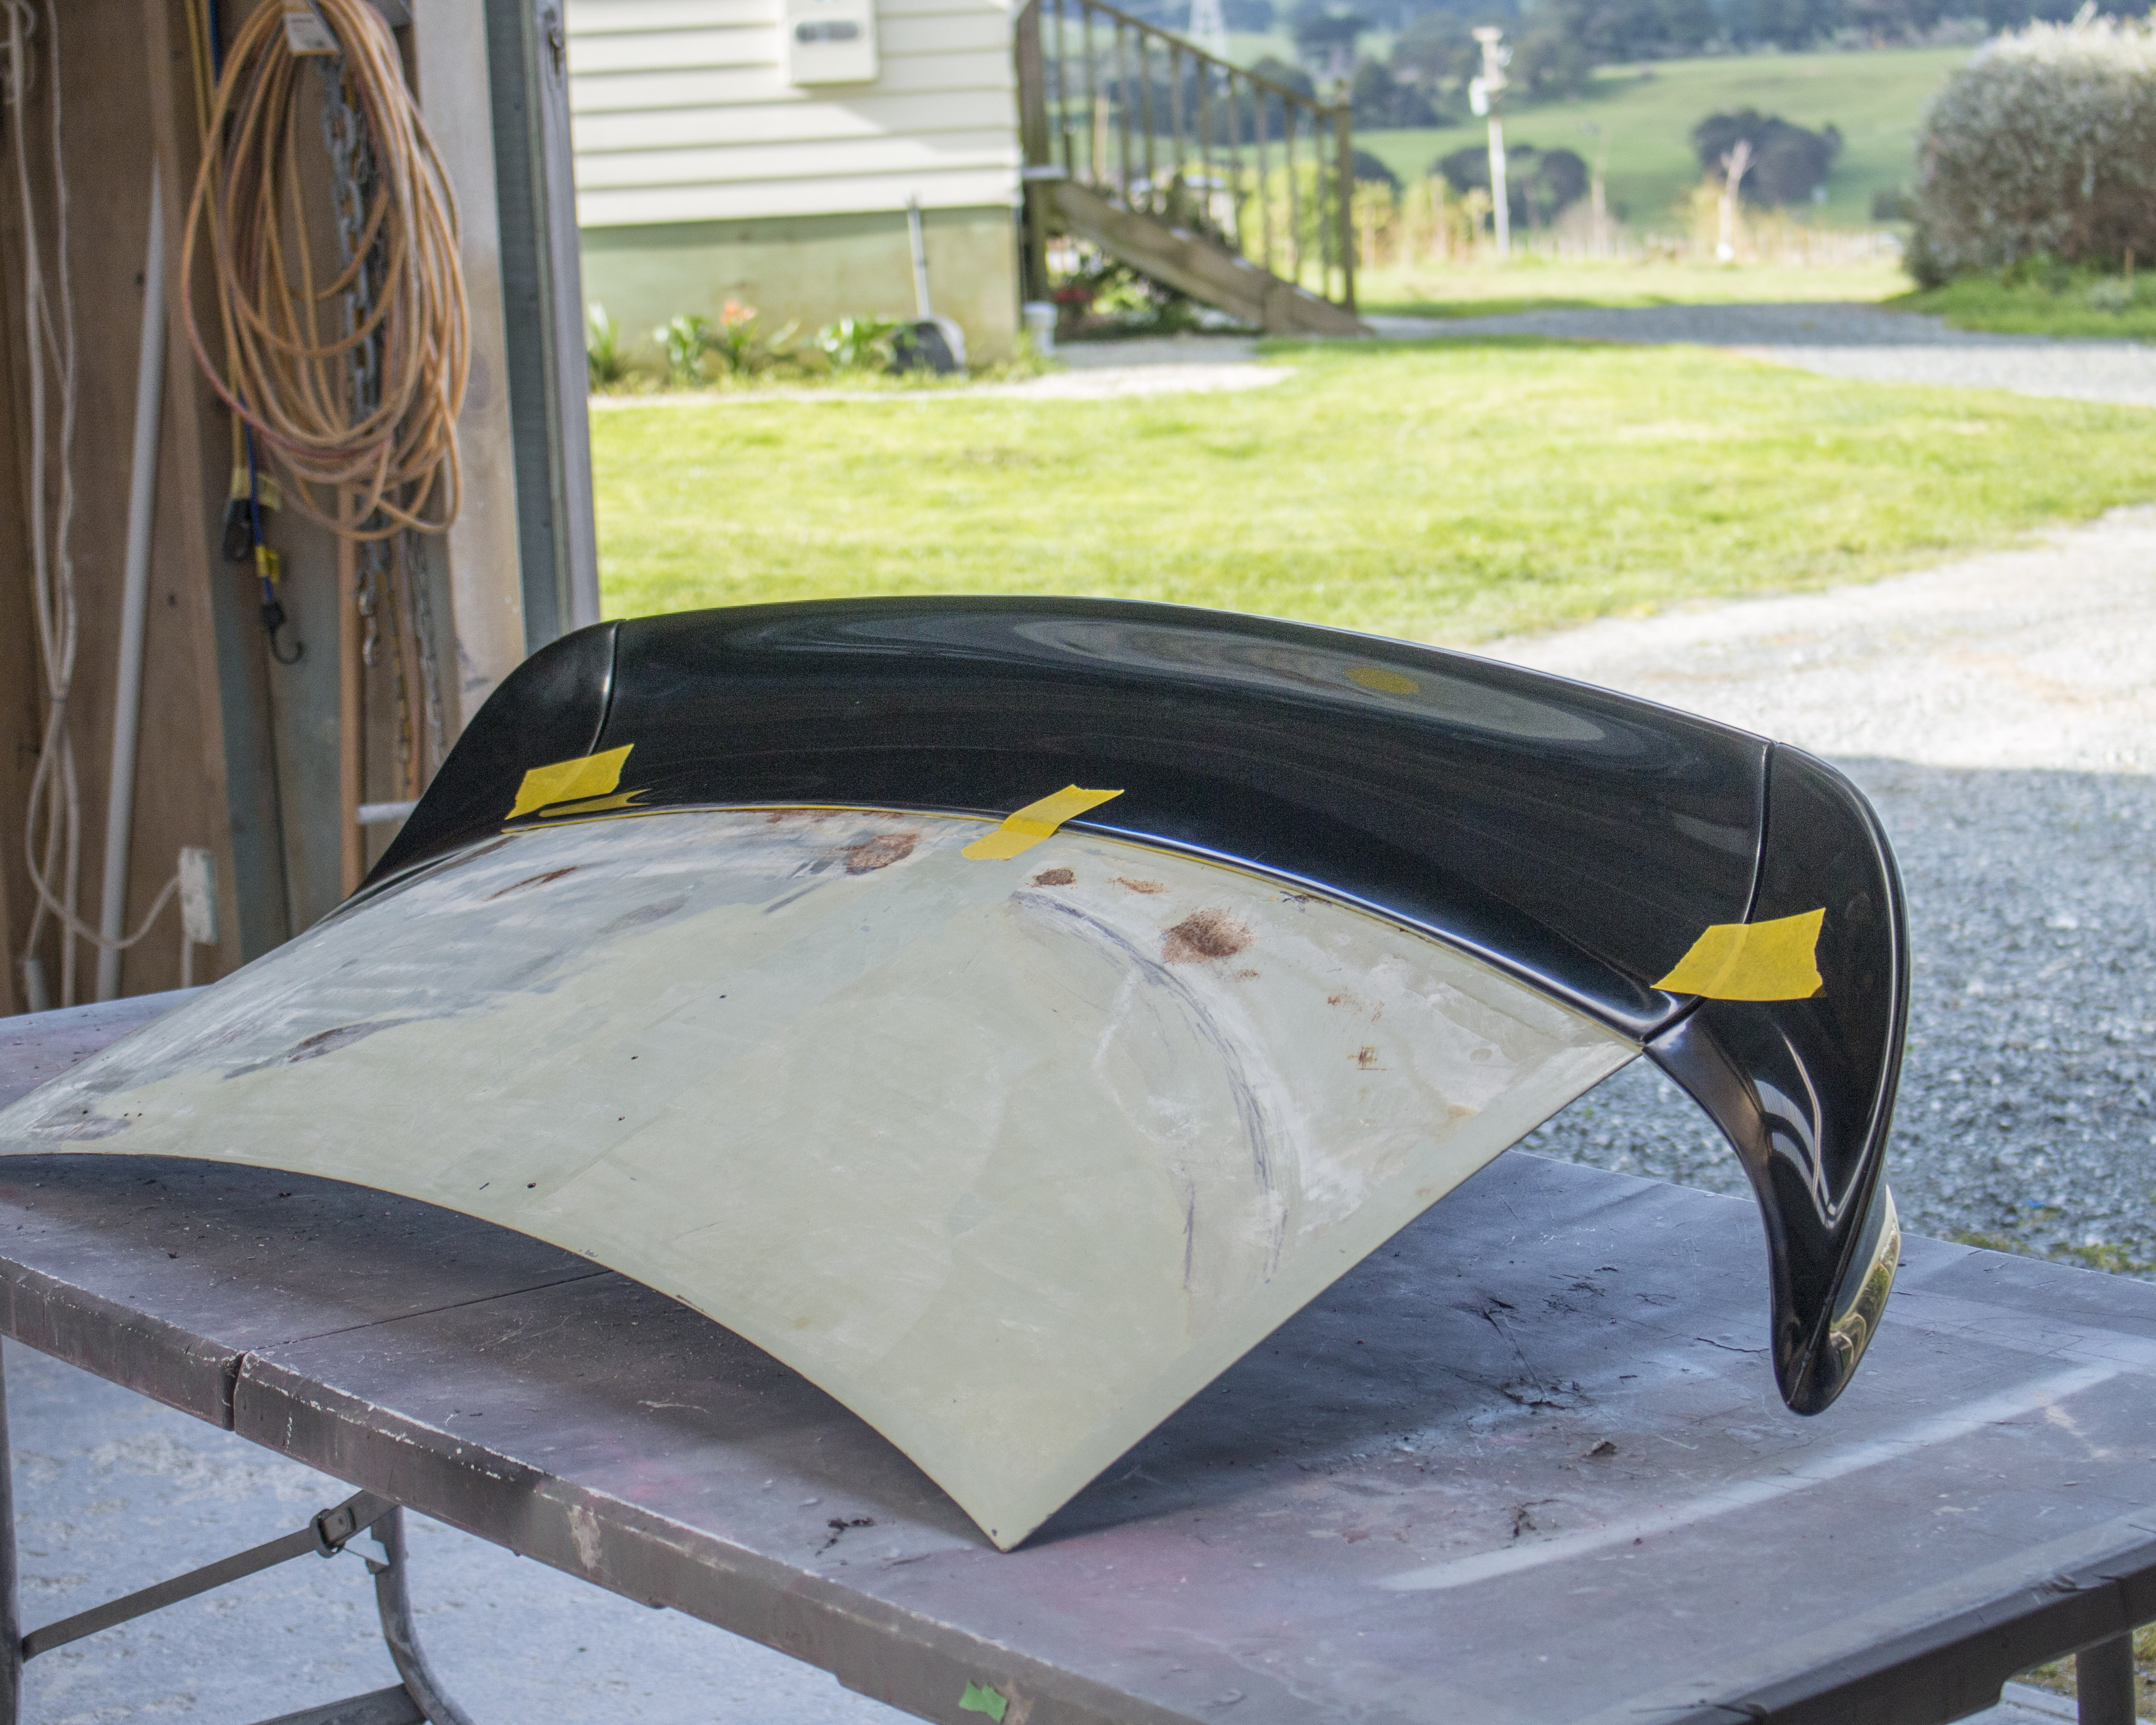
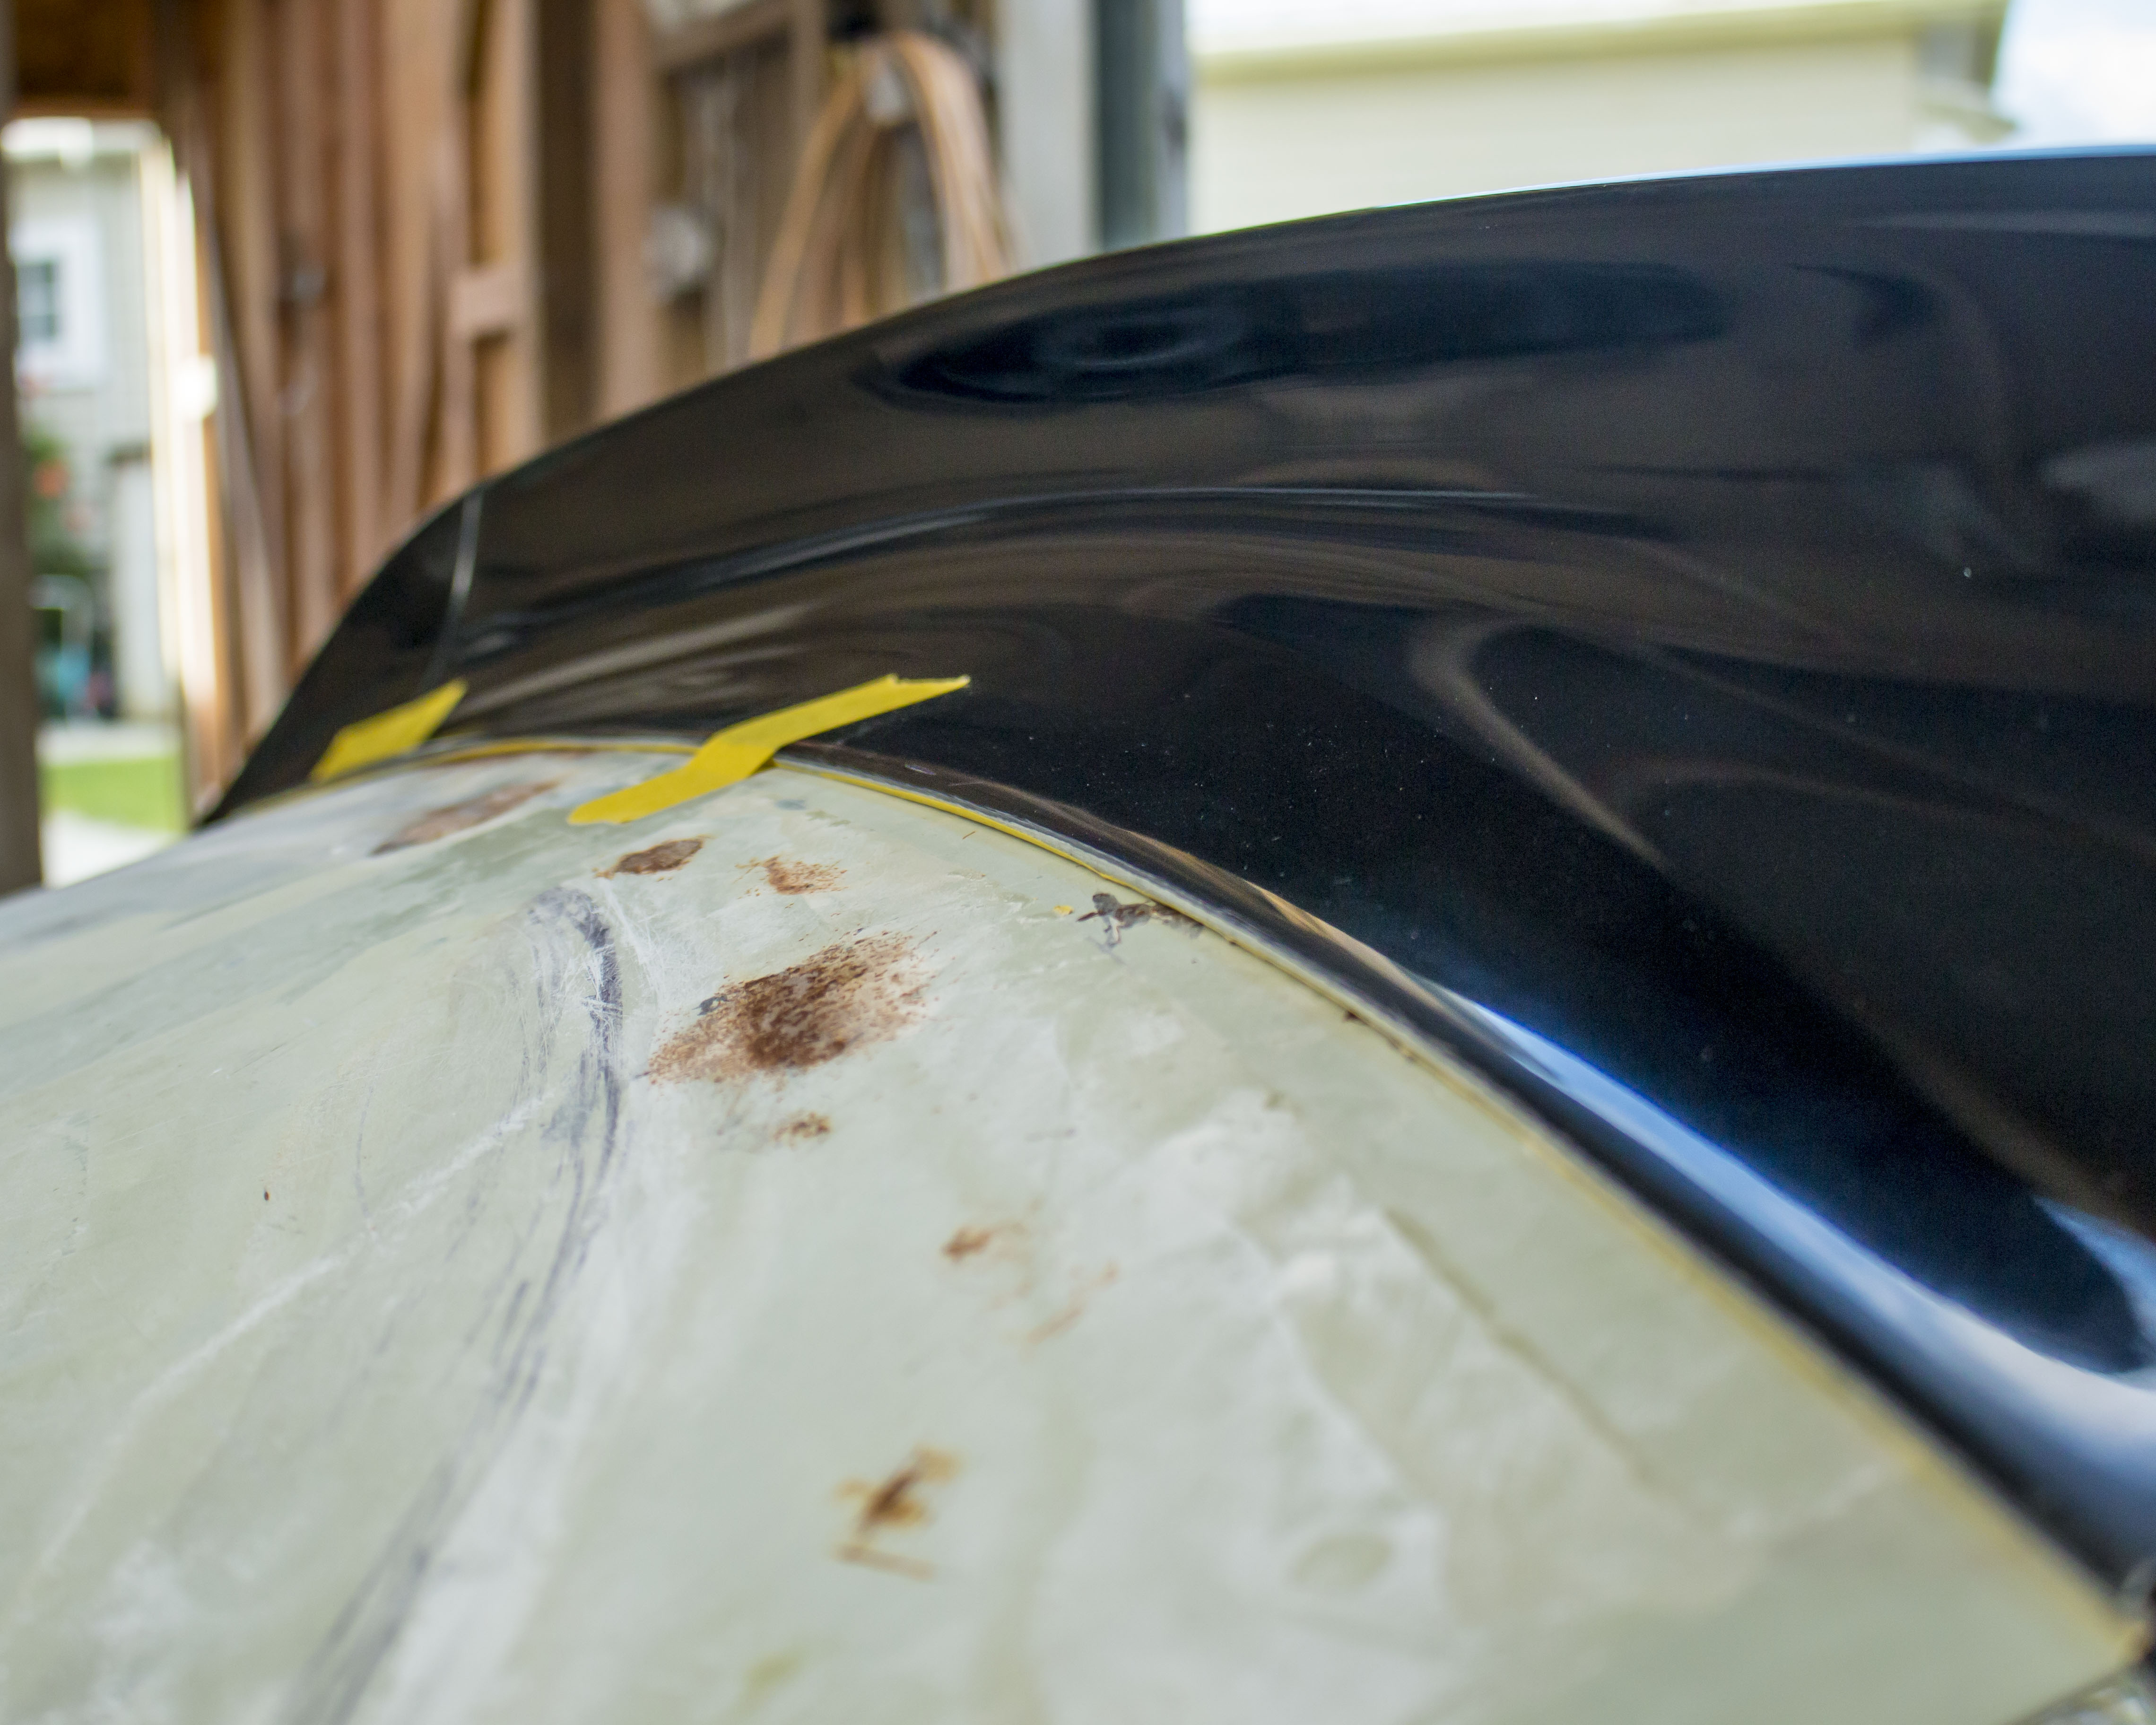
Overall I'm stoked with how all the moulds came out. I've got a tiny bit of polishing to do before I can start making pulls and selling copies but I've got more important things to tackle first.This post was pieced together from multiple posts over on my now outdated build thread. That is why it reads like multiple different updates instead of one coherent one. Here are a few pictures of the completed fiberglass spoilers fresh out of the mould.
The part I am by far most proud of is the fact that these sit perfectly flush along the whole bootlid with no warpage or distortion at all.These spoilers are also for sale locally and if you are from NZ or Australia, reach out to me however you like, (email is best) but I'm working on getting them ready for international sale in the very near future.In the future I will be posting updates directly to Patreon to keep things nice and clean and easy to follow.
Files