Home

 Creators
 Search
 Recent
 Random
 Posts
 DMs
 Tags
 Random
 Importer
 Import
 FAQ
 Account
 Register
 Login
 Favorites
 Keys
 Logout
 Telegram

GTR Stagea - Refining the Widebody (Patreon)
Content
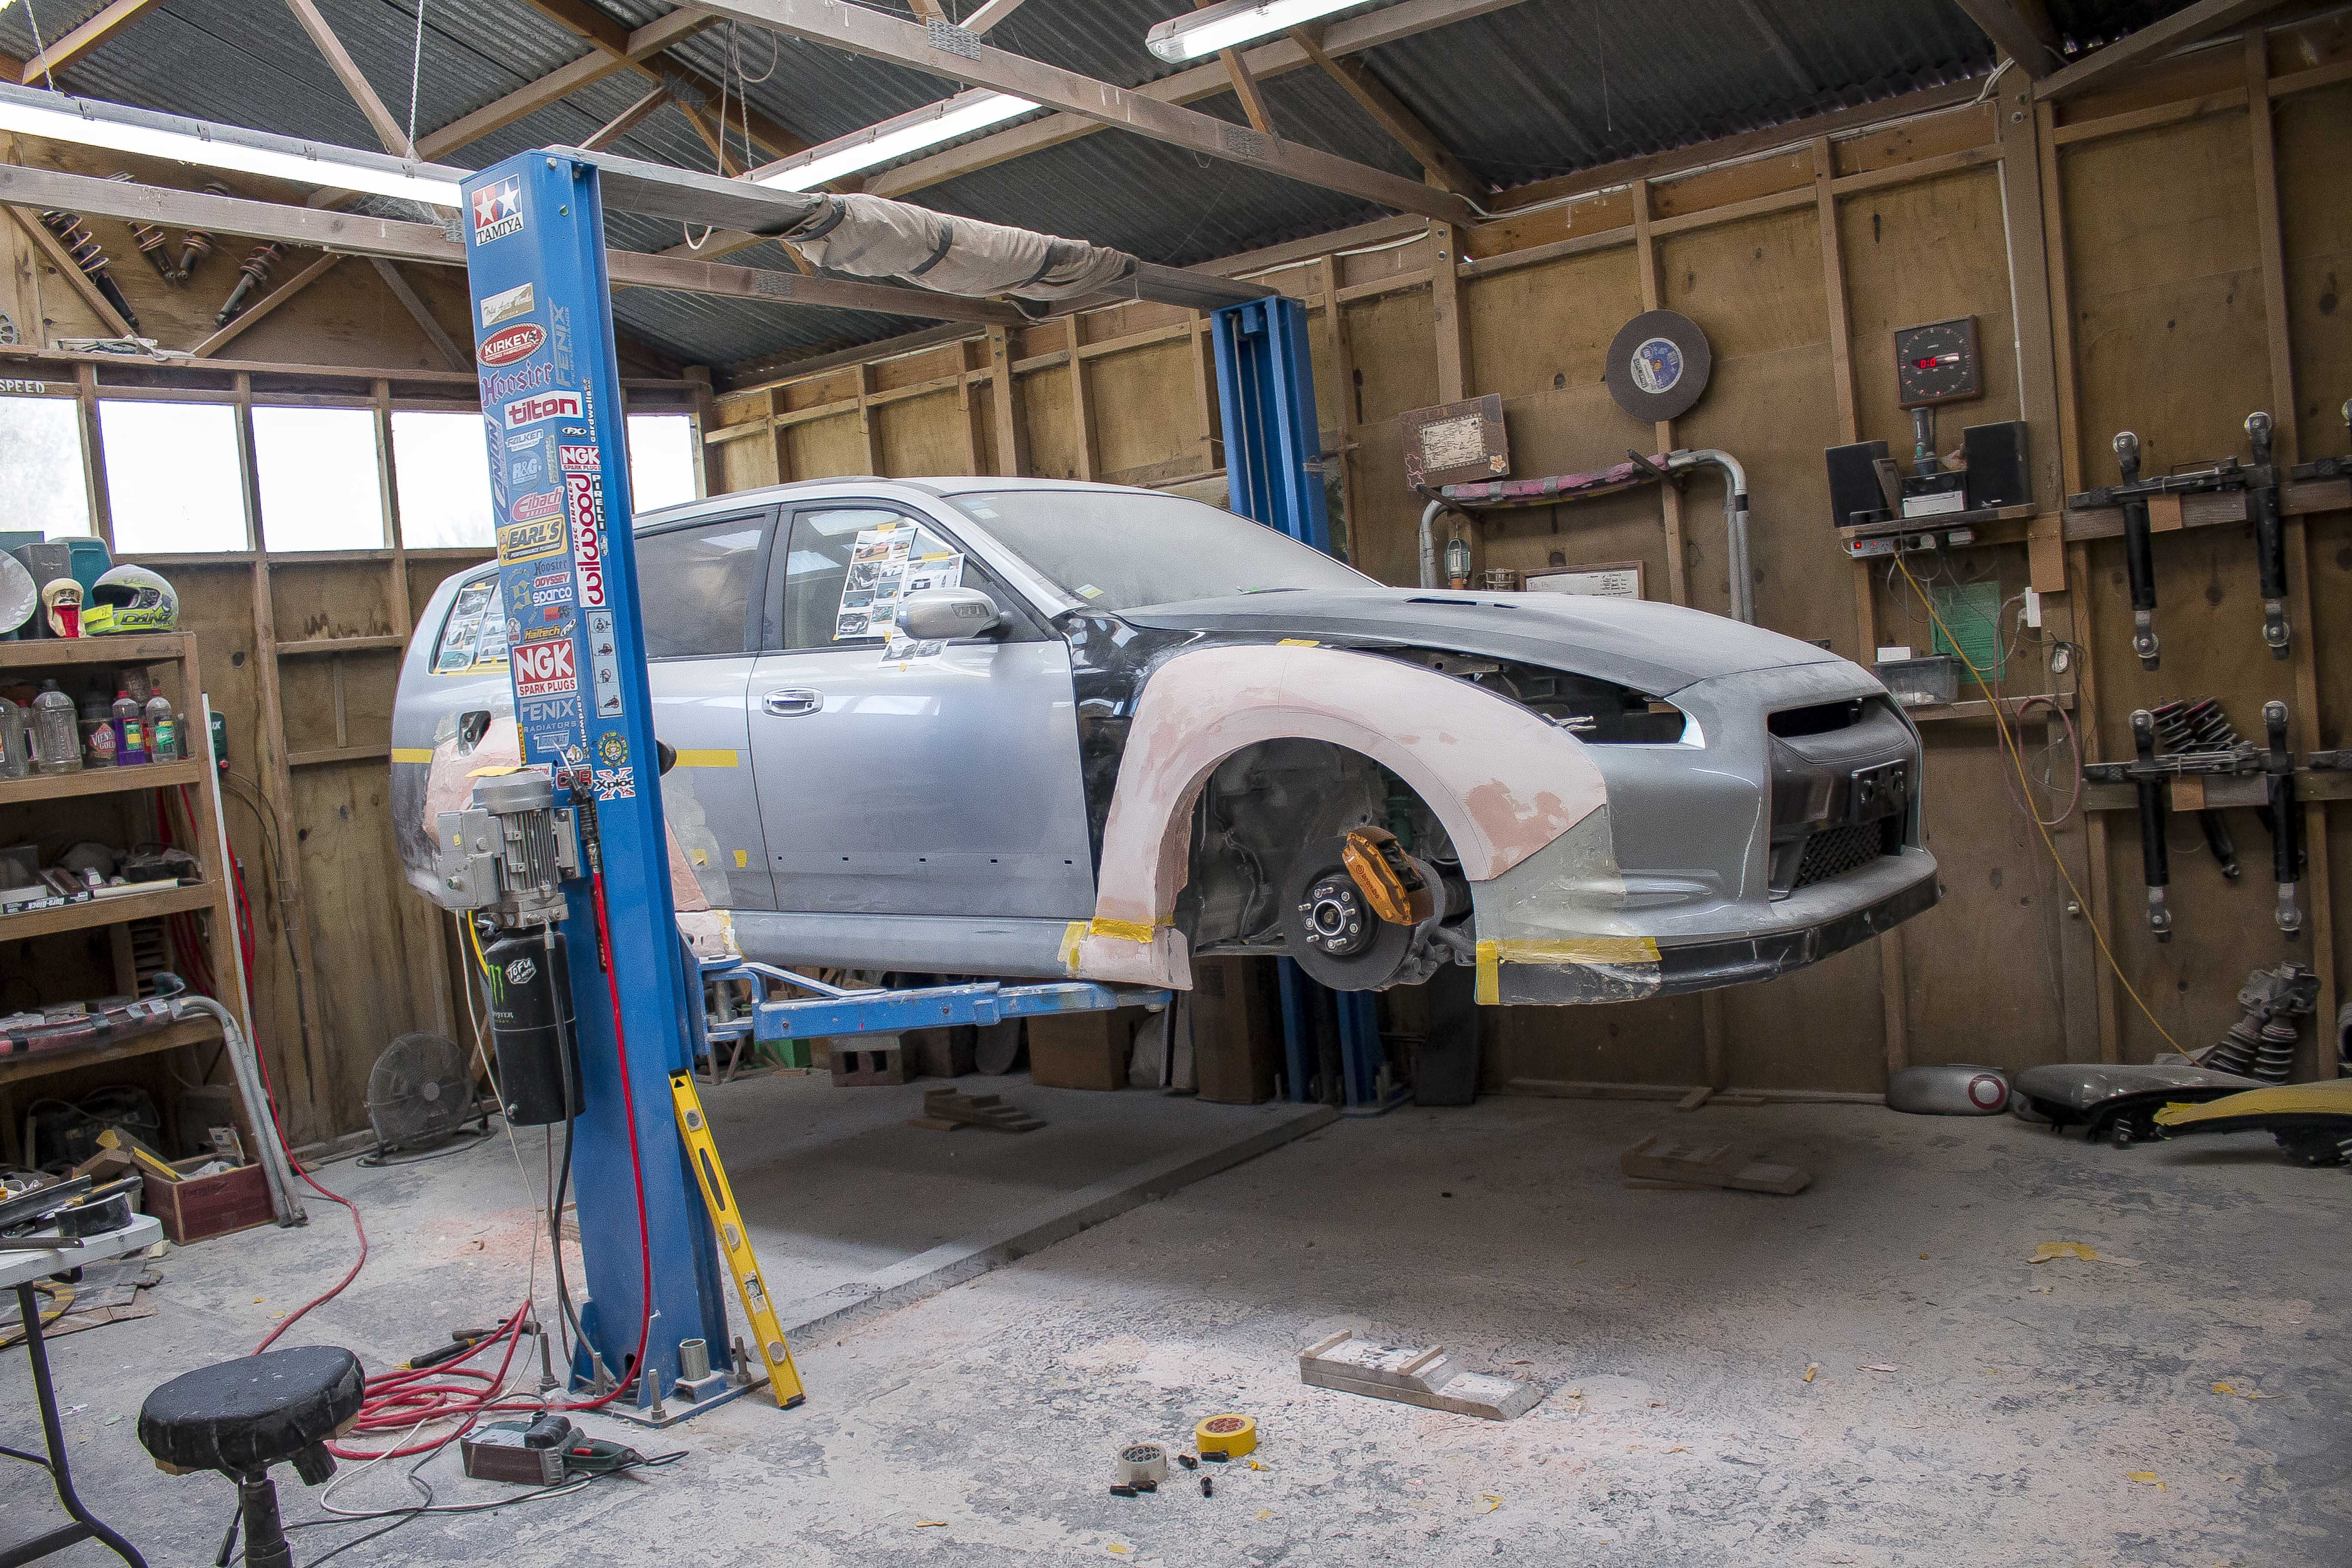
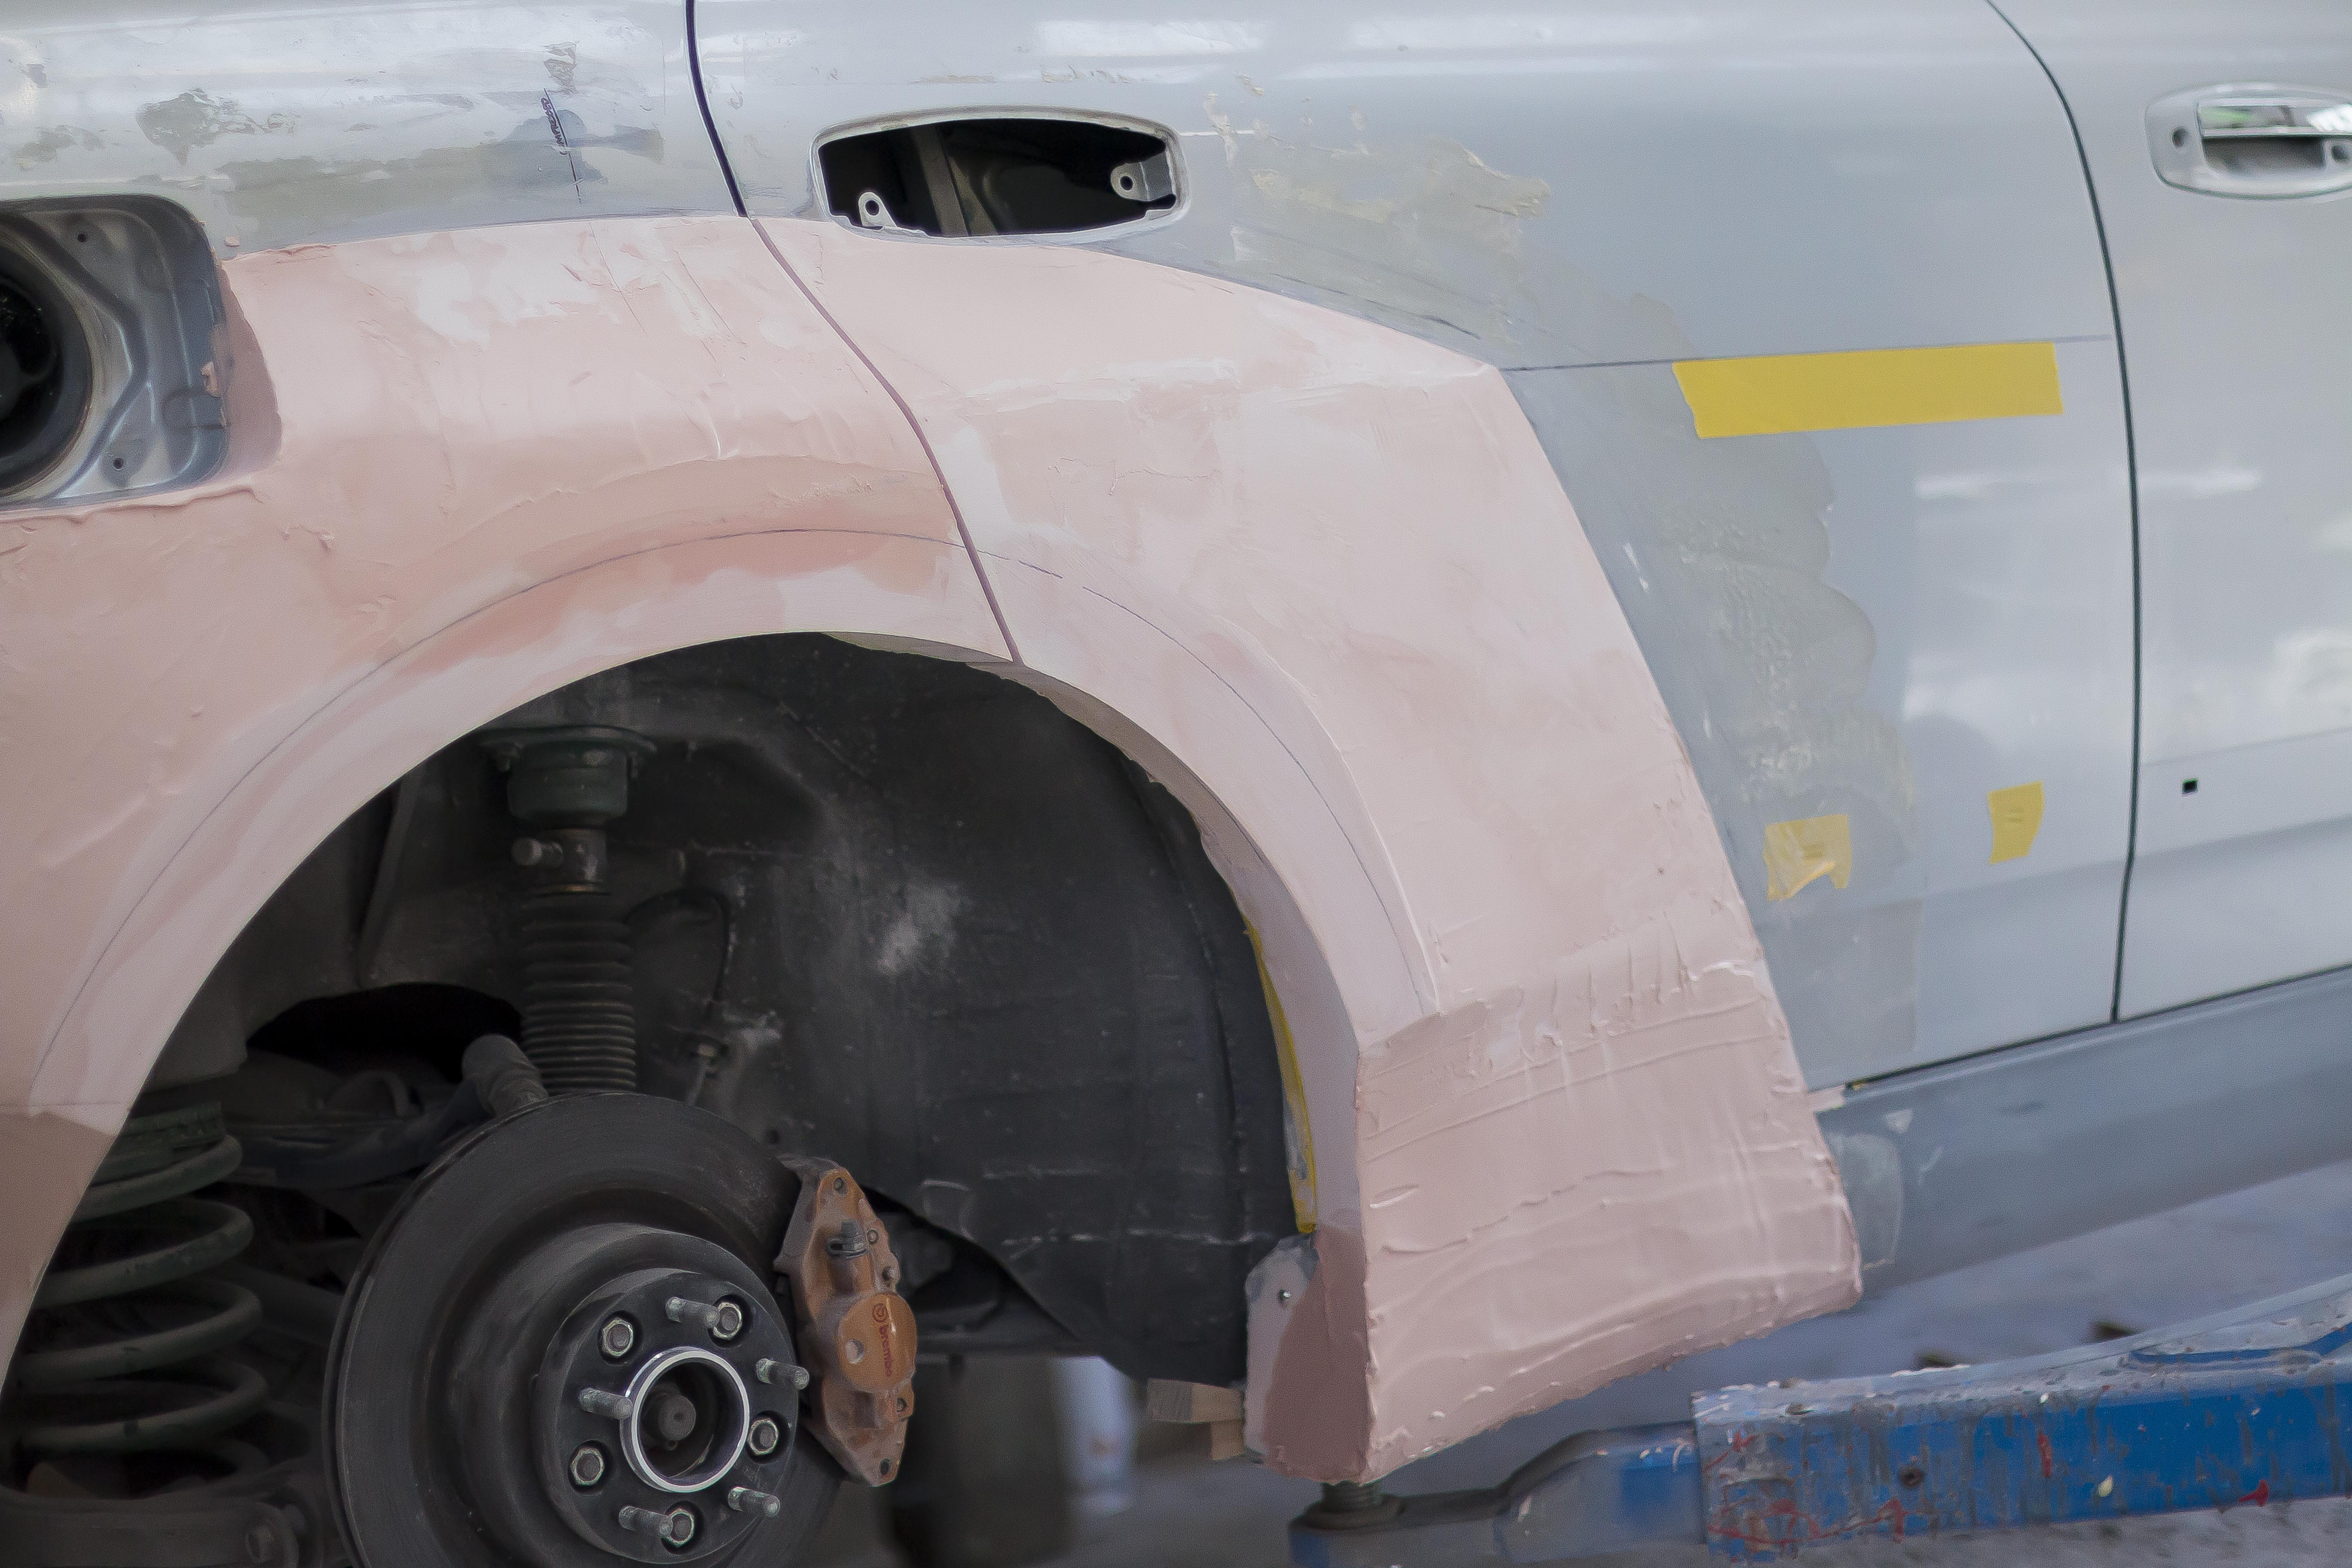
So a little overdue for an update on this one since I've been really grinding the past few months trying to keep these videos in a regular upload order. So the last post on my this Stagea I showed running into those issues with the plaster and so having to start again with the filler. I did a fair bit of this off camera just because of dust, but here is where we're at after around a week and 3 - 4 tubs of bog.
The front was what I fixed up first. You'll notice that to make shaping easier I bonded all the panels together just so I could worry about shaping a single smooth object rather than 3 connecting pieces.In the video you'll see that I added tape between the two parts so that I can hopefully just give it a good whack and the parts will come apart easily.
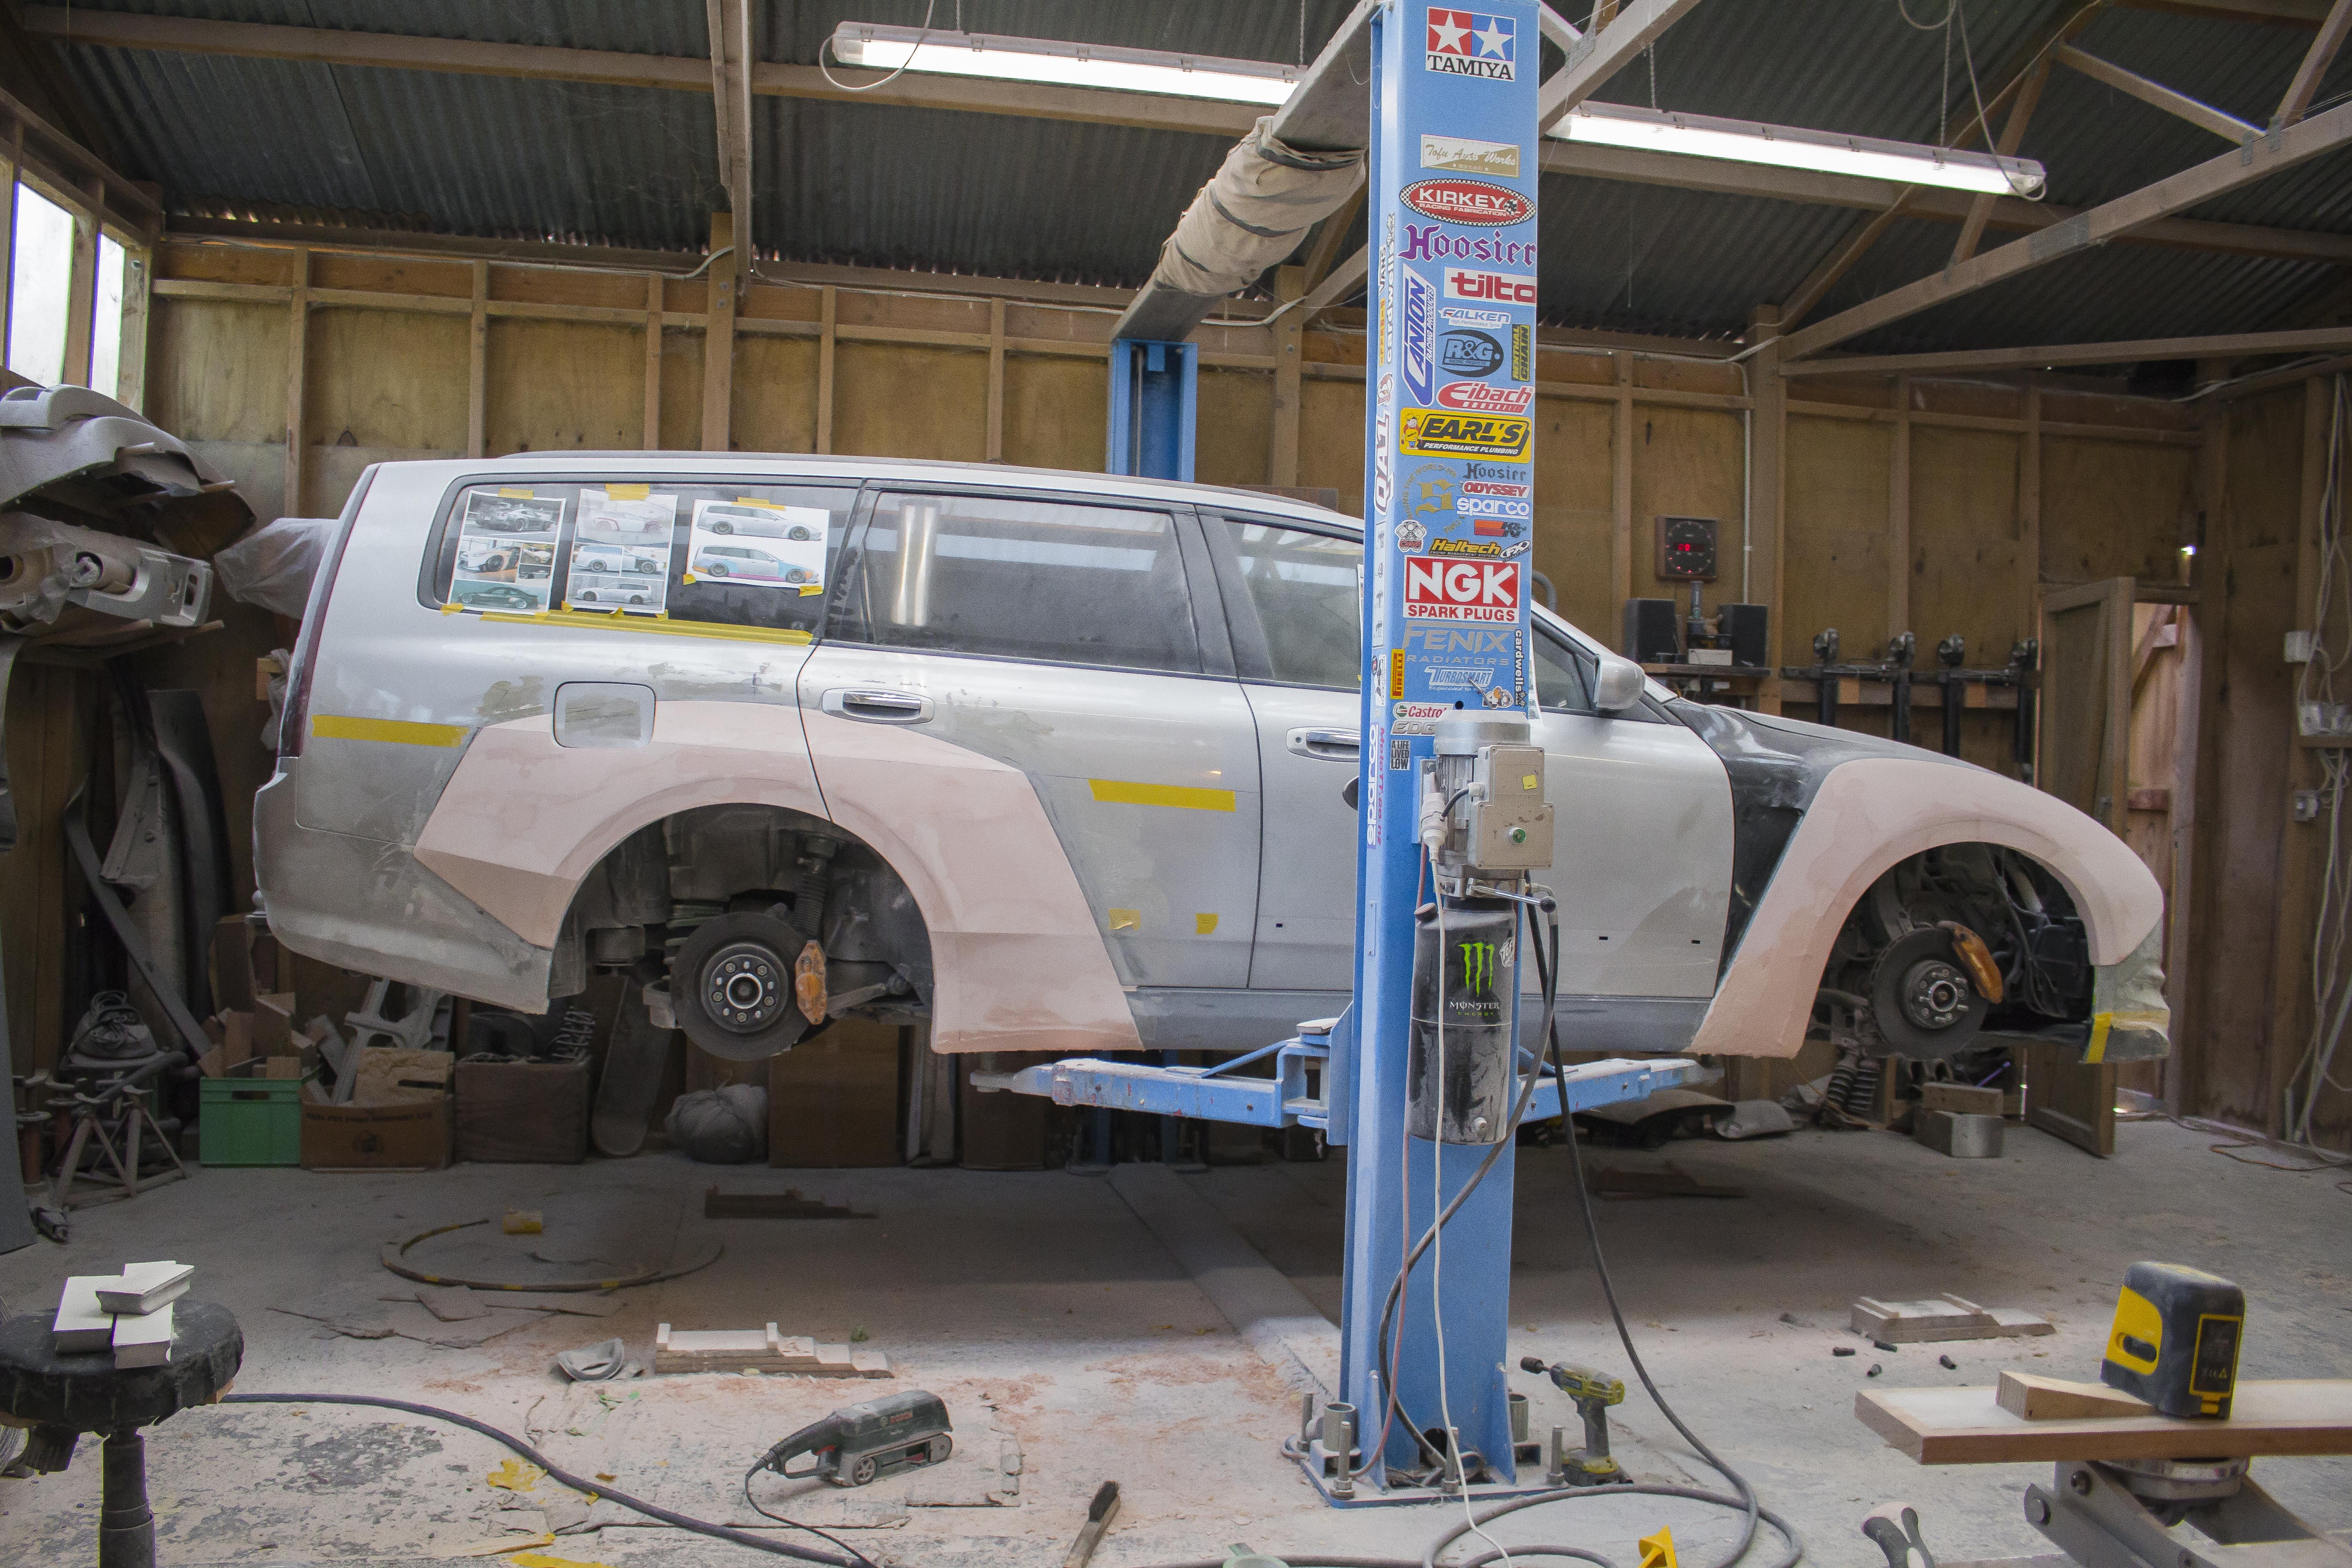
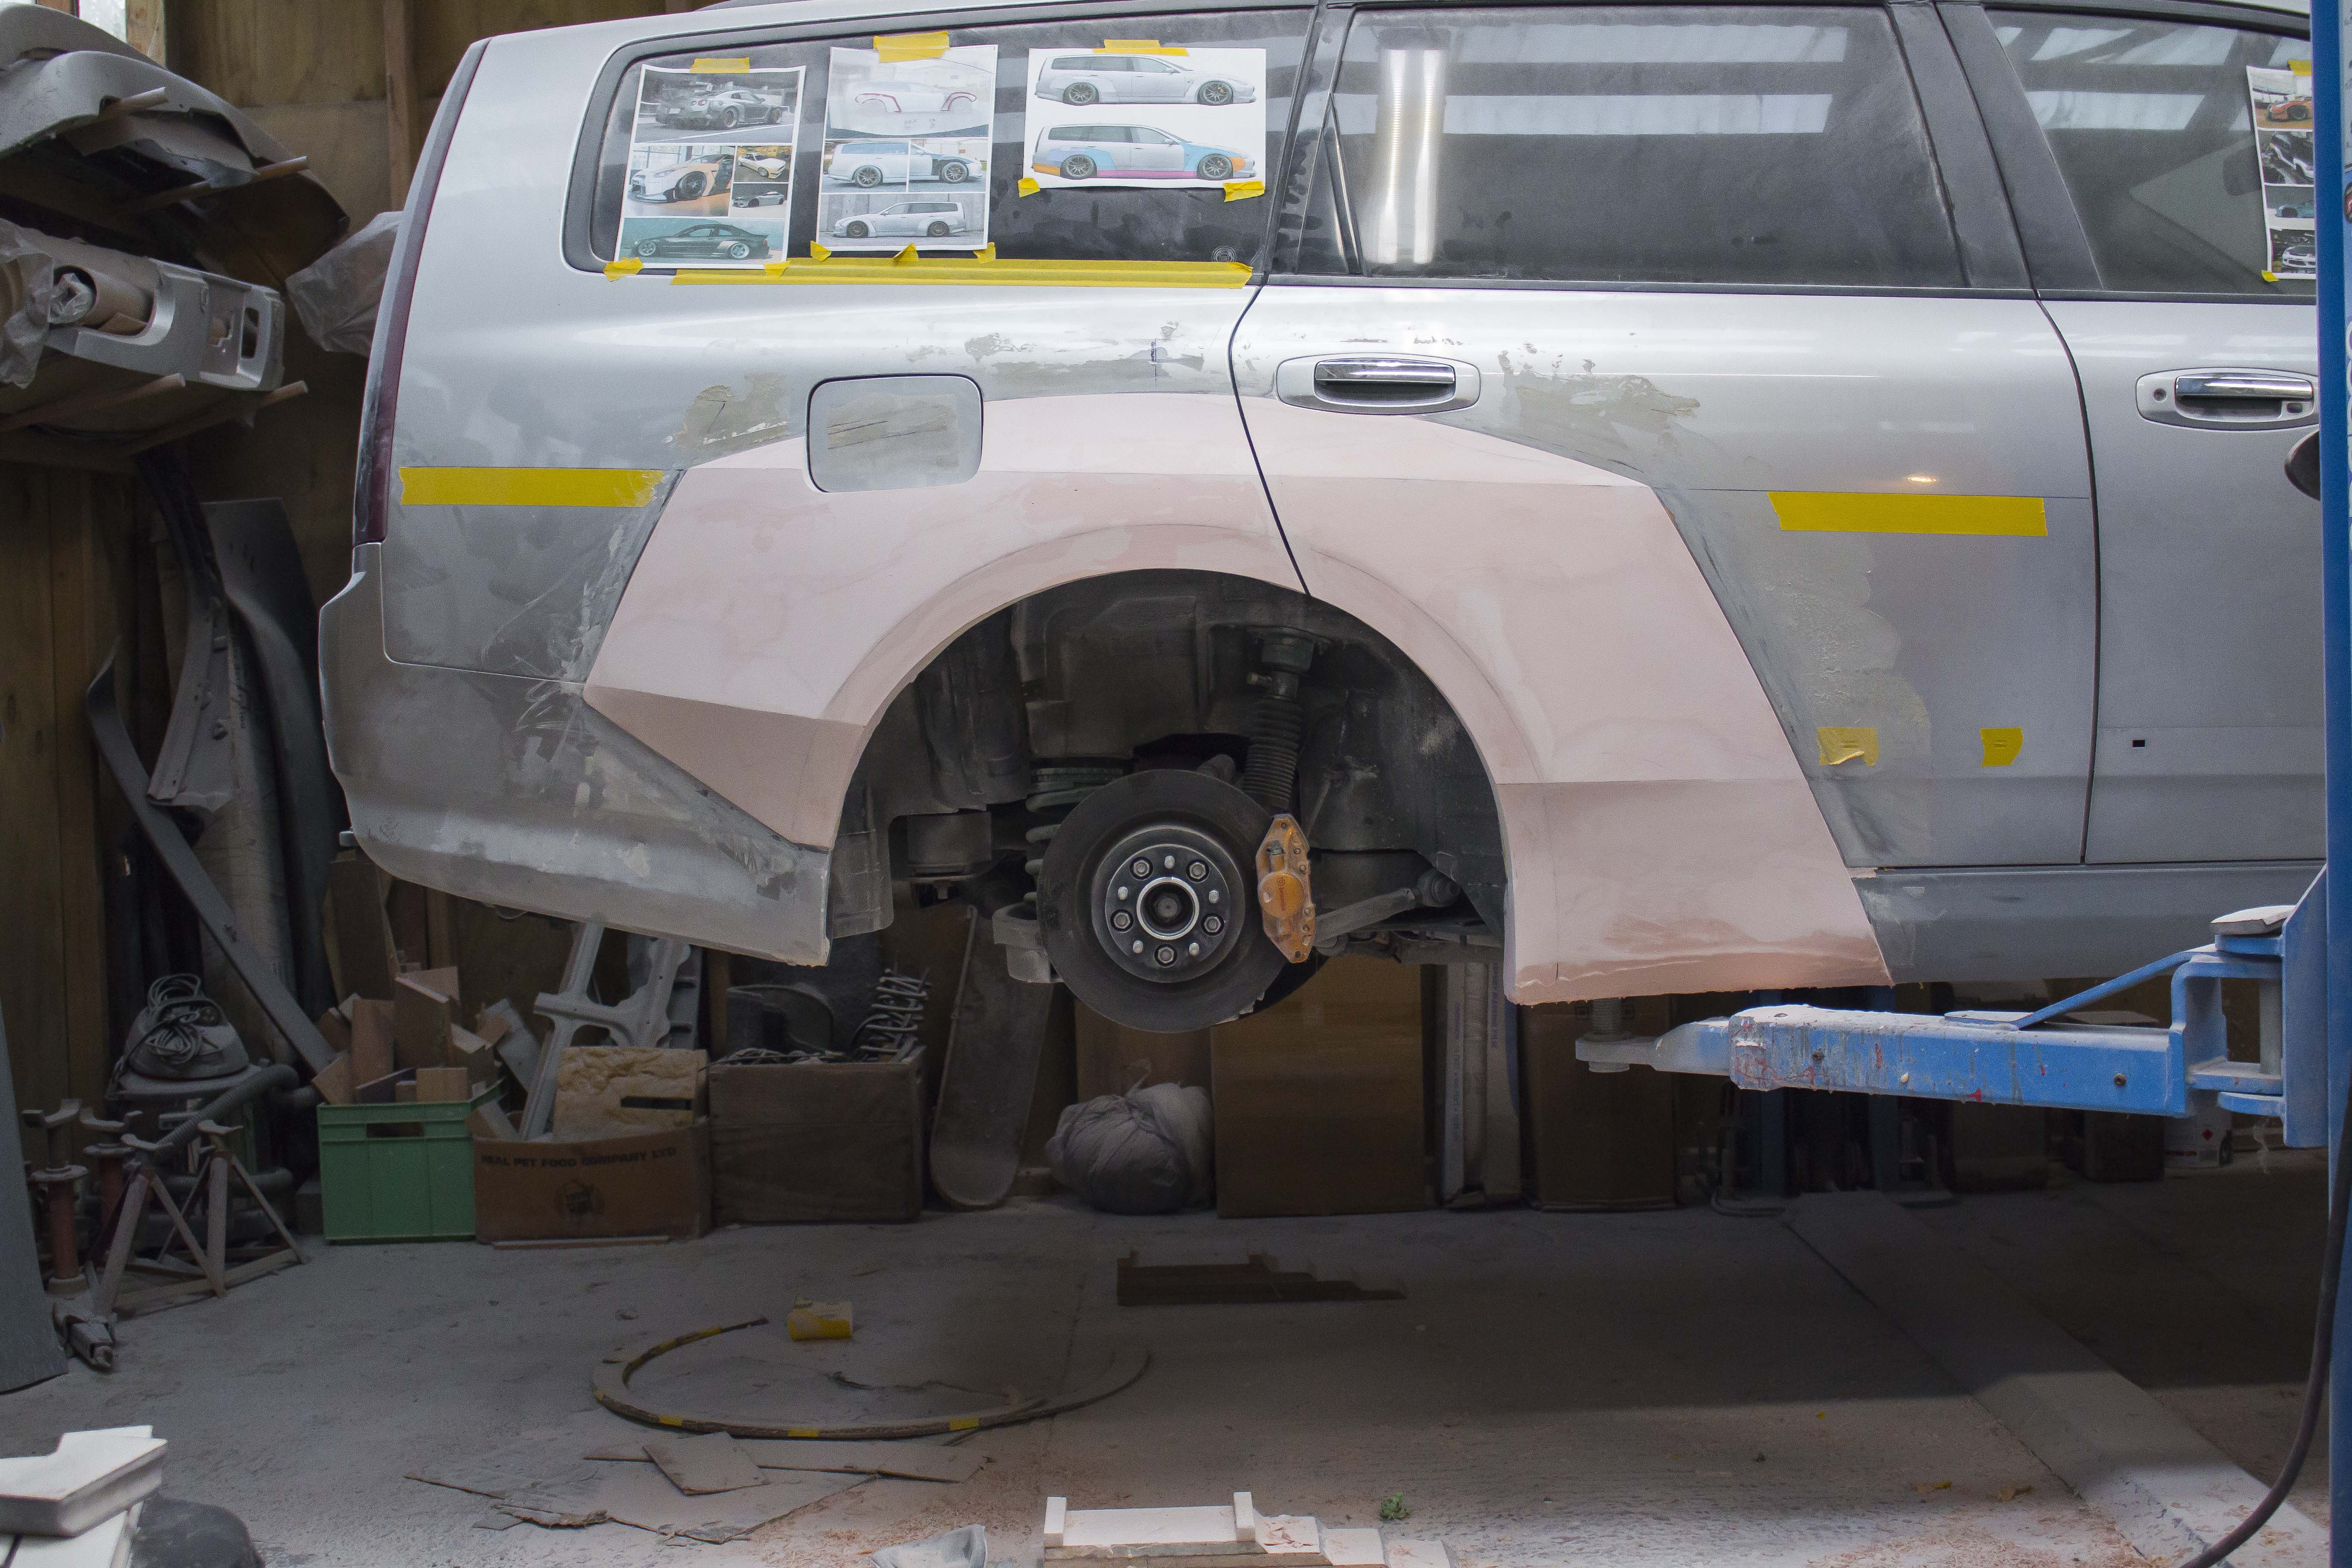
Moving on to the rear, same deal. Just keep building up layers to try and fill in all the low spots and then when it came to shaping it was a pretty straight forward process since all the lines came from other parts of the car.The upper arch was just the same as the front, the curves were all copied from somewhere else on the car like the bonnet or the original fender arch. It was easy, just very time consuming.
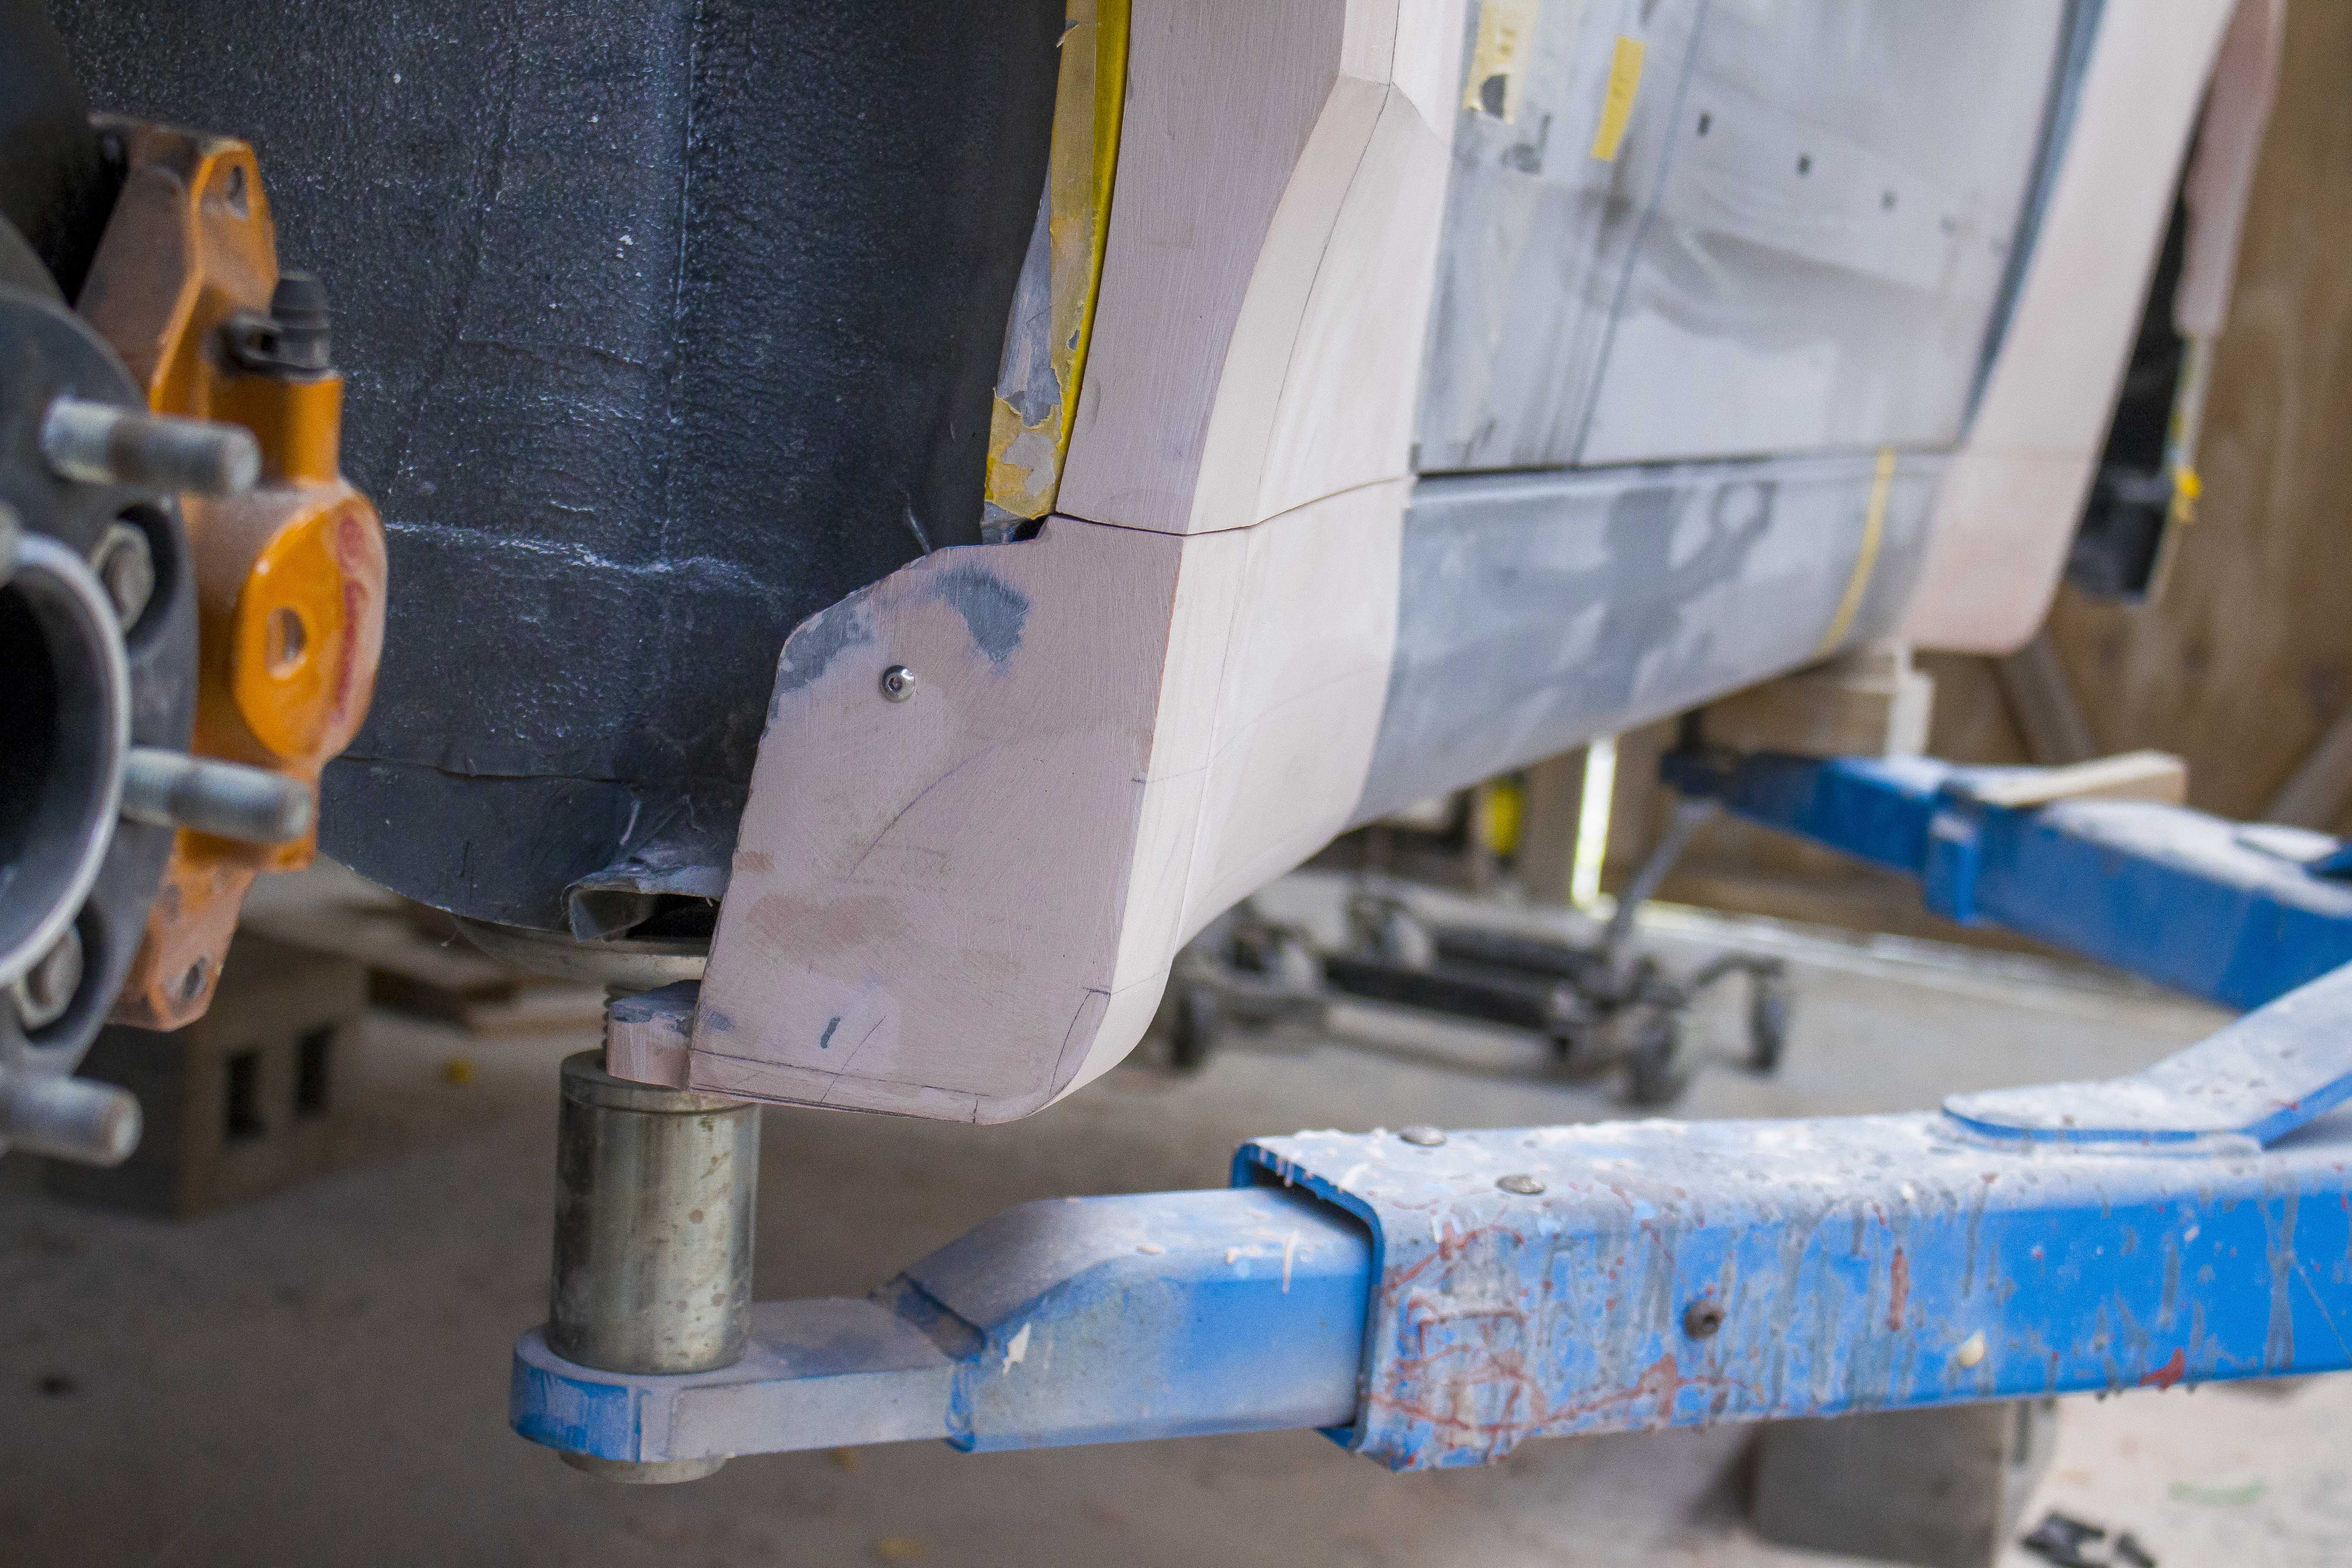
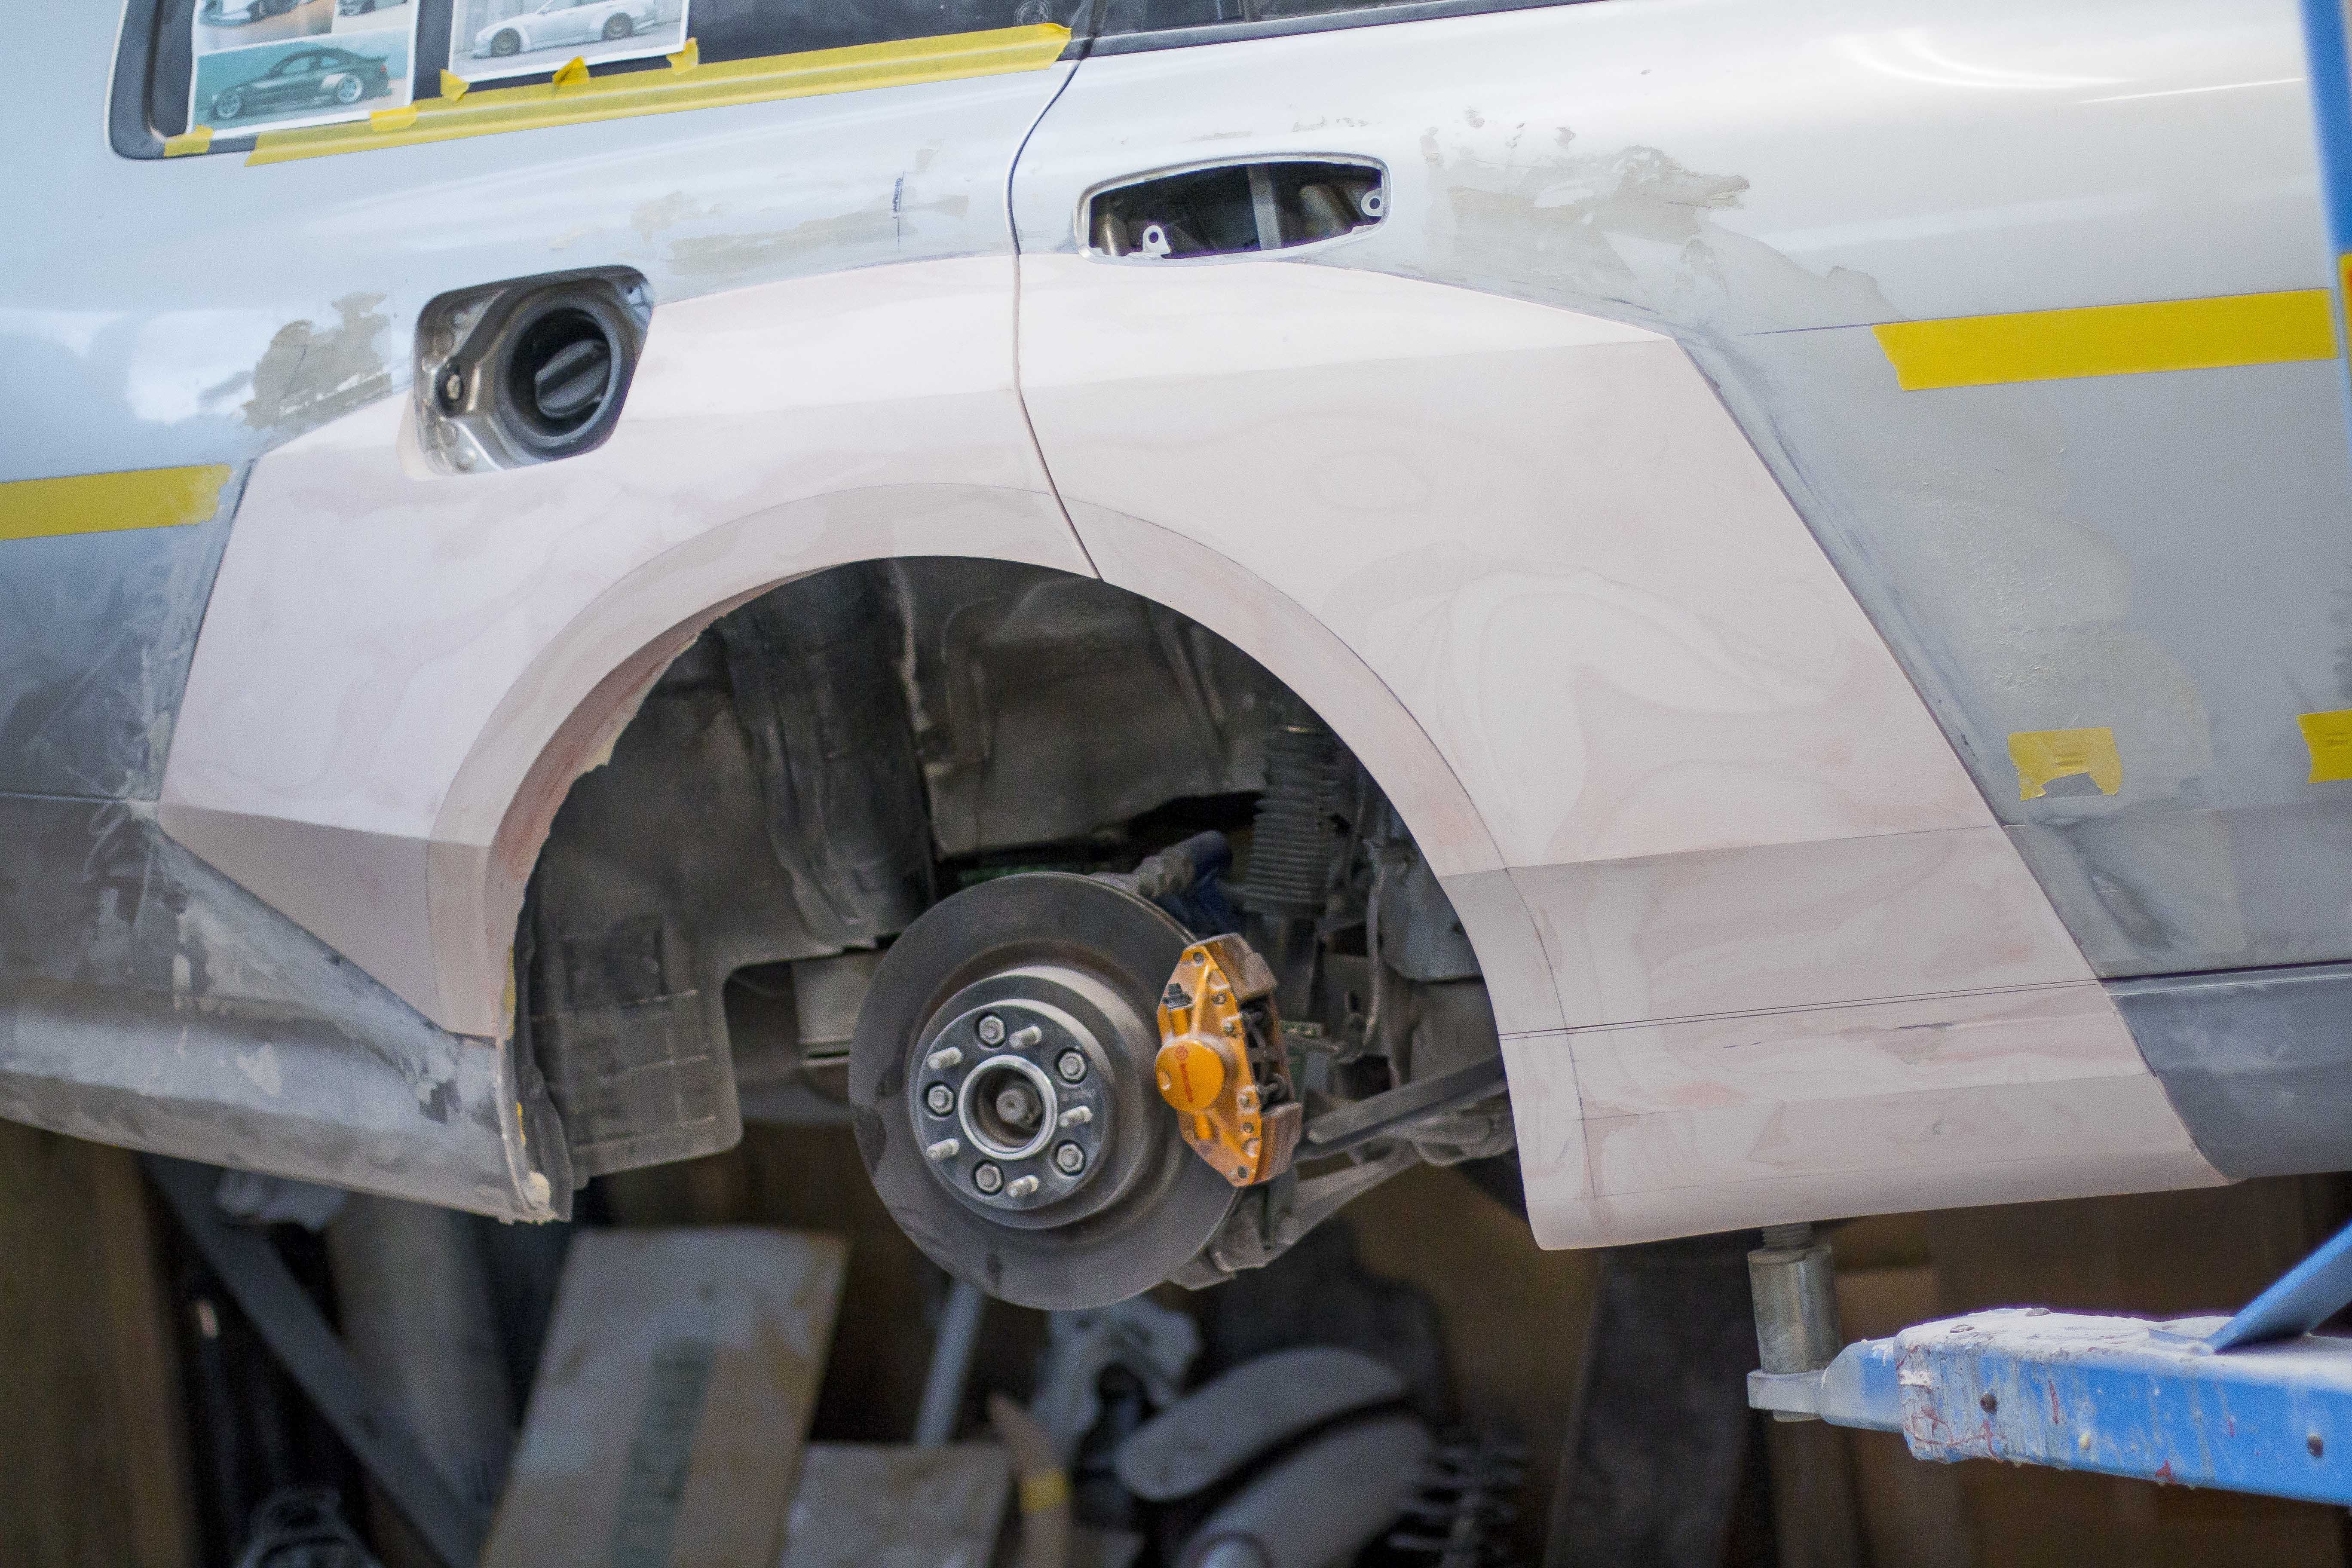
After honestly around a month of just adding and taking away body filler I was finally starting to arrive at the final shape.Way back when I made my Mx5 flares I discovered that with all these layers of filler, each layer has a slightly different hardness and trying to sand a perfectly smooth finish was a nightmare, so I learned to mix up a thinner layer of filler and use it as a light glaze to cover the whole fender with, and then sand that down so that the very top layer of the part is one clean uniform application of filler.I did this on the front fender, but for demonstration purposes (definitely not because I was lazy and completely over body filler at this point) I didn't do it on the rear.With that final layer of body filler applied I was able to come in and add all the final details like bodylines and matching the outer thickness of flares so that they will blend smoothly from the bolted on sections on the doors, to the moulded in sections on the sideskirts.
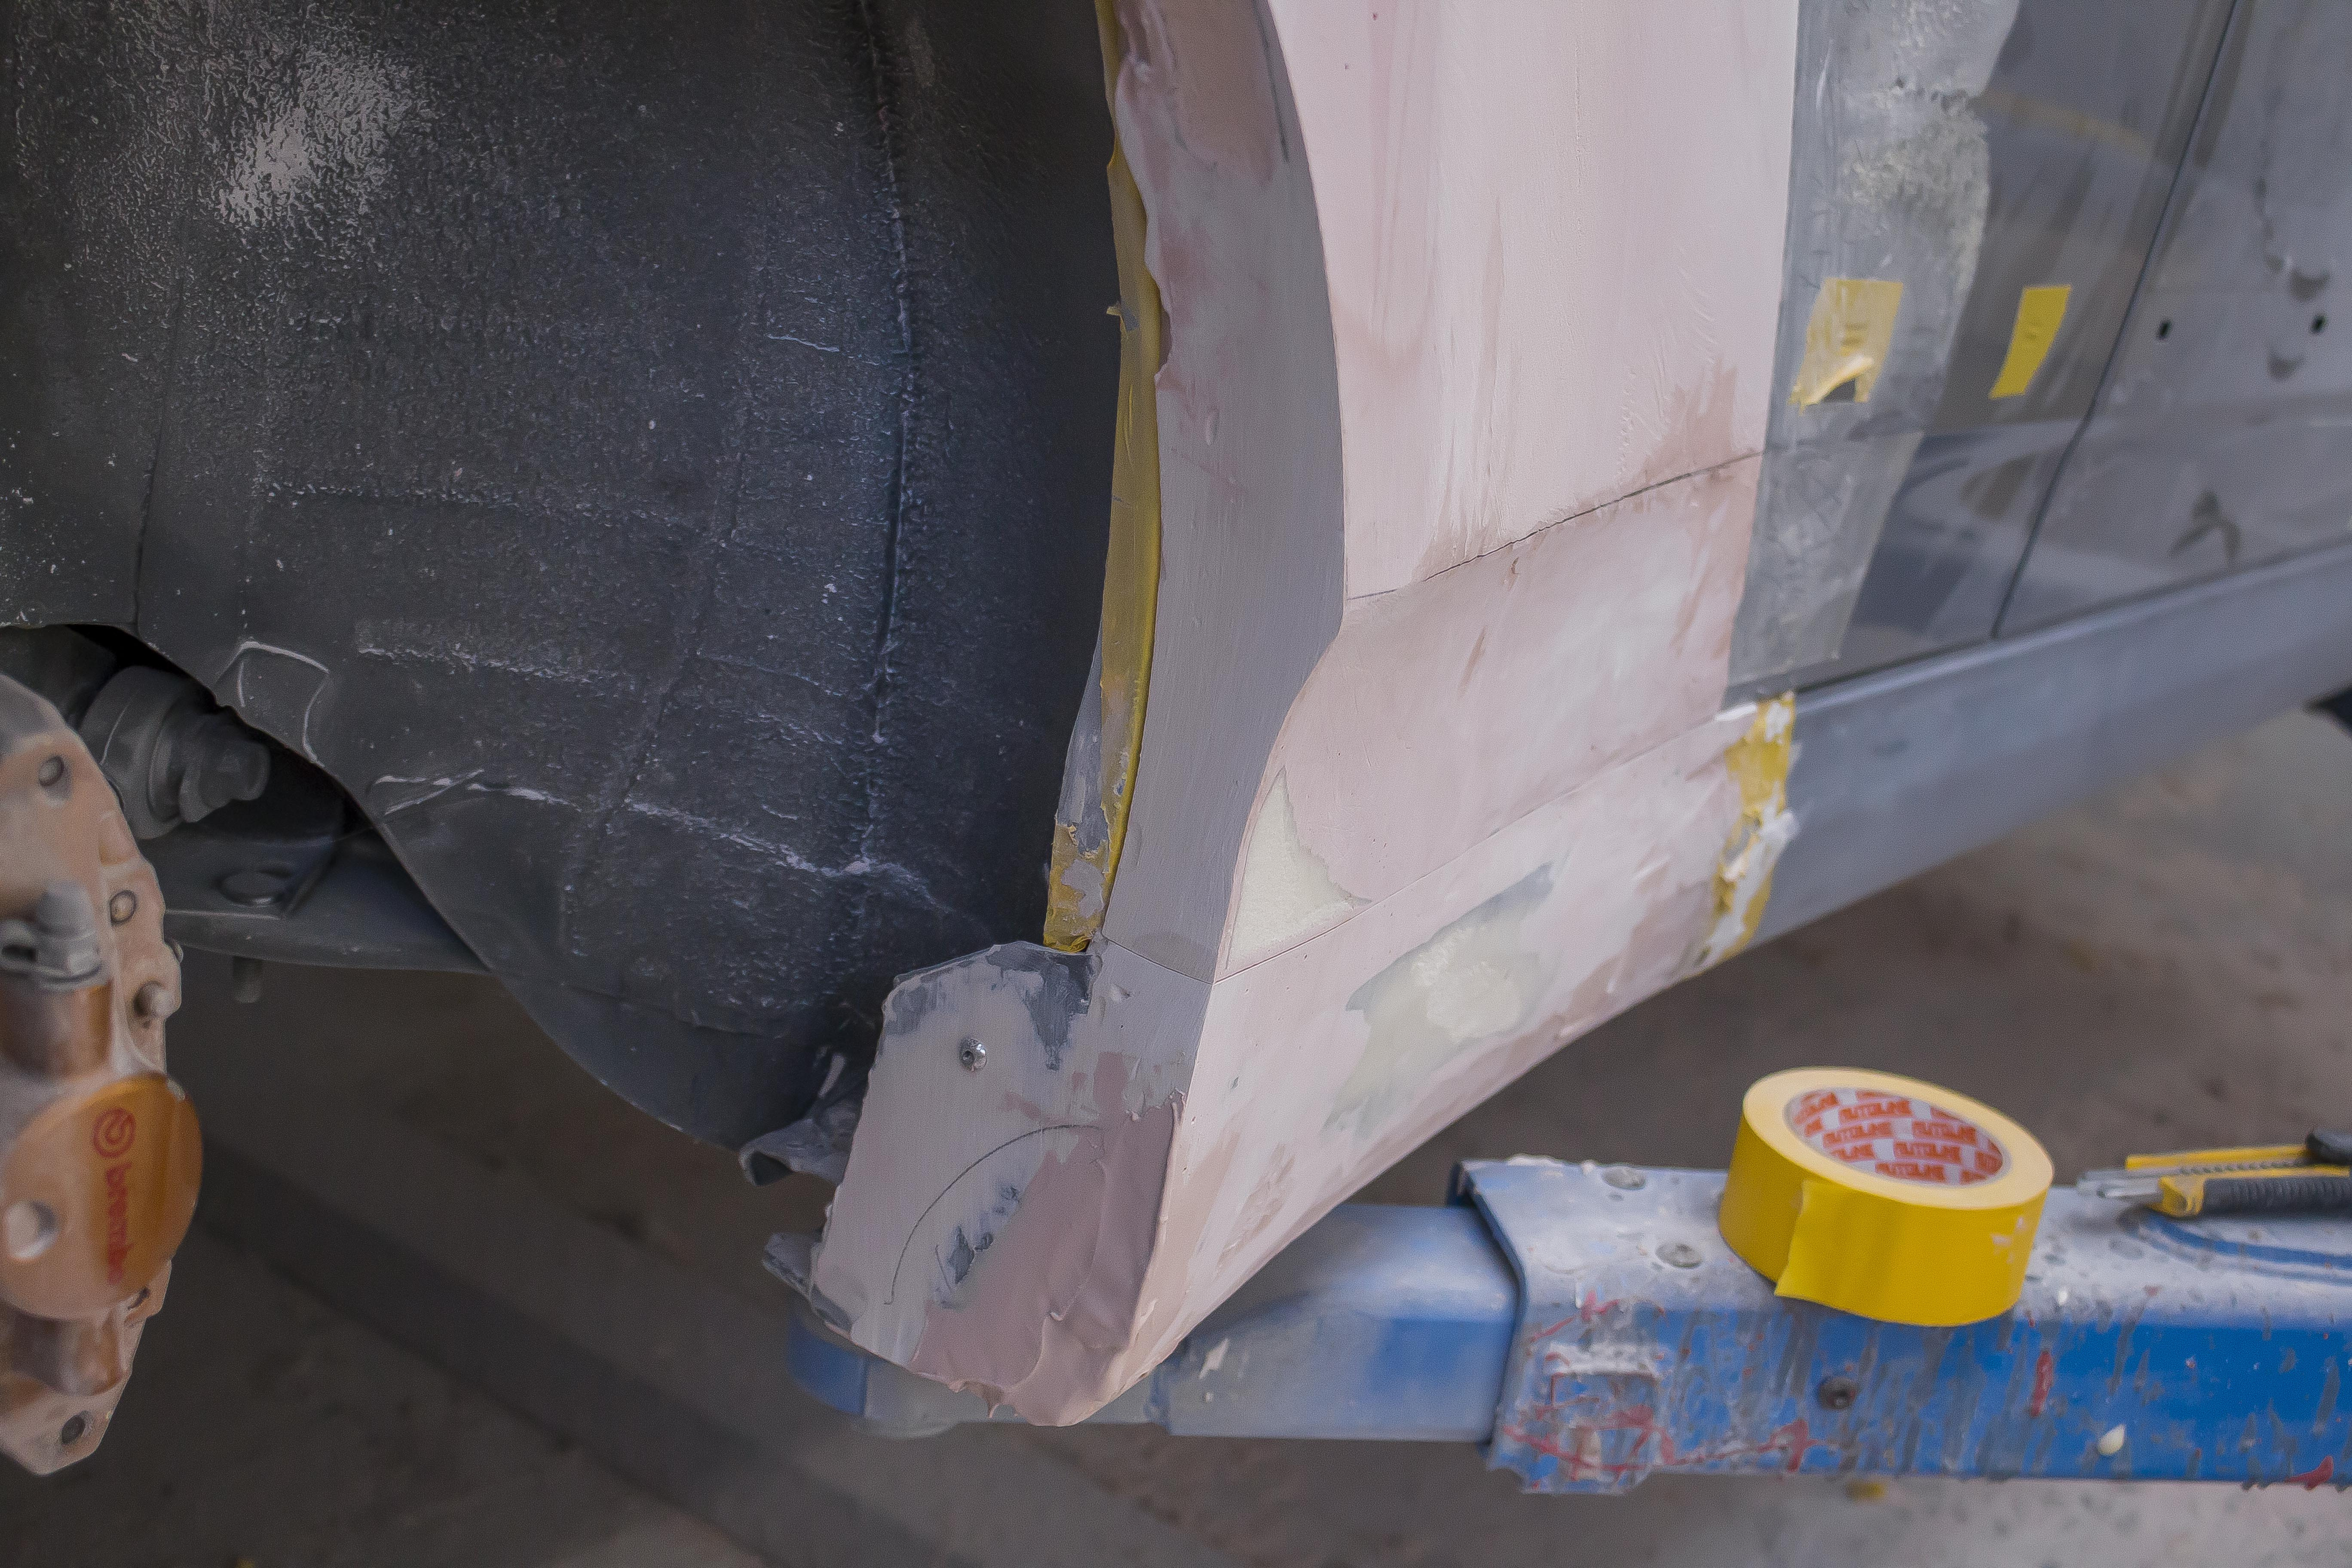
The laser level came in very handy again transferring all these bodylines perfectly from the sideskirts onto the widebody.
At this stage I had pretty much every part of this widebody shaped and refined. The last thing left to do was to split the pieces and tidy up the joins. I also had to add the panel gap for the rear door.
Files