Home

 Creators
 Search
 Recent
 Random
 Posts
 DMs
 Tags
 Random
 Importer
 Import
 FAQ
 Account
 Register
 Login
 Favorites
 Keys
 Logout
 Telegram

Patron Exclusive Update (Behind the Scenes) (Patreon)
Content
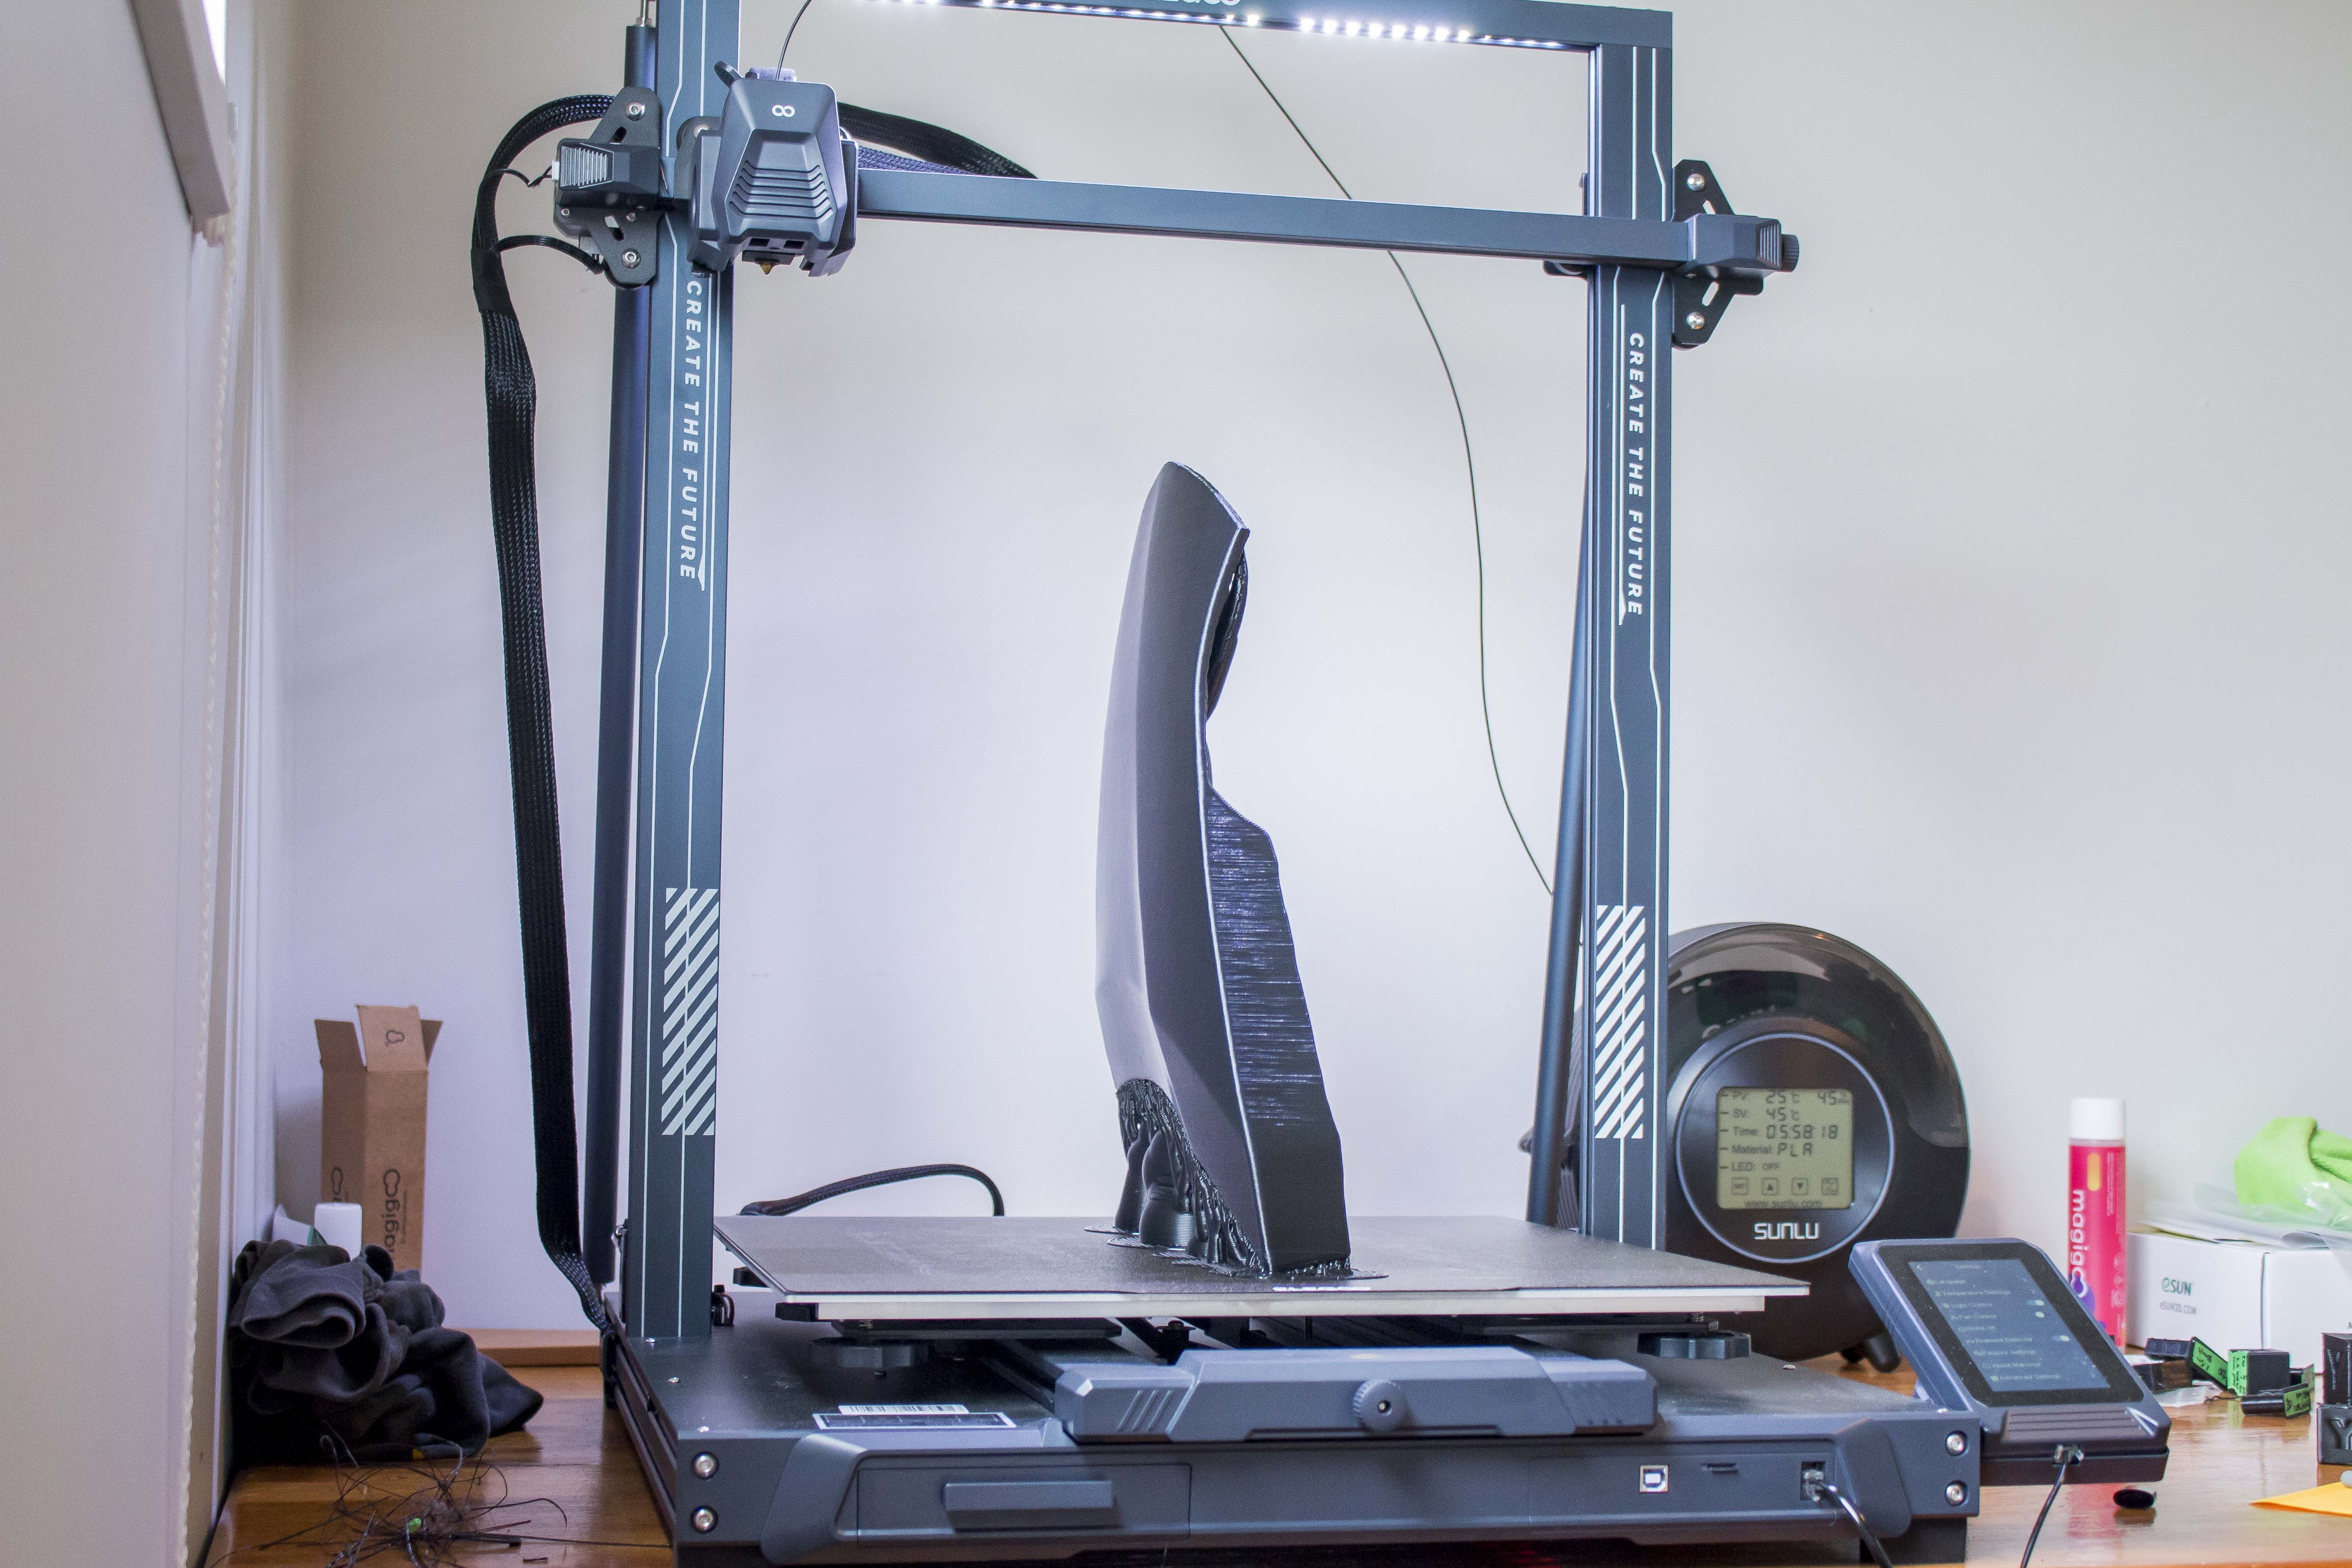
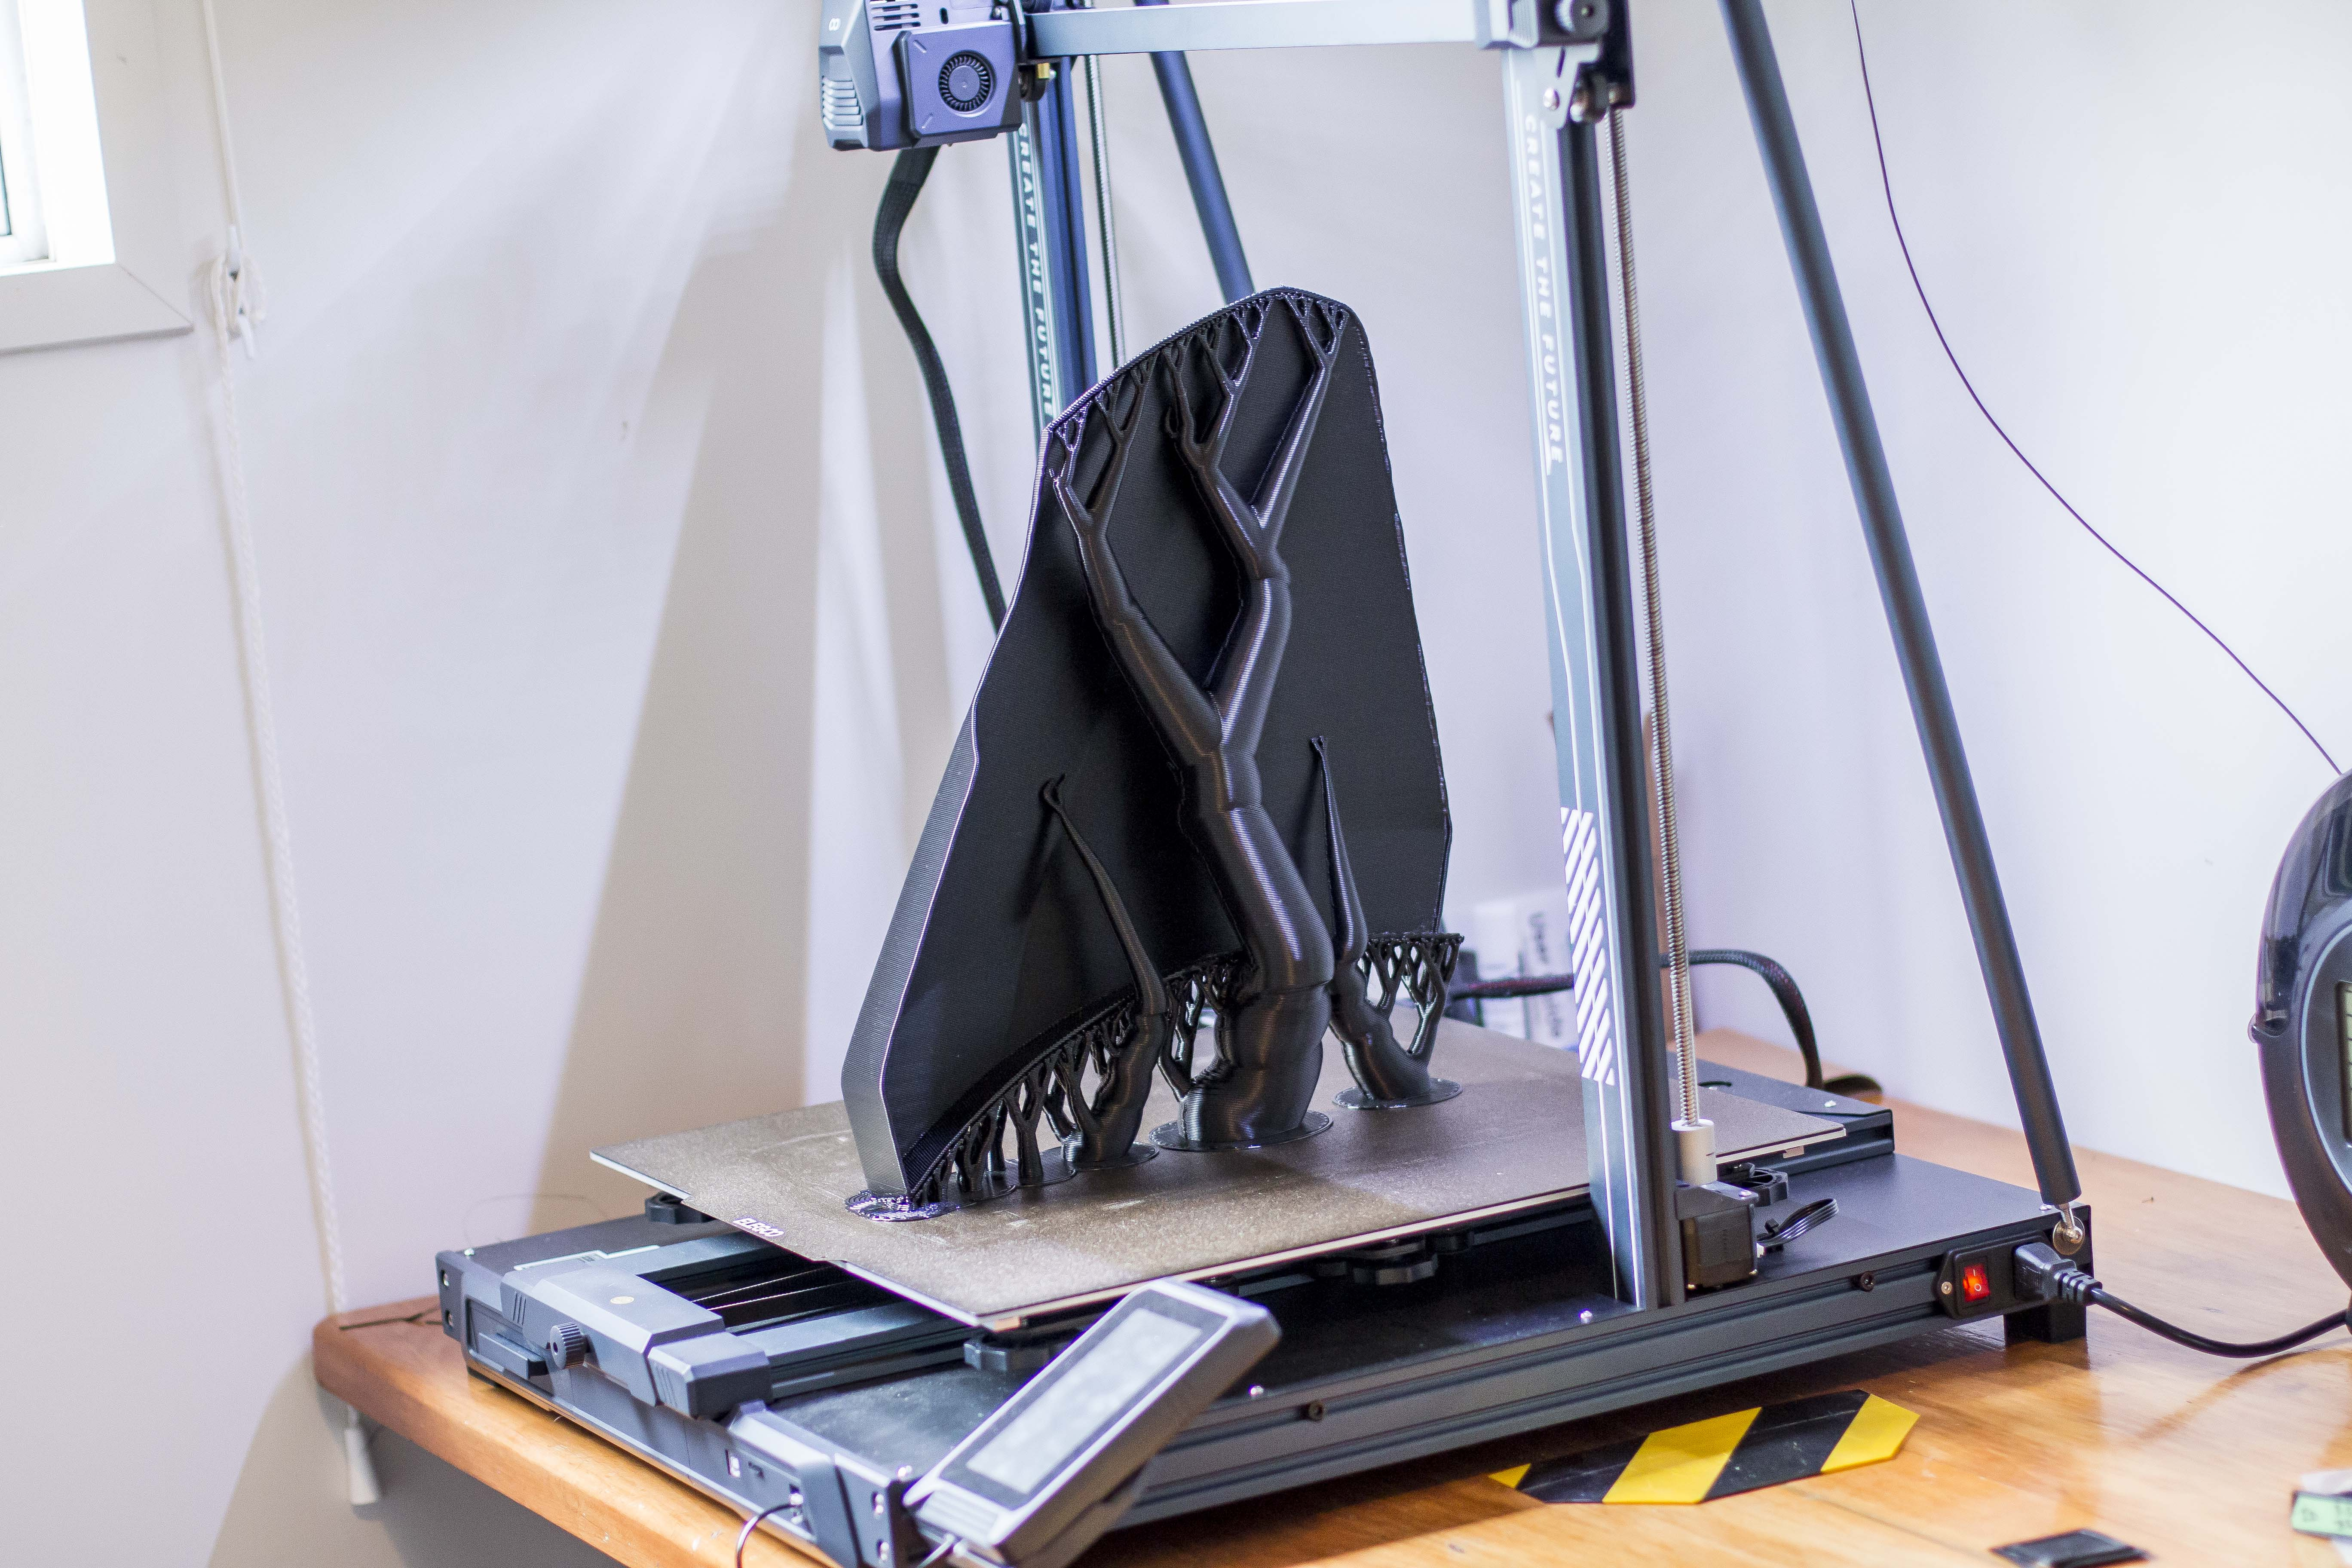
Just a quick Patreon only update on what's been going on in the shop this week that wont be in the videos for a little while.I've finally got my 3D printer set up, it's a Elegoo Neptune 3 Max for anybody wondering. It's one of the largest home 3D printers you can get with a 420 x 420 x 500mm print volume. Since I'm printing car parts I decided to sacrifice a little bit of resolution and swap out the standard 0.4mm nozzle with a much larger 1.0mm nozzle. It's taken me about a week to get it calibrated and running nicely with the much larger nozzle but the result is a pretty insanely fast printing speed meaning it should only take me a couple of weeks of continuous printing to get the left side of this kit printed off.The first piece we attempted with the new printer was the front bumper extension as this was a smaller piece and also the only part of the kit that could be printed in one piece without splitting it up.
The first print was just under 10 hours, I left the print speed quite low just to give the filament enough time to heat up but I think I could speed it up slightly on the next few pieces and keep experimenting until it stops working.The part itself though came out almost perfect.
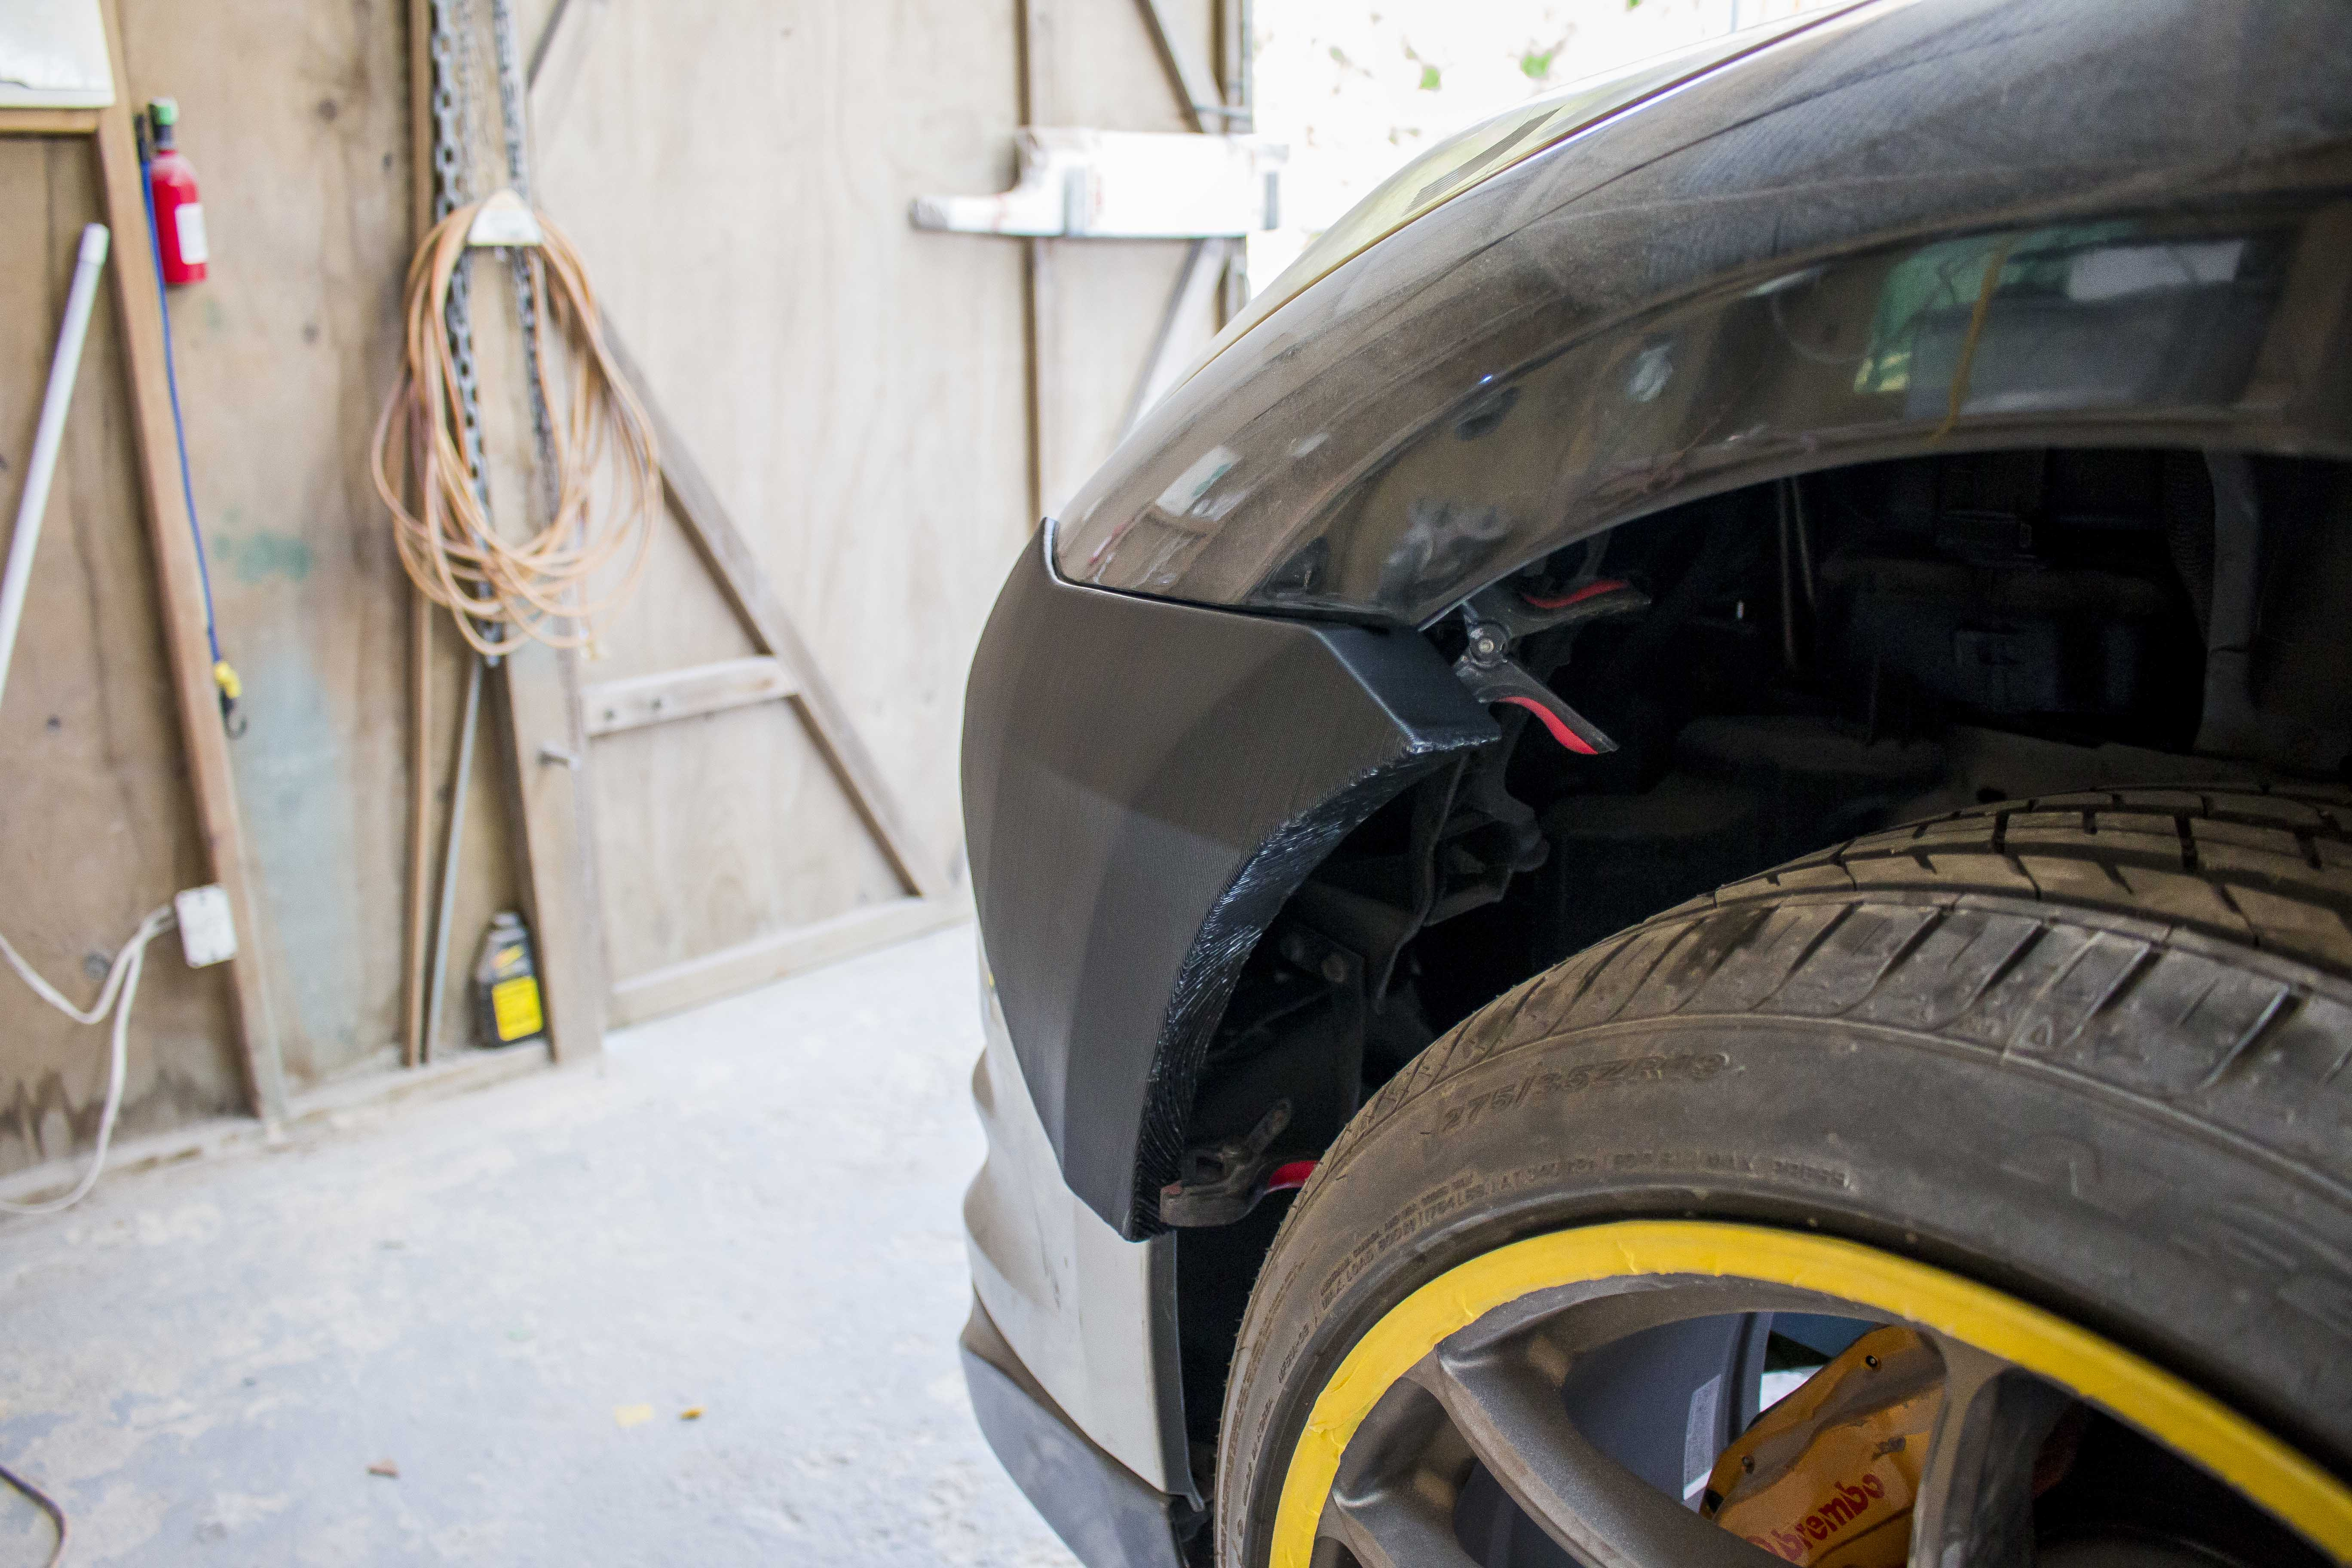
The first test fit went great and it fits the car perfectly. So it looks super promising for the rest of the kit.
As I expected though the printed finish leaves a little to be desired so I will be sanding all of these parts and then giving them a skim coat of filler before sealing them and using them to make plugs.
But that should be insanely quick to do compared to shaping them all over again.
I'm not planning to have the printing in a video on the channel for a little while, I want to finish off the moulds for the first side before flipping the car around so that I can assemble this side a little easier. So this will probably give me about a month to print these piece all off in the background and then once they are all finished I'll have a single episode up with some timelapses of the printing and assembling / sanding / filling the kit.
In other news, I've had the first of the parts for the next set of videos on the Mx5 arrive.
So with this Mx5, there are a lot of parts of the design that are pretty important to pull off the look that I have planned for this, and probably one of the most important of those is the width of the rear tyres since I plan to tear most of the rear off this car and have them completely exposed.
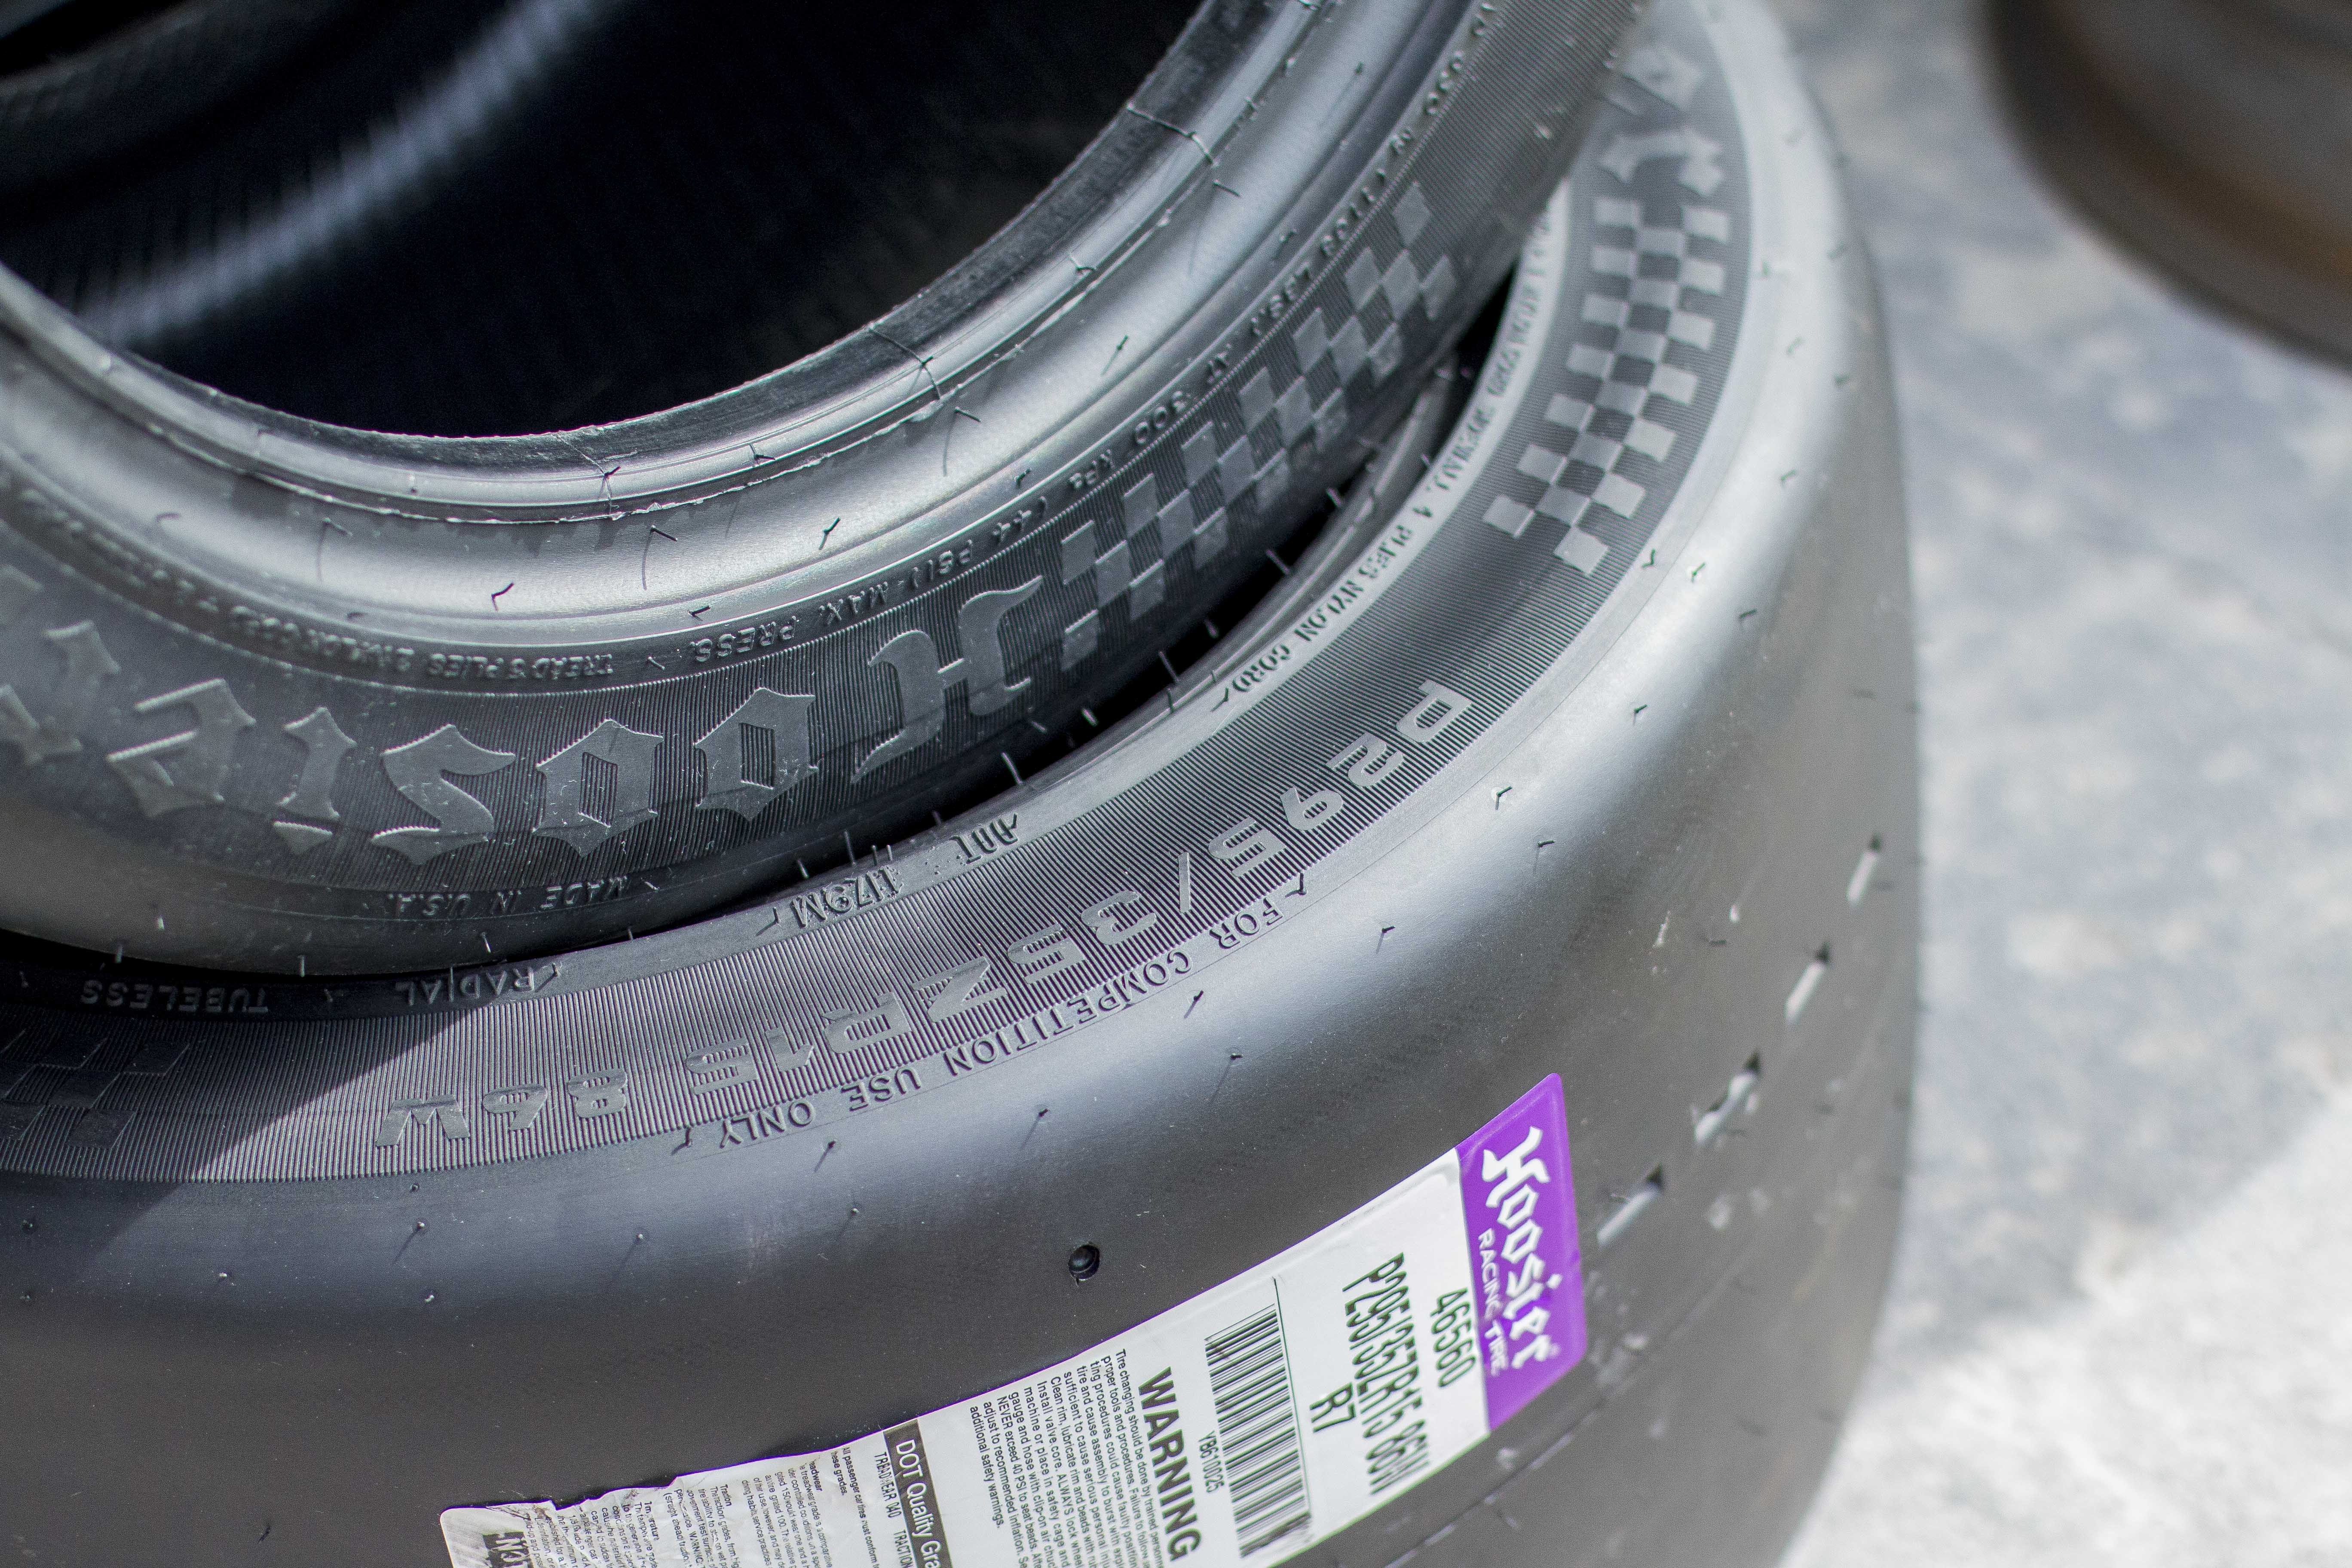
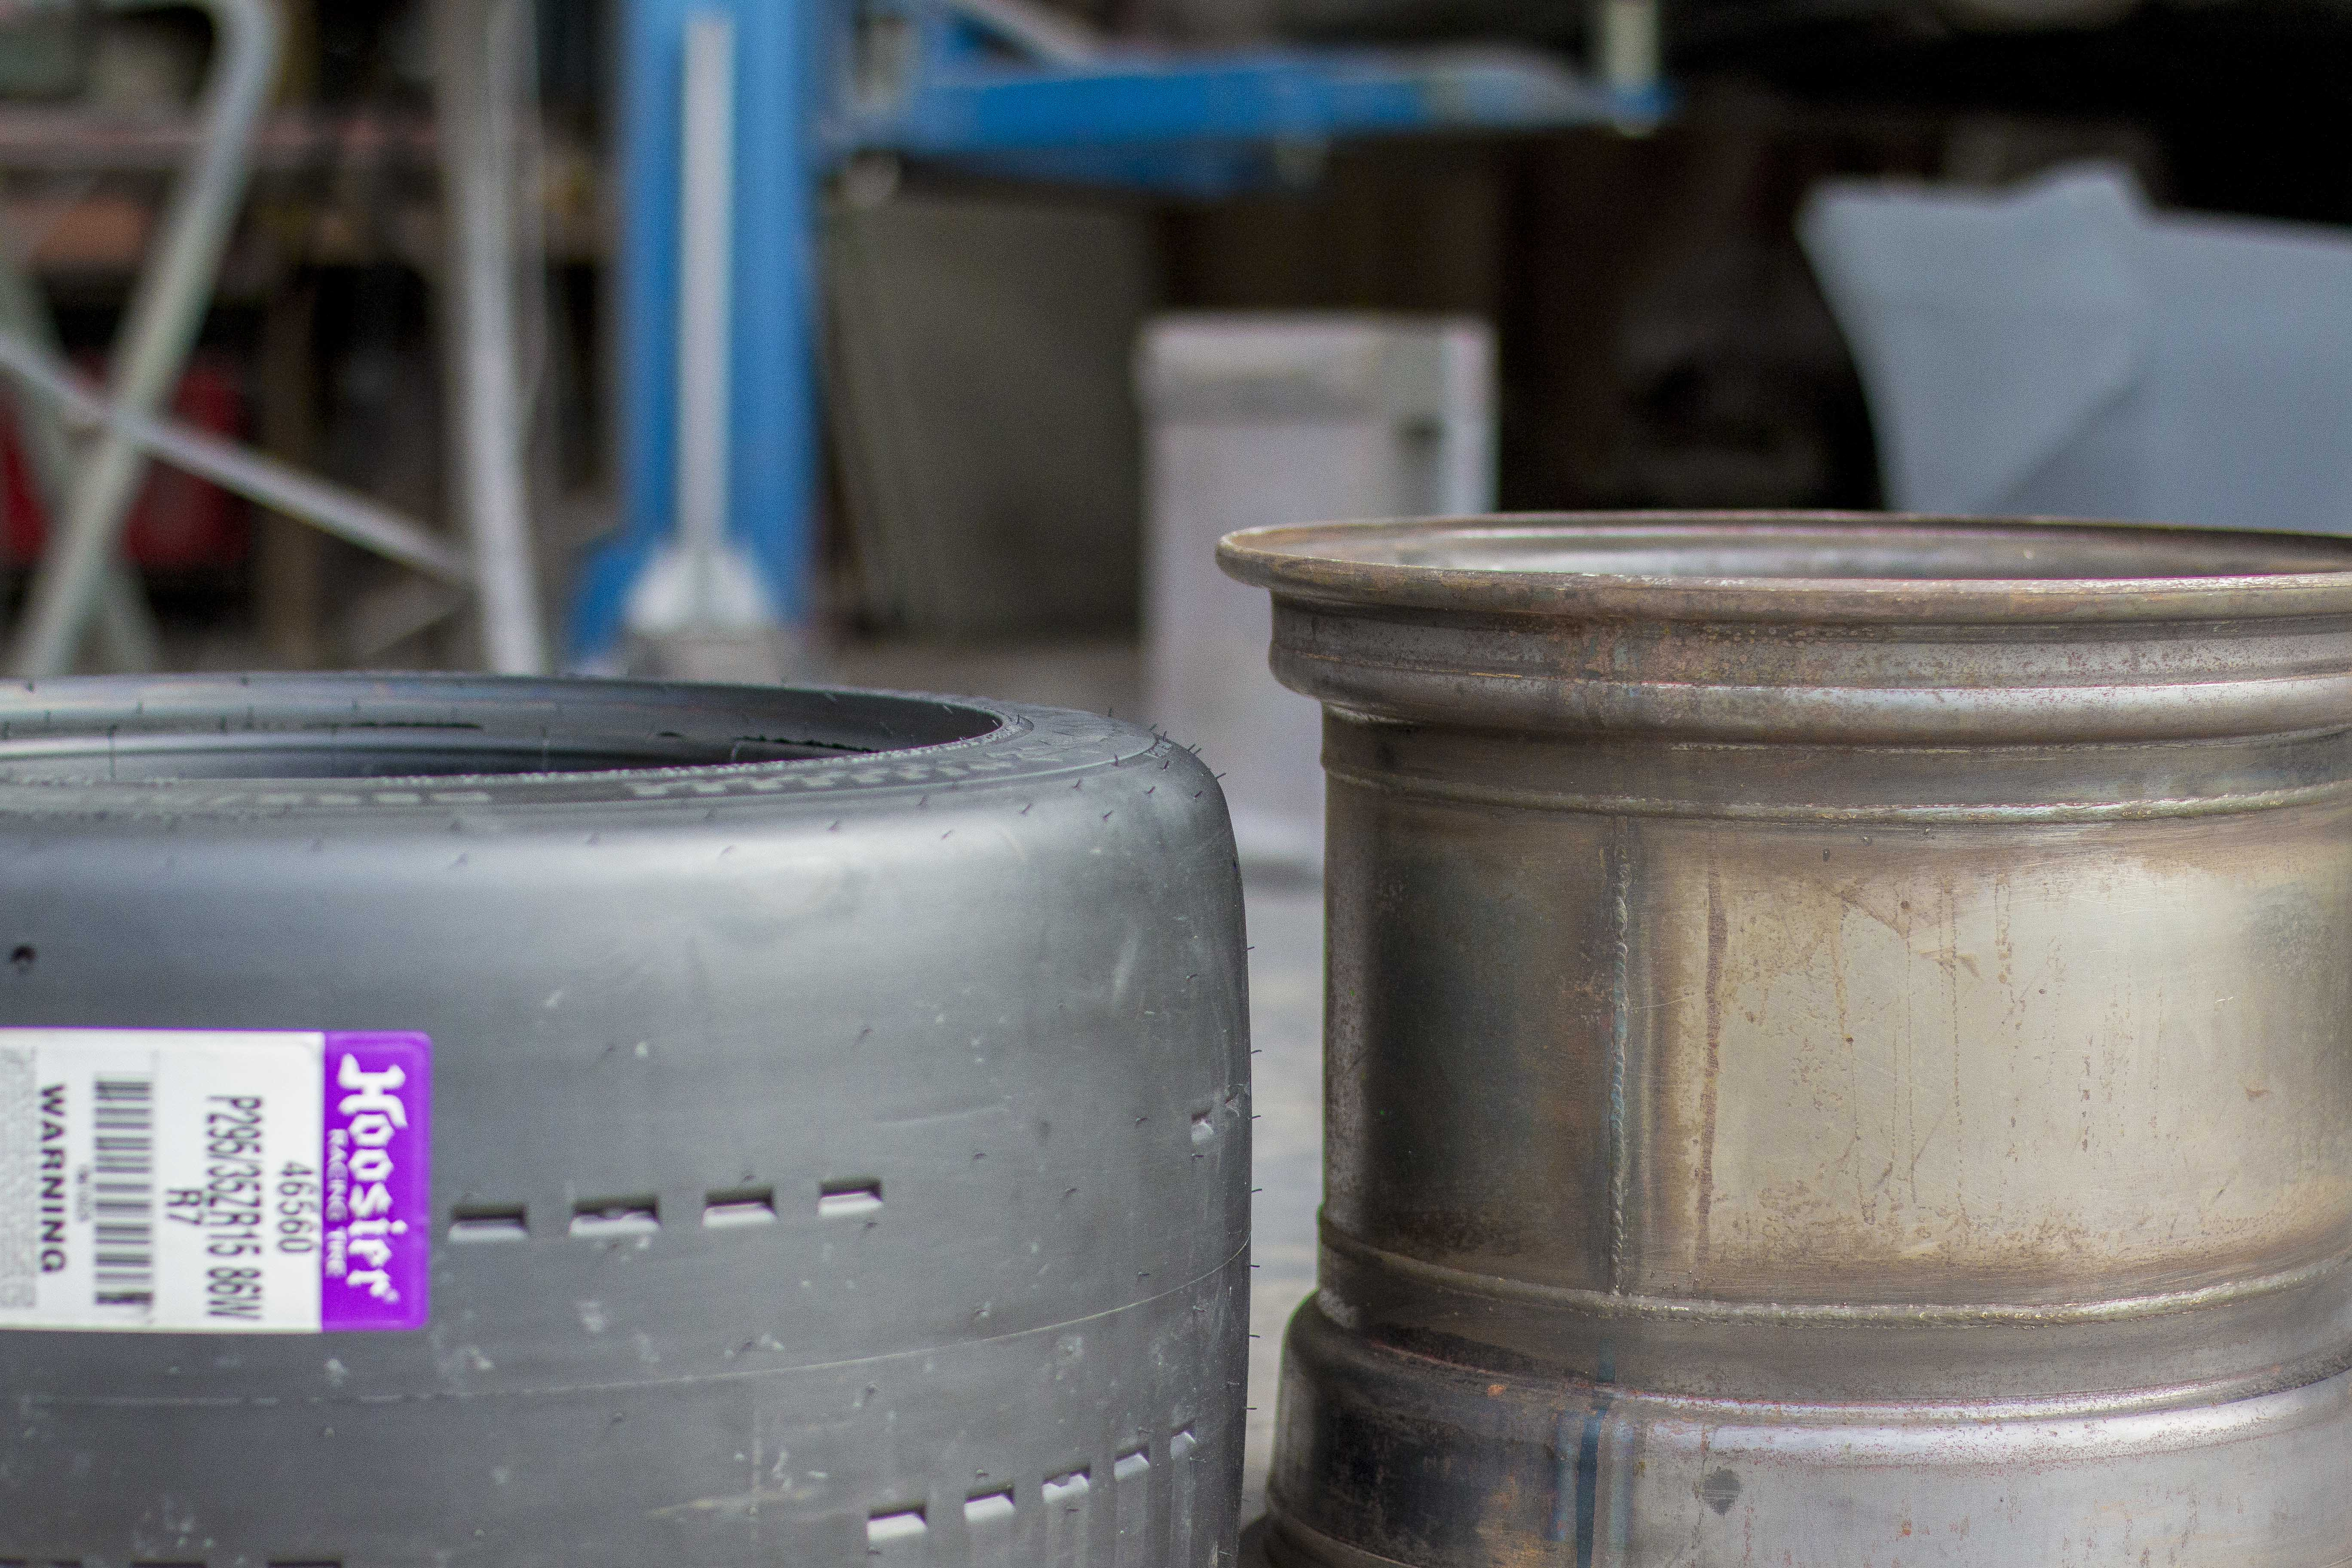
When I built the wheels for the first version of this car, the 225 Toyo R888Rs were the widest tyres I realistically had access too, but now I am upgrading to 295/35R15 Hoosier R7 slicks.This will allow me to pair that with new 15x13 wheels and so will be remaking my rear wheels and showing the process I used to make them in a future video. I'll also use this as an opportunity to finally make a set of proper carbon fiber turbo fan wheels.
There are quite a few things that I'll be changing up on the Mx5 in the coming months as we've moved on to V3.0 of the build now.(For reference, V1.0 was the original version, V2.0 was when we added the weathering, oil cooler and fast back, and V3.0 has been the tail light and will be everything from here forwards.
Looking forward to getting my teeth into the Mx5. At the moment I'm still planning to release an episode every 2 weeks and so my prediction for the coming episodes at the moment is:Stagea Build ep 21 - Continuing with the fender moulds.Stagea Build ep 22 - Finishing the widebody moulds.Cyber Mx5 - making the new wheelsStagea Build ep 23 - Starting the rear lipAnd so on...
Files