Home

 Creators
 Search
 Recent
 Random
 Posts
 DMs
 Tags
 Random
 Importer
 Import
 FAQ
 Account
 Register
 Login
 Favorites
 Keys
 Logout
 Telegram

Carbon skinning the 3D printed turbofans. (Patreon)
Content
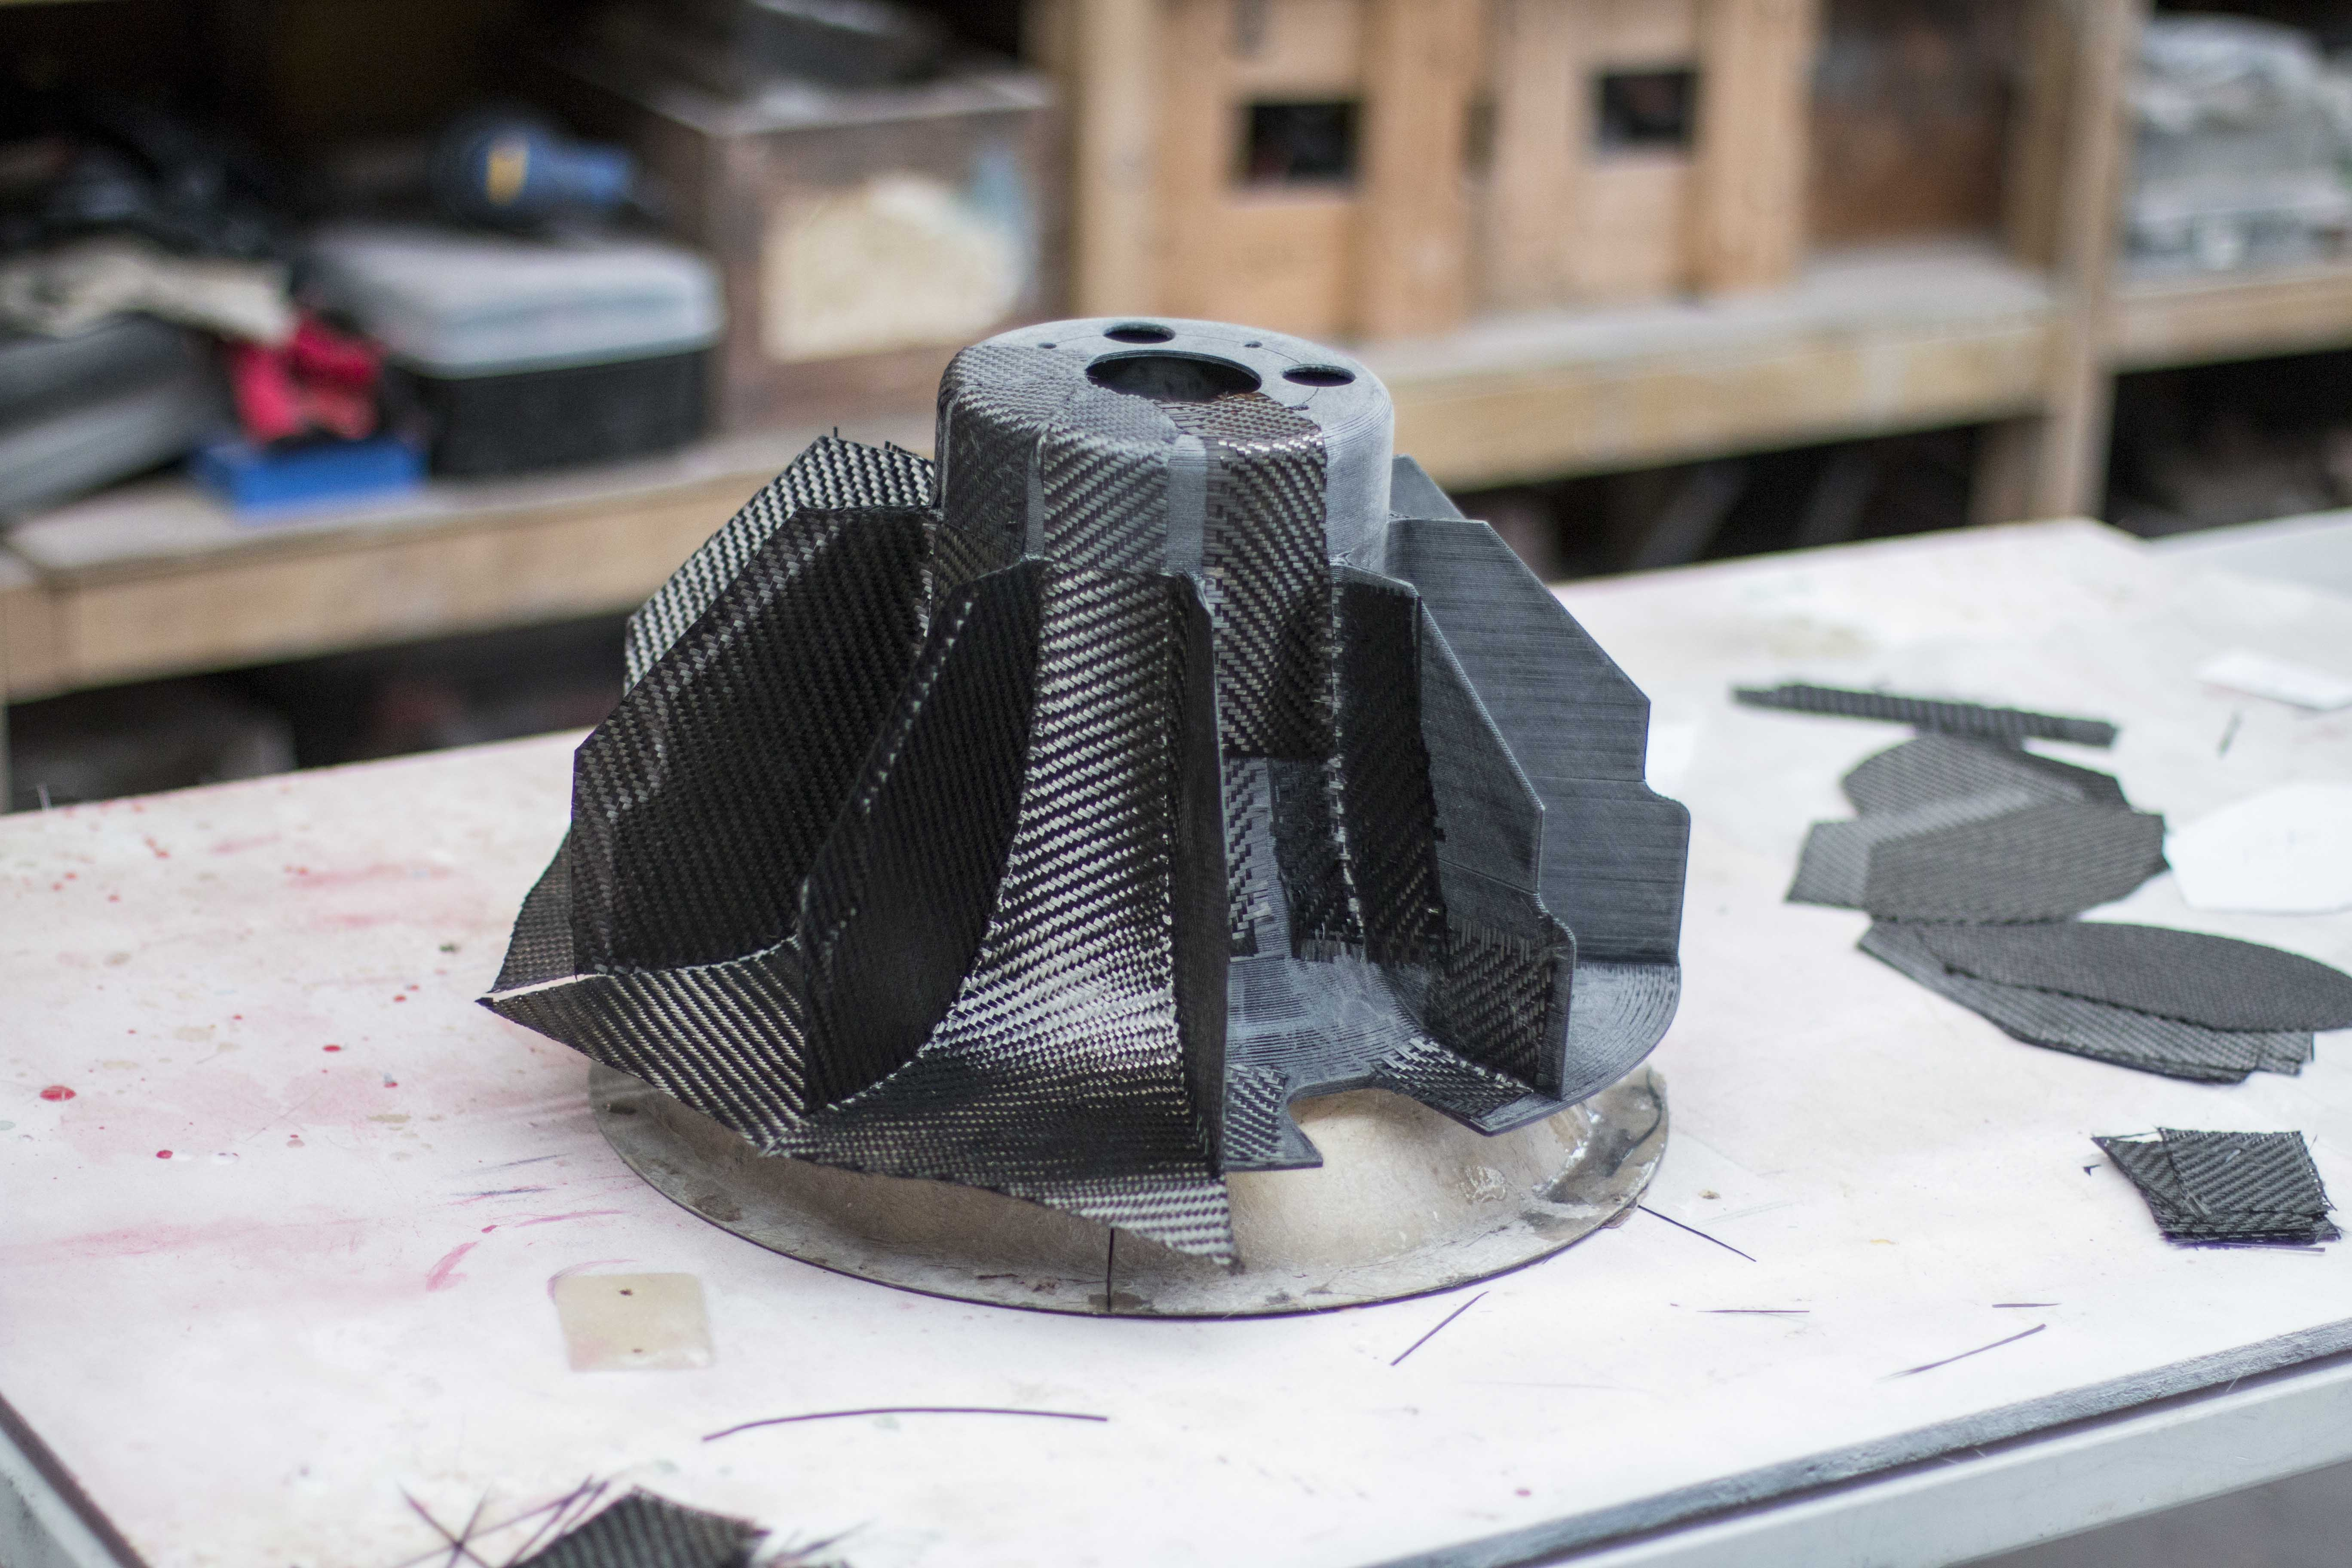
Man these past few weeks have been busy, It's taken me this long just to edit the photos to get these posts ready for you guys but here they finally are.So in the last update we were sort of around the stage in the video where I had the 3D models designed for these turbofans and the wheels were welded up and ready for tyres. So from there the first step was to print off the turbofans and get them ready for carbon encapsulation (it's a fancy word but it's just carbon skinning on the front and the back to make a little PLA carbon sandwich.
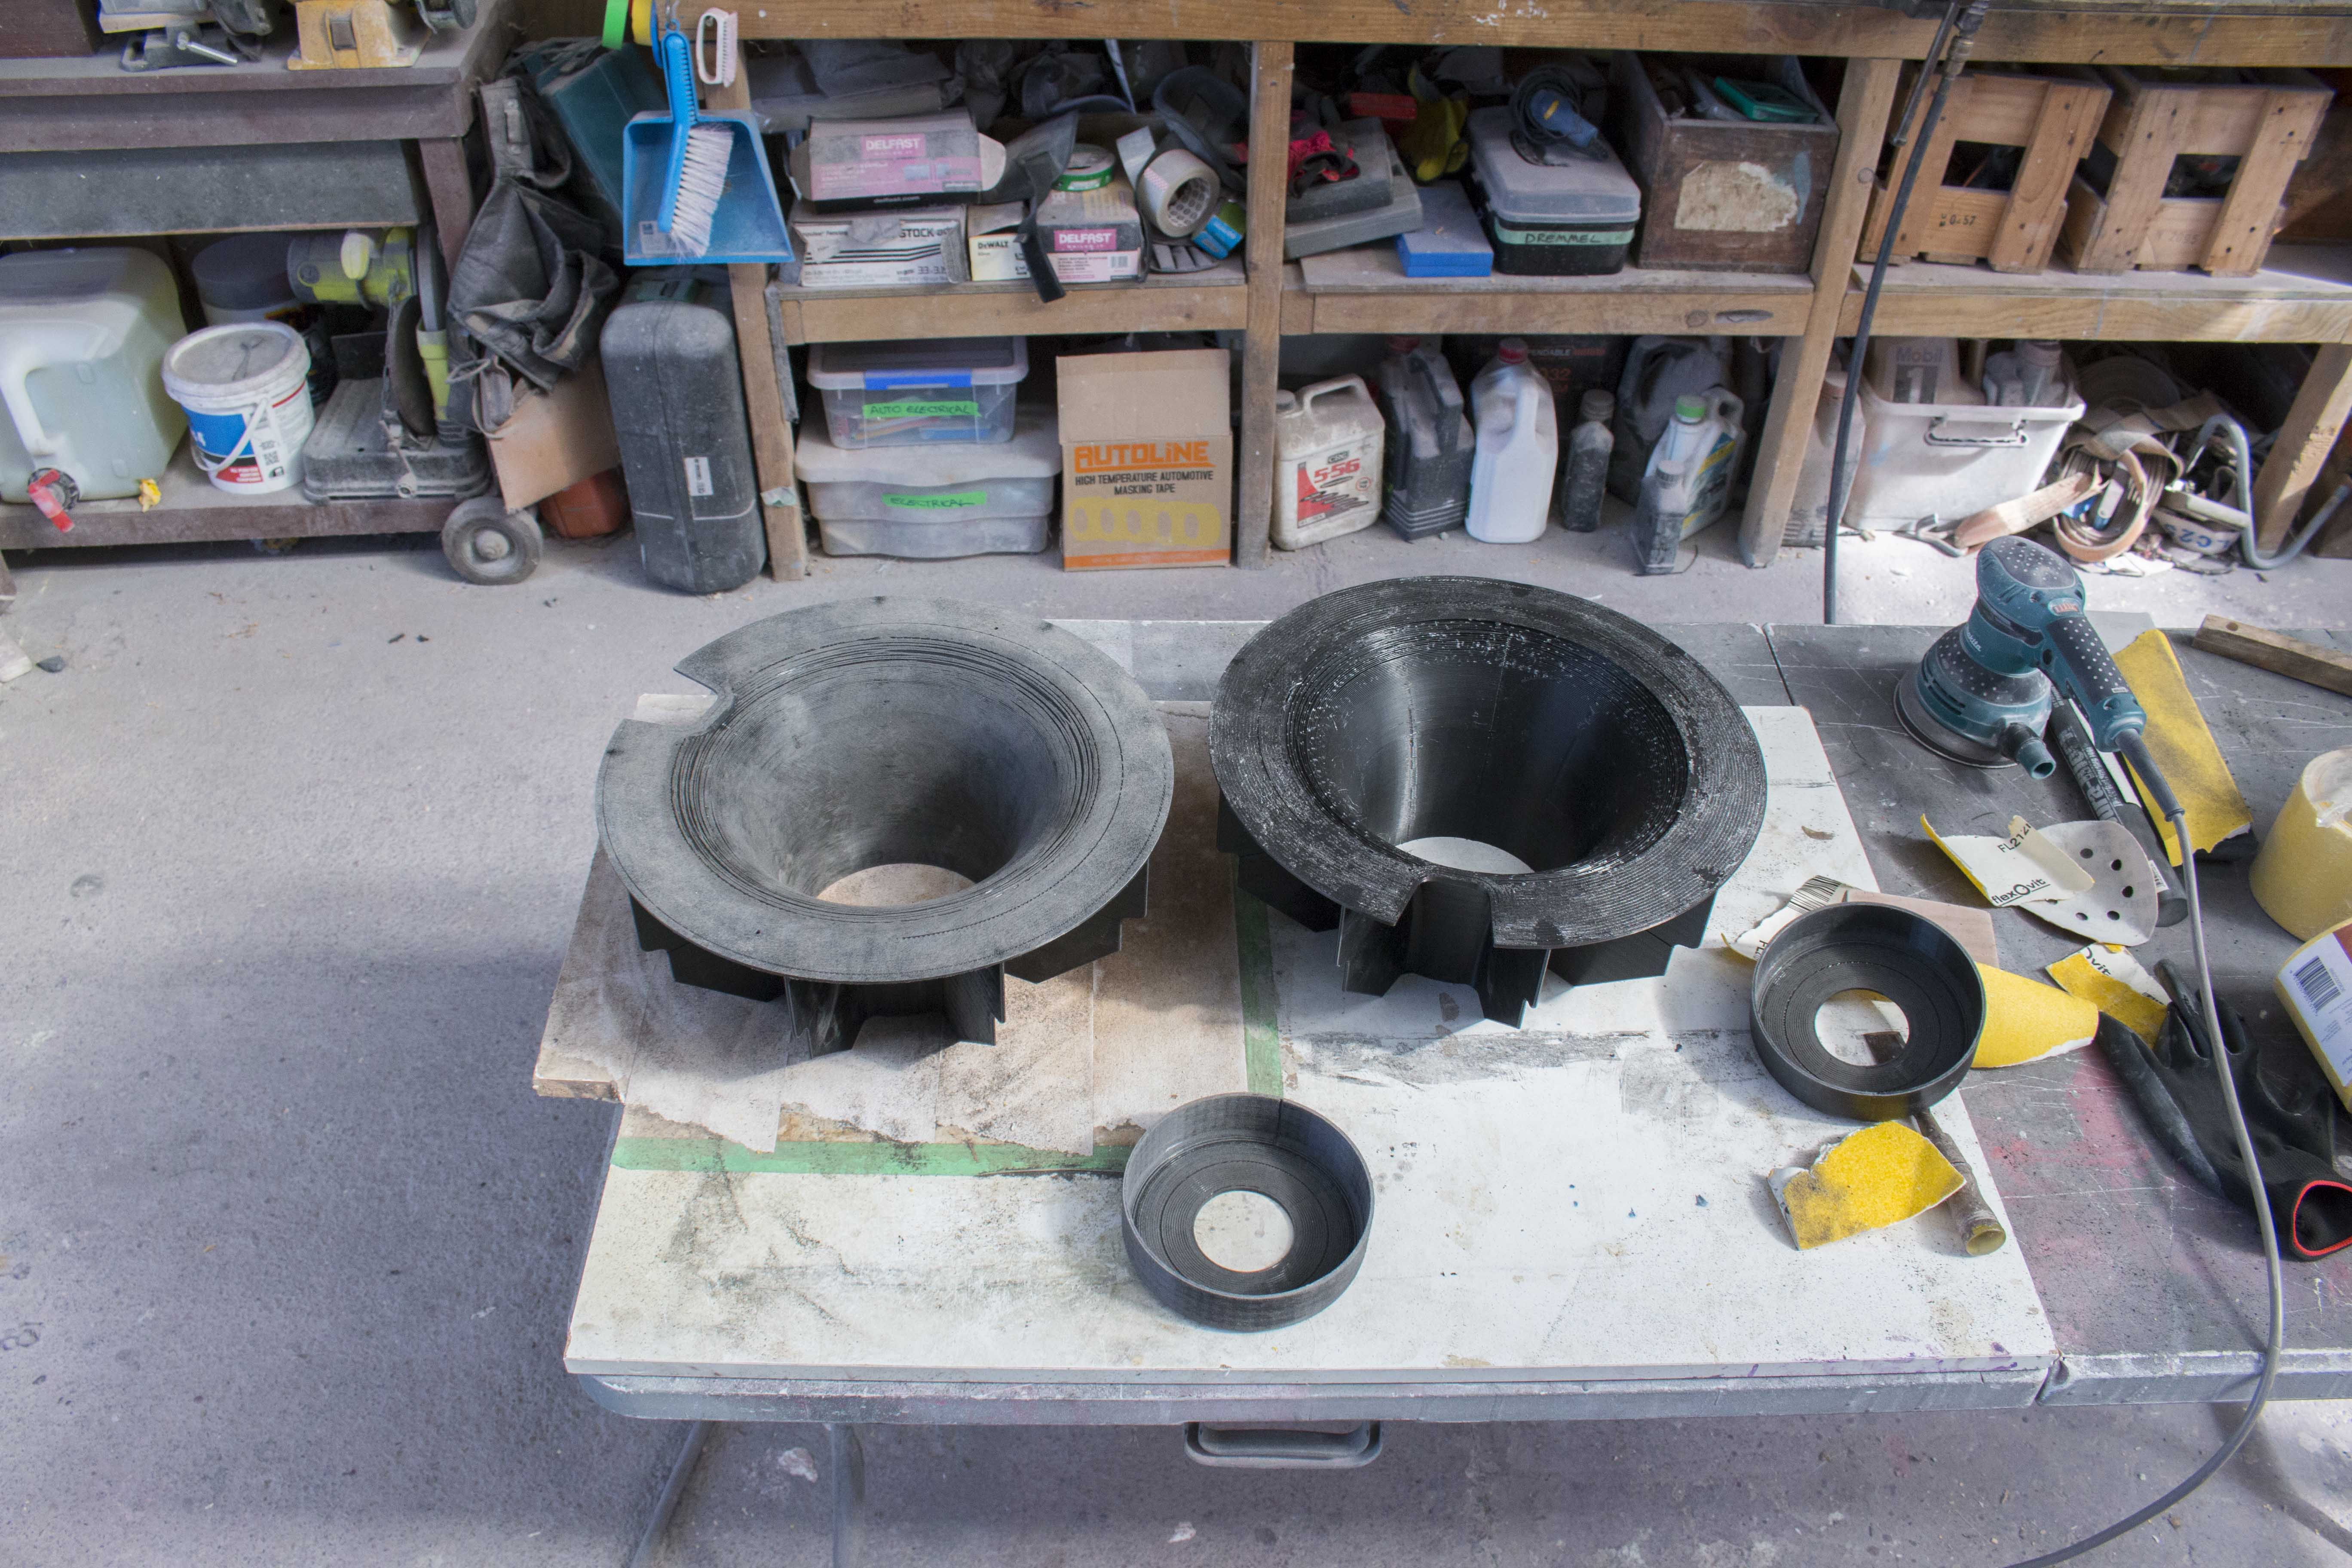
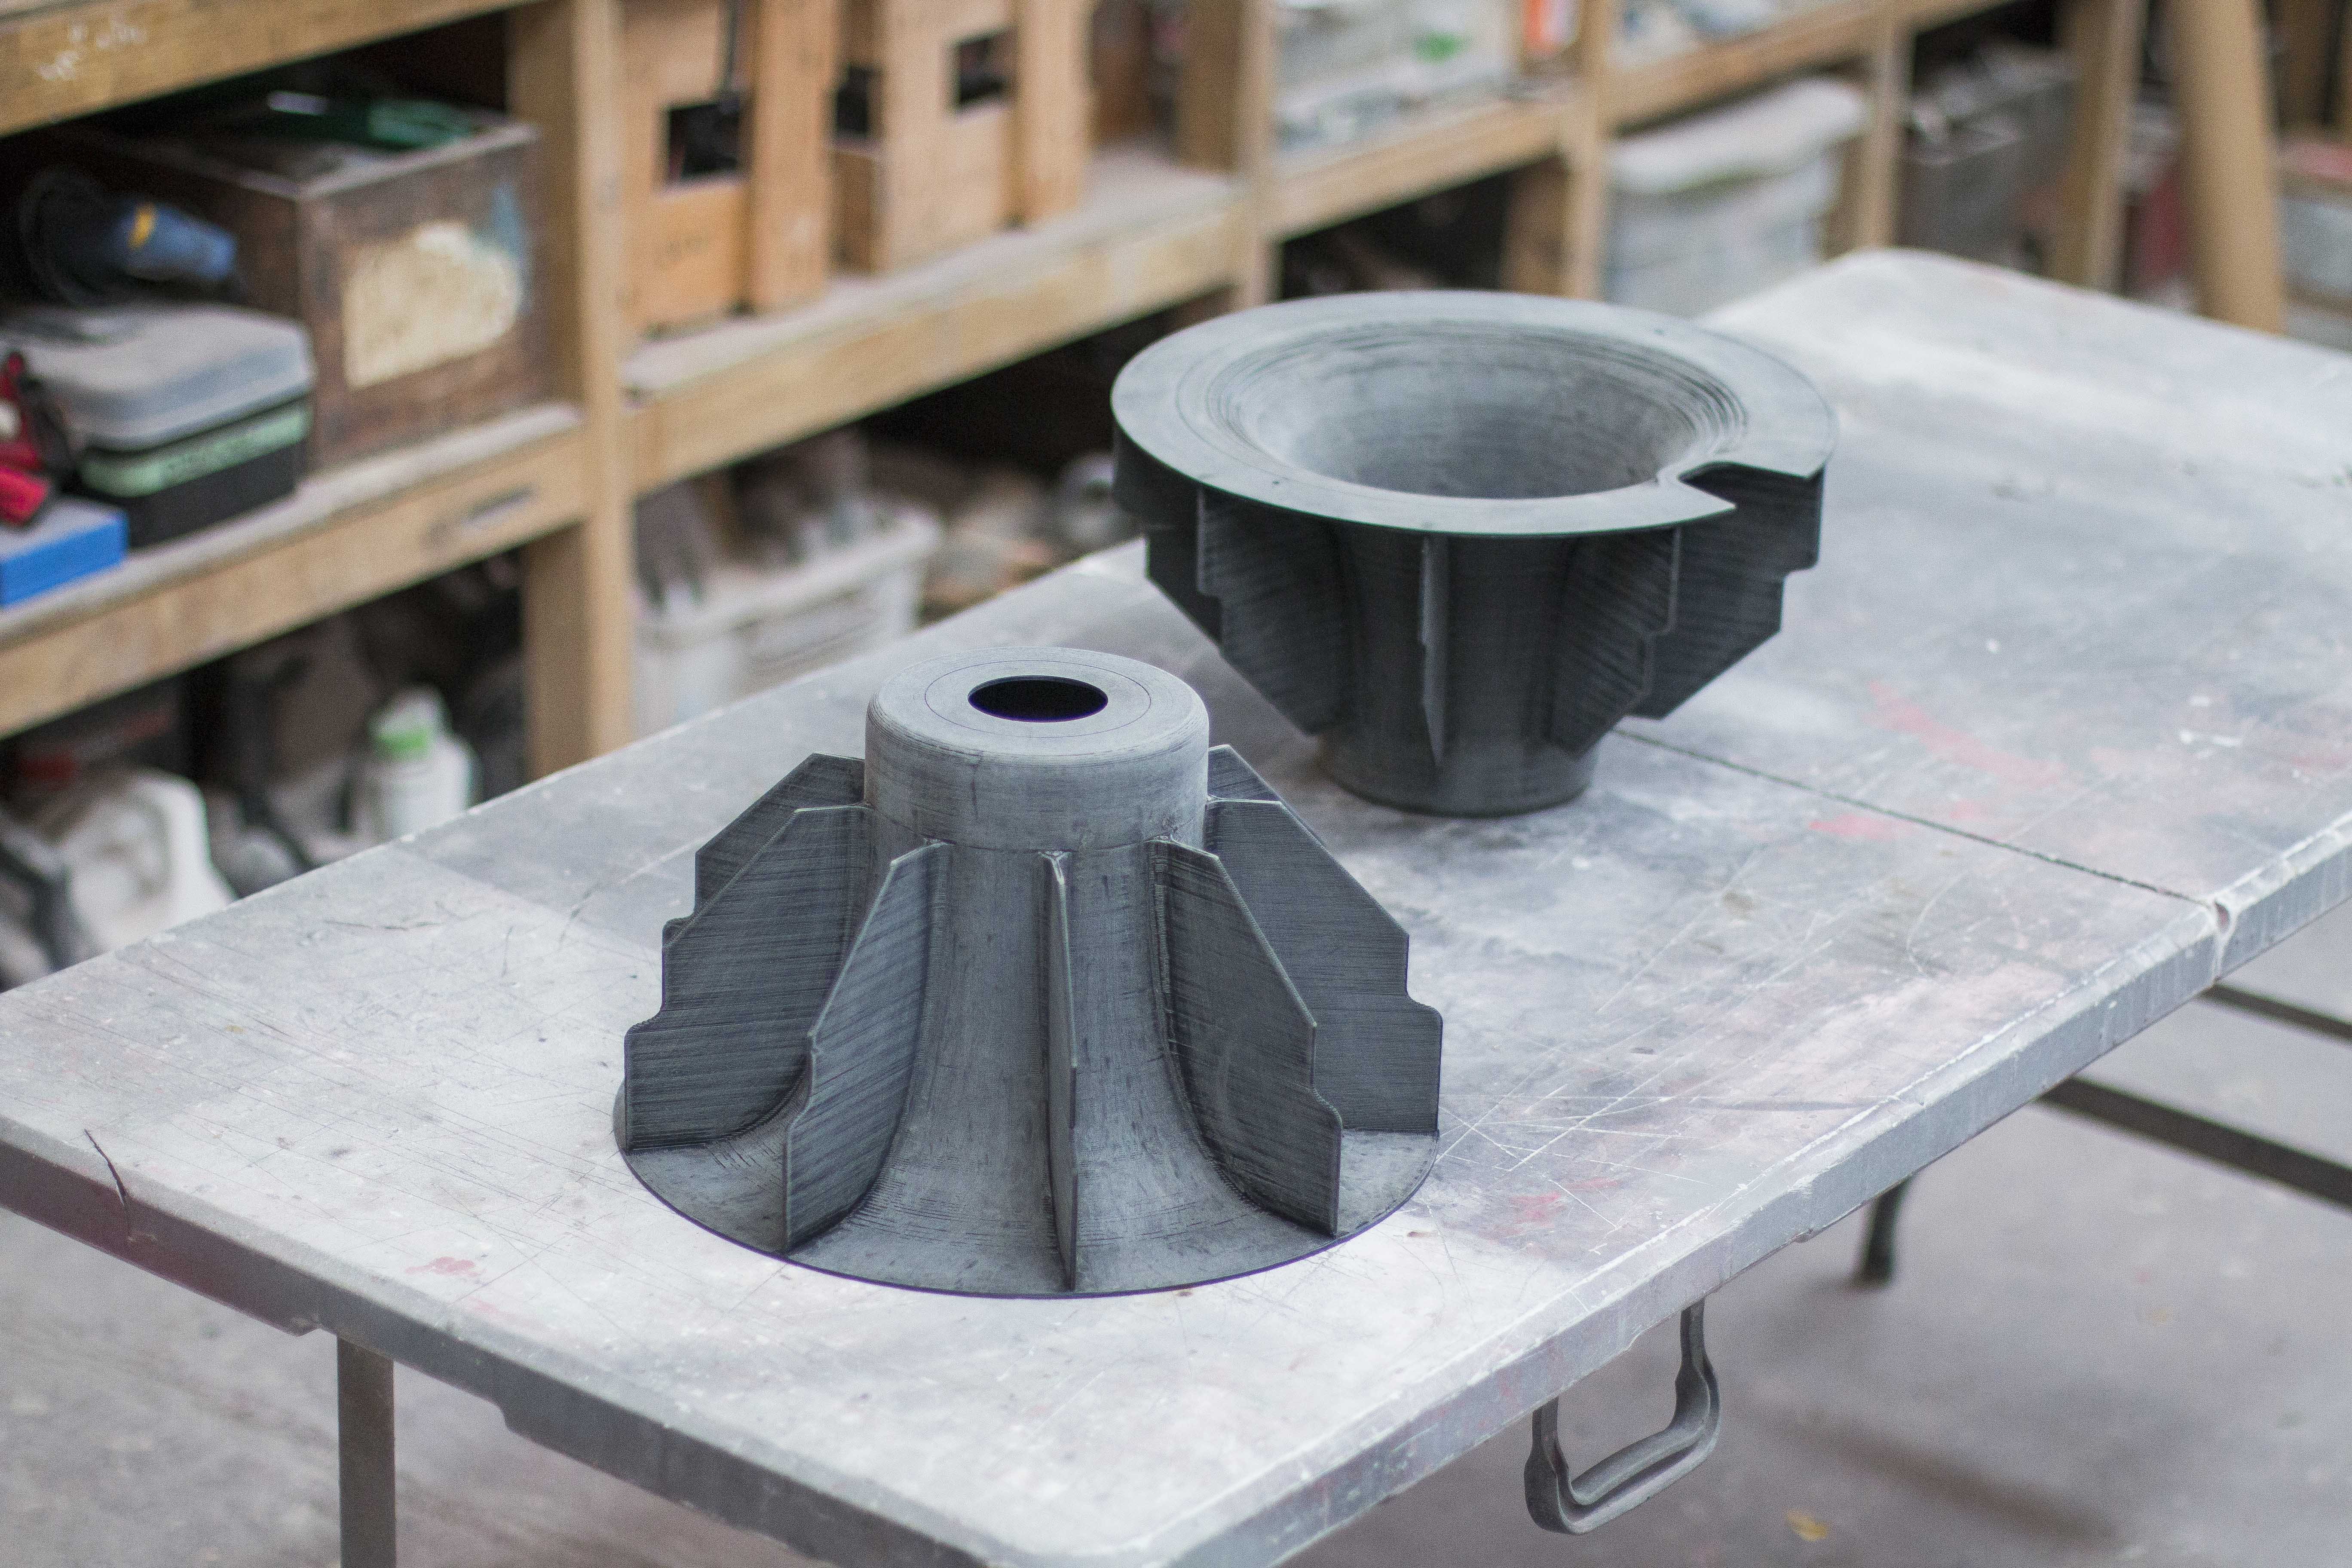
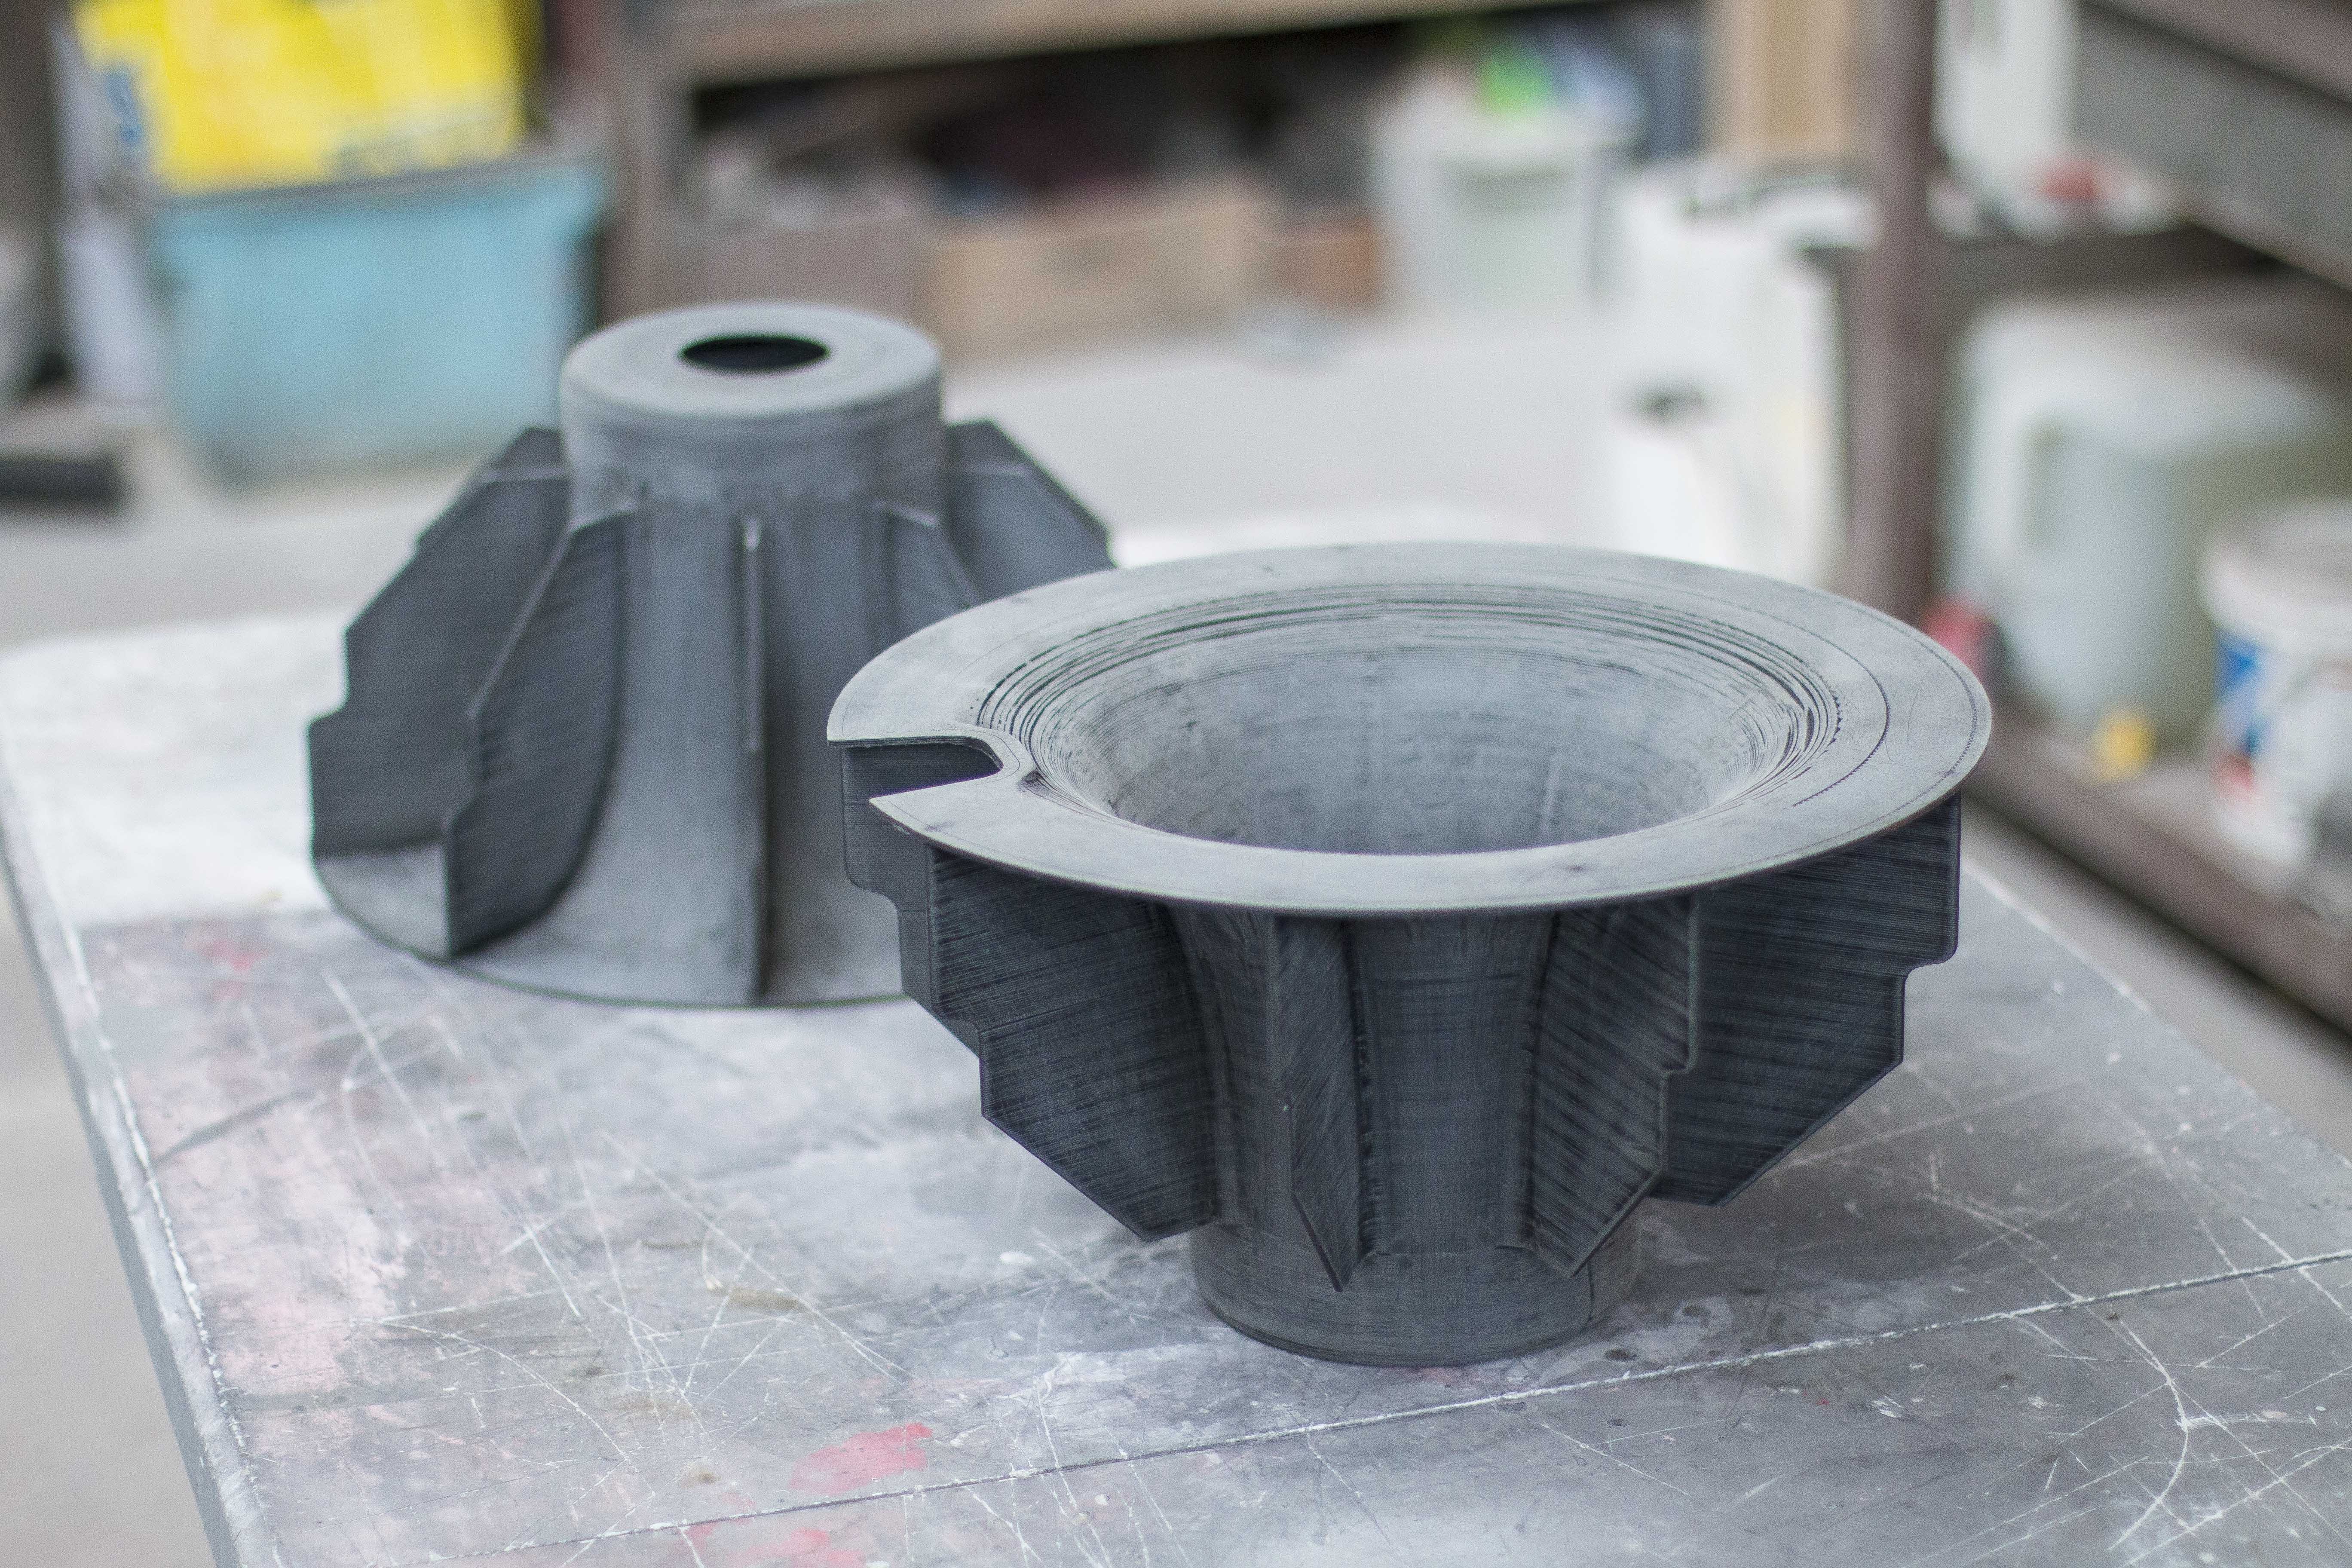
To save myself a heap of time with the printing, I printed both of these cores in 2 parts and glued them together with regular CA glue. This honestly nocked around a day of printing off not having to make support material and the final bond strength between the super glue is even stronger than the regular bonds between the layers of the print.
Because I've made these new turbofans in a very different approach to how I made my old aerocovers, I thought I would show how the old ones were made as well.
Here you can see the design stages. The green plug in the back is the lampshade and water bowl that I used to make my initial forms from, then we moved on to the red mould in the middle and finally the fiberglass covers on either side.You'll see that because of the suction from the design of the mould, there was actually no way to remove the covers without cutting a slot into them to release the air and pop them off the mould. At least not with my skill level a few years ago when I made these. That's actually the reason all of the wheels had the iconic pink stripe on them, it was to cover the angle grinder marks.With the 3D printed cores sanded and ready to go for epoxy I also dropped my wheels off and had the tyres fitted.
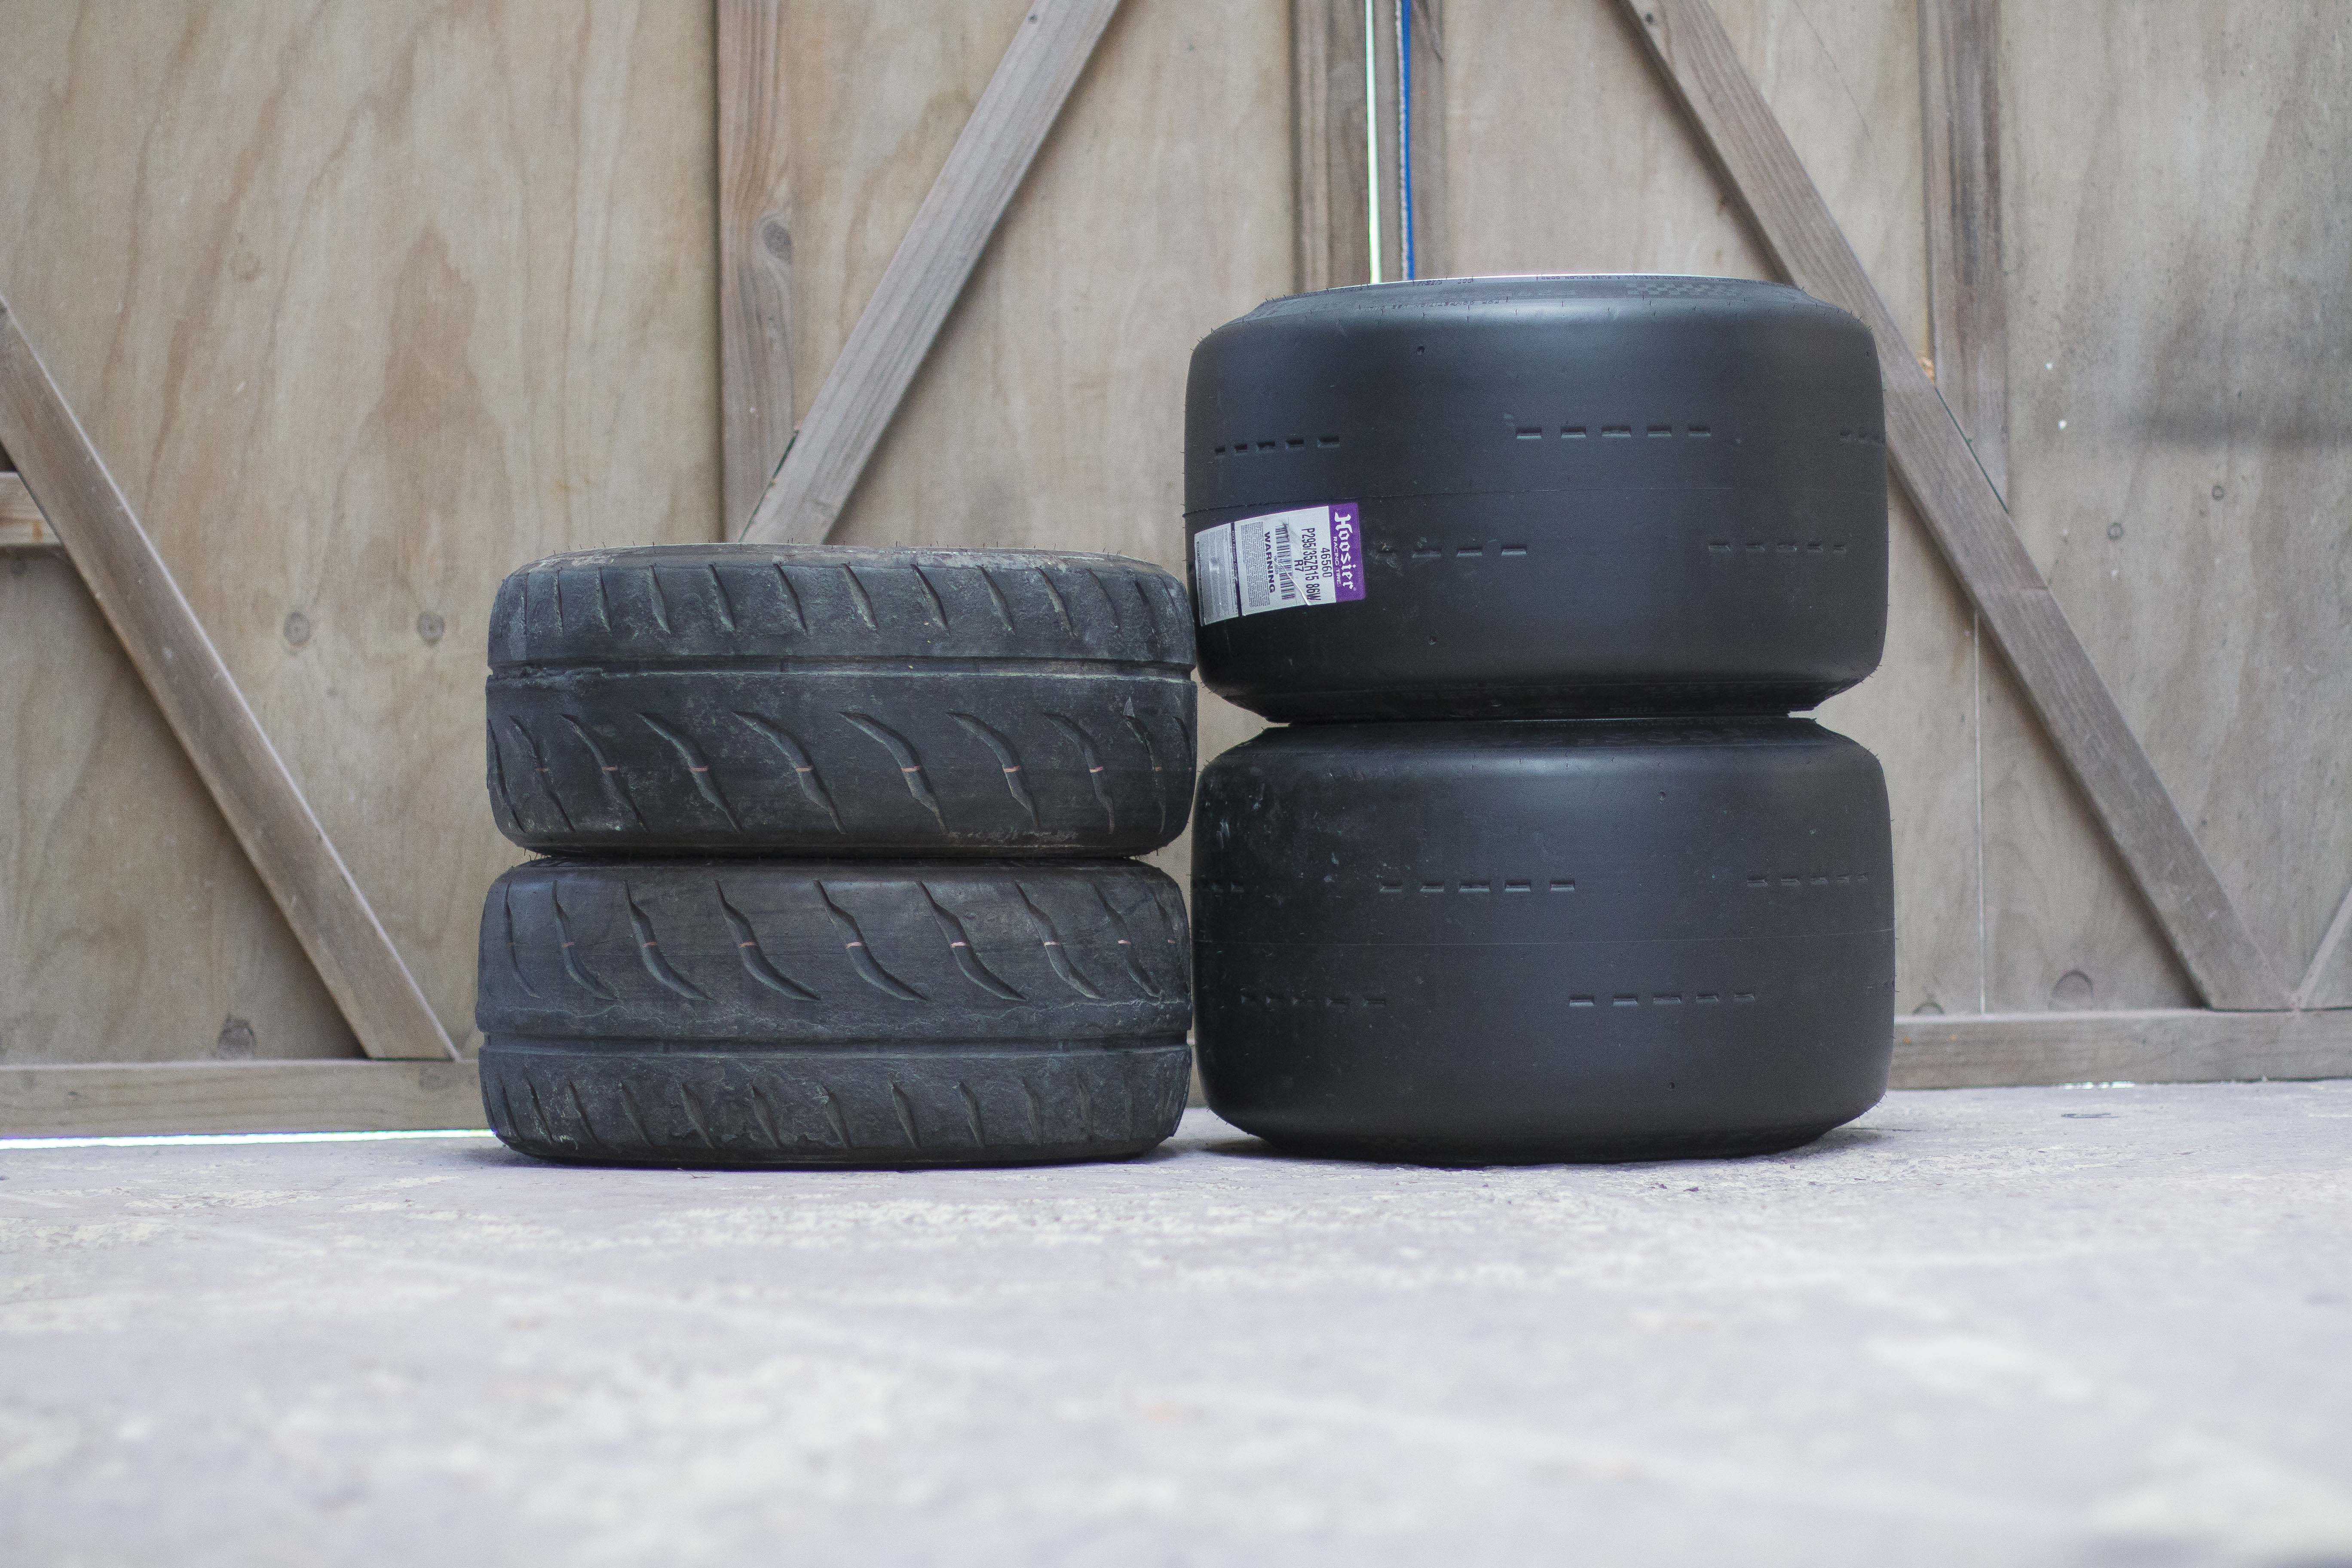
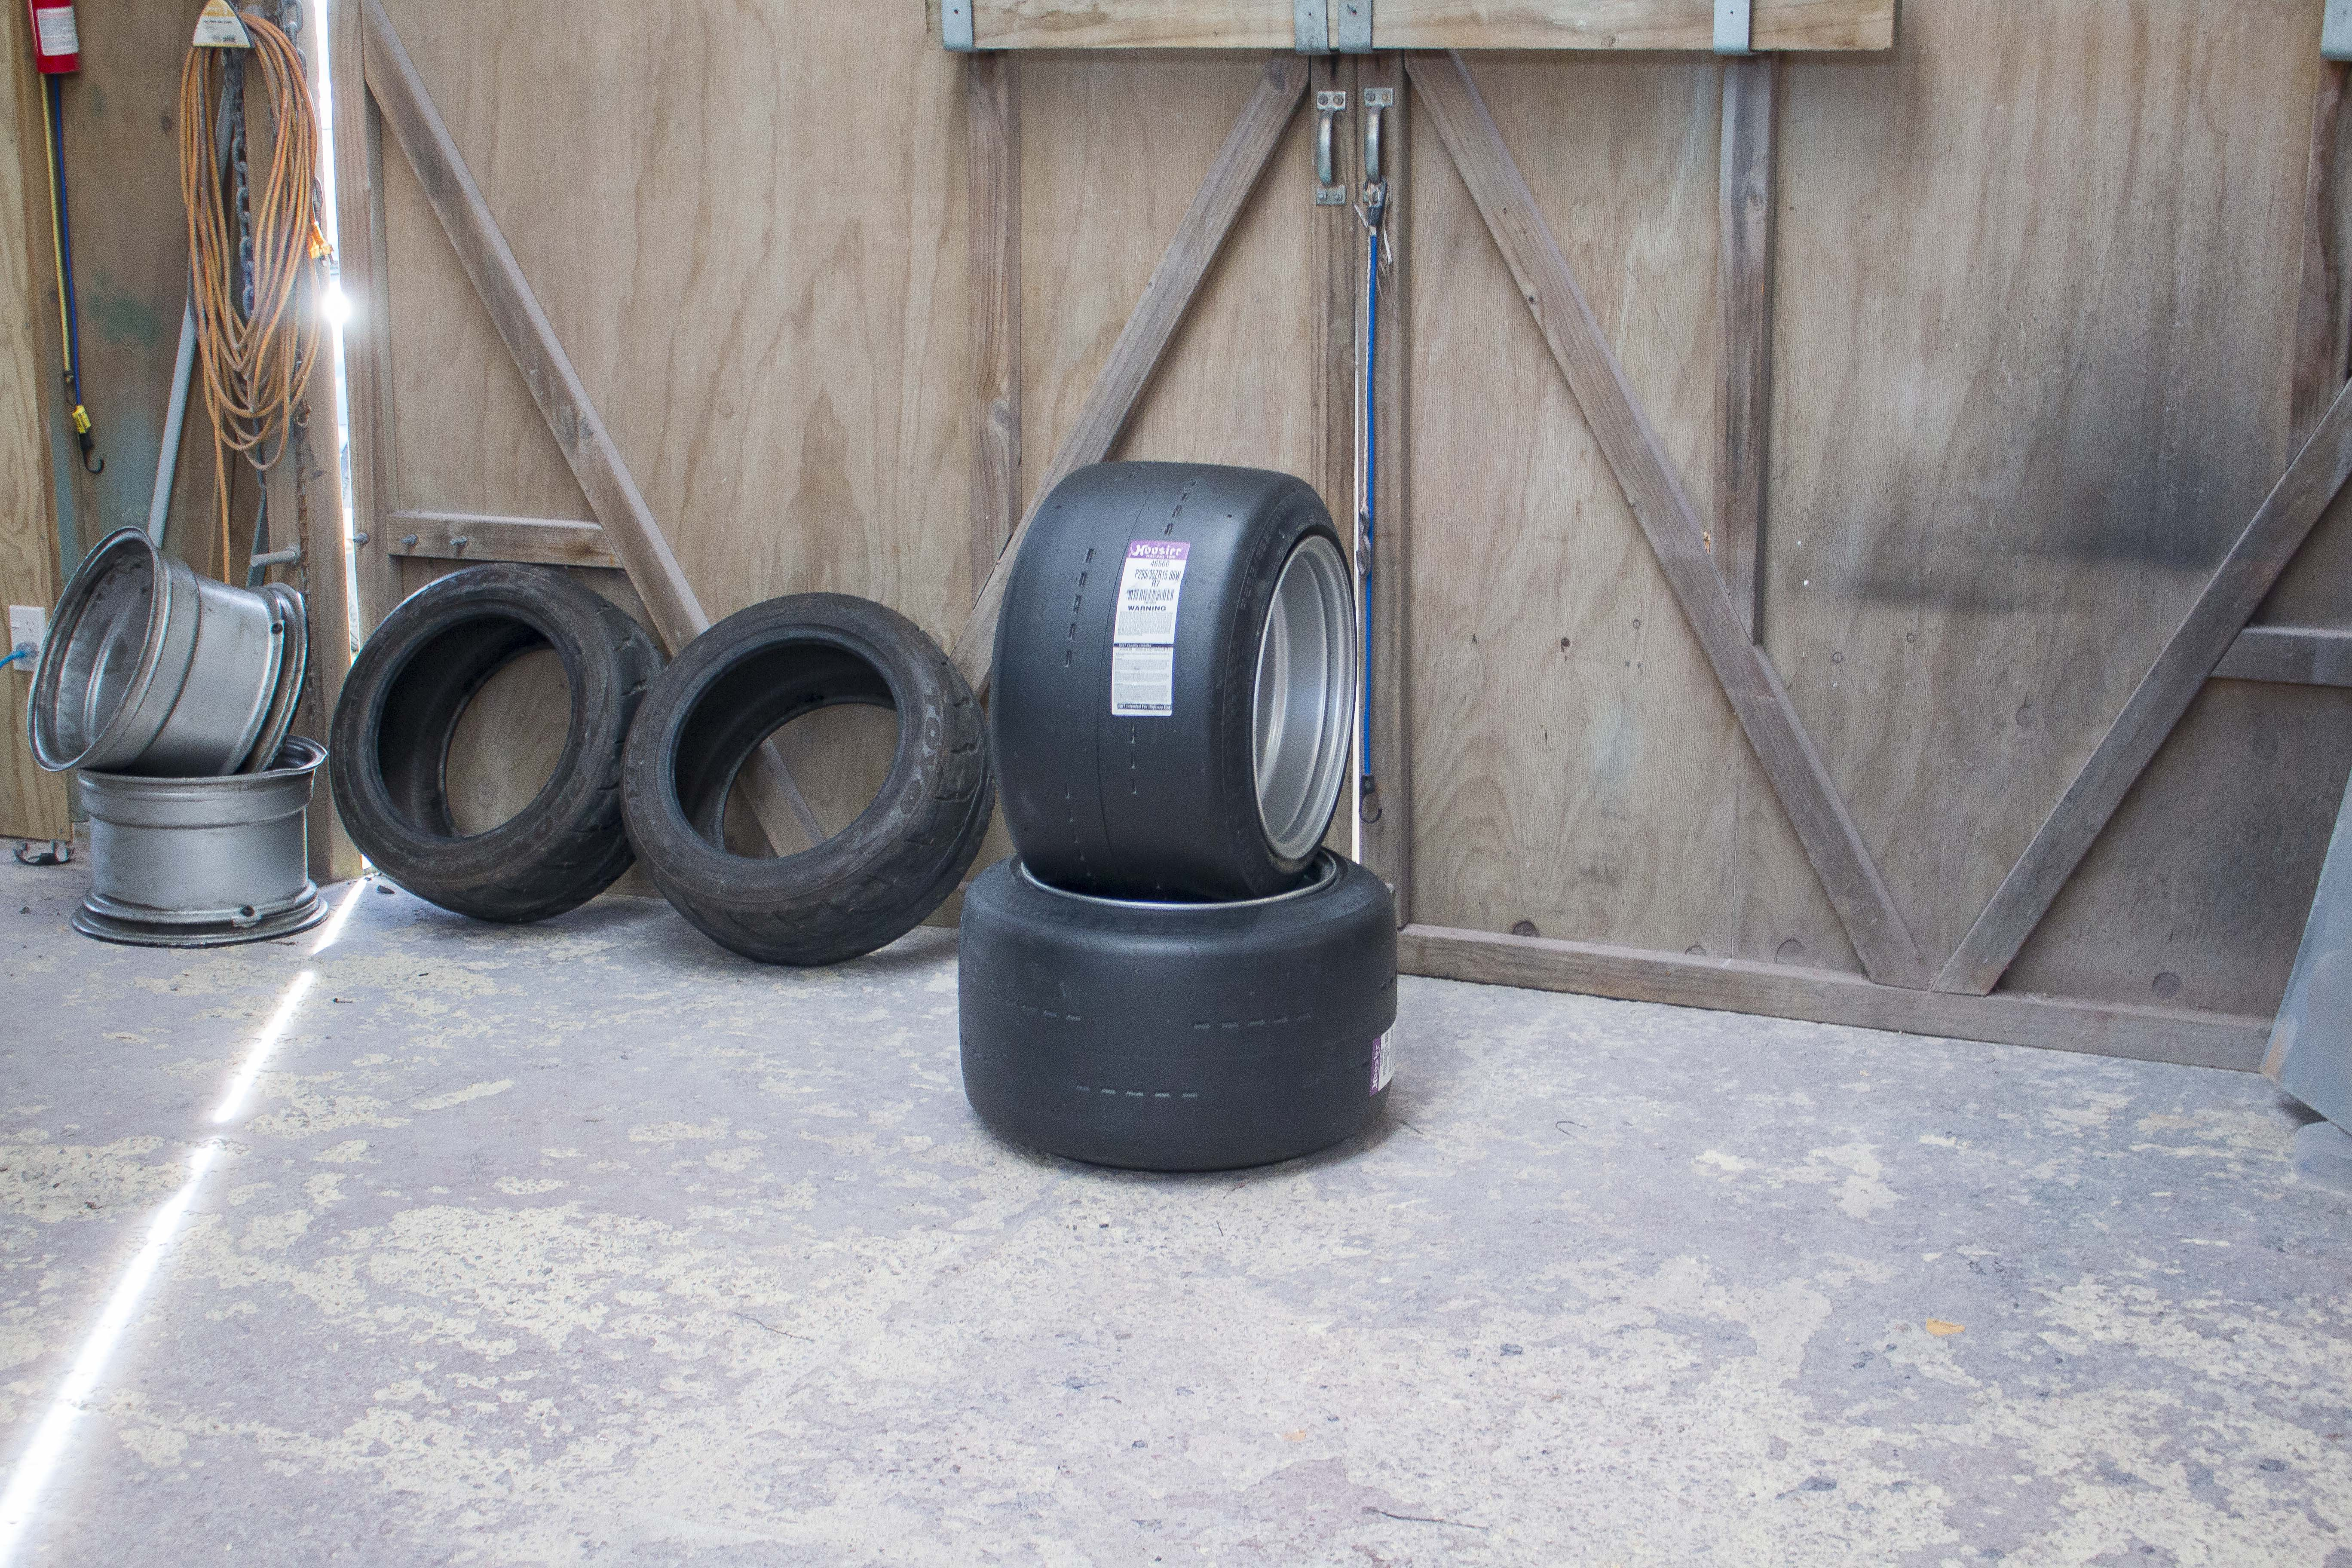
I thought my old 225 Toyo's were a big tyre but here they are for comparison,
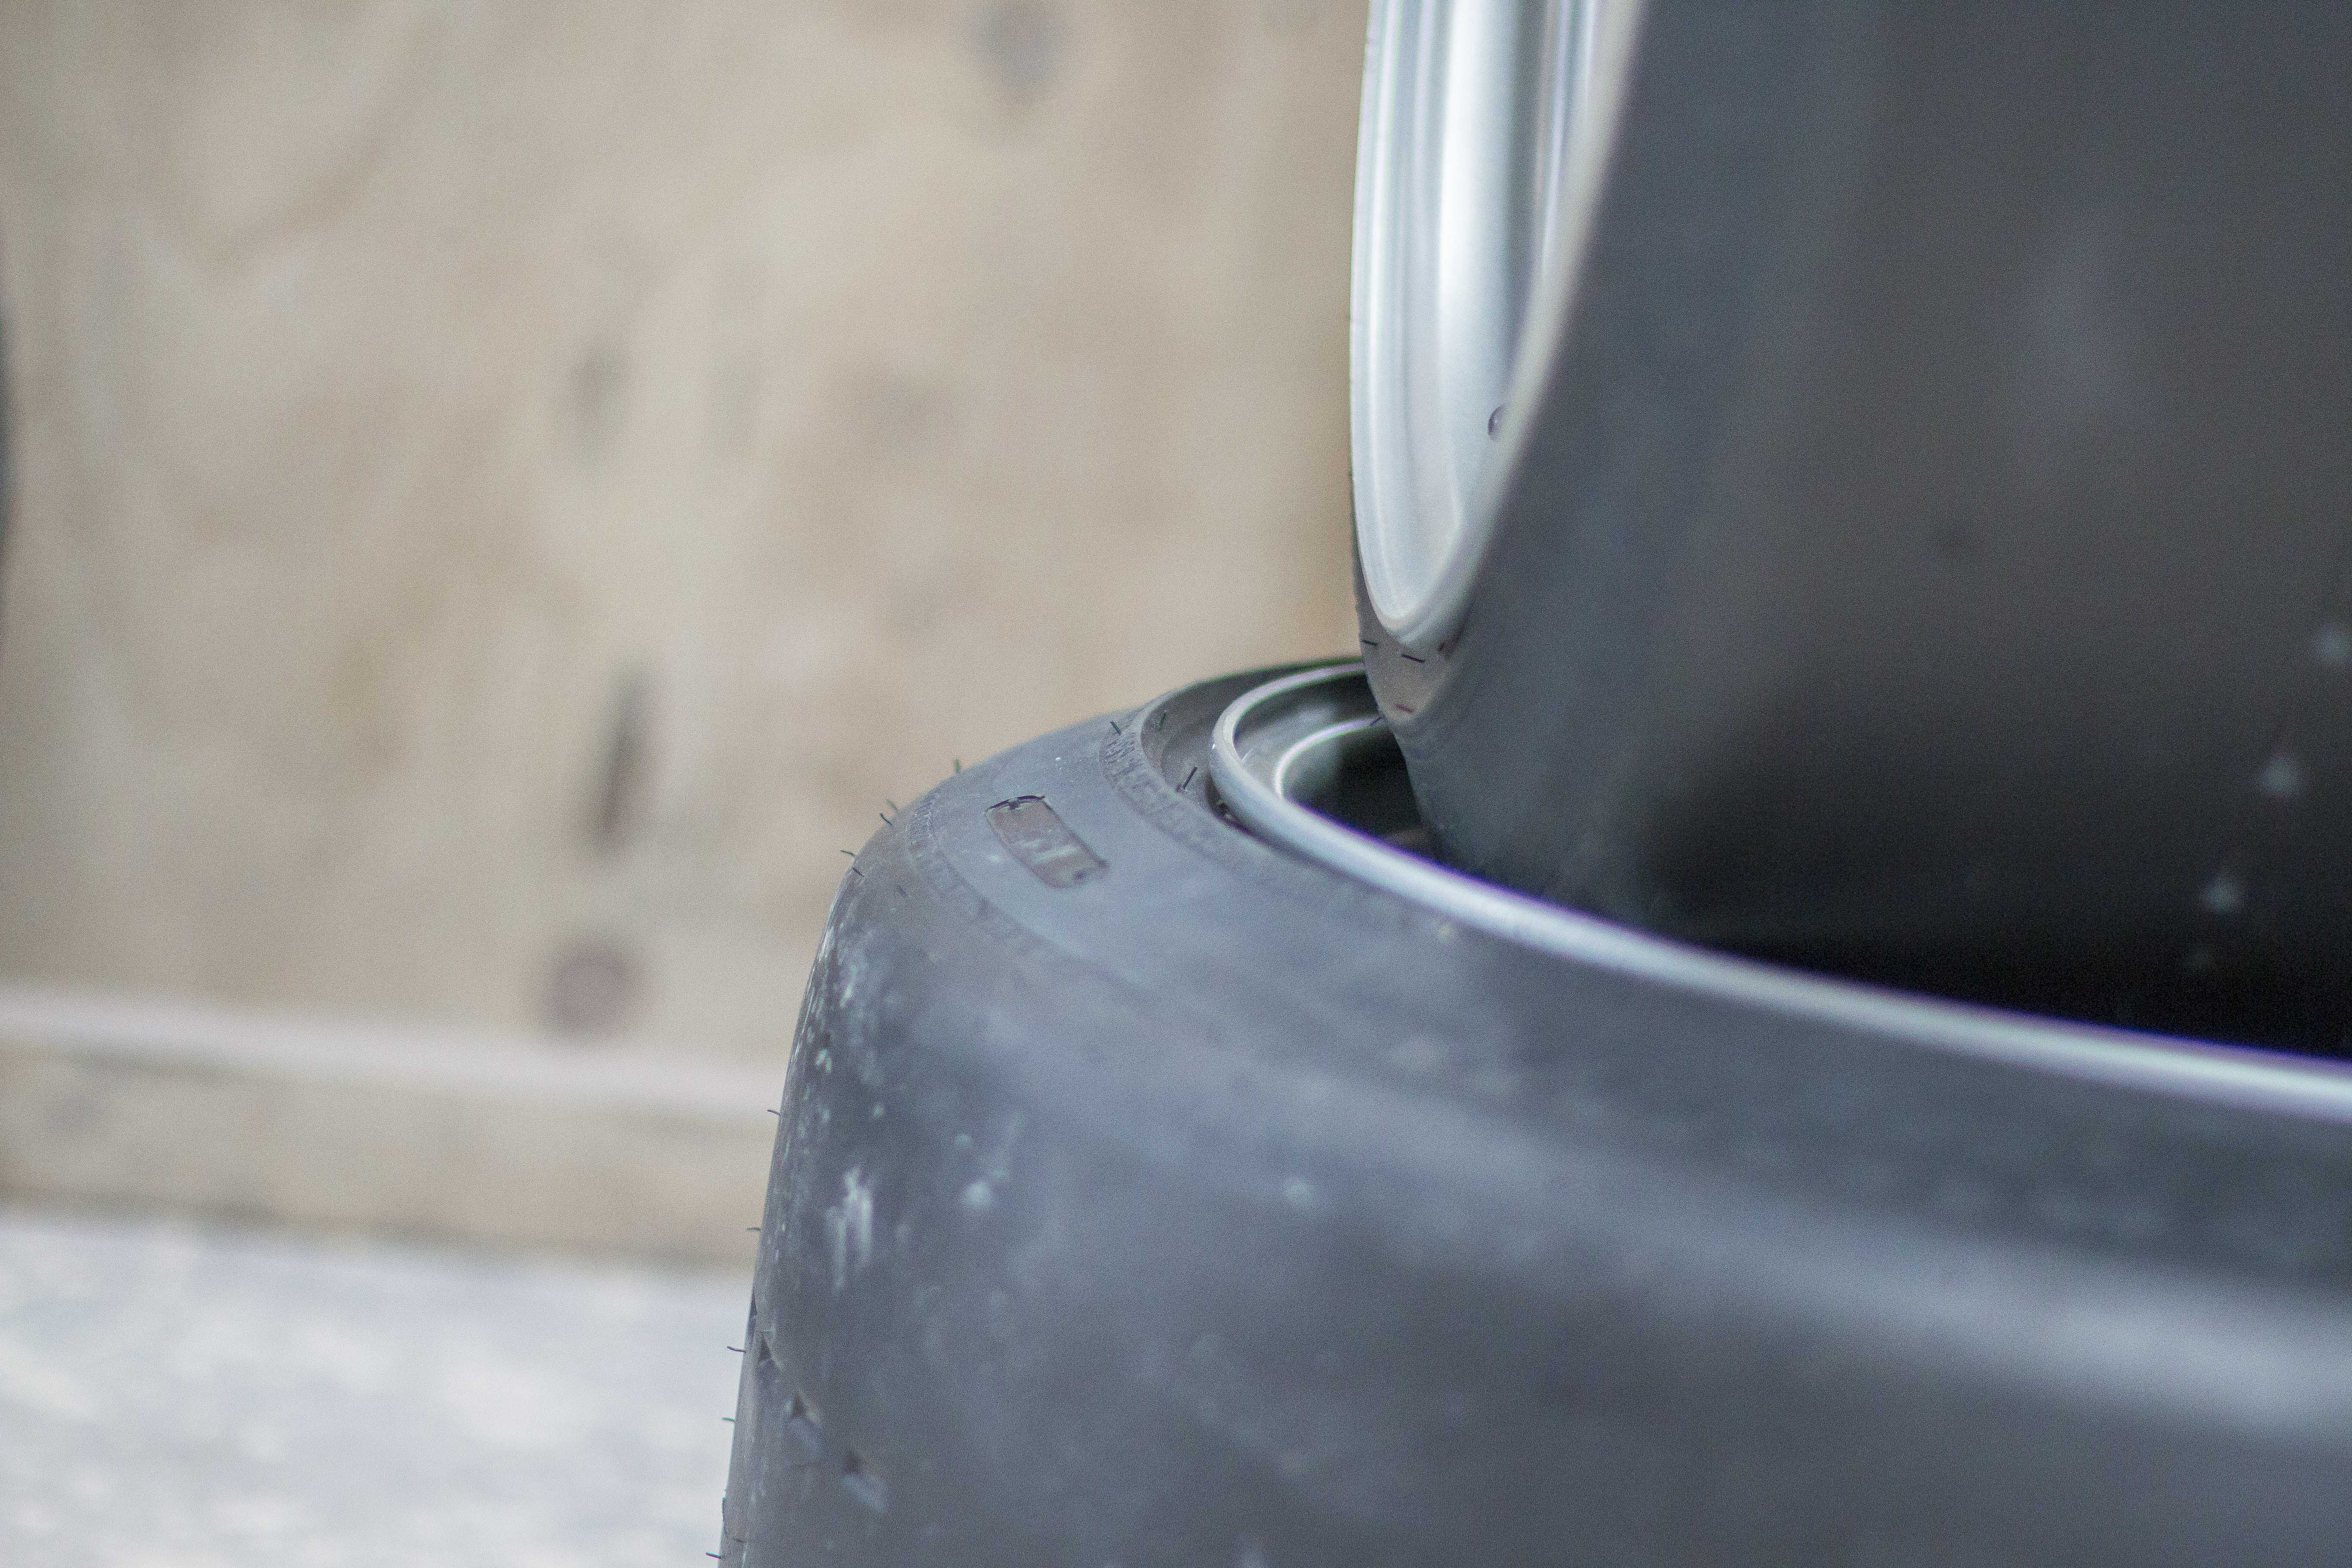
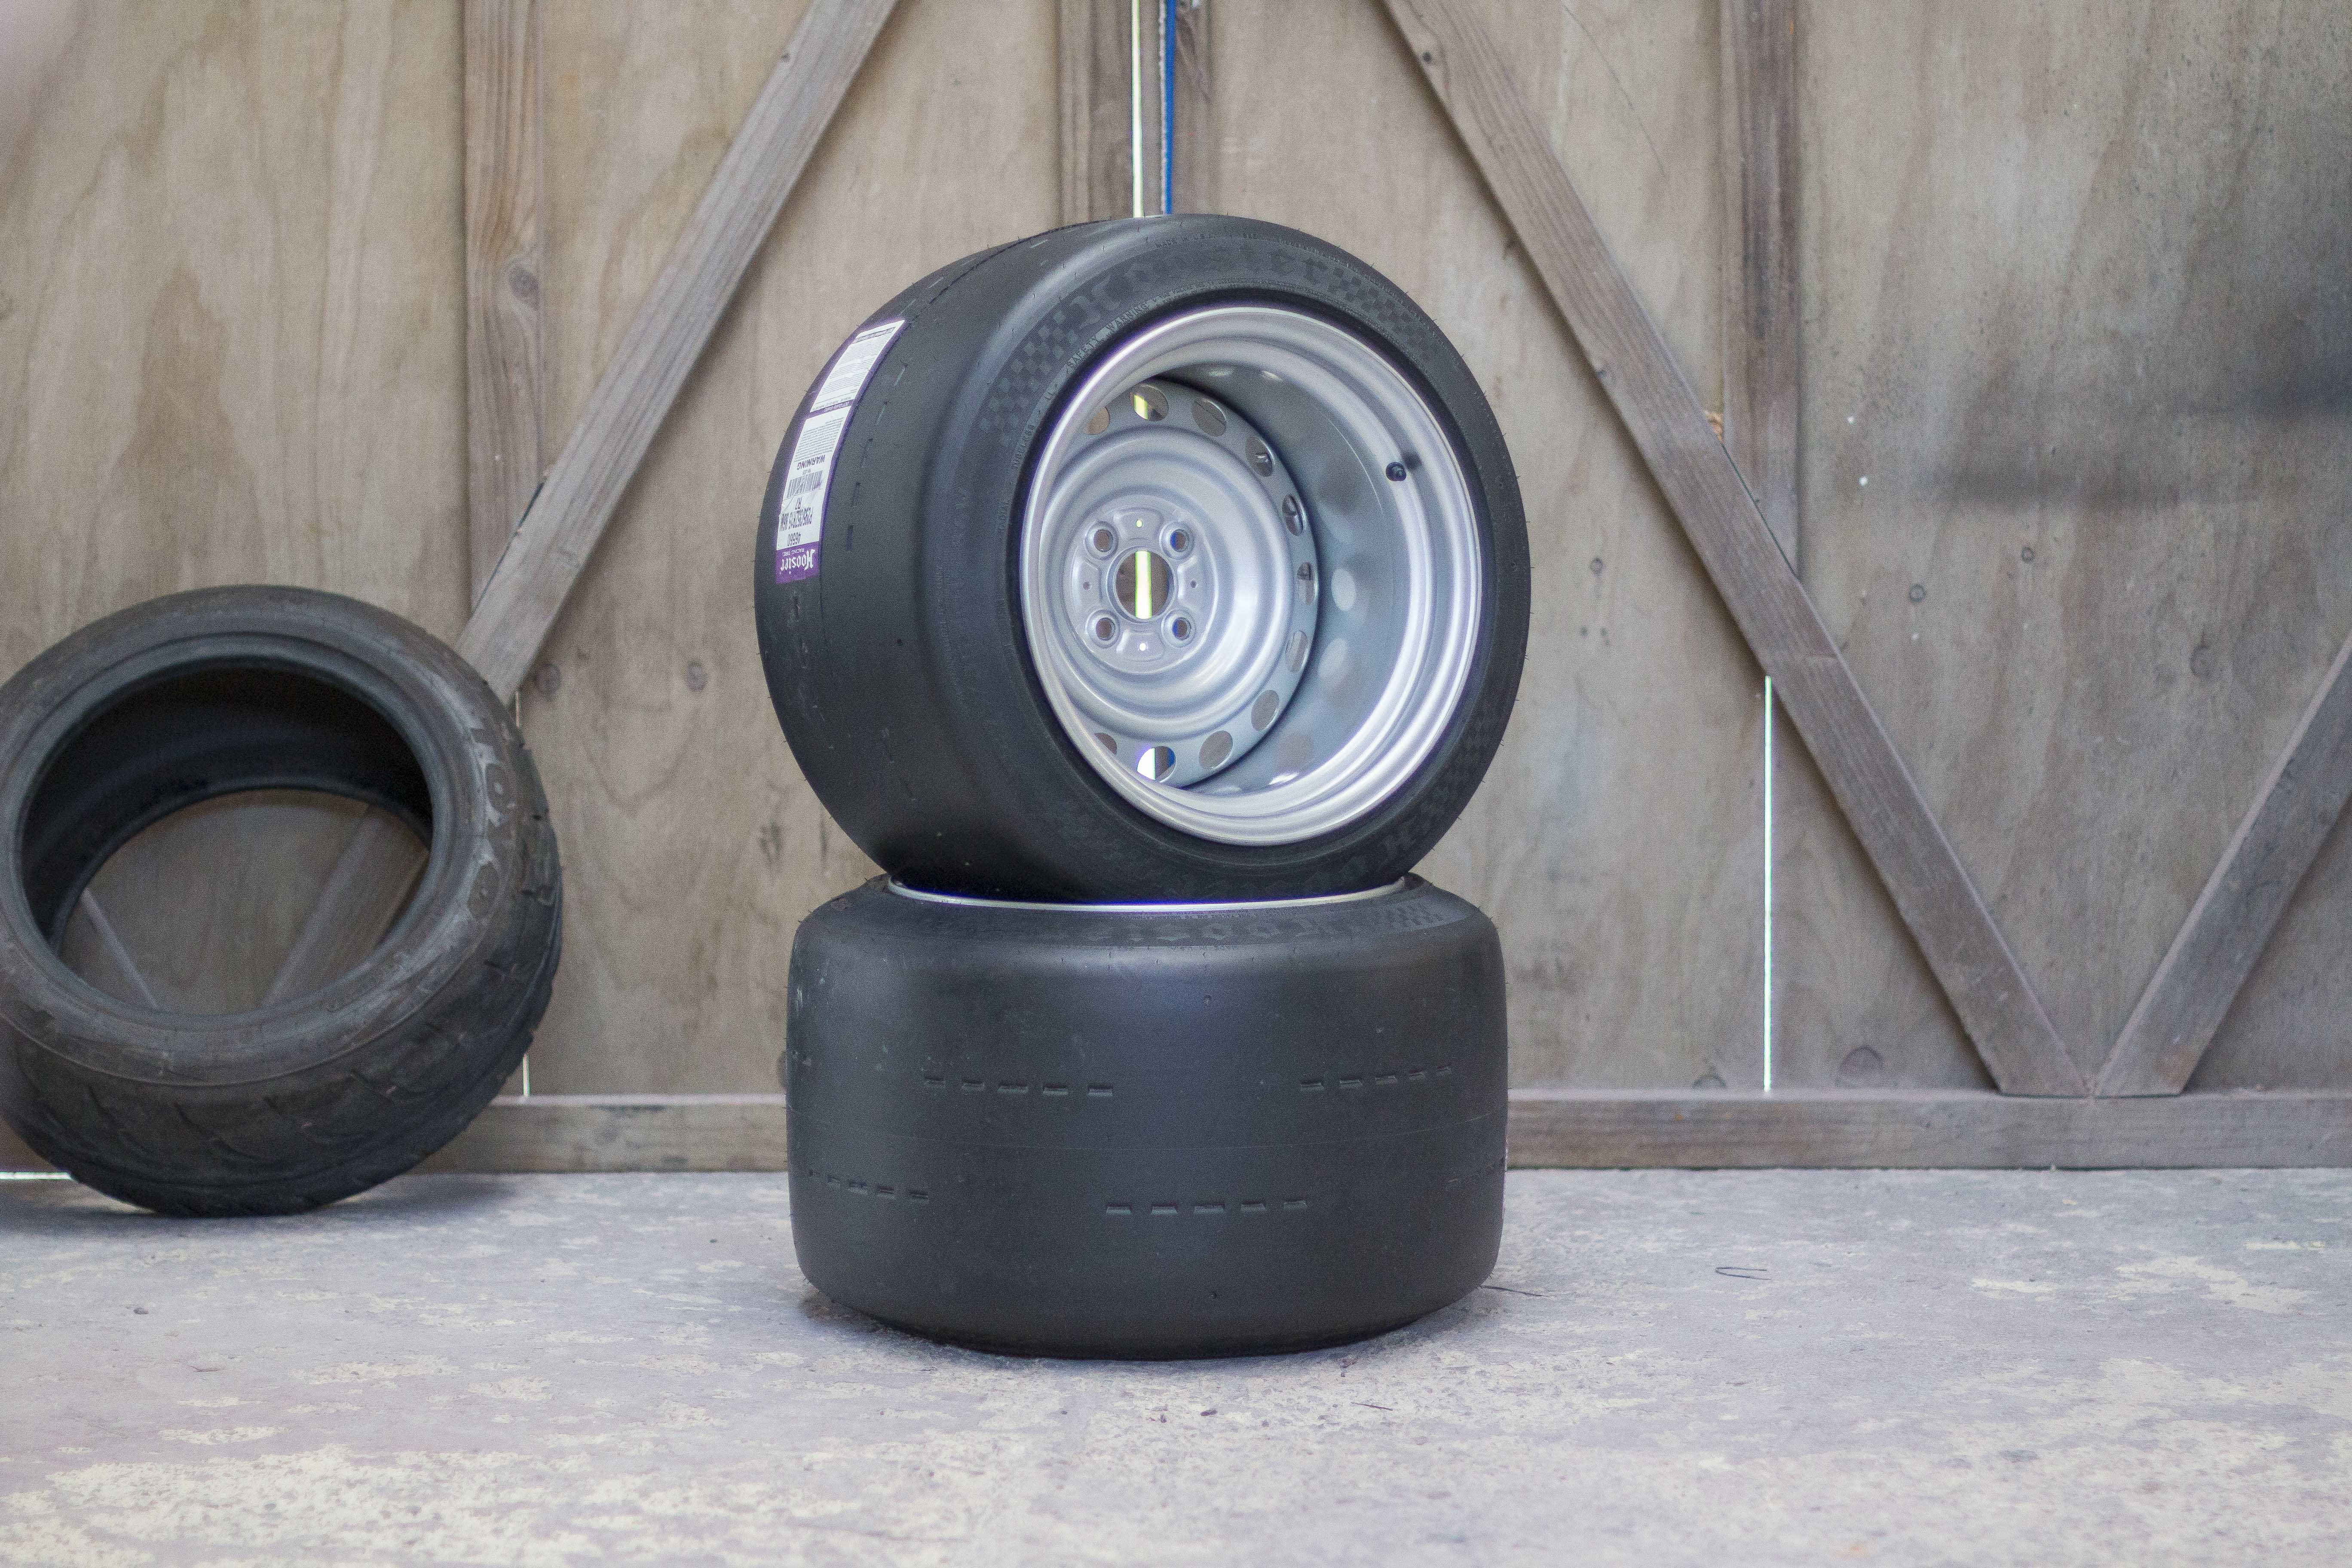
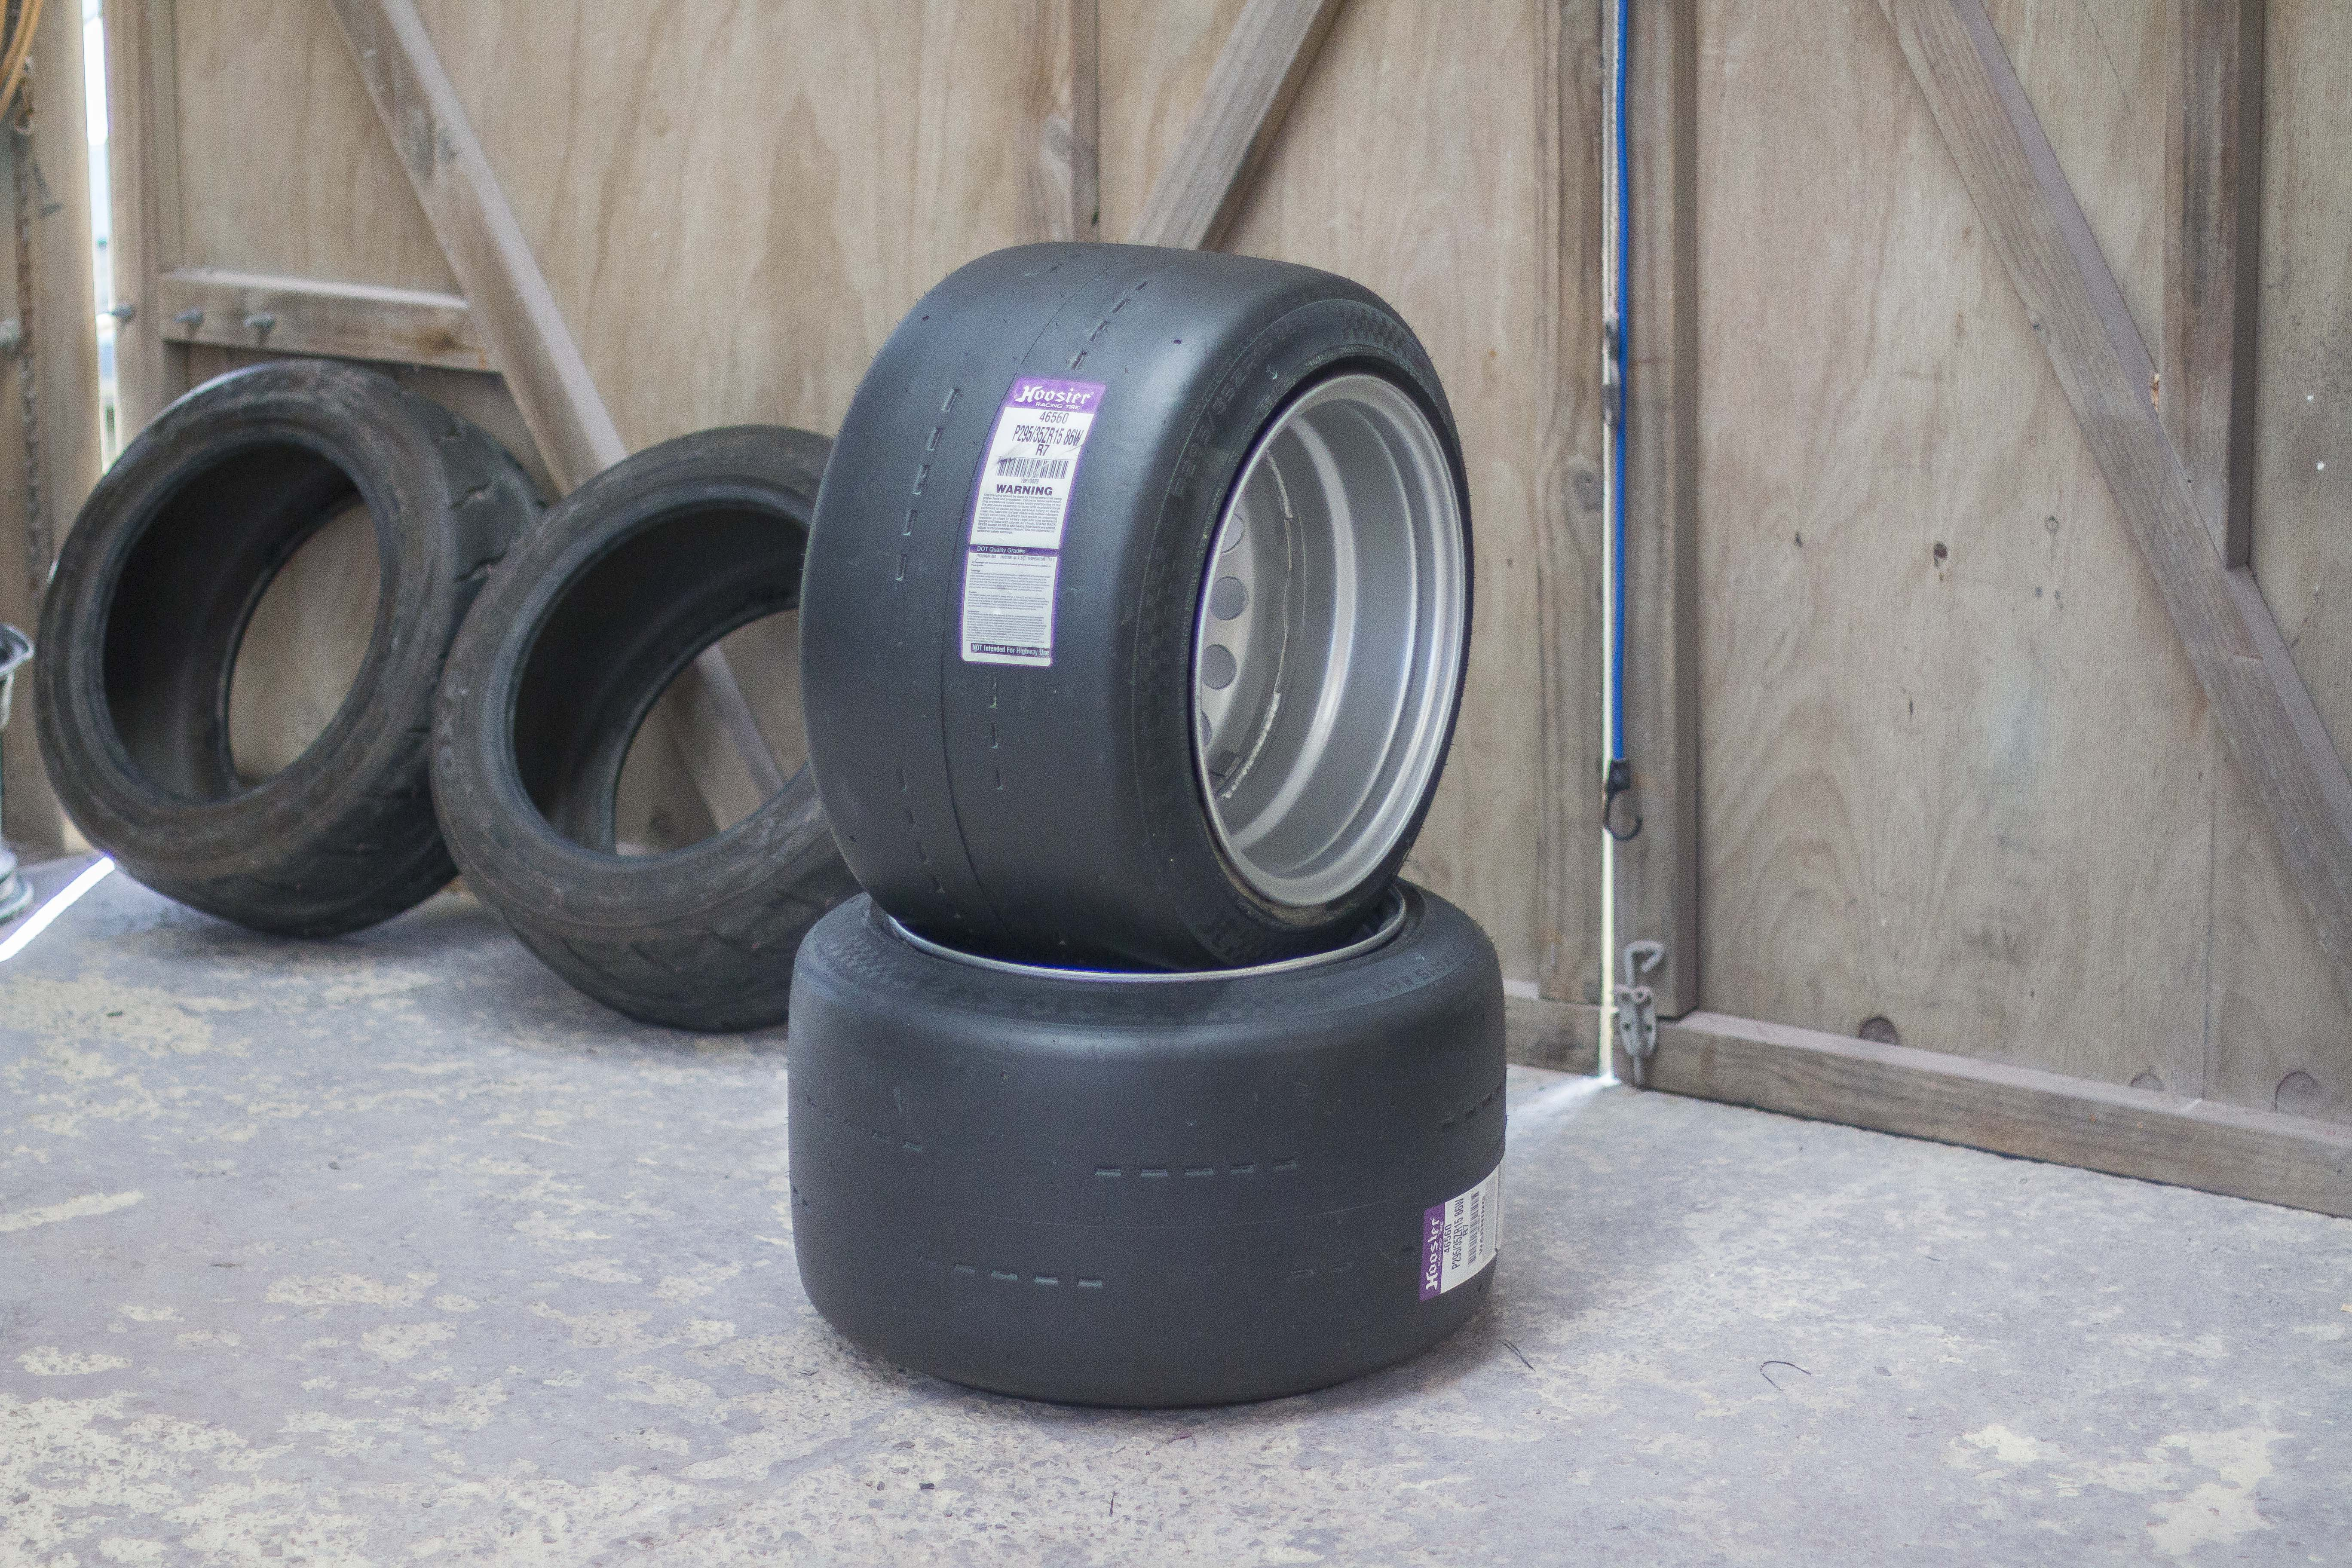
These 295 Hoosier's are absolute monsters and I couldn't be happier with how they looked in the end. I'd still definitely have taken a wider tyre if I could but I think the little bit of stretch kind of works with all the JDM influence this car has.
A kind of funny story about these tyres actually. So back before I even got these tyres I was talking to my usual tyre shop about whether they would even fit and there was a lot of back and forth between me, the tyre retailer, and a Hoosier rep and in the end no one would give any official answers and Hoosier effectively told me not to. When I went in to get the tyres mounted, the place I'd been speaking with for weeks at this point loaded them onto the machine and couldn't even get the mounting arm above the lip. These wheels were too wide to even fit on their machine, so after all that I ended up taking them to our local tyre shop that deals pretty much exclusively with tractors and farm equipment and every worker in the shop was just crowded around because none of them had ever seen tyres like these before. When they asked what they were for and we told them it was for a miata, the owner of the shop actually said "oh did you see that cool cyberpunk one in the Hot Wheels competition? It was in the paper" and we told him, yeah that was the miata. Of all the people to know about this car, I would never have expected the owner of an offroad tyre shop in the middle of nowhere would have ever heard of it. But turns out he was real into it. After that they fitted the tyres up with absolutely no drama at all and even got them balanced. The good wheel only took 20g to balance. We don't talk about the wheel.
Anyway, once we got the wheels back I got started with the carbon skinning.
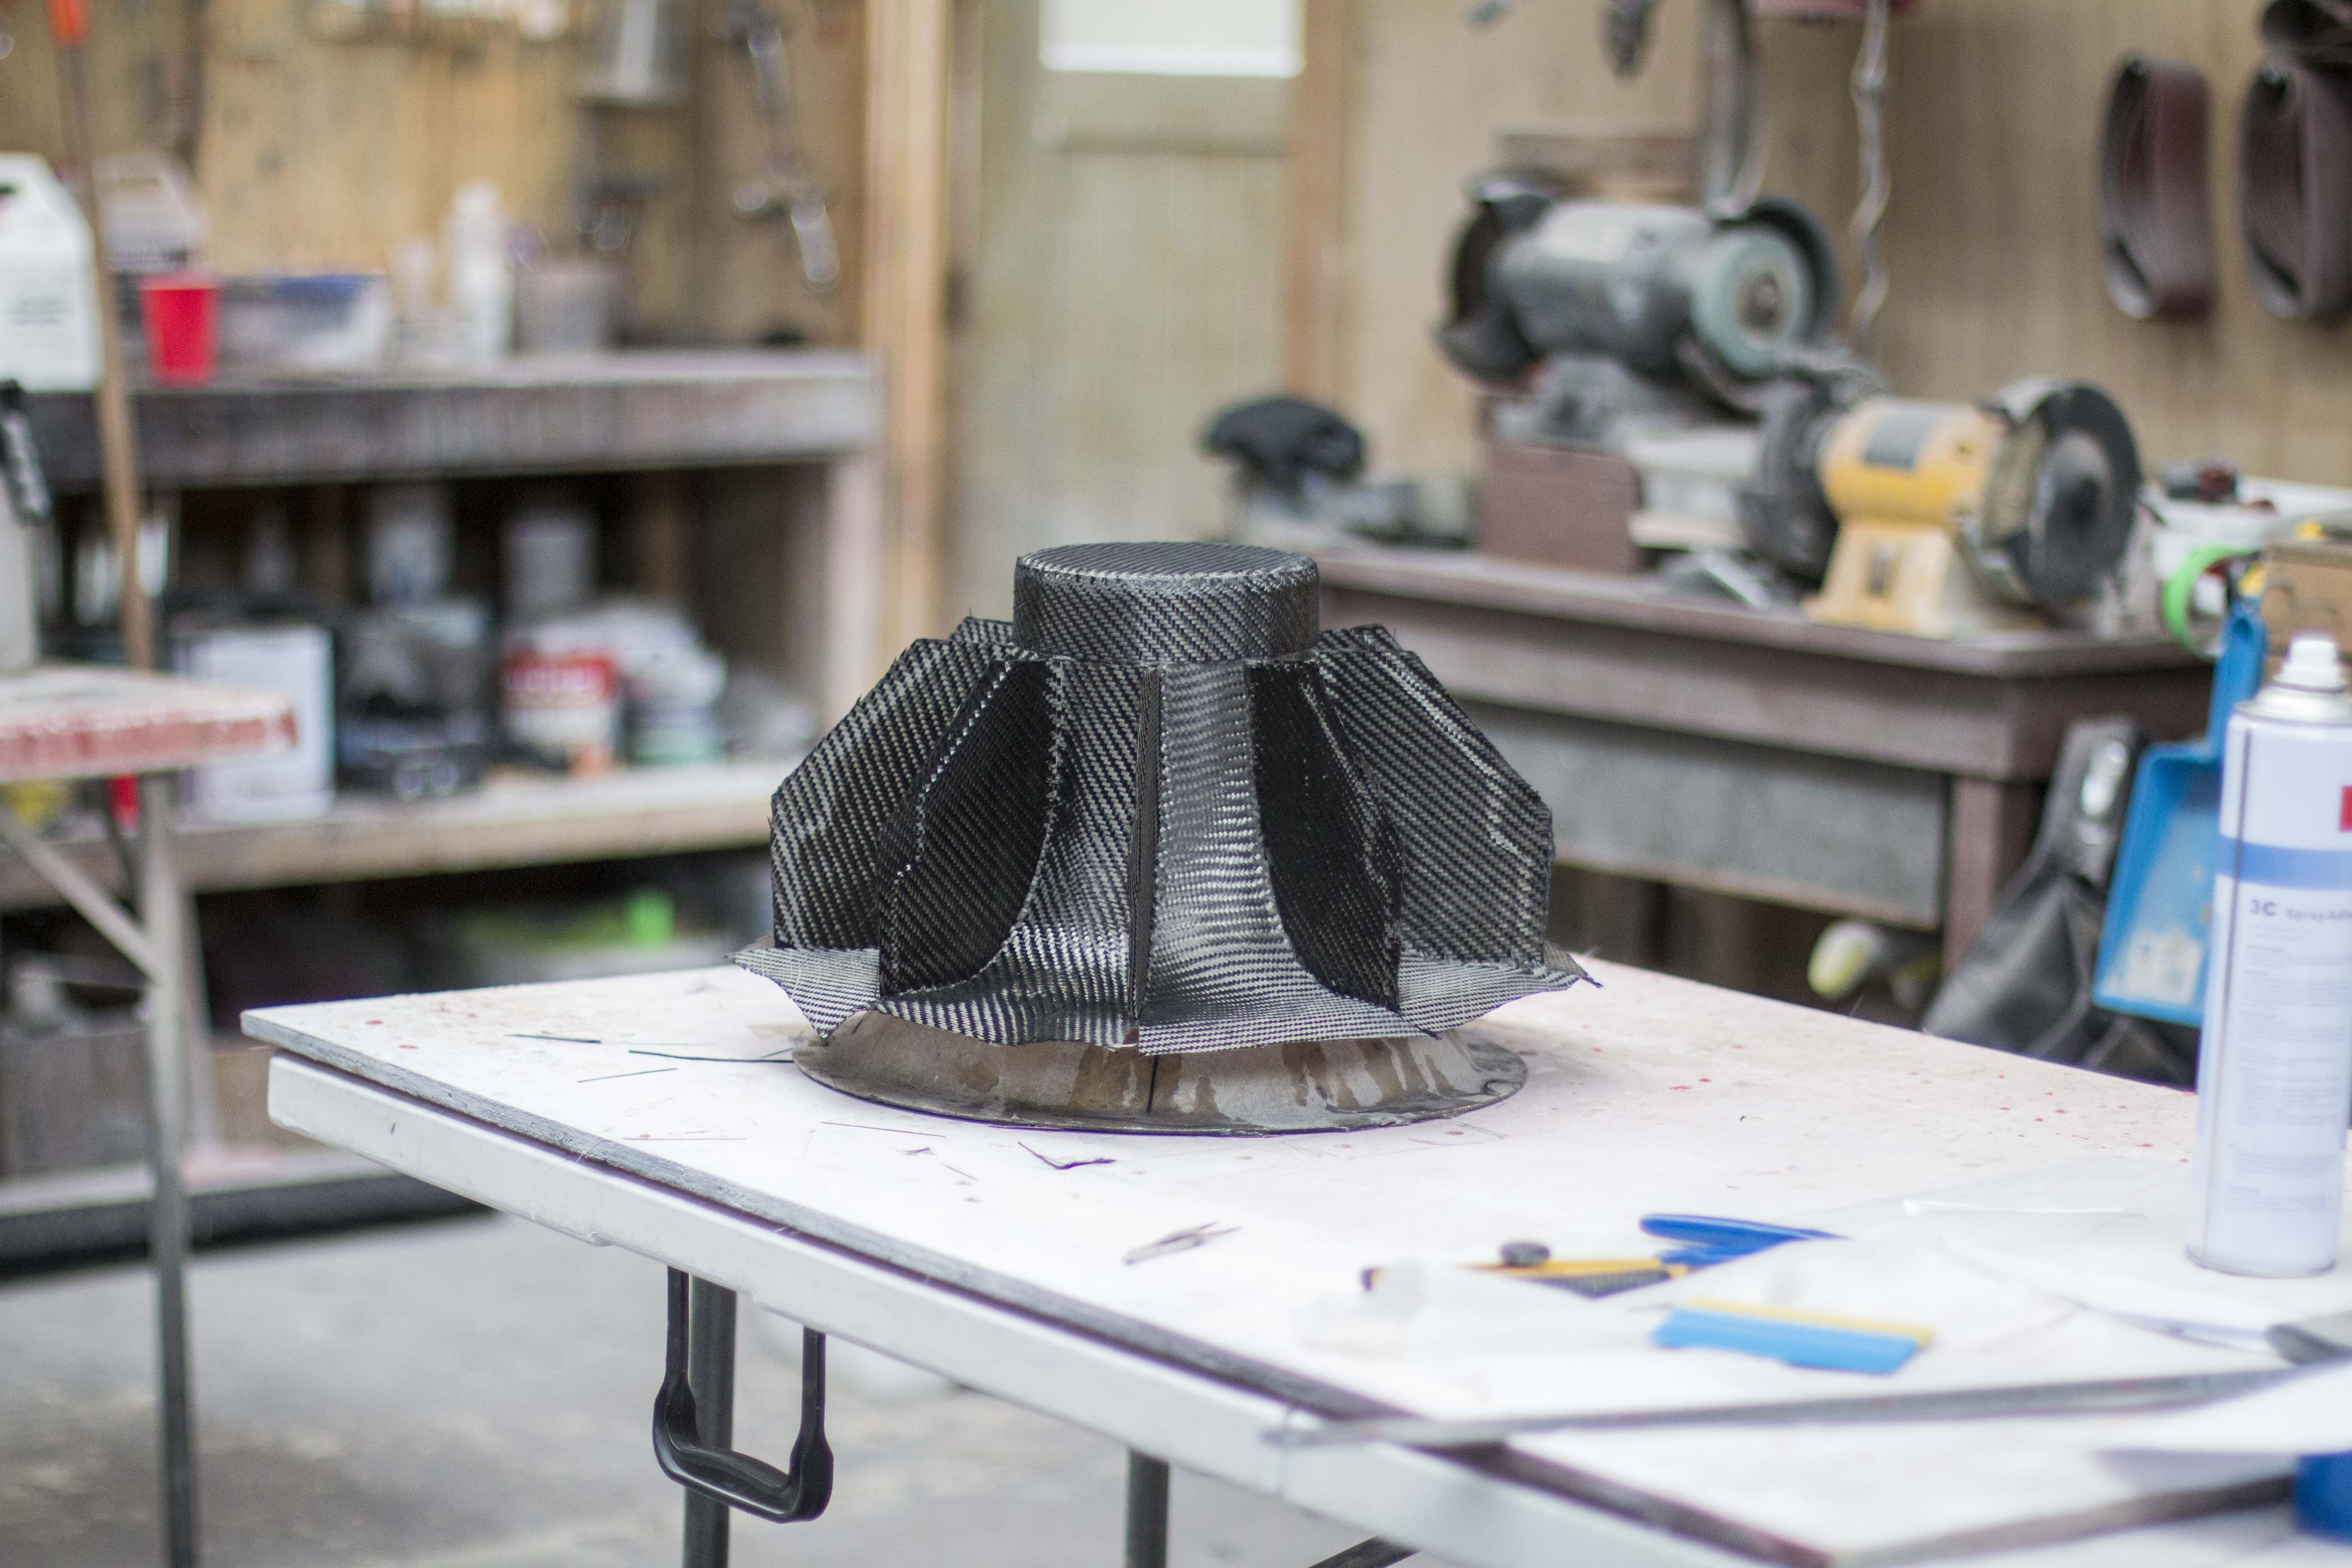
To increase the strength I doubled up the carbon in all the points of stress concentrations as well as lapped the glue join to really tie the two pieces together.
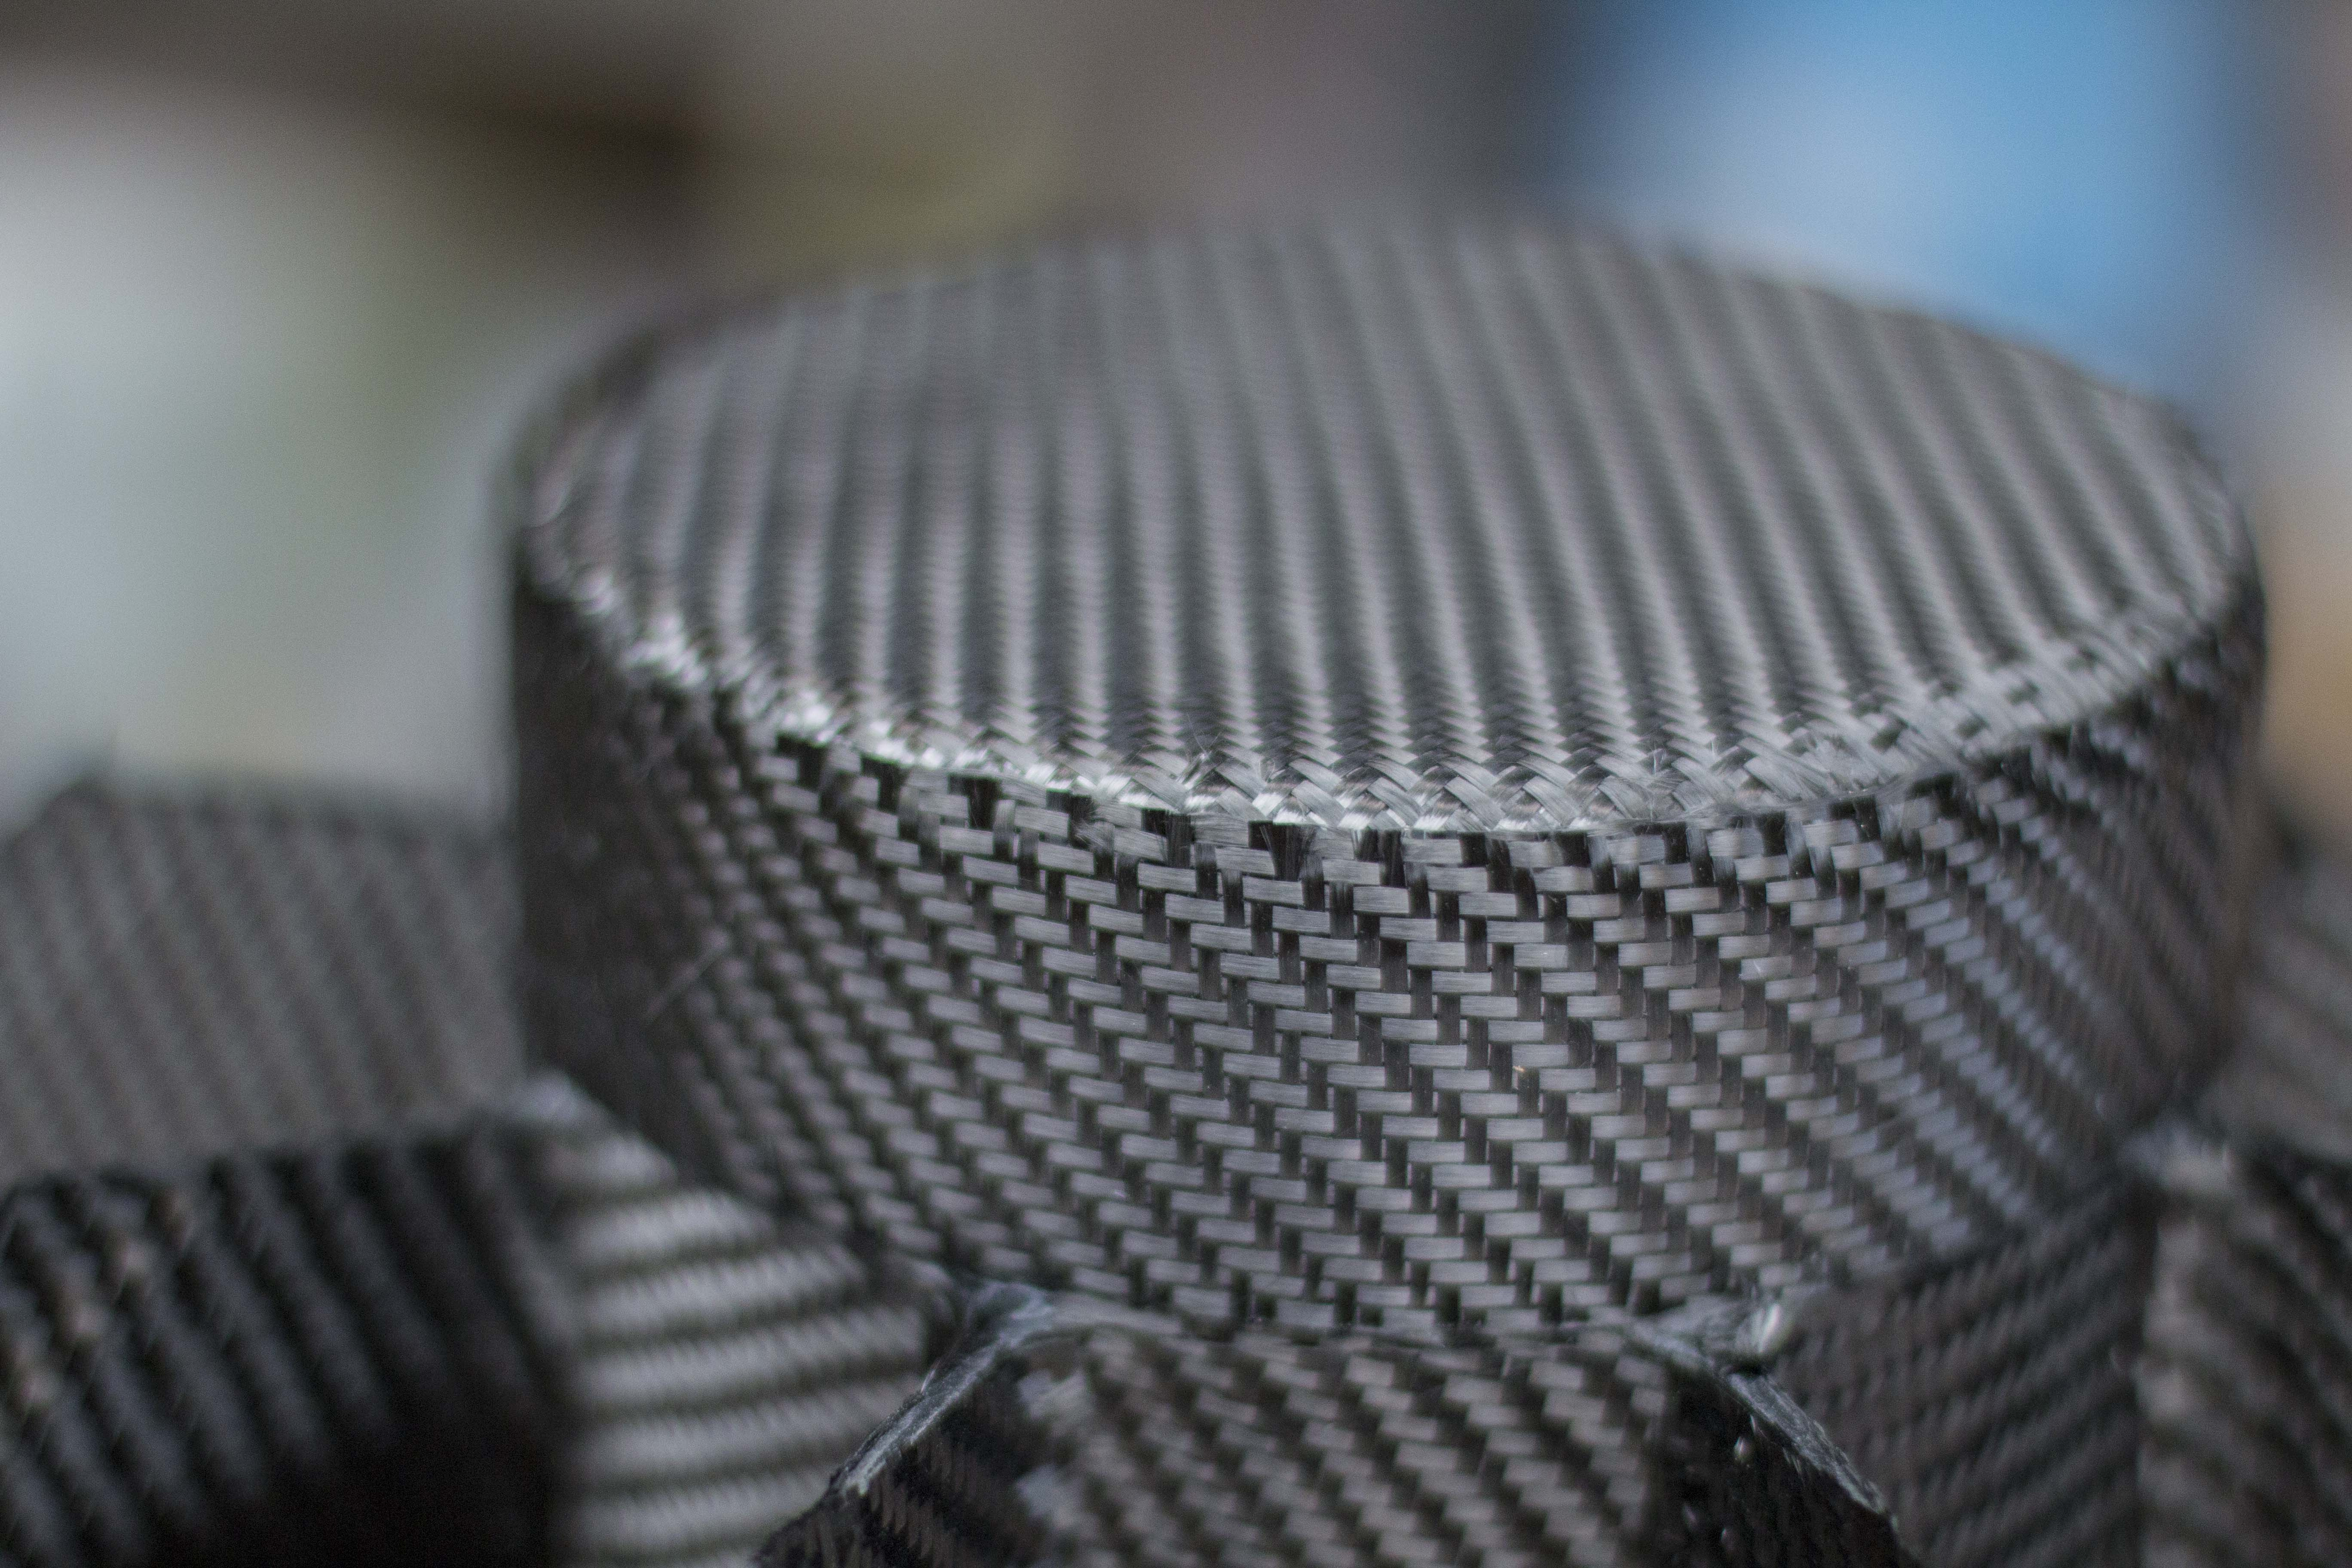
On the first fan I tried just applying epoxy to the fan first, then laying the carbon over that. It just ended up taking too long and I went through a few batched of epoxy setting on me before I had all the pieces down, and because of how sticky it got working with it, the first one ended up a bit of a mess. With the second fan I sprayed it with adhesive and stuck all the pieces on dry and only went over it with epoxy at the very end. Definitely a better way of doing it.
A little bit of epoxy later and then the turbo fans were trimmed to final shape and test fitted.
Honestly I'm kinda annoyed at how good these turbofans look even without the covers, I really wasn't expecting to like the bladed trumpet look but I actually think it's pretty badass haha. But I want flat covers because I wanted the asymmetry in the front and rear wheels and the discs are going to be what I test out that glitch carbon effect on.Speaking of the covers, the next thing to tackle was having a go at the glitch carbon pattern but I'll break this up and put that in the next post.
Files