 Home

 Creators
 Search
 Recent
 Missing
 Random
 Posts
 DMs
 Tags
 Random
 Importer
 Import
 FAQ
 Account
 Register
 Login
 Favorites
 Keys
 Logout
 Telegram


pla_ela group chats
With snapmaker u1, the cross section is a hit or miss..but most times a miss 😭
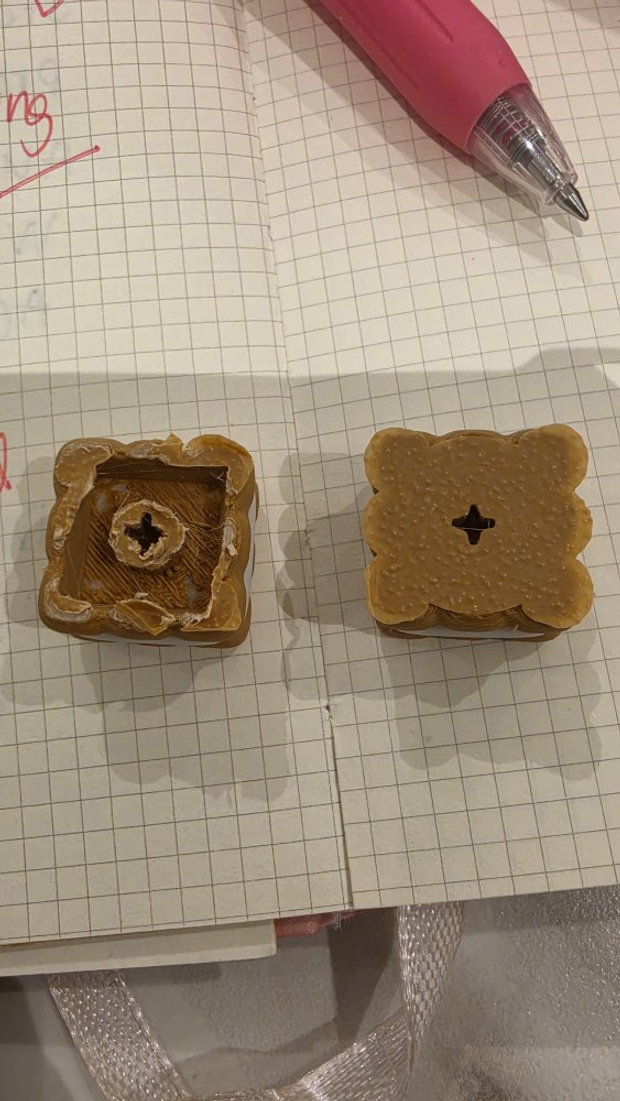
Is there anything that needs to be adjusted when printing with the snapmaker u1? 😭
I tried adjustjng the xy hole compensation..but it wont work though for colored designs.
Hi there! These are the settings I used when printing some of the cake designs on my Snapmaker U1. Hope this helps!
Layer height: 0.08 mm
Quality -> Seam position: Random
Strength -> Top shell thickness: 3 mm
Support -> Type: Normal (auto), On build plate only
Others -> Skirt loops: 1, Brim type: No-brim
Hello ❤️ is it correct both 1 key bases has a logo? 😀
Hi, there is no logo version in no_logo_bases v3.zip thx❤️
Hello okay thank you ❤️
Hello got this thank you so much ❤️
Hello ❤️ print worked great 😀 but is it possible to make the hole for keychain a little bigger so that a bead chain can be used?
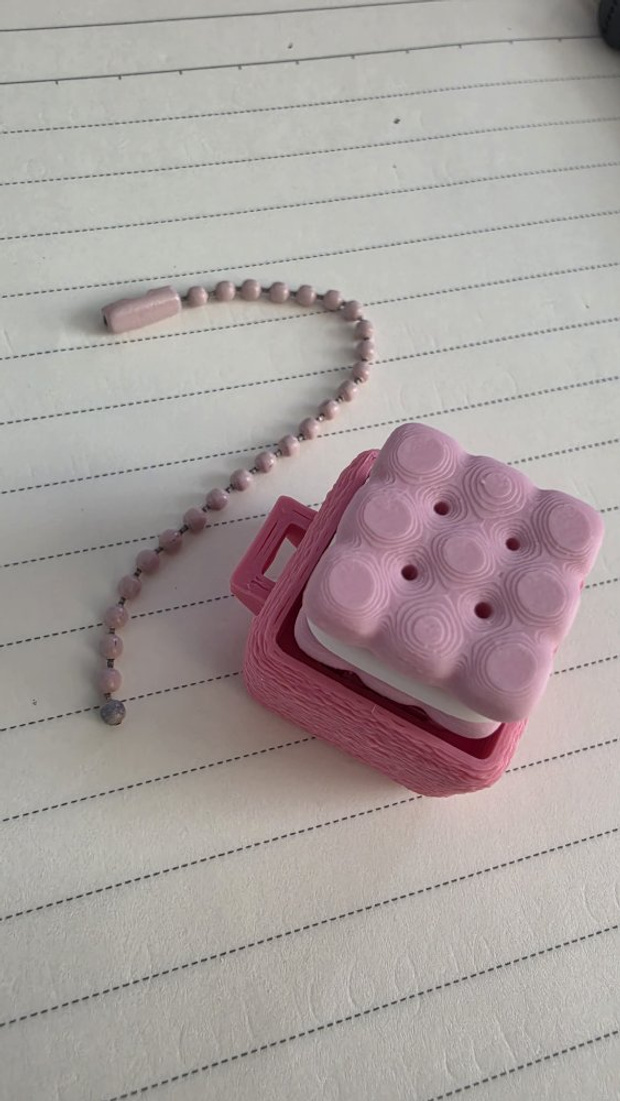
Thank you so much for printing it and sharing the photo – it looks so cute in pink! 💕 I made a bead chain version: the same base with a bigger loop (a 4 mm gap), so ball chain beads up to 3.2 mm go through. It’s plate 3 in the 1 Key no-lid projects (smooth and fuzzy, plus an STL) in pla_ela_Clicker_Bases_v7.zip in the Download Post, and there’s a no-logo one in the No Logo zip too. Thanks for the idea! 😊
Thank you so much for this ❤️ Appreciate how helpful and fast you are 🥰
I’d try calibrating your machine, and do a flow calibration for your filaments. It seems like and extrusion issue. Then you can adjust flow ratios if needed
Thank you Leah 😀 will try doing thse ❤️
Hi, I’ve started printing the dessert key caps, im having issues with the macarons since the + part where the keyboard switch hinges on gets pulled up when removing the supports. I’ve noticed that it doesn’t have much layers for it to attach since the next layer is infill already and hallow. Hope you can strengthen its attachment
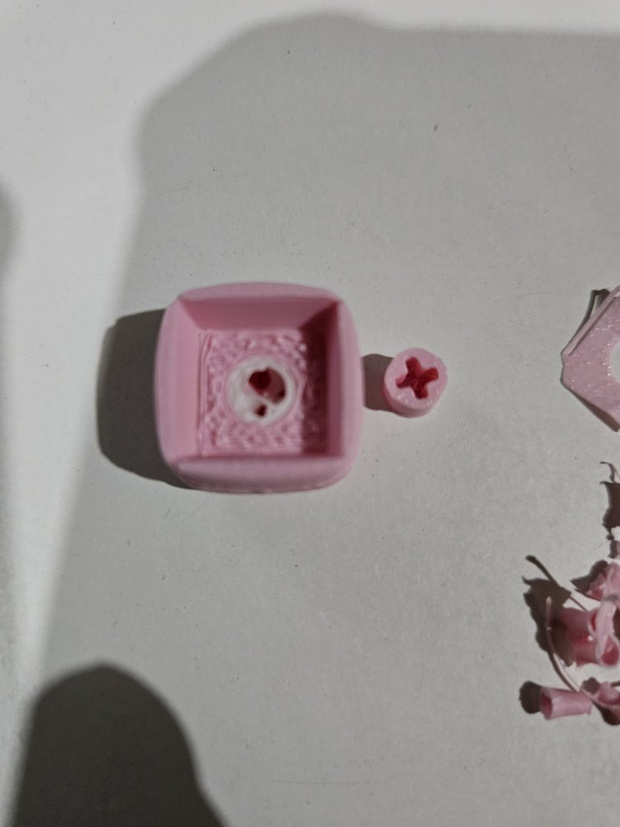
💡 Print tip: set the top shell thickness to about 3 mm (Process > Strength > Top shell thickness). A thicker top makes the keycap much sturdier. Bambu Studio uses whichever is thicker – the top layers or this value – so you only need to change this one.
It helps most where lots of different filaments meet close together. Filaments like PLA Basic and PLA Matte don’t have the same strength, so thin spots right next to those color changes break more easily.
I’ll build this setting into the files from the next update on! 🥰

Will try this, thanks!
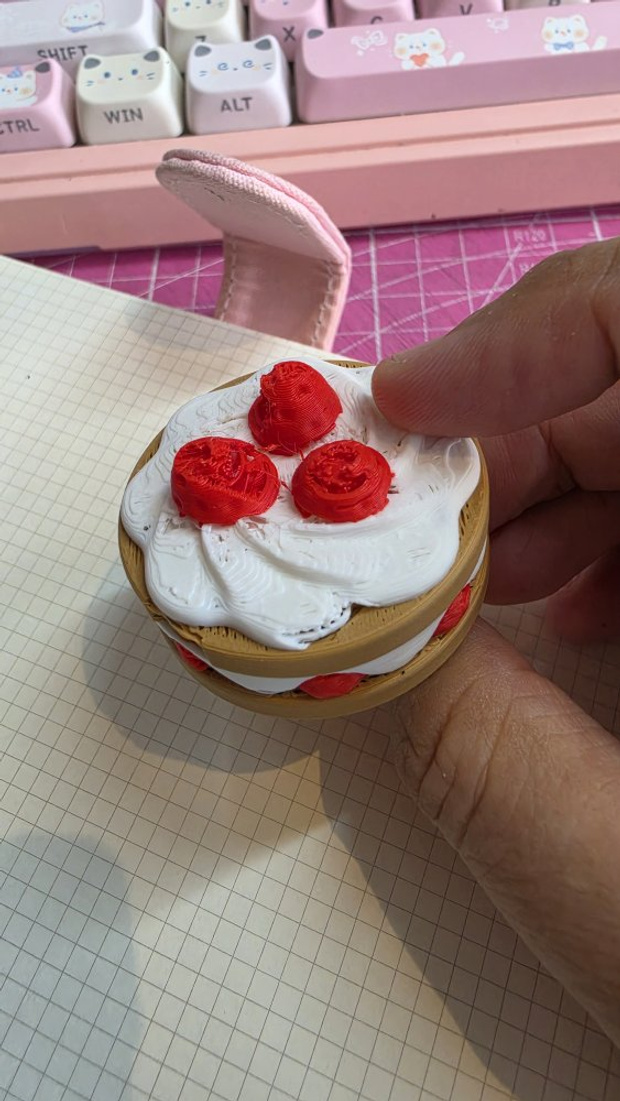
Hello! I may be doing something wrong..I copied the settings in Bambu to Snapmaker U1. And this happened 😅 Sorry not a 3D pro.
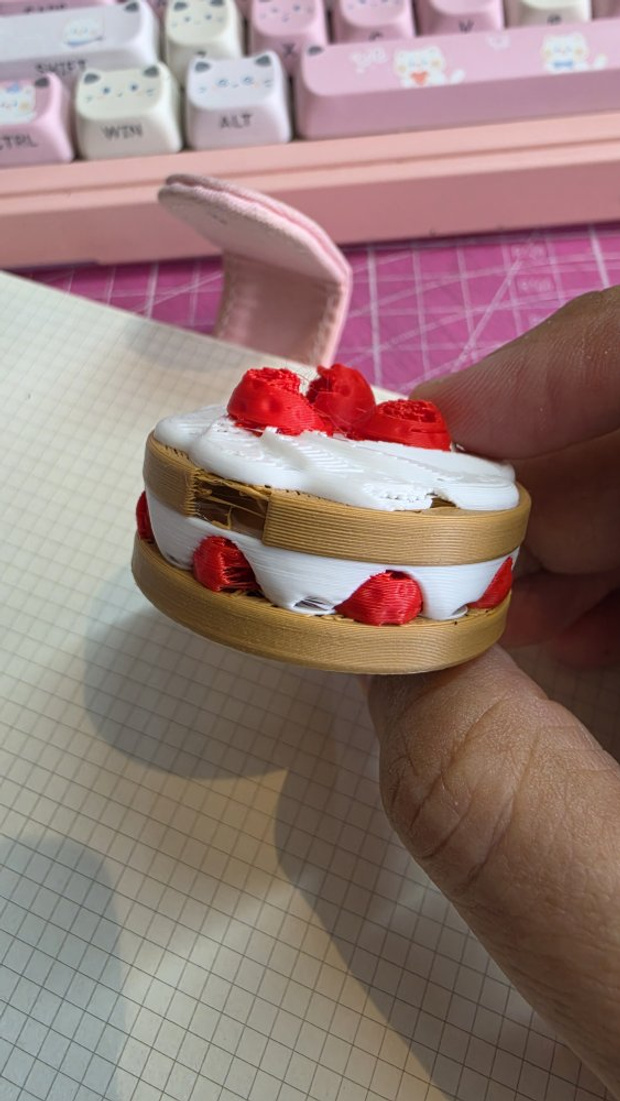
Hmm, that doesn’t look like my model to me! Haha 😅 Sorry I can’t give you a more specific answer about this! :)
Oops sorry i messaged the wrong group 😅😅😅😅
Do you transfer the file in a way that preserves the settings before printing?
Convert the file before printing to preserve the appropriate settings. I also use a U1, and that’s the method I follow.
