Home

 Creators
 Search
 Recent
 Random
 Posts
 DMs
 Tags
 Random
 Importer
 Import
 FAQ
 Account
 Register
 Login
 Favorites
 Keys
 Logout
 Telegram

Keroberos/Kerberos plush WIP 4: Building the wing structure (Patreon)
Content
ENGLISH/ESPAÑOL
Before we start, we apologise for being absent for over a week. We both got sick and had to rest a lot in order to get better.
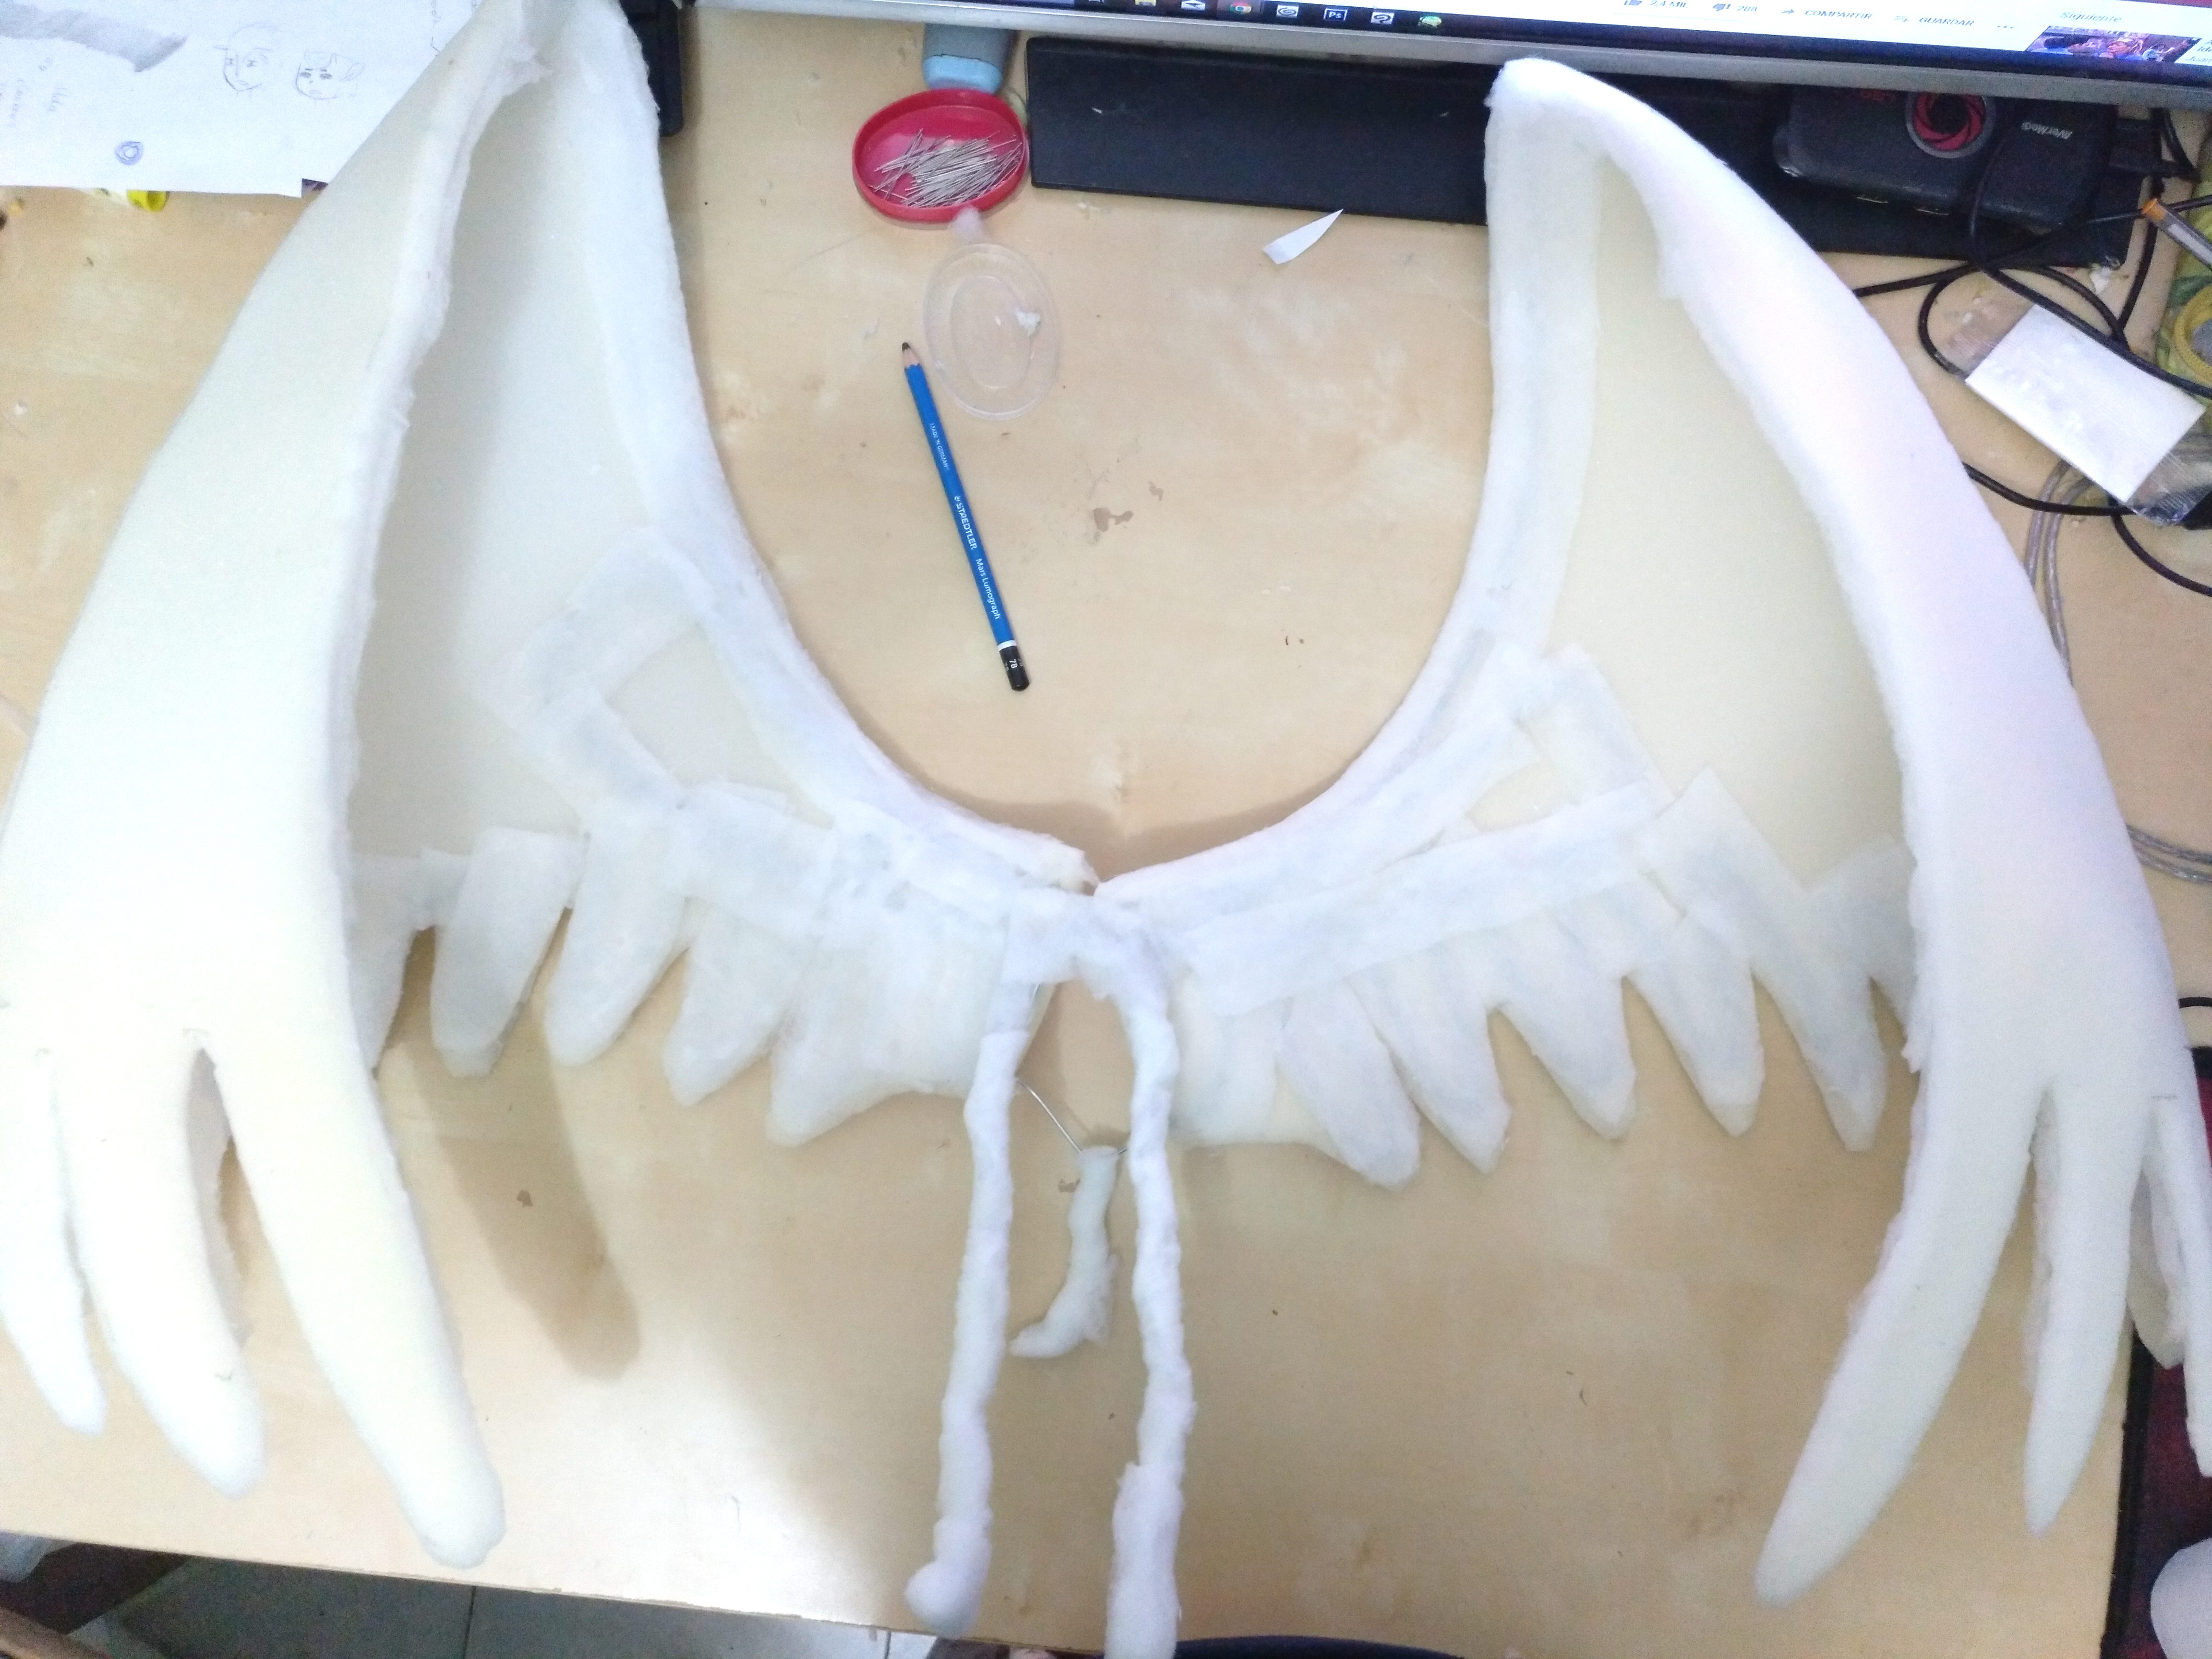
And finally, we finished the wings. We never thought it would take so much time, but it has sense since we wanted to get a good shape and stability with those huge dimensions. The process is long to explain, we'll do it step by step with the help of the pictures we attatched.
First, we drew our pattern on the foam, cut it and glued the two pieces together to get that concave shape we showed in our previous post.Then, we gave shape to the wire and glued it to the foam. The shapes must be well defined, and each feather should have wire on it too, to help to the overall shape. Since they're so big, we used a wire that was thick but still malleable.After that we covered all the wire with quilt, which is basically flattened stuffing, so the wire was quilted and protected. We had to be careful that it was well covered.Finally, we made a second structure that would go inside the plush, with a tripode shape, to give the wings stability. This way the wings won't fall or move easily and will stay still on the plush. We also covered the structure with quilt, and then we attatched the wings to it.
This has been a long process that needed many many hours. Not only because it takes time, but also because we had to make different tests, and even an extra body to test the stability on it in order not to ruin the good body.
Now that the wing strucutre is ready, let's get to the embroidery.
----ESPAÑOL----
Antes de nada, sentimos habernos ausentado una semana. Ambas cogimos un resfriado fuerte y hemos tenido que estar descansando todo lo posible de lo mal que estábamos.Y por fin, hemos terminado las alas. Jamas hubiésemos imaginado que llevarían tanto trabajo, pero tiene sentido si queríamos conseguir una buena forma y estabilidad con esas dimensiones. Como el proceso es largo de explicar, vamos a hacerlo paso a paso con la ayuda de las fotos que os hemos adjuntado.En primer lugar, dibujamos nuestro patrón de ala en la espuma, pegando la pieza que forma esa "pinza" en el diseño con cuidado para conseguir la forma cóncava de la que os hablamos en el anterior WIP.En segundo lugar, vamos dando forma al alambre y pegándolo con silicona a nuestra espuma. Es importante que tenga bien definidas las curvas, poniendo alambre en cada "pluma" y en donde estaría el hueso del ala. Como son muy grandes, hemos usado un alambre bastante duro, pero que sigue siendo maleable.En tercer lugar cubrimos toda la estructura de alambre con guata encolada, que es el relleno de peluche pero laminado, para que quede acolchado y protegido. Hay que ir con cuidado de que se pegue bien.Por último, hacemos una segunda estructura que irá dentro del peluche en si en forma de caballete, que va a darle firmeza y estabilidad. Con ella vamos a conseguir que las alas no se vayan hacia adelante con el peso, si no que quedarán rectas y bien encajadas en el peluche. Recubrimos la estructura con la guata encolada también y la unimos a nuestras alas.Este proceso ha necesitado muchas y muchas horas para hacerlo. No solo por el tema de pegar la estructura, que toma mucho tiempo. Sino porque hemos tenido que hacer varias pruebas, así como un cuerpo extra para ver que funcionase bien todo. No podíamos arriesgarnos a perder todo el cuerpo ya pasado a limpio.Ahora que ya tenemos las alas preparadas, vamos a pasar a los bordados
Files