Home

 Creators
 Search
 Recent
 Random
 Posts
 DMs
 Tags
 Random
 Importer
 Import
 FAQ
 Account
 Register
 Login
 Favorites
 Keys
 Logout
 Telegram

Keroberos/Kerberos plush WIP 3: Designing the wings (Patreon)
Content
ENGLISH/ESPAÑOL
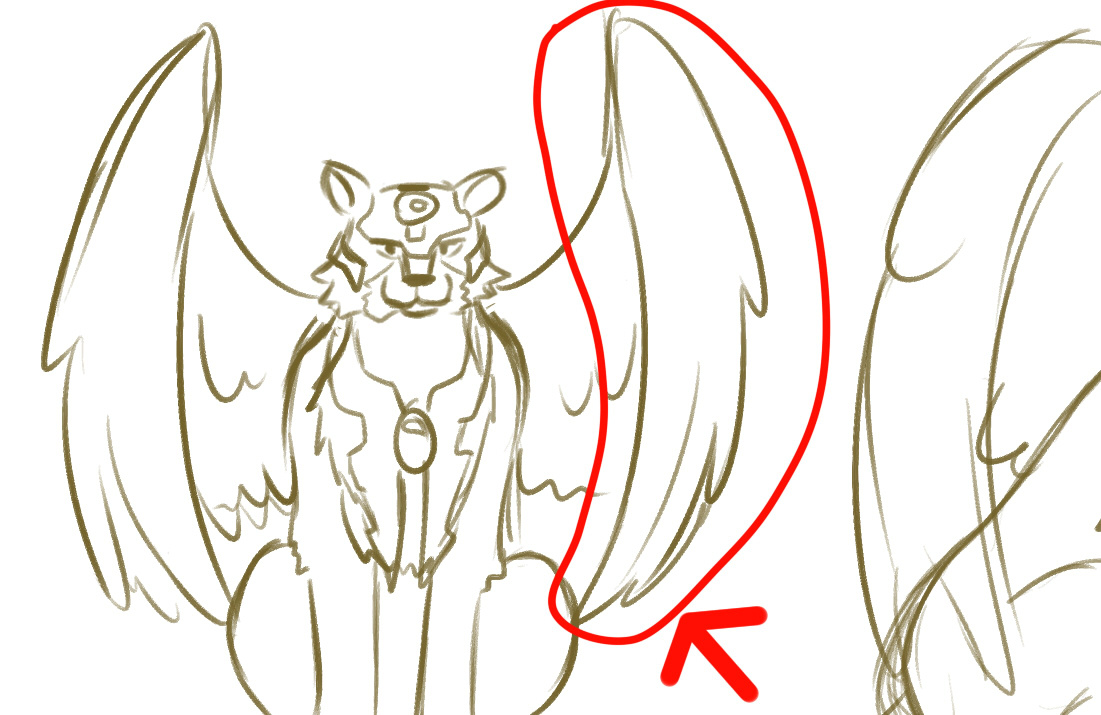
Well, let's go with one of the most important parts of the plush; the wings.
At first glance, it looks very simple. You simply have to draw the wings on paper and sew them, but it's not that easy.First, the shape has to be made in a way that can be sewn and that looks good on minky fabric. After that, we have to make a structure to keep them risen or they will fall down from the weight and they'll look bad.
If that wasn't enough, you know that we love to go beyond ourselves in our plushies. We didn't want a flat wing, we wanted it to have a bit of volume. And just by bending the wire we couldn't make it, because they looked stiff. So we divided the wing in two pieces, making something similar to a dart. We wanted to get that curve that you can see in the references, just like in the small and medium wings that we made as tests. If you look at the tip feathers, they are slightly curved to the inside, making all the wing look more natural. They would've looked way stiffier and unnatural with just wire.
Finally, to give them a bit more colour, we designed an embroidery for the front feathers.
Long story short, we still have a ton fo work to show you with this.
----ESPAÑOL----
Bueno, pues vamos con uno de los elementos más importantes de este peluche; las alas.Visto desde fuera, parece una pieza muy sencilla. Simplemente, dibujar las alas en 2D en papel y coserlas , pero no es tan simple.Primero, la forma debe tener sentido para poderse coser, que quede bonita en peluche. Después, se debe hacer una estructura interior que las mantenga levantadas, porque si no, se nos caerá por su peso, viéndose aplastadas.Por si no fuera poco, sabéis que nos encanta dar un paso más allá en los peluches. No queríamos tener una ala plana, queríamos conseguir un poco de volumen. Y solo doblando el alambre no podíamos conseguirlo, pues quedaban muy rectas de forma. Por ello, dividimos el ala en dos piezas, haciendo una especie de pinza. Queríamos conseguir ese "arco" que se ve las referencias, como en el ala pequeña y mediana que hemos patronado. Si os fijáis en las plumas del final, quedan arqueadas hacia dentro, viéndose más natural. Si solo lo doblamos con el alambre, esas plumas quedarían rectas.
Por último, para darle un poco más de color, hemos diseñado un bordado de plumas en su pieza delantera.Vamos, que nos queda un buen trabajo que enseñaros con esto.
Files