Home

 Creators
 Search
 Recent
 Random
 Posts
 DMs
 Tags
 Random
 Importer
 Import
 FAQ
 Account
 Register
 Login
 Favorites
 Keys
 Logout
 Telegram

Keroberos/Kerberos plush WIP 8: Designing and making the armor (Patreon)
Content
ENGLISH/ESPAÑOL
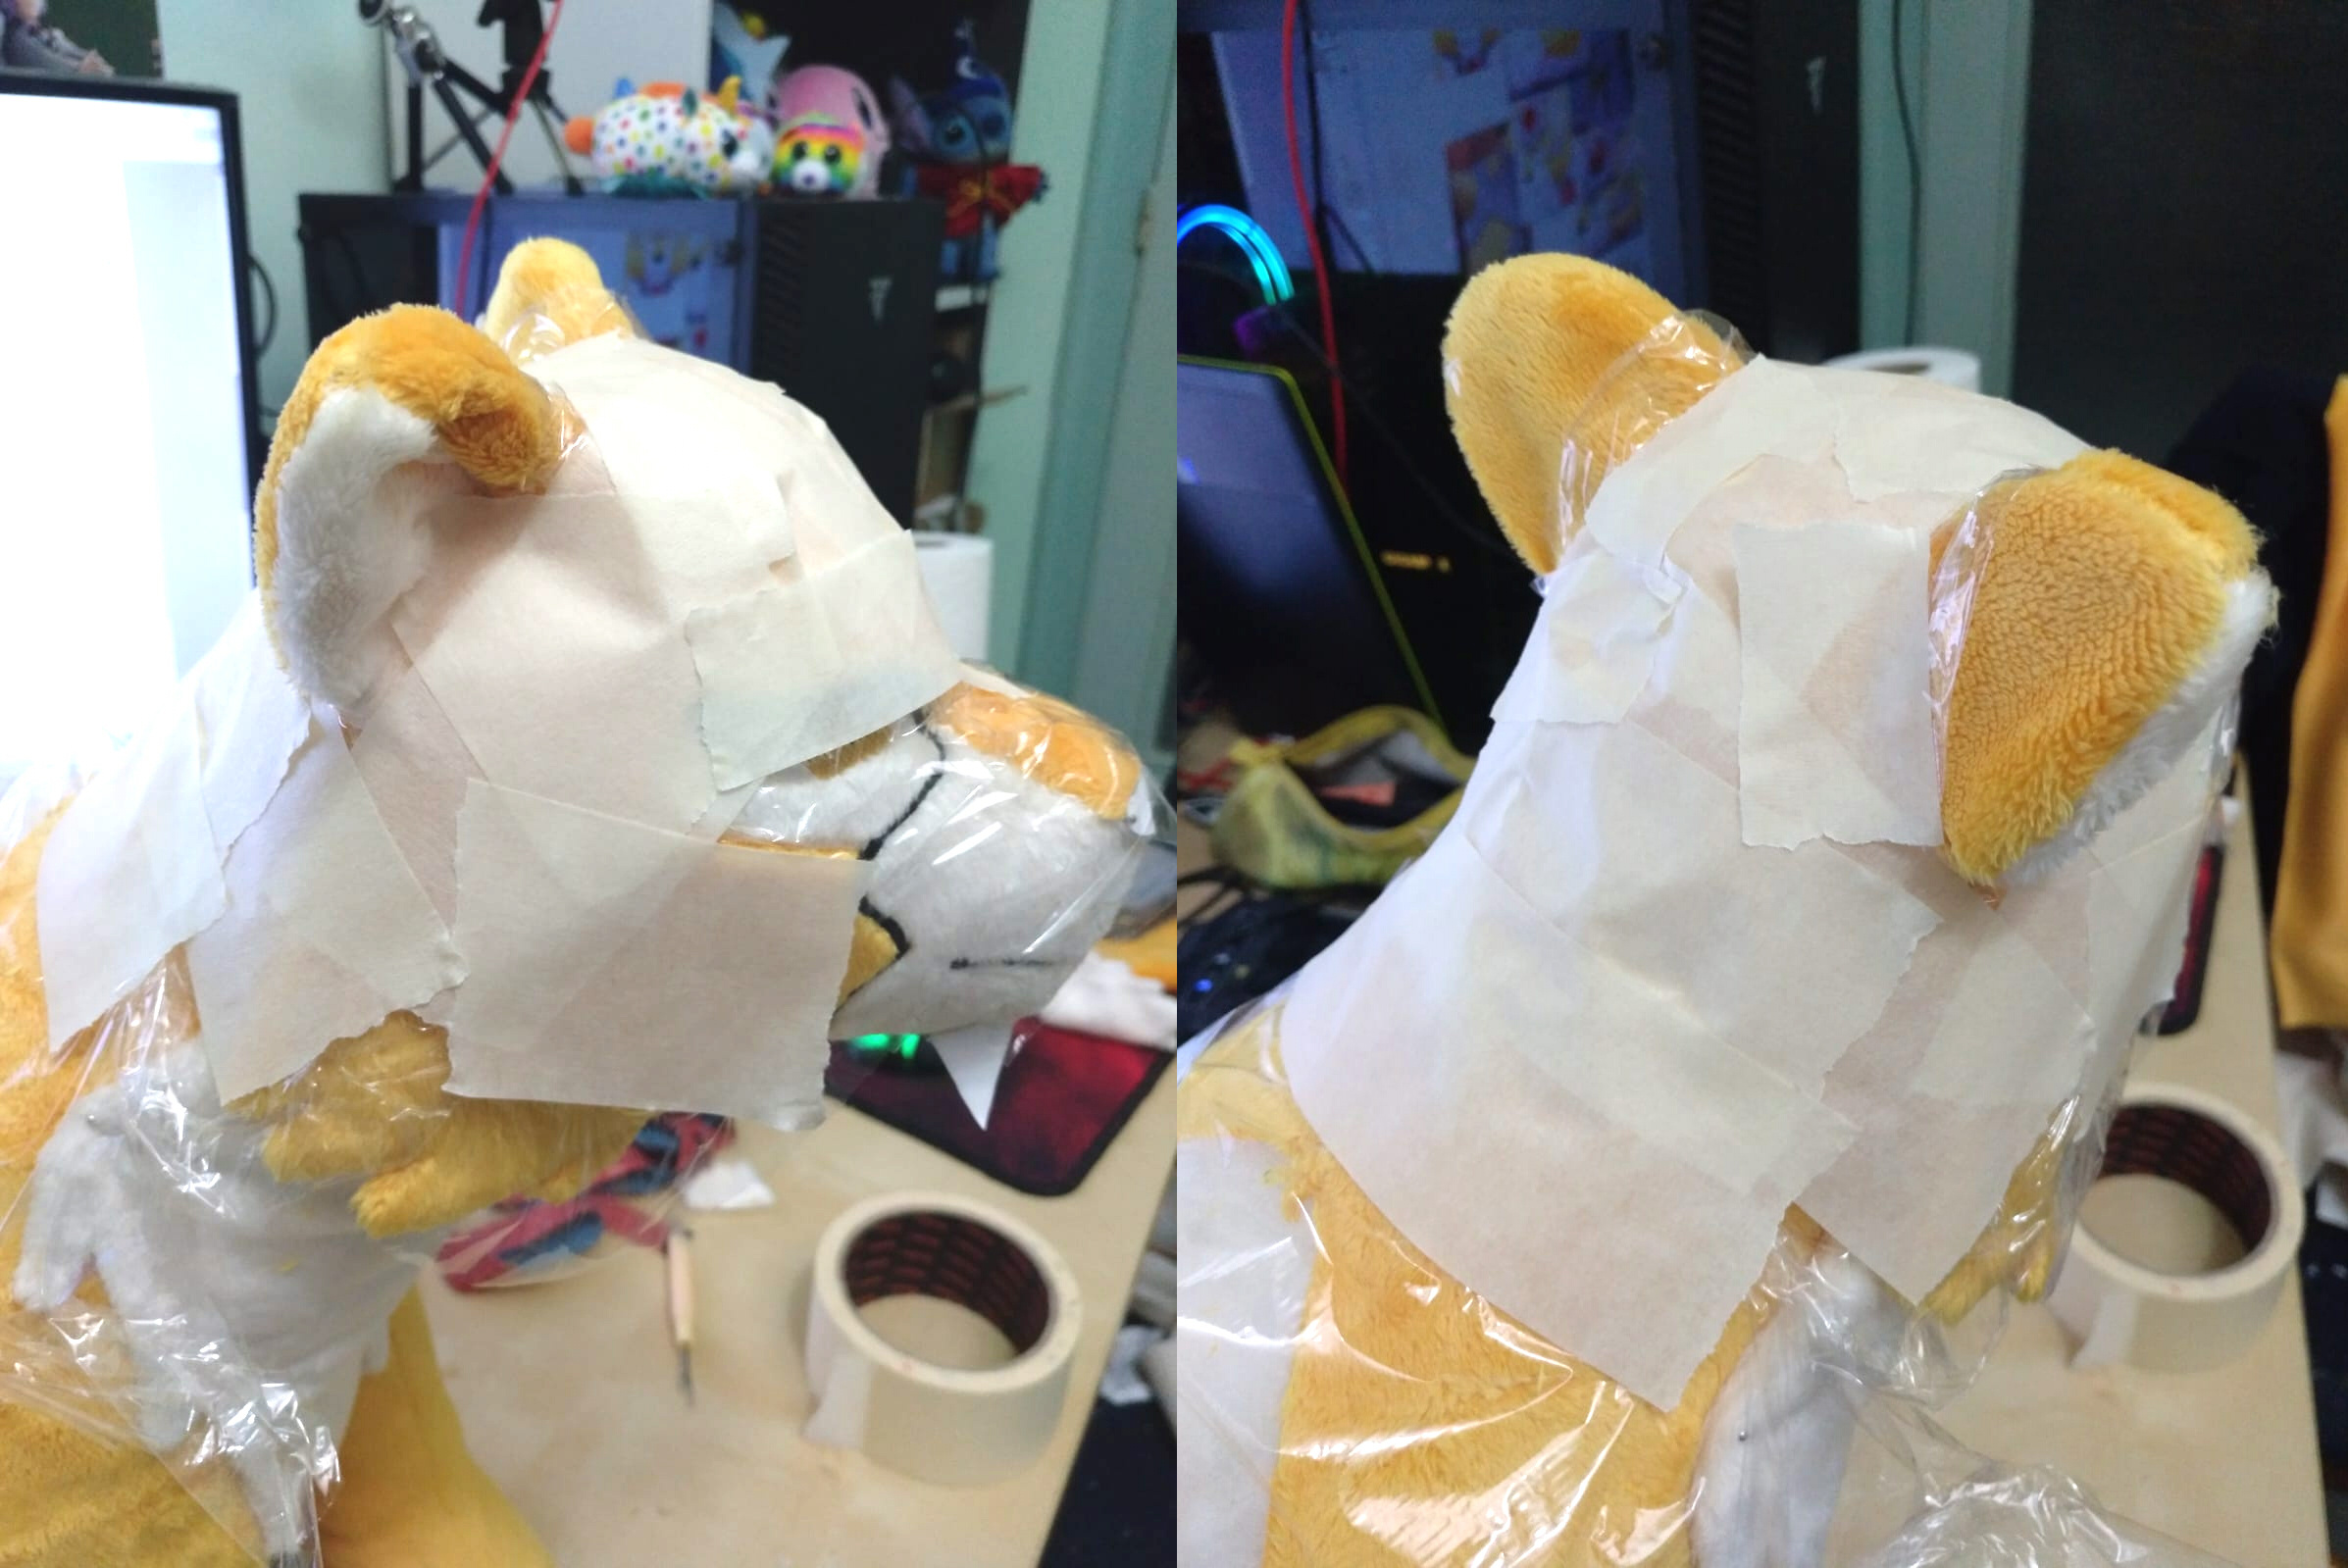
Let's go with the last WIP of this amazing project; the armor.Honestly, we were a bit lost with this part of the plush. It was our first time making a plush armor and we didn't know how to do it. We wanted it to be a bit realistic, not just a sewn piece, but still match with the plush.So after thinking about it, we decided to make 2D pieces, with thin foam inside, and then we sewn over the pieces, following the shapes, to give that armor edge effect. It gave the armor more volume and detail. It was a good decision, simple but efficient.We made the armor patterns the same way we make plush clothes; we covered the plush with transparent film and tape, and then we drew the shape we wanted.
Once the armor was done, the only thing that was left was sewing the jewels and earring.
----ESPAÑOL----
Pues vamos con nuestro último WIP de este increíble proyecto; la armadura.La verdad es que en esta parte del peluche estábamos algo perdidas. Nunca habíamos hecho un diseño con armadura, y no sabíamos cómo hacerlo. Queríamos que se viera algo realista, que no fuera una pieza plana cosida sin más, pero que no dejase de tener el aspecto de peluche que debe tener para ir acorde.Así que tras meditarlo, decidimos hacer una pieza 2D con espuma fina en su interior y hacerle un reborde bordado en toda la armadura. Ese reborde simularía como el corte de la armadura, la "rebaba", y le iba a dar más profundidad y detalle. La verdad es que fue una buena elección. Simple pero eficaz. Los patrones de la armadura los sacamos igual que solemos sacar la ropa de los peluches; cubriendo con film transparente y luego cinta de pintor, para dibujar la forma que queremos encima.Una vez hicimos la armadura, solo nos quedaba añadirle las joyas y hacer el pequeño pendiente para terminar nuestro peluche.
Files