Home

 Creators
 Search
 Recent
 Random
 Posts
 DMs
 Tags
 Random
 Importer
 Import
 FAQ
 Account
 Register
 Login
 Favorites
 Keys
 Logout
 Telegram

Heracross WIP 2 - base body (Patreon)
Content
ENGLISH/ESPAÑOL
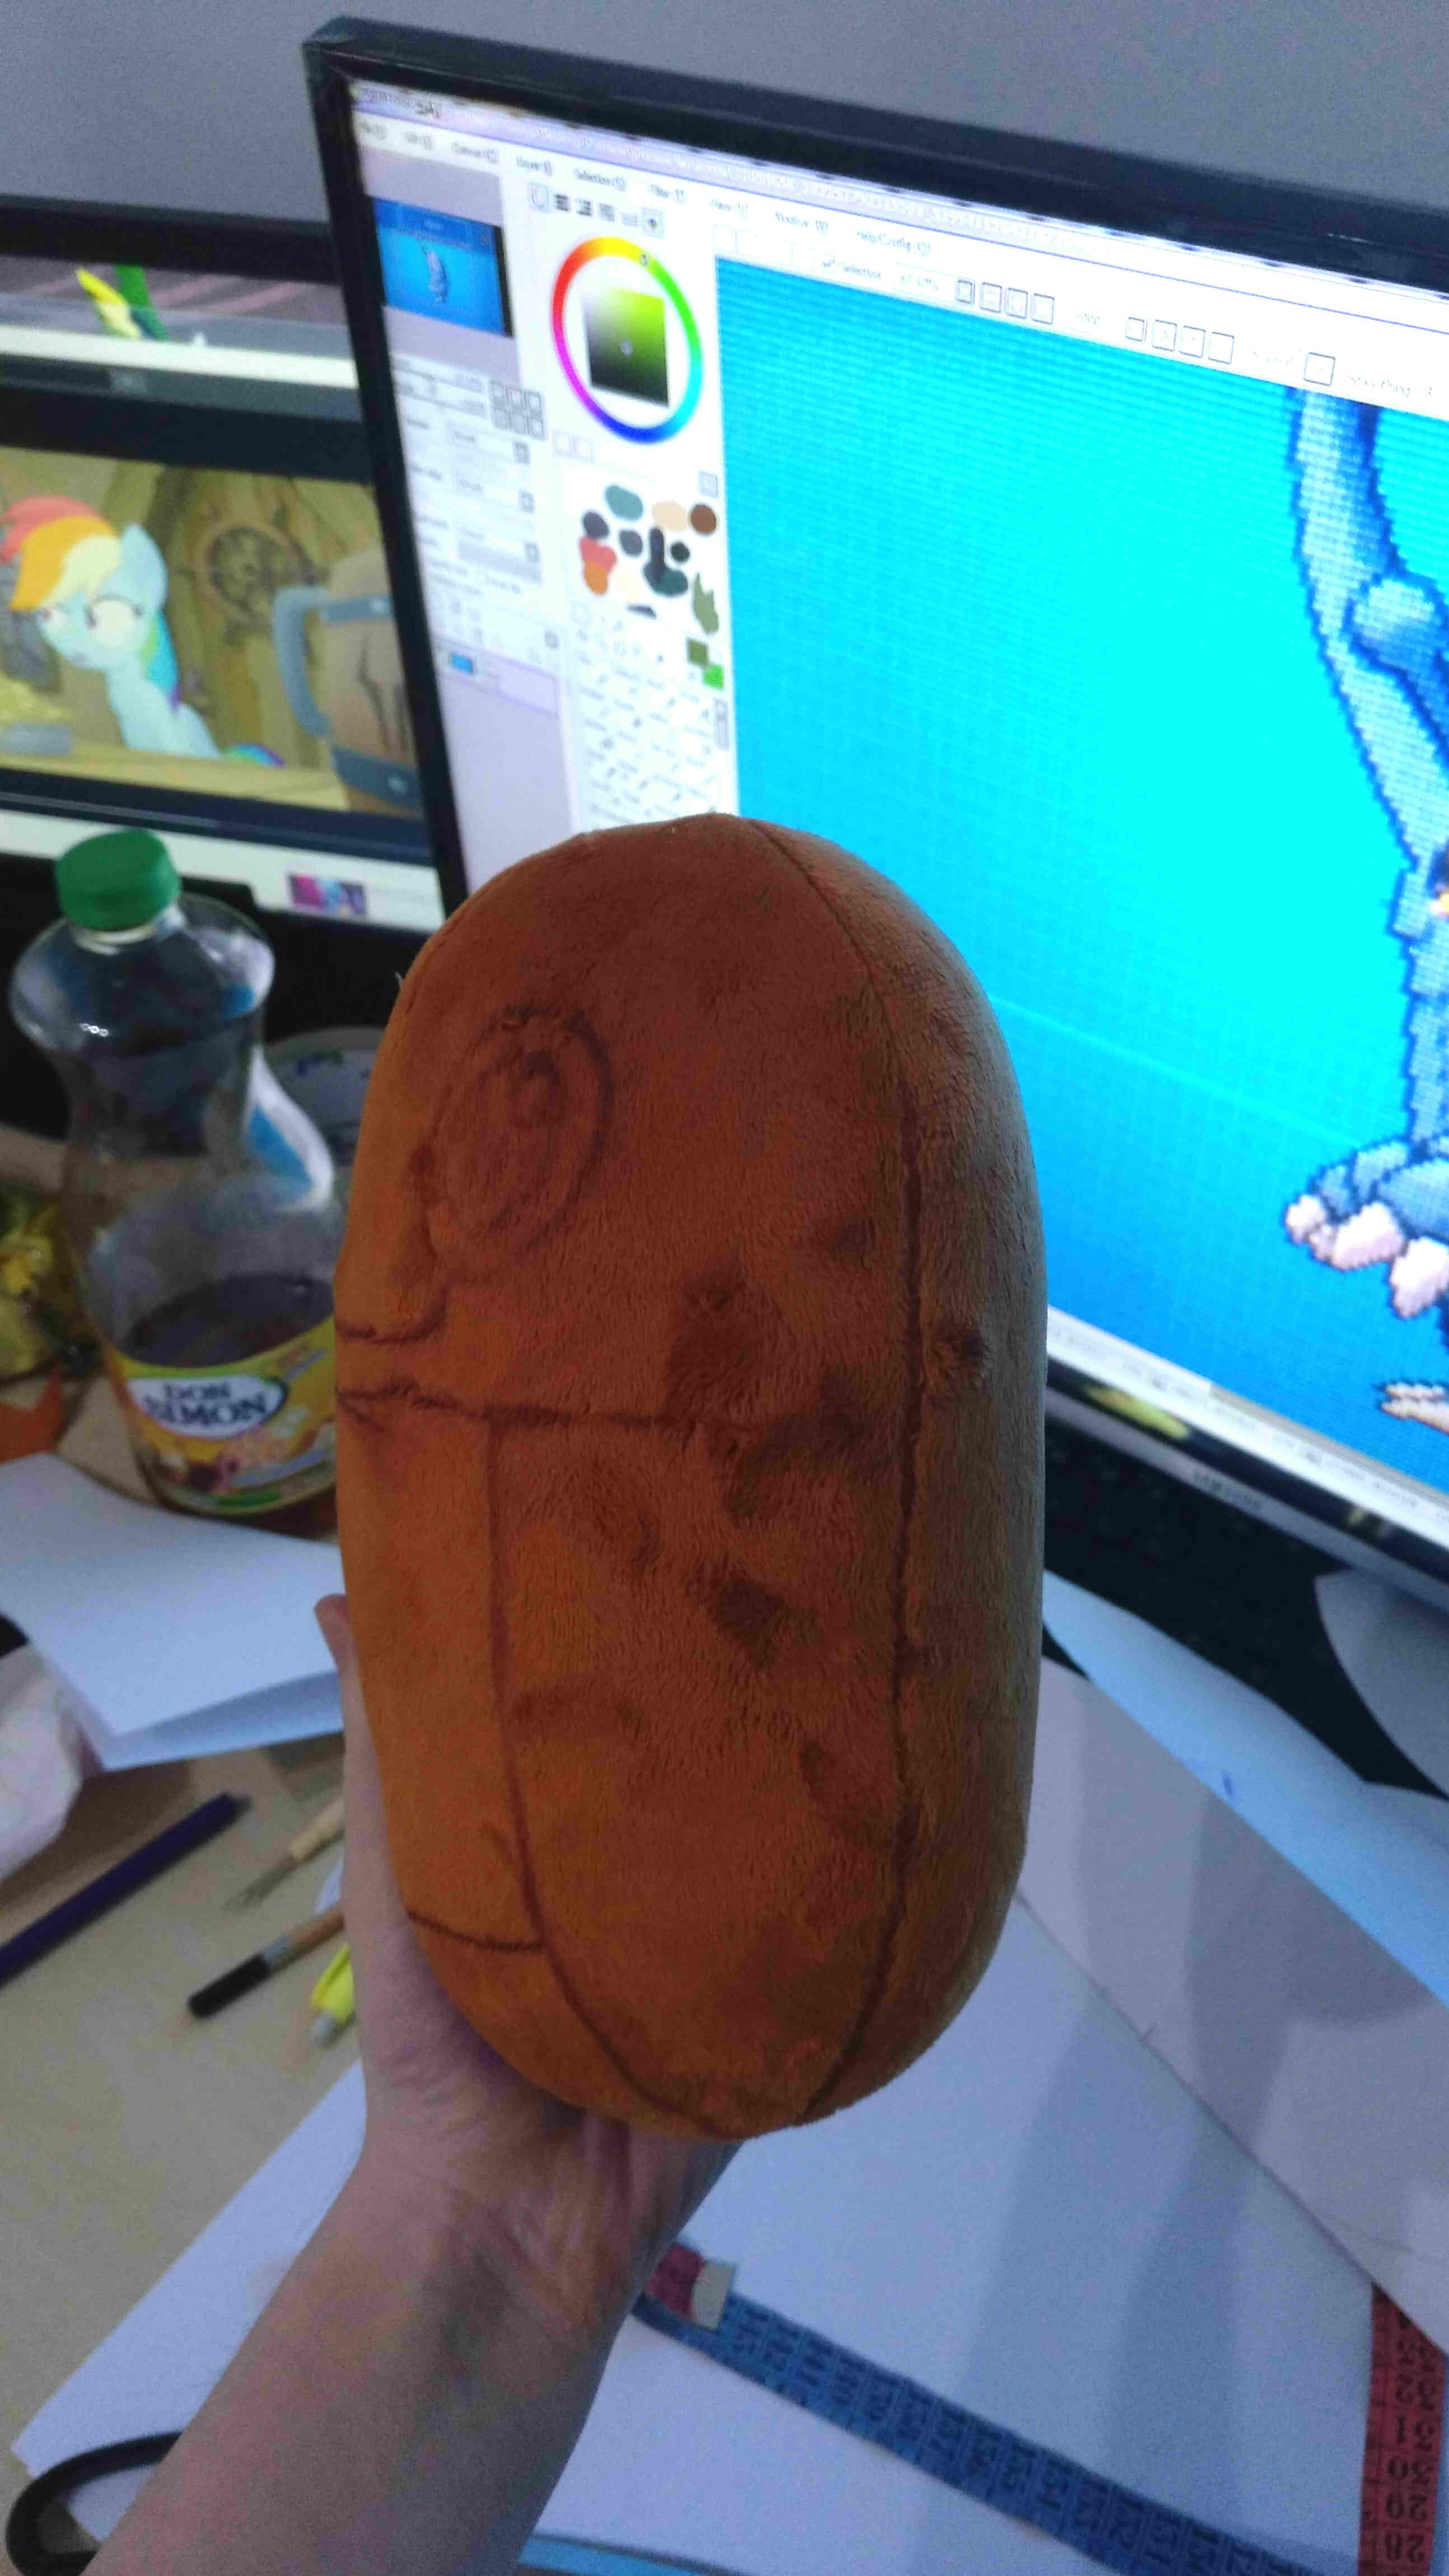
Let's go with the first pictures of the Heracross process. Before we start, we want to apologise for the bad quality of the pictures. Most of them are too dark and blurry, but they're over 2 years old and we didn't have much time for good pictures back then. Anyway, we'll try to explain everything so you can understand well.
For big plushies, specially over 1m, we always recommend to make a smaller version and once all the patterns are correct, scale it up. It will save tons of hours and more important, materials. We decided to make a plush around 30-40cm and then scale it up to 1'6 meters.
First of all, we worked on the body. It doesn't look very complicated, but it was hard to make it compatible with the embroidery that the plush was going to have (all the black lines of his body). Think that it's really difficult or sometimes impossible to pur a seam where there's an embroidery. On the pictures you can see the first two body tests. The shape still wasn't correct, specially on the top and bottom curves. We needed a third pattern test to get it right, which you will see on the next post :)
What you can see here is the final horn pattern, which only took us 2 attempts. We really liked how the curve on the horn's "trunk" turned out. We compared it to the 3D model and it was amazing. On the final horn you will be able to see the foam and wire structure we did in order for it to keep the shape despite being so big, and it also helped the tip of the horn to have a smaller angle, so each side was slightly facing back, not straight like in the prototype horn. We wanted it to look like a real beetle's horn.
----ESPAÑOL----
Pues vamos con las primeras fotos del proceso de Heracross. Antes de nada, disculpadnos por la calidad de las fotos. En las primeras fotos vais a ver que muchas están desenfocadas o oscuras, pero son fotos de hace más de 2 años y en ese entonces no teníamos mucho tiempo de hacer fotos buenas. Aun así, intentaremos explicaros todo para que se entienda bien.
Para hacer un peluche de más de 1 metro, os recomendamos siempre empezar con una prueba mas pequeña y, al tenerla terminada, escalarla. Os ahorrará muchísimas horas de trabajo y sobretodo muchísimo material. Nosotras decidimos hacer el peluche de unos 30-40 cm y luego escalarlo a 1,6 metros.Para empezar, trabajamos en la forma del cuerpo. Aunque no parece muy complicada, es difícil hacerla compatible con todo el bordado que iba a tener el peluche ( todas las lineas negras que tiene por el cuerpo). Pensad que si hay bordado en una zona, no puedes poner costura ( o es muy difícil). En las fotos veréis el primer intento y el segundo. La forma aun no era la correcta, sobretodo en las curvas de arriba y de abajo. Necesitamos un intento más para sacarlo. Lo veréis en el siguiente post :)Lo que sí podréis ver ya es el patrón de cuerno final, que salió al segundo intento. Nos gustó mucho como quedó la curva de lado del "tronco". Pudimos compararlo con el modelo 3D y nos encantó. Y algo que podréis ver en el cuerno a limpio es que nos ingeniamos una estructura de espuma para conseguir que la zona superior del cuerno se inclinase hacia atrás en vez de quedar recta como se ve en este prototipo. Queríamos que se viera realista, como el cuerno de un escarabajo.
Files