Home

 Creators
 Search
 Recent
 Random
 Posts
 DMs
 Tags
 Random
 Importer
 Import
 FAQ
 Account
 Register
 Login
 Favorites
 Keys
 Logout
 Telegram

Heracross WIP 3 - Embroidery and patterns (Patreon)
Content
ENGLISH/ESPAÑOL
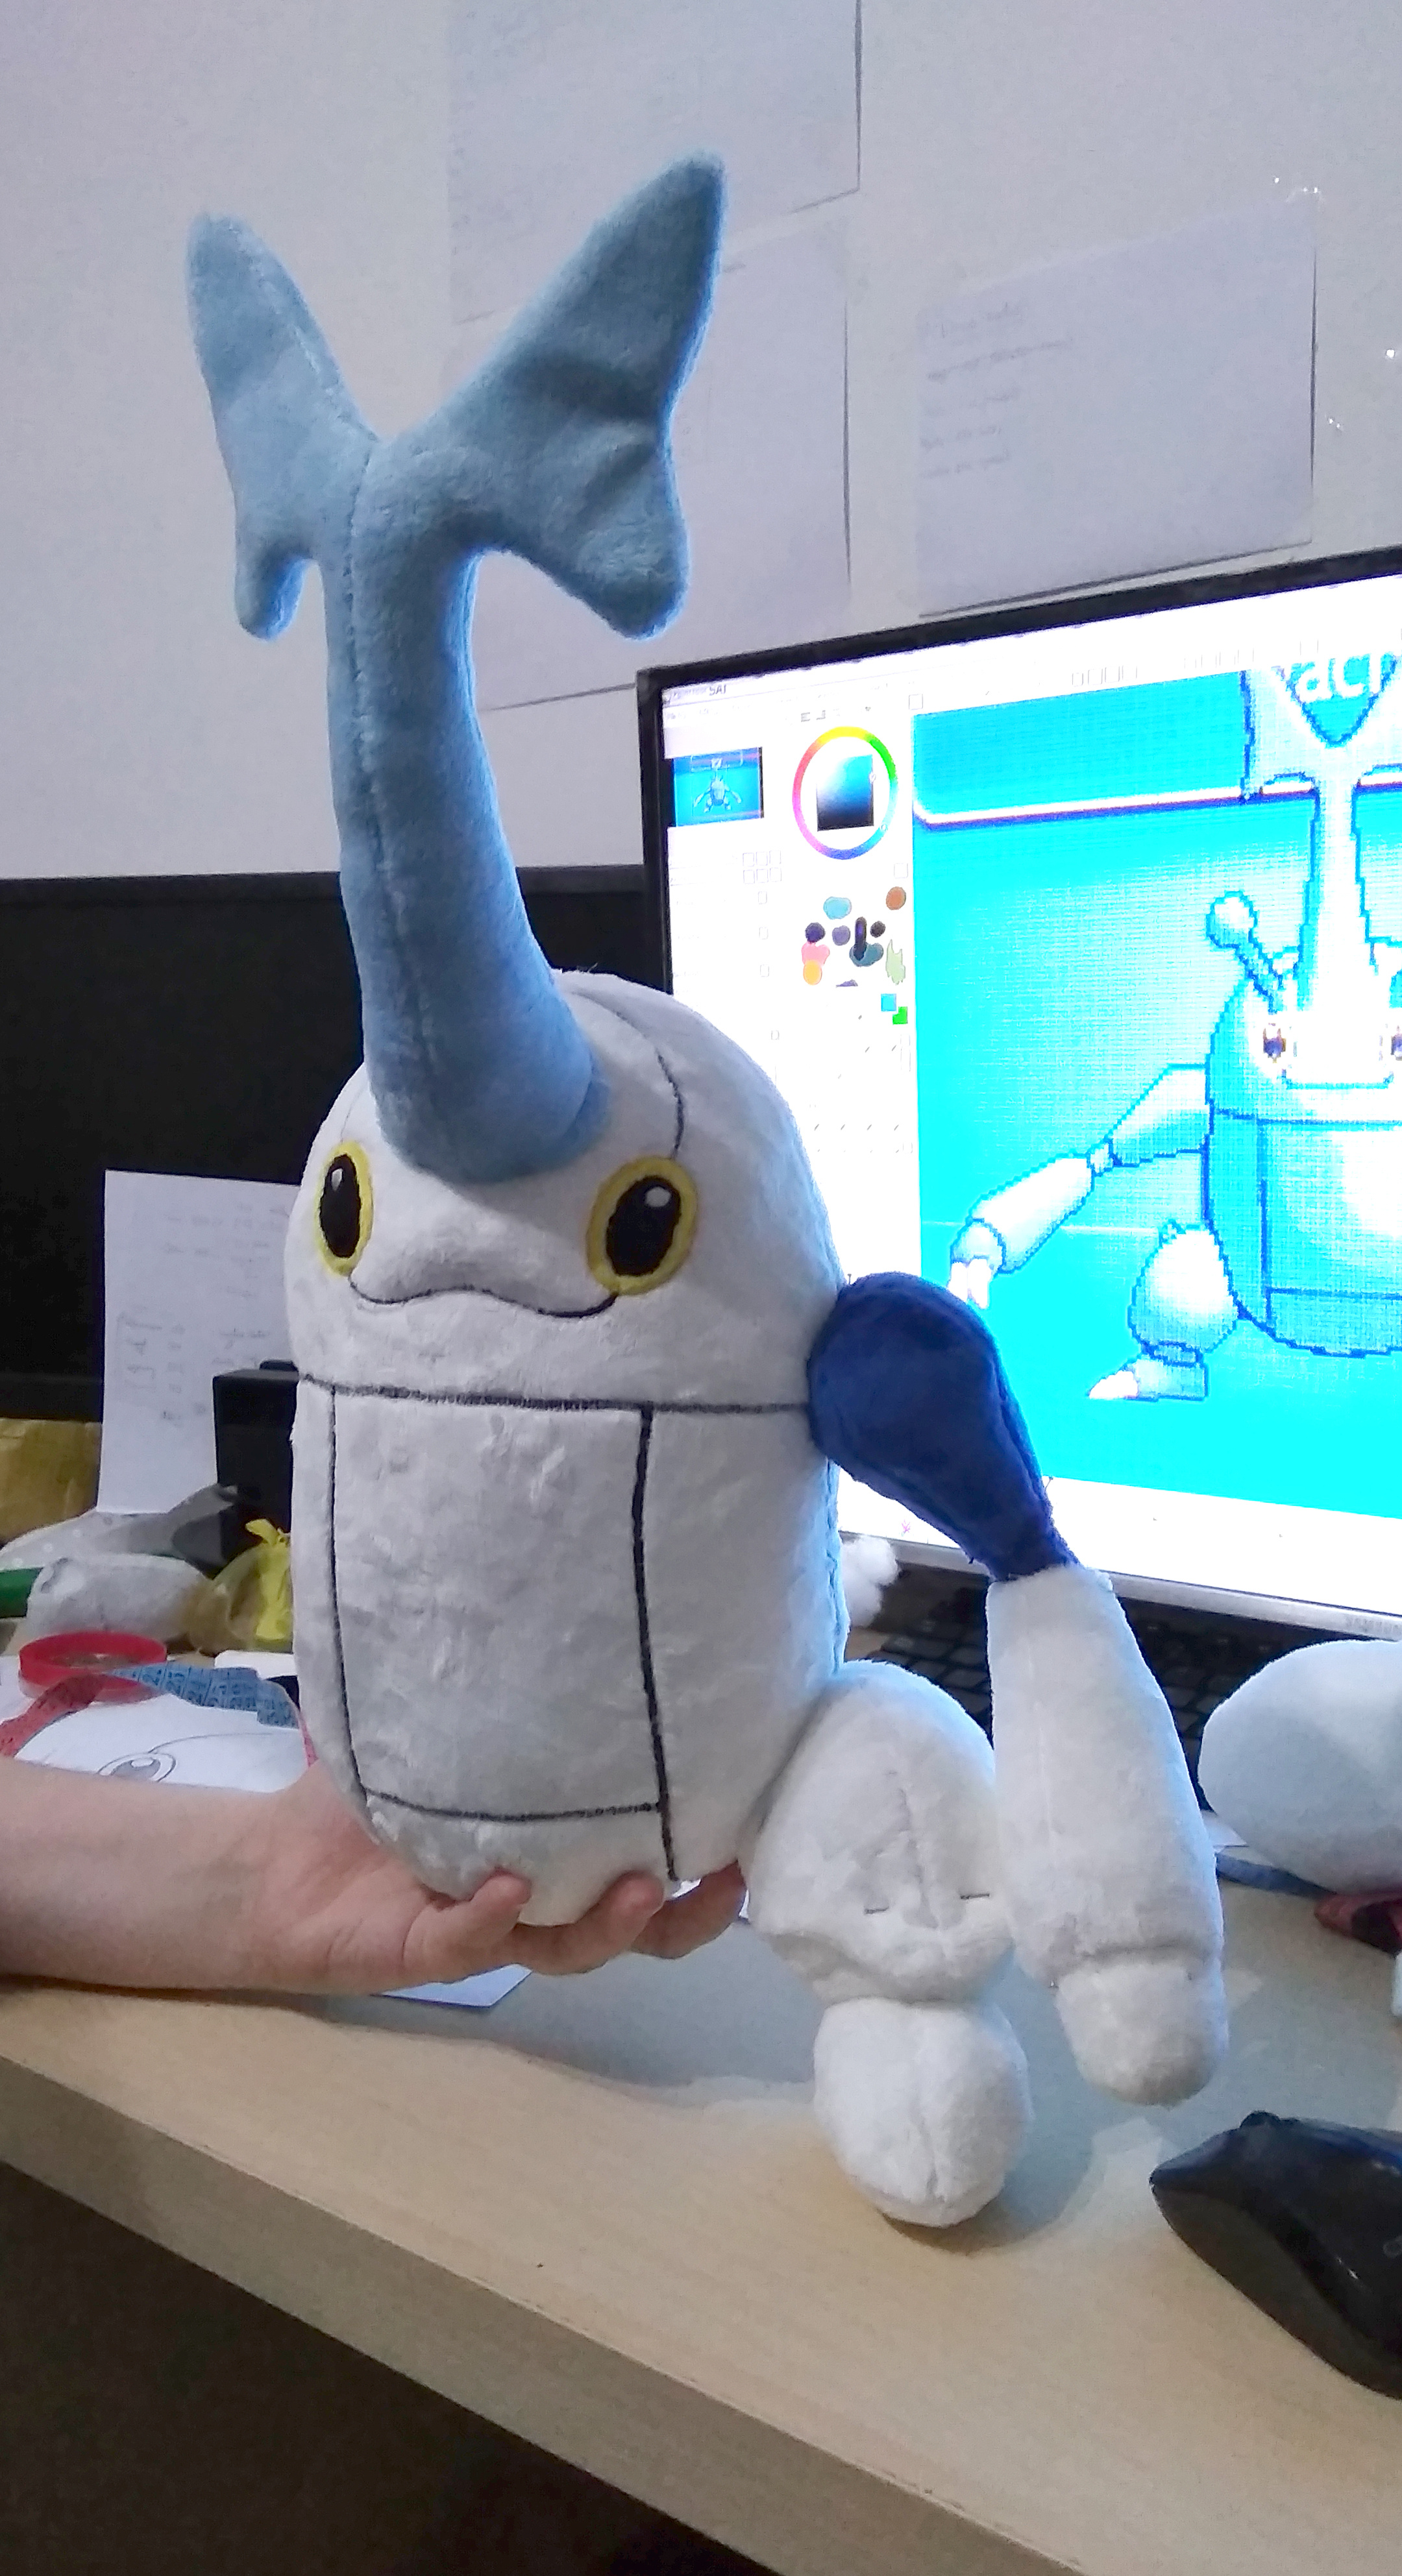
Well, let's continue with the creation process of our baby Heracross. Again, sorry for the low quality of the pictures. We still remember how we were working all night with a horrible light in our former apartment. Once we finished with the body, we started working on the remaining parts: the limbs and the embroidery.
Starting with the embroidery, as always, we show you the embroidery design for the face. Of course this embroidery didn't work for for the final plush, it was just for the small one. Back then our embroidery machine had a small hoop area, and for the big Heracross we had to separate the embroidery in different parts and make them match each other. For the body embroidery, we made it with the sewing machine.
Don't worry about the embroidery and eyes appliques looking ugly, we used a low density on the emboirdery tests to save thread, because we just wanted to see how it would look all together. We don't do that anymore, because we learned that the embroidery can affect the plushie's shape, so it's important to have the right density from the start.
As you can see, we managed to make the volume on the mouth on the prototype, and the embroidery looked like the model. It would be another story when we scaled it up hahaha
Apart from the embroideyr, there are some pictures of all the arms and legs tests. As you can see, the knee was a nightmare, the shape was really difficult and we needed a lot of testing. It's ashape that had a layer over a base, but we managed to make it work with foam and patience.
and finally, you can see the prototype with the arms and legs. Honestly, it looked adorable even if it seemed a Frankenstein monster, and we still want to make a small one eventually. In fact, we still have that prototype as a memory of this project. We'll make a small one someday for sure.
What do you think? You think it looks cool already?Next comes the scaling process!
----ESPAÑOL----Bueno, pues sigamos con el proceso de creación de nuestro bebé Heracross. De nuevo ,os pedimos perdón por la calidad de las fotos y la iluminación. Aún nos acordamos de cómo trabajamos en el antiguo piso con una luz horrible toda la noche. Una vez terminamos con la forma del cuerpo, nos pusimos a trabajar en lo restante; el bordado y las extremidades.Empezando por el bordado, como siempre, os enseñamos el picaje para la cara que diseñamos. Algo importante a remarcar es que este bordado NO servía directamente para el peluche escalado. En ese entonces no teníamos la bordadora nueva con los bastidores grandes, así que tocó hacer los bordados a partes y unir los dibujos y resto de lineas de cuerpo con la máquina de coser manualmente.No os preocupéis si veis que el bordado se ve feo en los ojos y las marcas del cuerpo, los hicimos rápidos y con densidades suaves para gastar poco hilo. Lo único que queríamos ver era si habíamos acertado con la distribución de todo. ( Esto lo hemos cambiado un poco, ahora sí que hacemos los bordados "finales" en los prototipos, porque hemos aprendido que un bordado denso cambia mucho la forma de un peluche a veces).Como podréis ver, conseguimos que en el prototipo se viera ese morrito sobresalido que queríamos y todo el bordado quedaba conforme al diseño original. Al escalarlo ya seria otra historia haha.Después del bordado, os dejamos también unas fotos de todas las pruebas necesarias para hacer brazos y piernas. Podéis ver en las fotos que la pieza de la rodilla fue HORRIBLE de patronar. Era una forma muy rara, con una pieza metida dentro de otra, y no había manera de sacarlo. Pero con espuma e intentos, salió bien.Finalmente, podéis ver todo el prototipo armado con alfileres. La verdad es que sea veía adorable aunque pareciera algo Frankestein, y nos quedamos con las ganas de hacer uno de ese tamaño a limpio. De hecho, conservamos el cuerpo blanco de recuerdo. Algún día lo haremos, seguro.Que os parece? Ya lo véis chulo así?Pues preparaos para el trabajo de escalar!
Files