Home

 Creators
 Search
 Recent
 Random
 Posts
 DMs
 Tags
 Random
 Importer
 Import
 FAQ
 Account
 Register
 Login
 Favorites
 Keys
 Logout
 Telegram

Lopmon Digimon WIP 5: Ears and more ears (Patreon)
Content
EGNLISH/ESPAÑOL
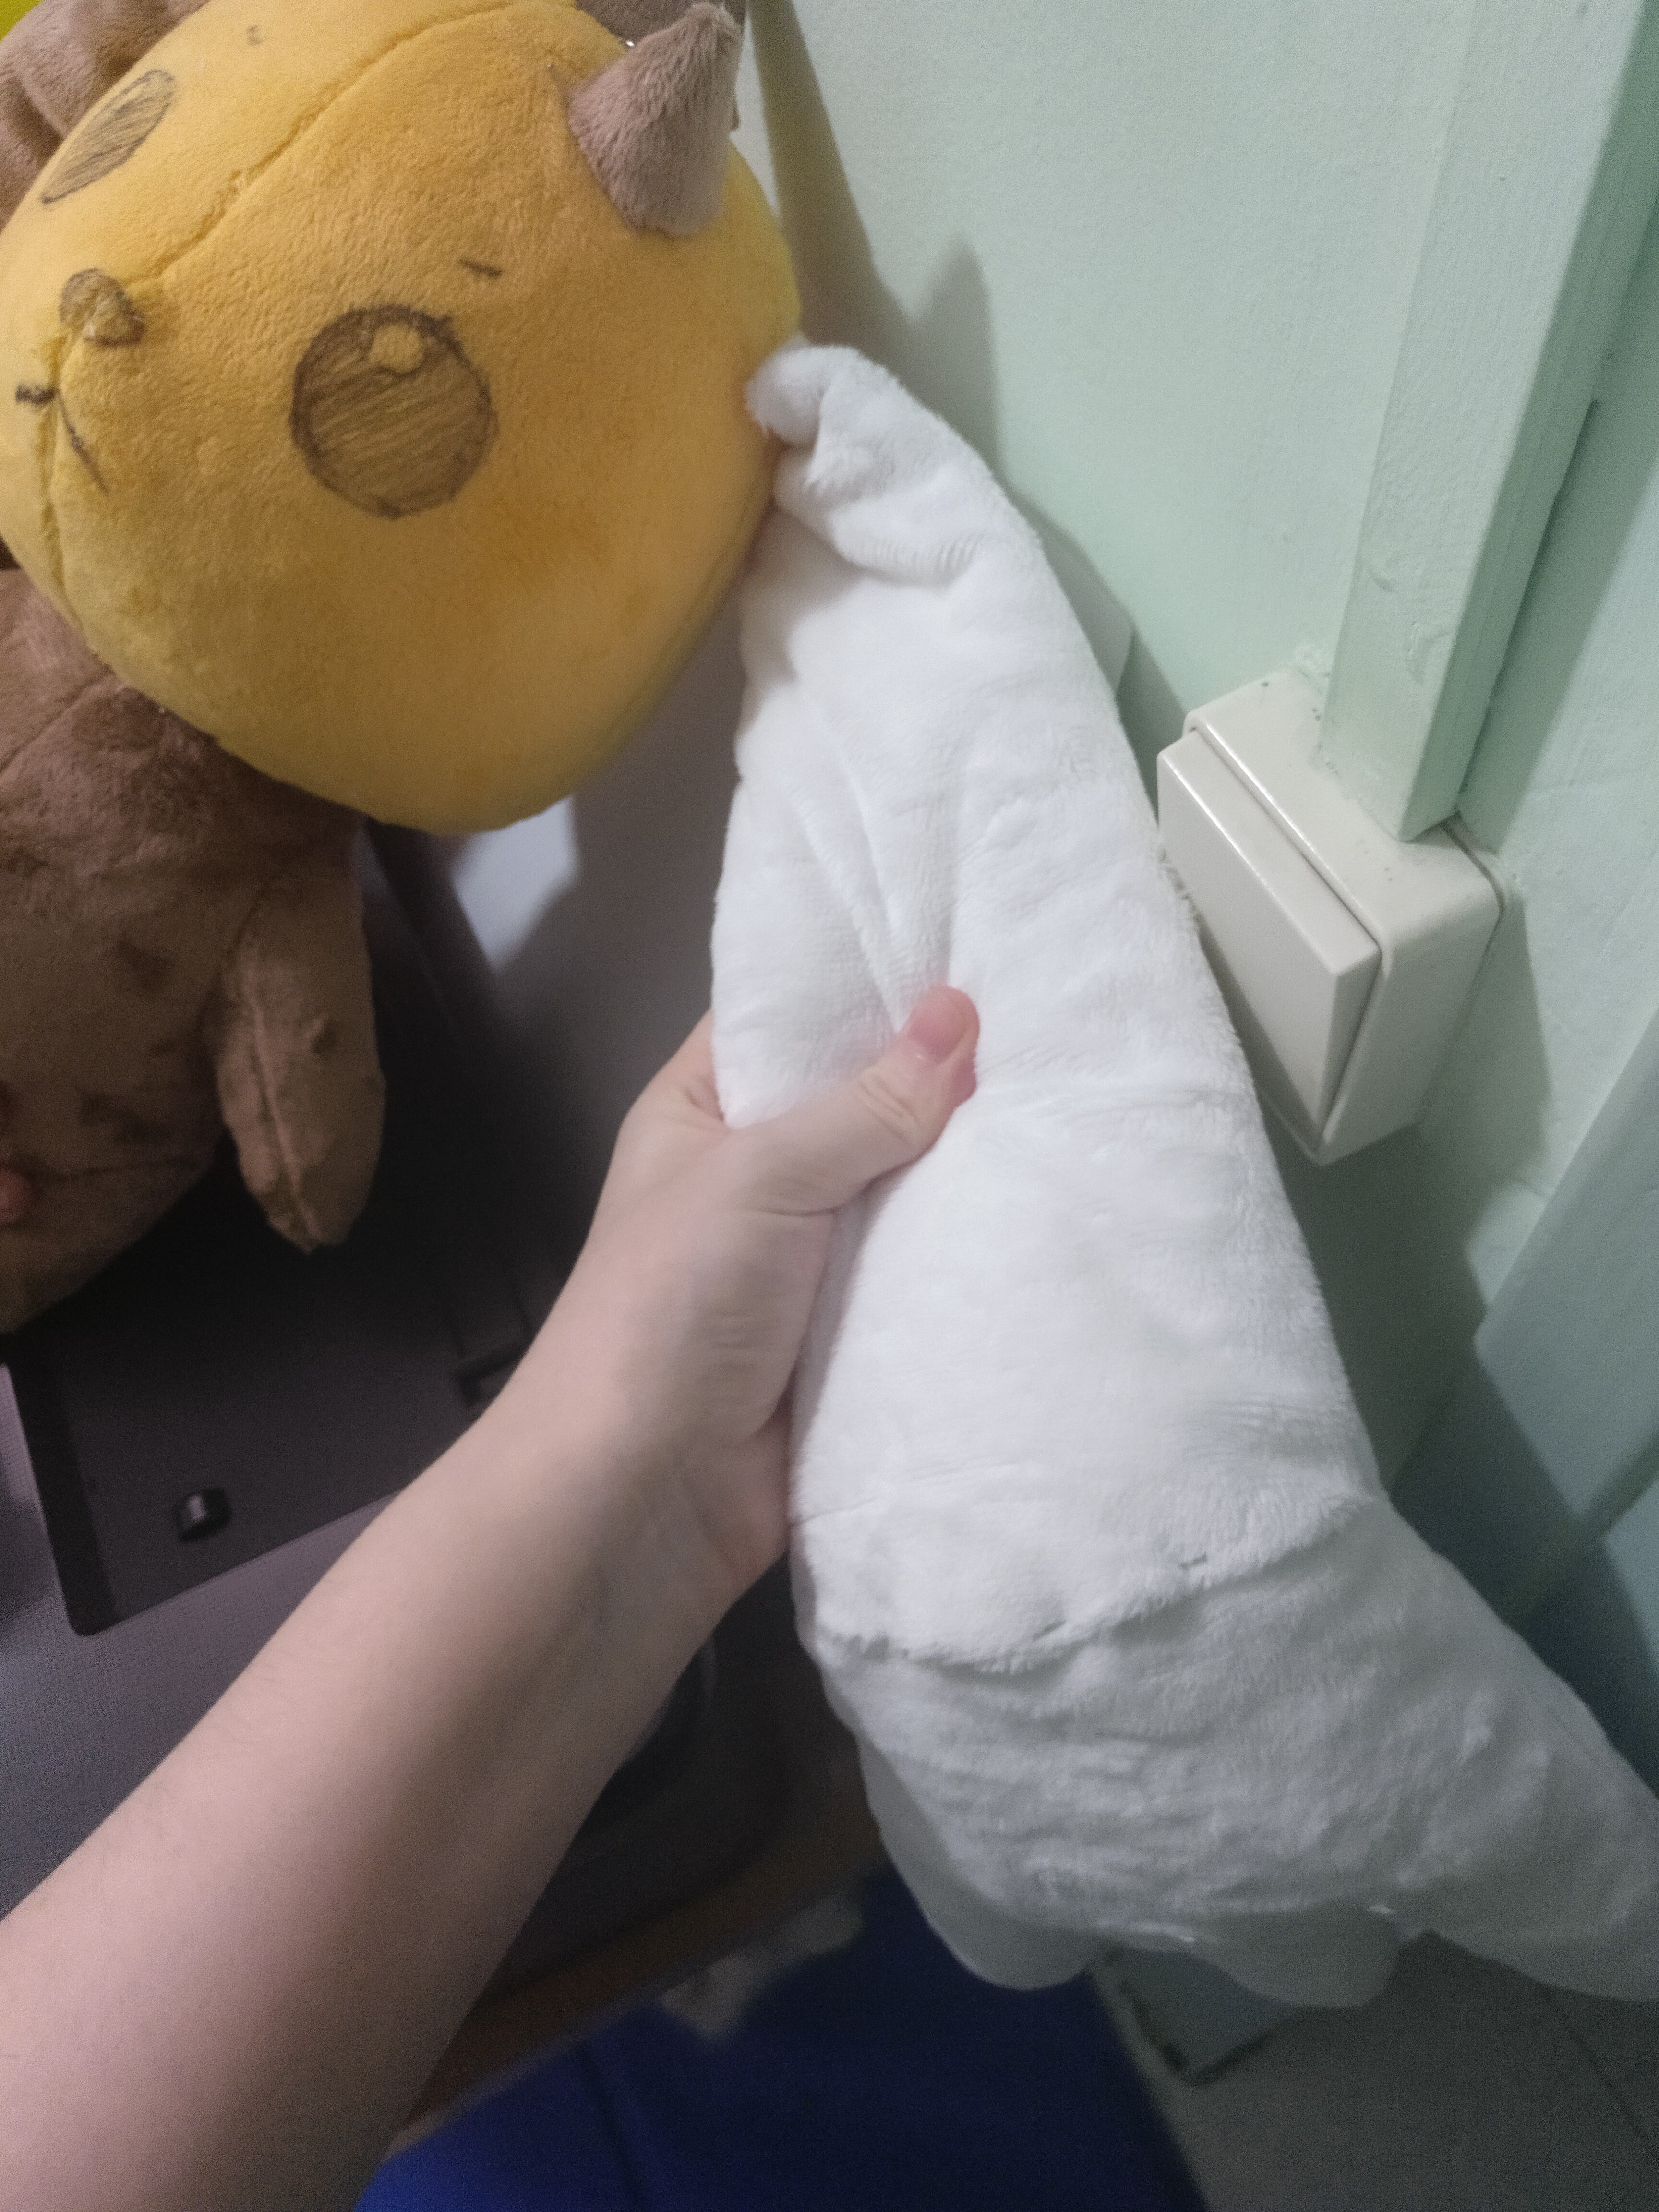
We finally bring you a new Lopmon WIP. Sorry for the long await, but this part of the plush was more difficult thant we expected. We would have never imagined that a couple of ears that looked so simple would be so hard to make pretty. Really, we made at least 6 or 7 different ones. Of course on the pictures ytou can only see a few of them, because we reused some materials and some of the changes weren't of the patterns but the stuffing. We'll try to explain all the process we followed to make them.
The problem with Lopmon's ears was to get a good shape in both patterns and thickness, while making them soft and floppy without having too many wrinkles. And making all of that is pretty difficult. If you stuff them too much, there are no wrinkles, but they're thick and stiff. If they're not suffed enough, they're soft and floppy but full of wrinkles.
The first ear was fully stuffed, it's the brown one. We obviously didn't like it. Then we made a couple tests with way less stuffing, but they had too many wrinkles.After that, we tried an invention, using quilt. Quilt is basically laminated stuffing. We've used it many times before, specially to cover wire structures. It's what we used for the third ear. It didn't look bad, but we weren't fully convinced about it. The last option we could come up with was sculpting the ears in foam and cover them with minky. That would mean a perfect shape, but totally static and stiff.
Finally, we decided to mix foam sheet and quilt. Using half and half, the ear would be a bit more stiff than with just quilt (and you can feel the foam when you squish the ear), so it would keep the shape better, and it would still be really floppy. So we think it's the best option to get everything we wanted :) It keeps the pattern's shape well and it's still nice to touch it.
On the other hand, we also changed the pattern shapes. We wanted the triangle shape and we weren't able to make it, specially on the dart to give it shape. The tips were also tricky. But as you can see on the last pictures, we got a beautiful shape at the end!
Sorry if the pictures aren't the best ones, but after so many tests we just wante dto show you the results hahaha. Ah, and don't worry if you see the body a bit uneven, everything is just pinned so we could take the pictures
Now we can officially start working on the final plush!
----ESPAÑOL----
Por fin os traemos un nuevo wip de Lopmon. Disculpadnos por la espera, pero esta parte del peluche ha sido mucho mas difícil de lo que esperábamos. Nunca hubiéramos imaginado que unas orejas que en principio parecen tan simplonas pudieran ser tan difíciles de sacar bonitas. En serio, si no hicimos como 6 o 7 orejas distintas, no hicimos ninguna. Obviamente en las fotos solo veréis un par y las buenas, porque reutilizamos material o los cambios no eran de patrón, sino de cómo rellenarlas. Vamos a intentar iros explicando el proceso que hemos seguido para hacerlas.
El problema de las orejas de Lopmon es conseguir una buena forma, tanto de patrón como de grosor, además de conseguir que sean blanditas y flexibles sin tener demasiadas arrugas. Aunque no lo parezca, juntar todas estas propiedades es muy difícil. Si se rellena mucho, se eliminan las arrugas, pero la oreja se vuelve dura y estática. Si se rellena poco, es muy blandita, pero llena de arrugas por todas partes.
La primera prueba fue rellenando la oreja totalmente, que es la que veis de color marrón. Obviamente no nos gustaba que se viera tan rellena y dura. Luego hicimos un par de pruebas rellenando poco, y quedaban muy arrugadas.Después probamos a hacer un pequeño invento, añadiendo en su interior relleno encolado (guata). Básicamente, es relleno de peluche pero hecho láminas. Lo hemos usado en el pasado para algunos peluches antiguos, sobretodo para recubrir alambre. Es el ejemplo de la tercera oreja. No quedaba mal, pero no nos convencía del todo, porque se arrugaba aún bastante. La ultima opción que se nos venía a la cabeza era usar solo espuma para rellenar toda la oreja, osease, como esculpirla. Eso iba a asegurar tener una forma perfecta, pero a cambio sería totalmente estática y rígida.
Finalmente, decidimos mezclar espuma común con la guata encolada. Al usar mitad y mitad, aunque la oreja se hace un poco mas rígida que con solo relleno (cuando aprietas, puedes notar el material dentro), sigue siendo bastante flexible y posable. Así que creemos que la mejor opción para conseguir todo lo que queríamos :) Conserva bien la forma del patrón y sigue siendo bastante agradable de achuchar.
Por otro lado, también hicimos varias pruebas del patrón y forma en si. No conseguíamos que la oreja tuviera la forma de campana que suele tener, sobretodo por la pinza que tiene al final de la oreja para darle algo de ángulo y poderse apoyar. Los pinchos del final también fueron algo difíciles. Pero como podéis ver en estas últimas fotos, hemos conseguido una forma muy bonita!
Sentimos que las fotos no sean las mejores, pero después de tantas pruebas solo queríamos enseñaros ya el resultado como fuera jajaja. Oh, y no os preocupéis di veis el cuerpo algo torcido. Estaba todo colocado rápido con alfileres para hacer la foto
Ahora podemos empezar a pasar a limpio el peluche oficialmente!!
Files