Home

 Creators
 Search
 Recent
 Random
 Posts
 DMs
 Tags
 Random
 Importer
 Import
 FAQ
 Account
 Register
 Login
 Favorites
 Keys
 Logout
 Telegram

Sherb Animal Crossing WIP 11: First outffit, his default jumper (Patreon)
Content
ENGLISH/ESPAÑOL
Well, we can finally show a new Sherb WIP!IT's time to work on his different outfuits. In plural because we have to make 3 different outfuits for this goat boy. Though we will only show two of them now, because we will make the 3rd in the in the future ^^
We started with his default jumper, whose fabric we already showed some days ago. We were really happy with the result when we reiceved the printed fabric, and we couldn't wait to start sewing it.
As you will see in the pictures, to trace the patterns on the printed fabric, we used a very peculiar "technique".Since we want the design to look as centered as possible, we included the pattern's outlines on the design (in light grey so it's not visible when sewn). With that we have a guide on where to trace the pattern on the worng side of the fabric, and to help us know where those lines are placed, we passed a pin through the fabric on each corner of the pattern, so we could have reference points when placing the patterns.
Once the pattern is traced, it's time to sew! It's a bit difficult to work with a print on such little clothes, but with patience we managed to sew it centered.
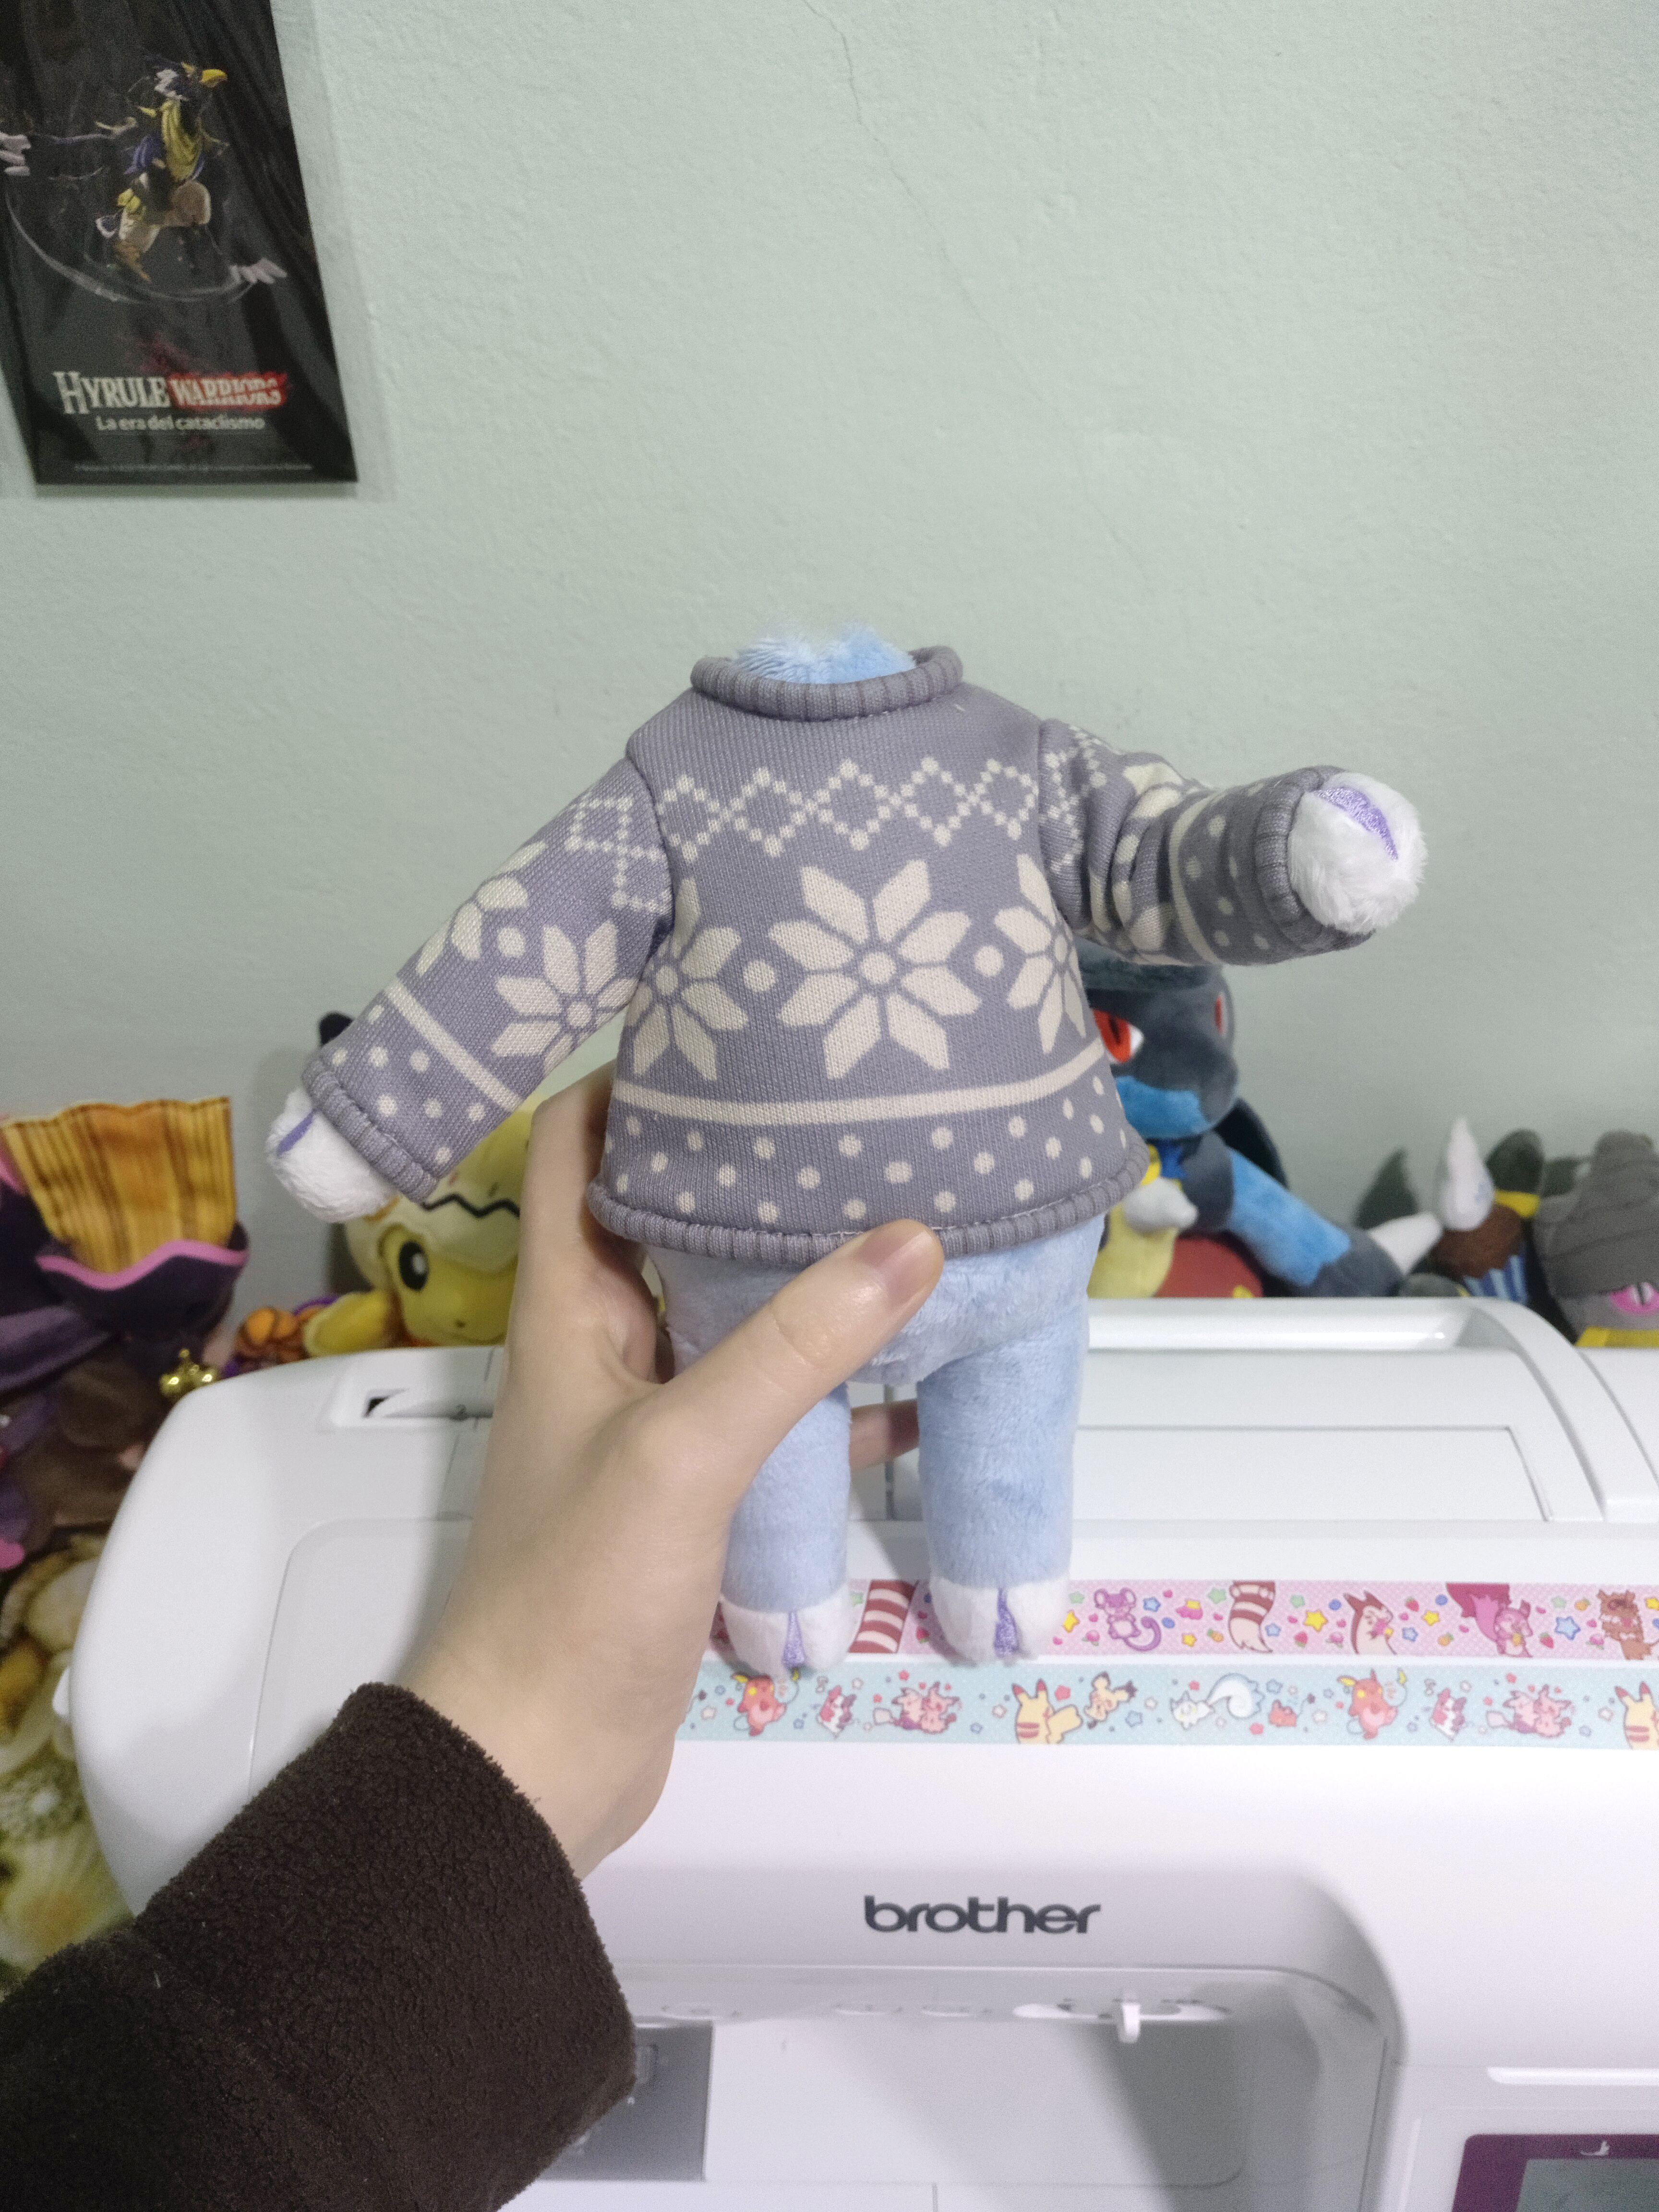
Look how adorable he looks, with his final body and shirt, and the prototype head! So pretty and clean. The printed fabric emulates the knitting effect very well, without doubt ^^ And we're happy that it fits the body so well.
We also take the chance to show you how his hooves turned out! Since it wasn't a really difficult part (it's just an embroidered purple triangle) we haven't made a post for that. But we hope you like them~
Now that the default jumper is done, it's time to make his next outfuit. And once that is done, we'll make the final head and the tail, and our baby will be finished!We'll probably make only one more WIP
----ESPAÑOL----
Bueno, pues por fin podemos enseñaros un nuevo wip de Morfeo! Toca trabajar en sus trajes. Y digo en plural porque tenemos que hacerle 3 trajes distintos a esta cabrita. Aunque sólo os enseñaremos de momento 2, pues el tercero lo haremos un poco más adelante ^^
Empezamos con el jersey default, el cual ya os enseñamos su estampado hace unos días. Al recibirlo estábamos muy contentas con el resultado, así que no dudamos en empezar a coserlo.
Como veréis en las fotos, para marcar ropa estampada usamos una "técnica" algo peculiar. Como queremos que los dibujos queden lo más centrados posibles, en el diseño incluimos el dibujo del patrón en un gris clarito (paras que apenas sea visible si se llega a asomar en una costura). Con eso tenemos una guía de cómo marcar el patrón en el reverso de la tela, y para ayudarnos a hacer dichas marcas, pusimos alfileres en todas las esquinas de cada patrón, para así tener puntos de referencia para colocar los patrones.
Una vez ya hemos marcado nuestro patrón en la tela, podemos empezar a coser! Es un poco difícil trabajar con una cenefa en ropa tan pequeña, pero con paciencia conseguimos que quedara bastante centrada y encajada.
Mirad lo adorable que se ve con el cuerpo limpio y el prototipo de cabeza! Super bonito y limpio. Sin duda, cumple muy bien con el objetivo de similar que está tejido ^^ y estamos contentas de que le quede bien ajustado.
Aprovechamos además ahora para enseñaros como han quedado sus pezuñas! Como no son mucho misterio de bordado (es un triángulo lila), no hemos puesto un post exclusivo para su proceso. Pero esperamos que os gusten~
Ahora que tenemos el jersey básico hecho, toca hacerle su próximo outfit. Y una vez hecho este, podremos pasar a limpio la cabeza y su colita y tener nuestro bebé cabrita temrinado! Seguramente solo subiremos un wip más
Files