Home

 Creators
 Search
 Recent
 Random
 Posts
 DMs
 Tags
 Random
 Importer
 Import
 FAQ
 Account
 Register
 Login
 Favorites
 Keys
 Logout
 Telegram

Shop Update - Mx5 & Stagea (Patreon)
Content
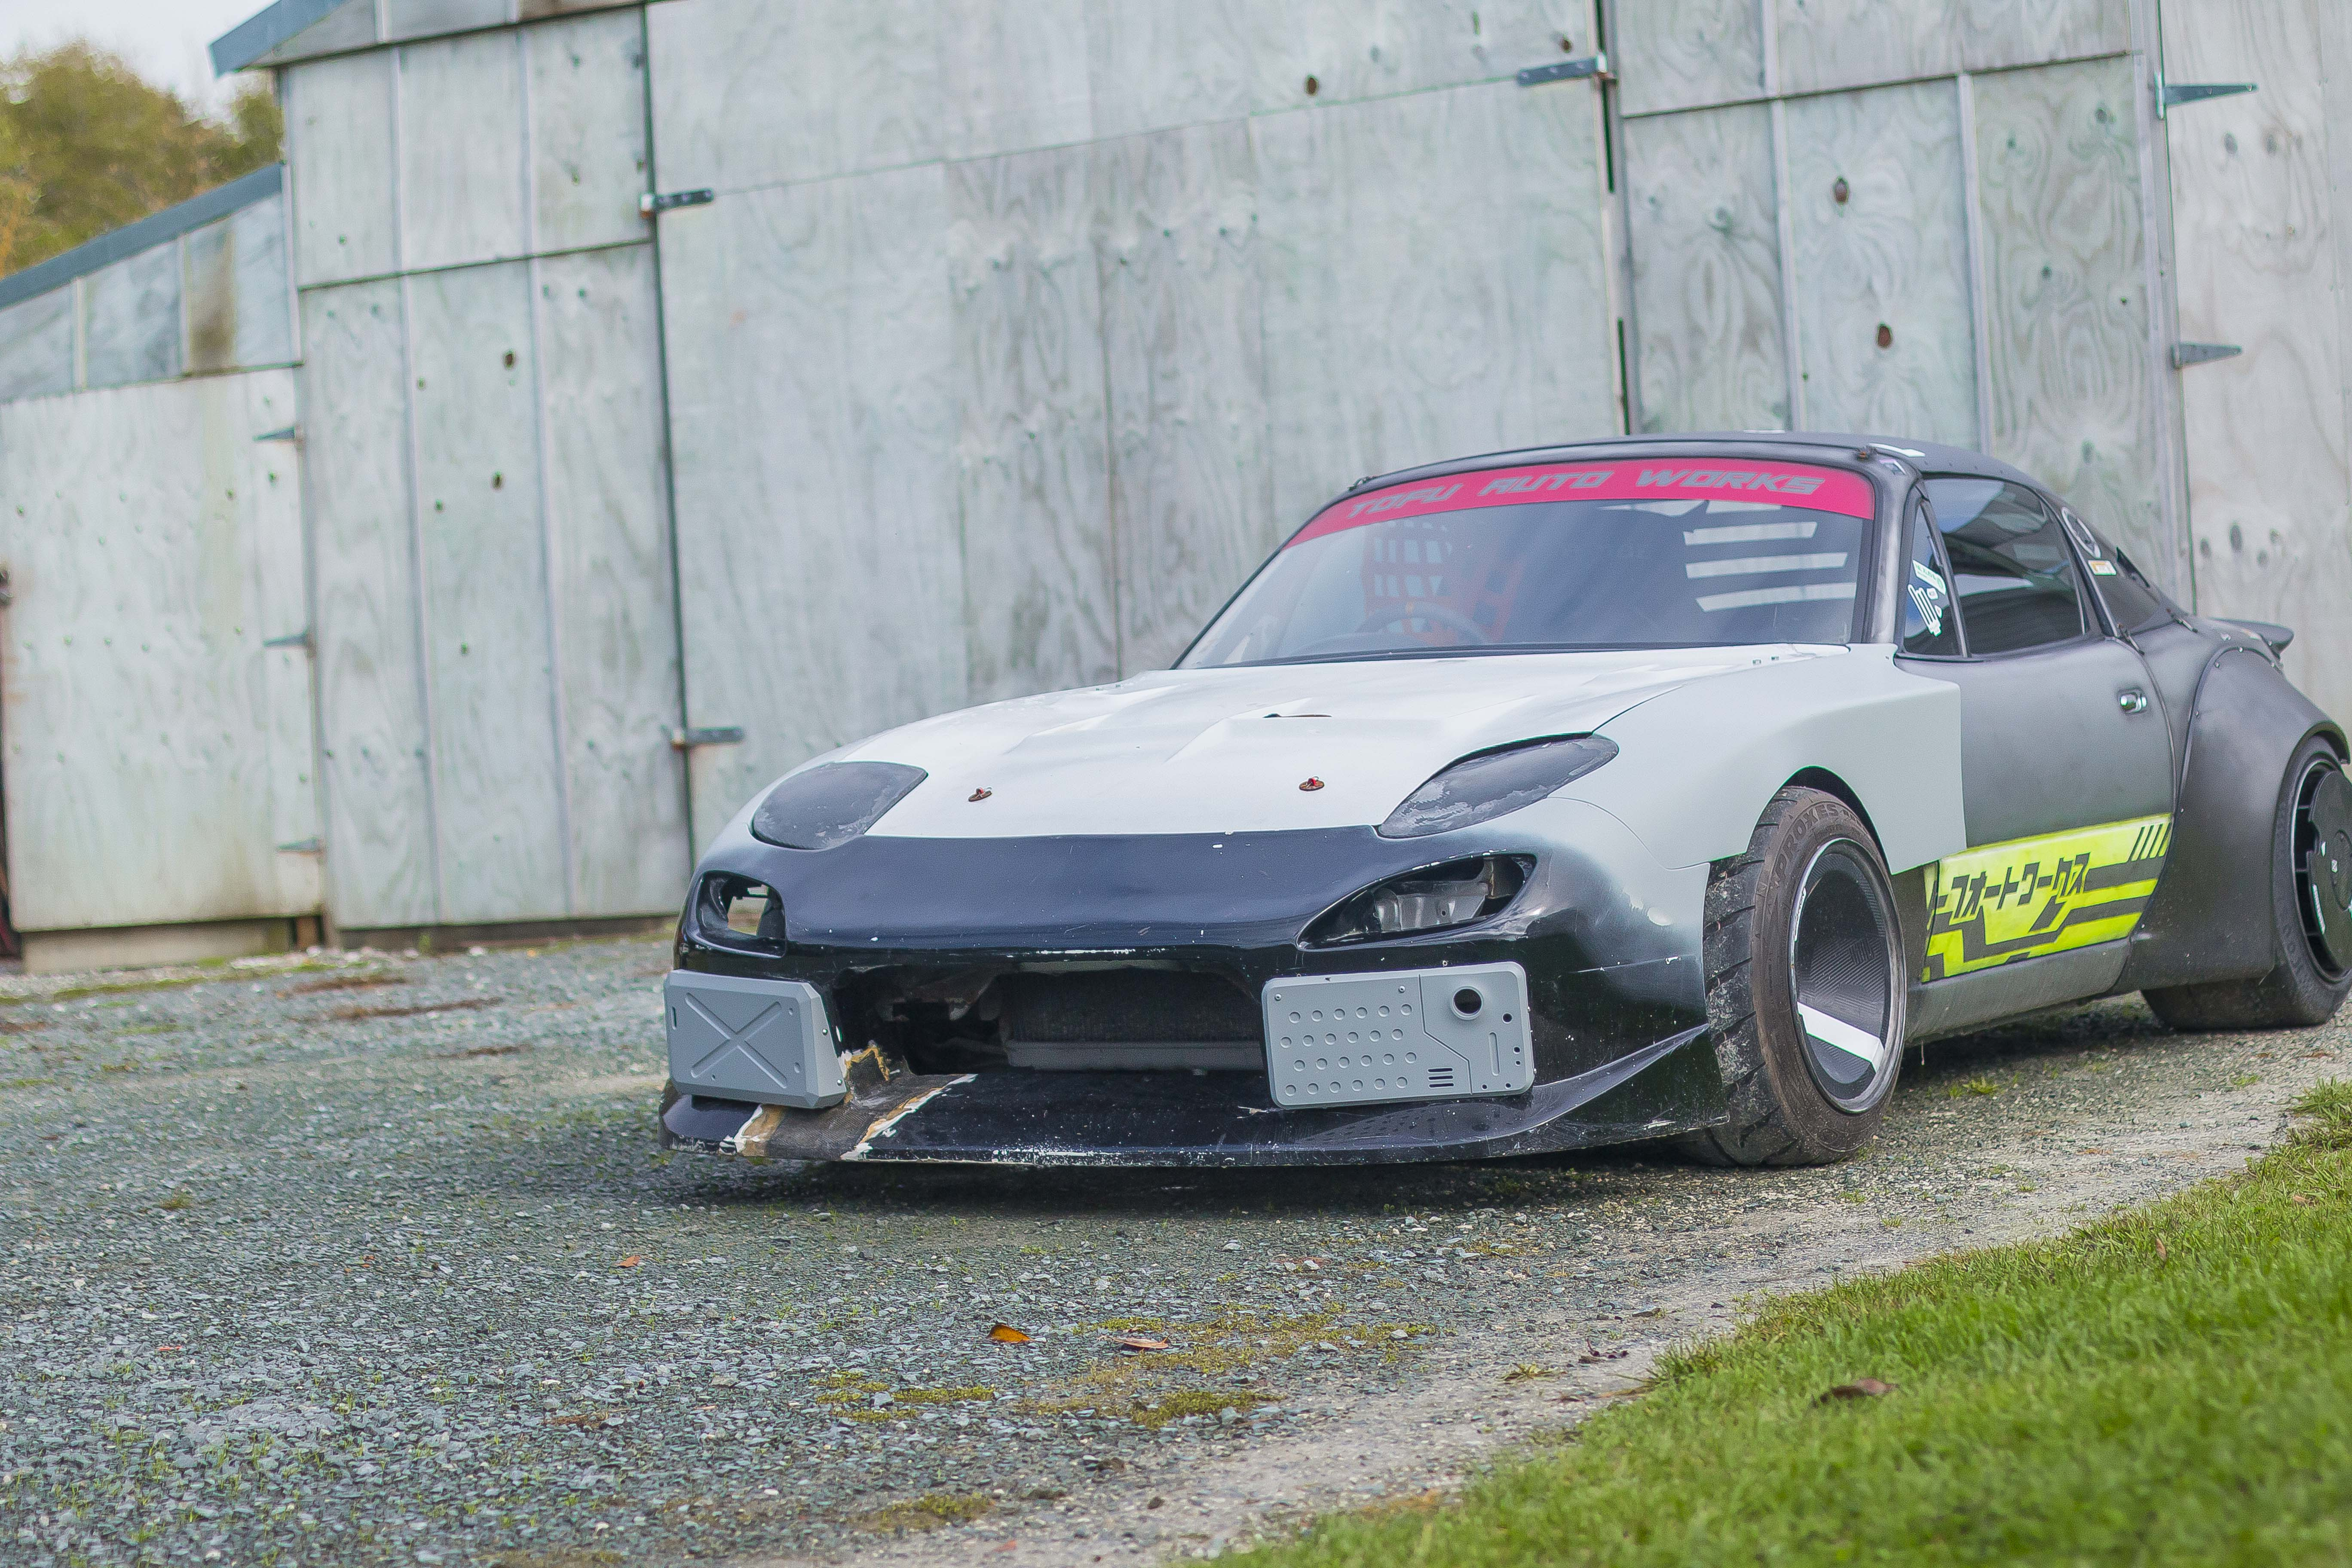
So a bit of a mixed update as I'm working on both of these builds simultaneously at the moment. Starting off with the Mx5. In the last post I had made the first of the two greebles for the front bumper.
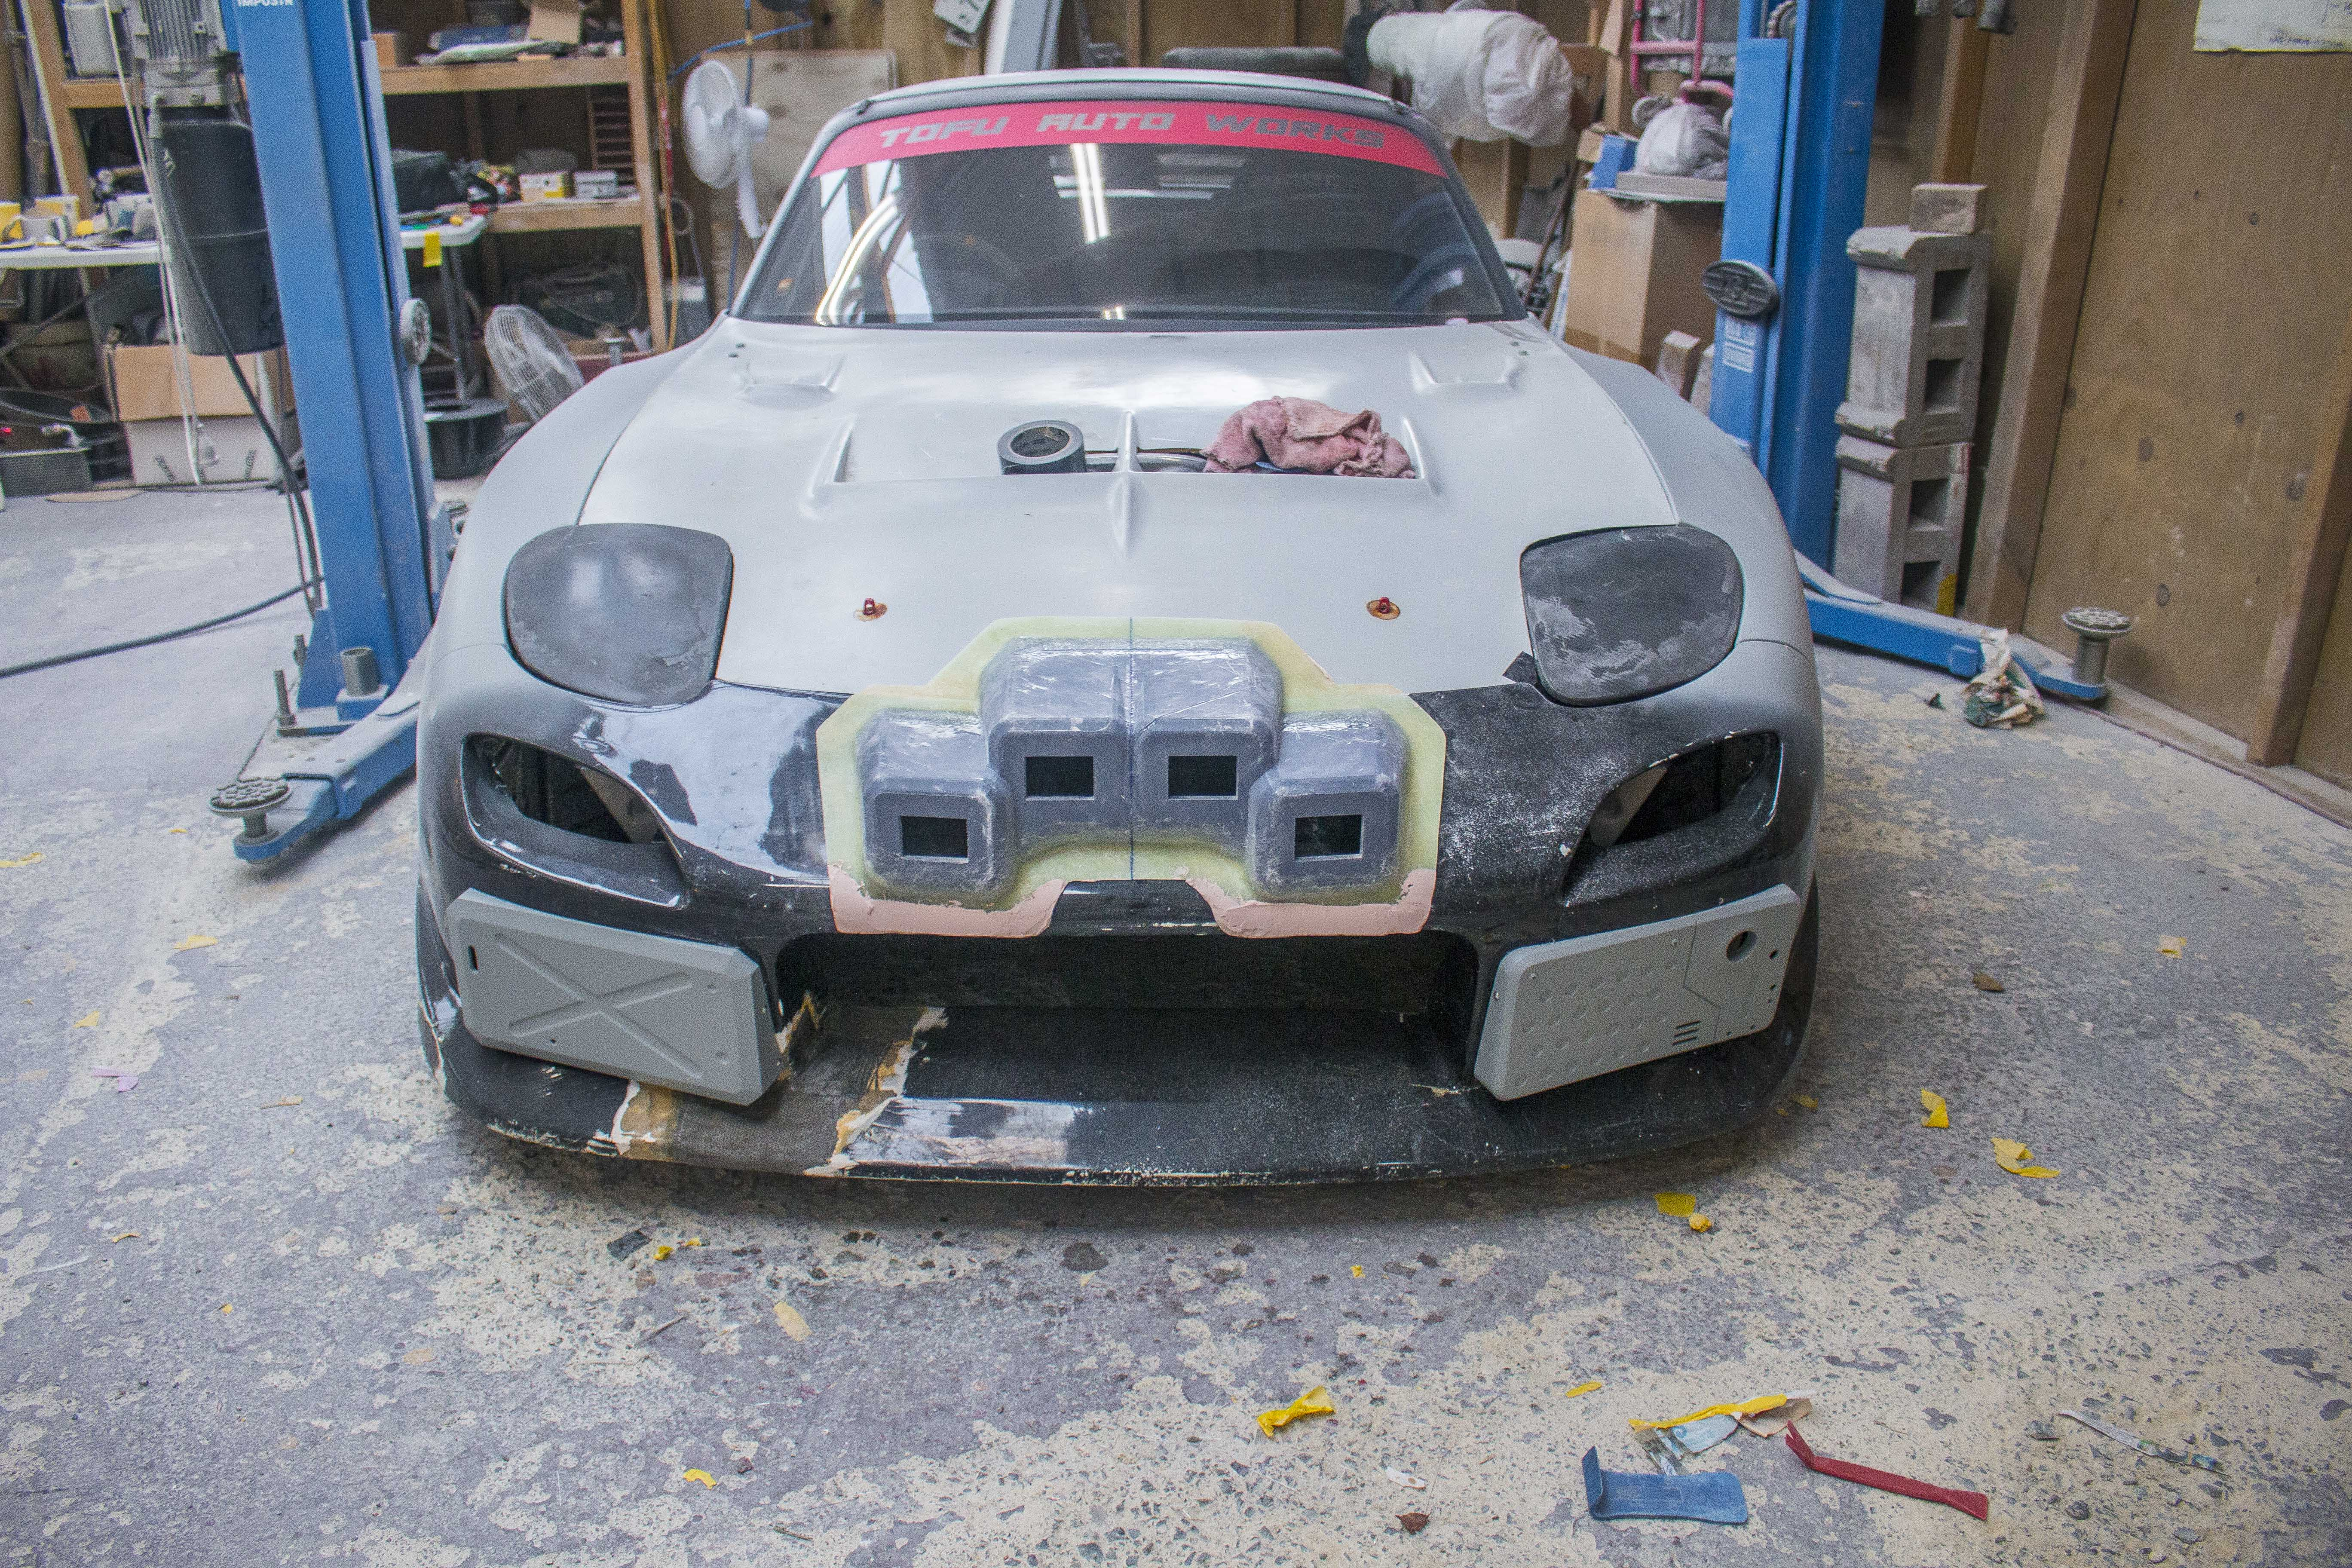
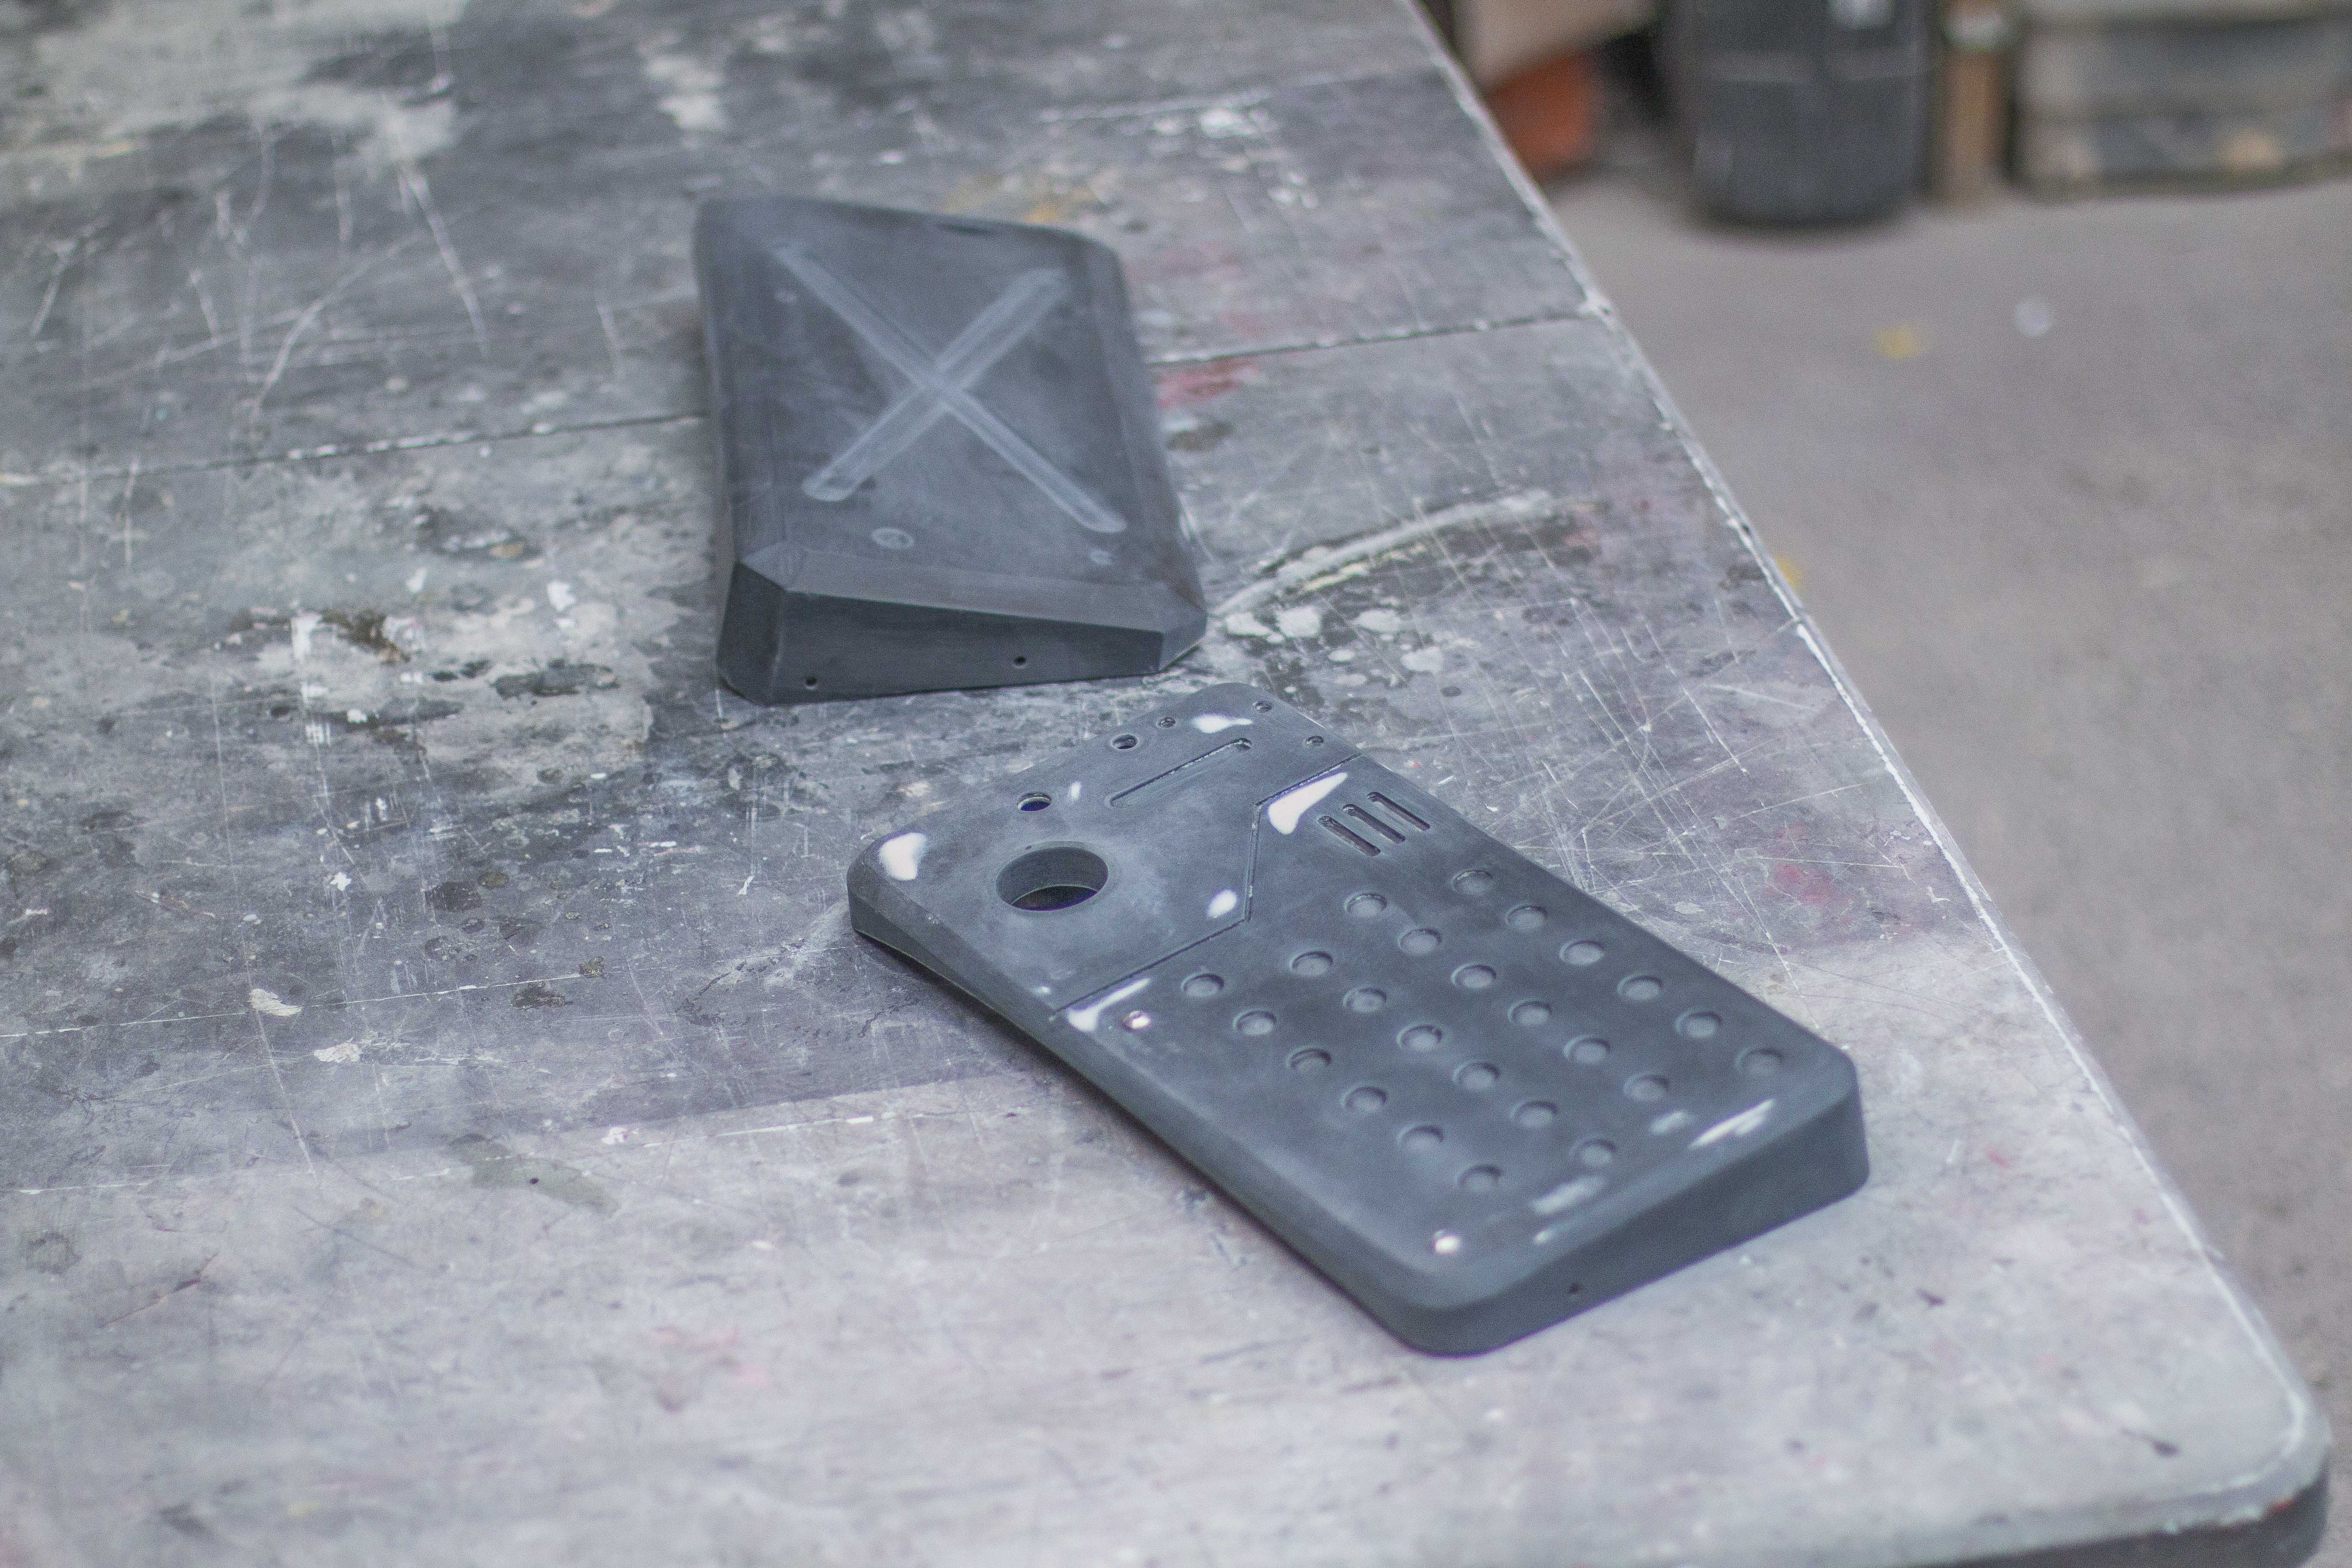
The second side followed the same process and I was able to finish it up pretty quick. My goal originally was to just keep these parts in the nice glossy black gelcoat finish but I had a few imperfections that I needed to sand out and even a few spots where the gelcoat had shrunk back because I'd put it on a bit too thick and in those areas I needed a few spots of filler.Because of this I opted to prime them so they were at least sealed and in one colour.
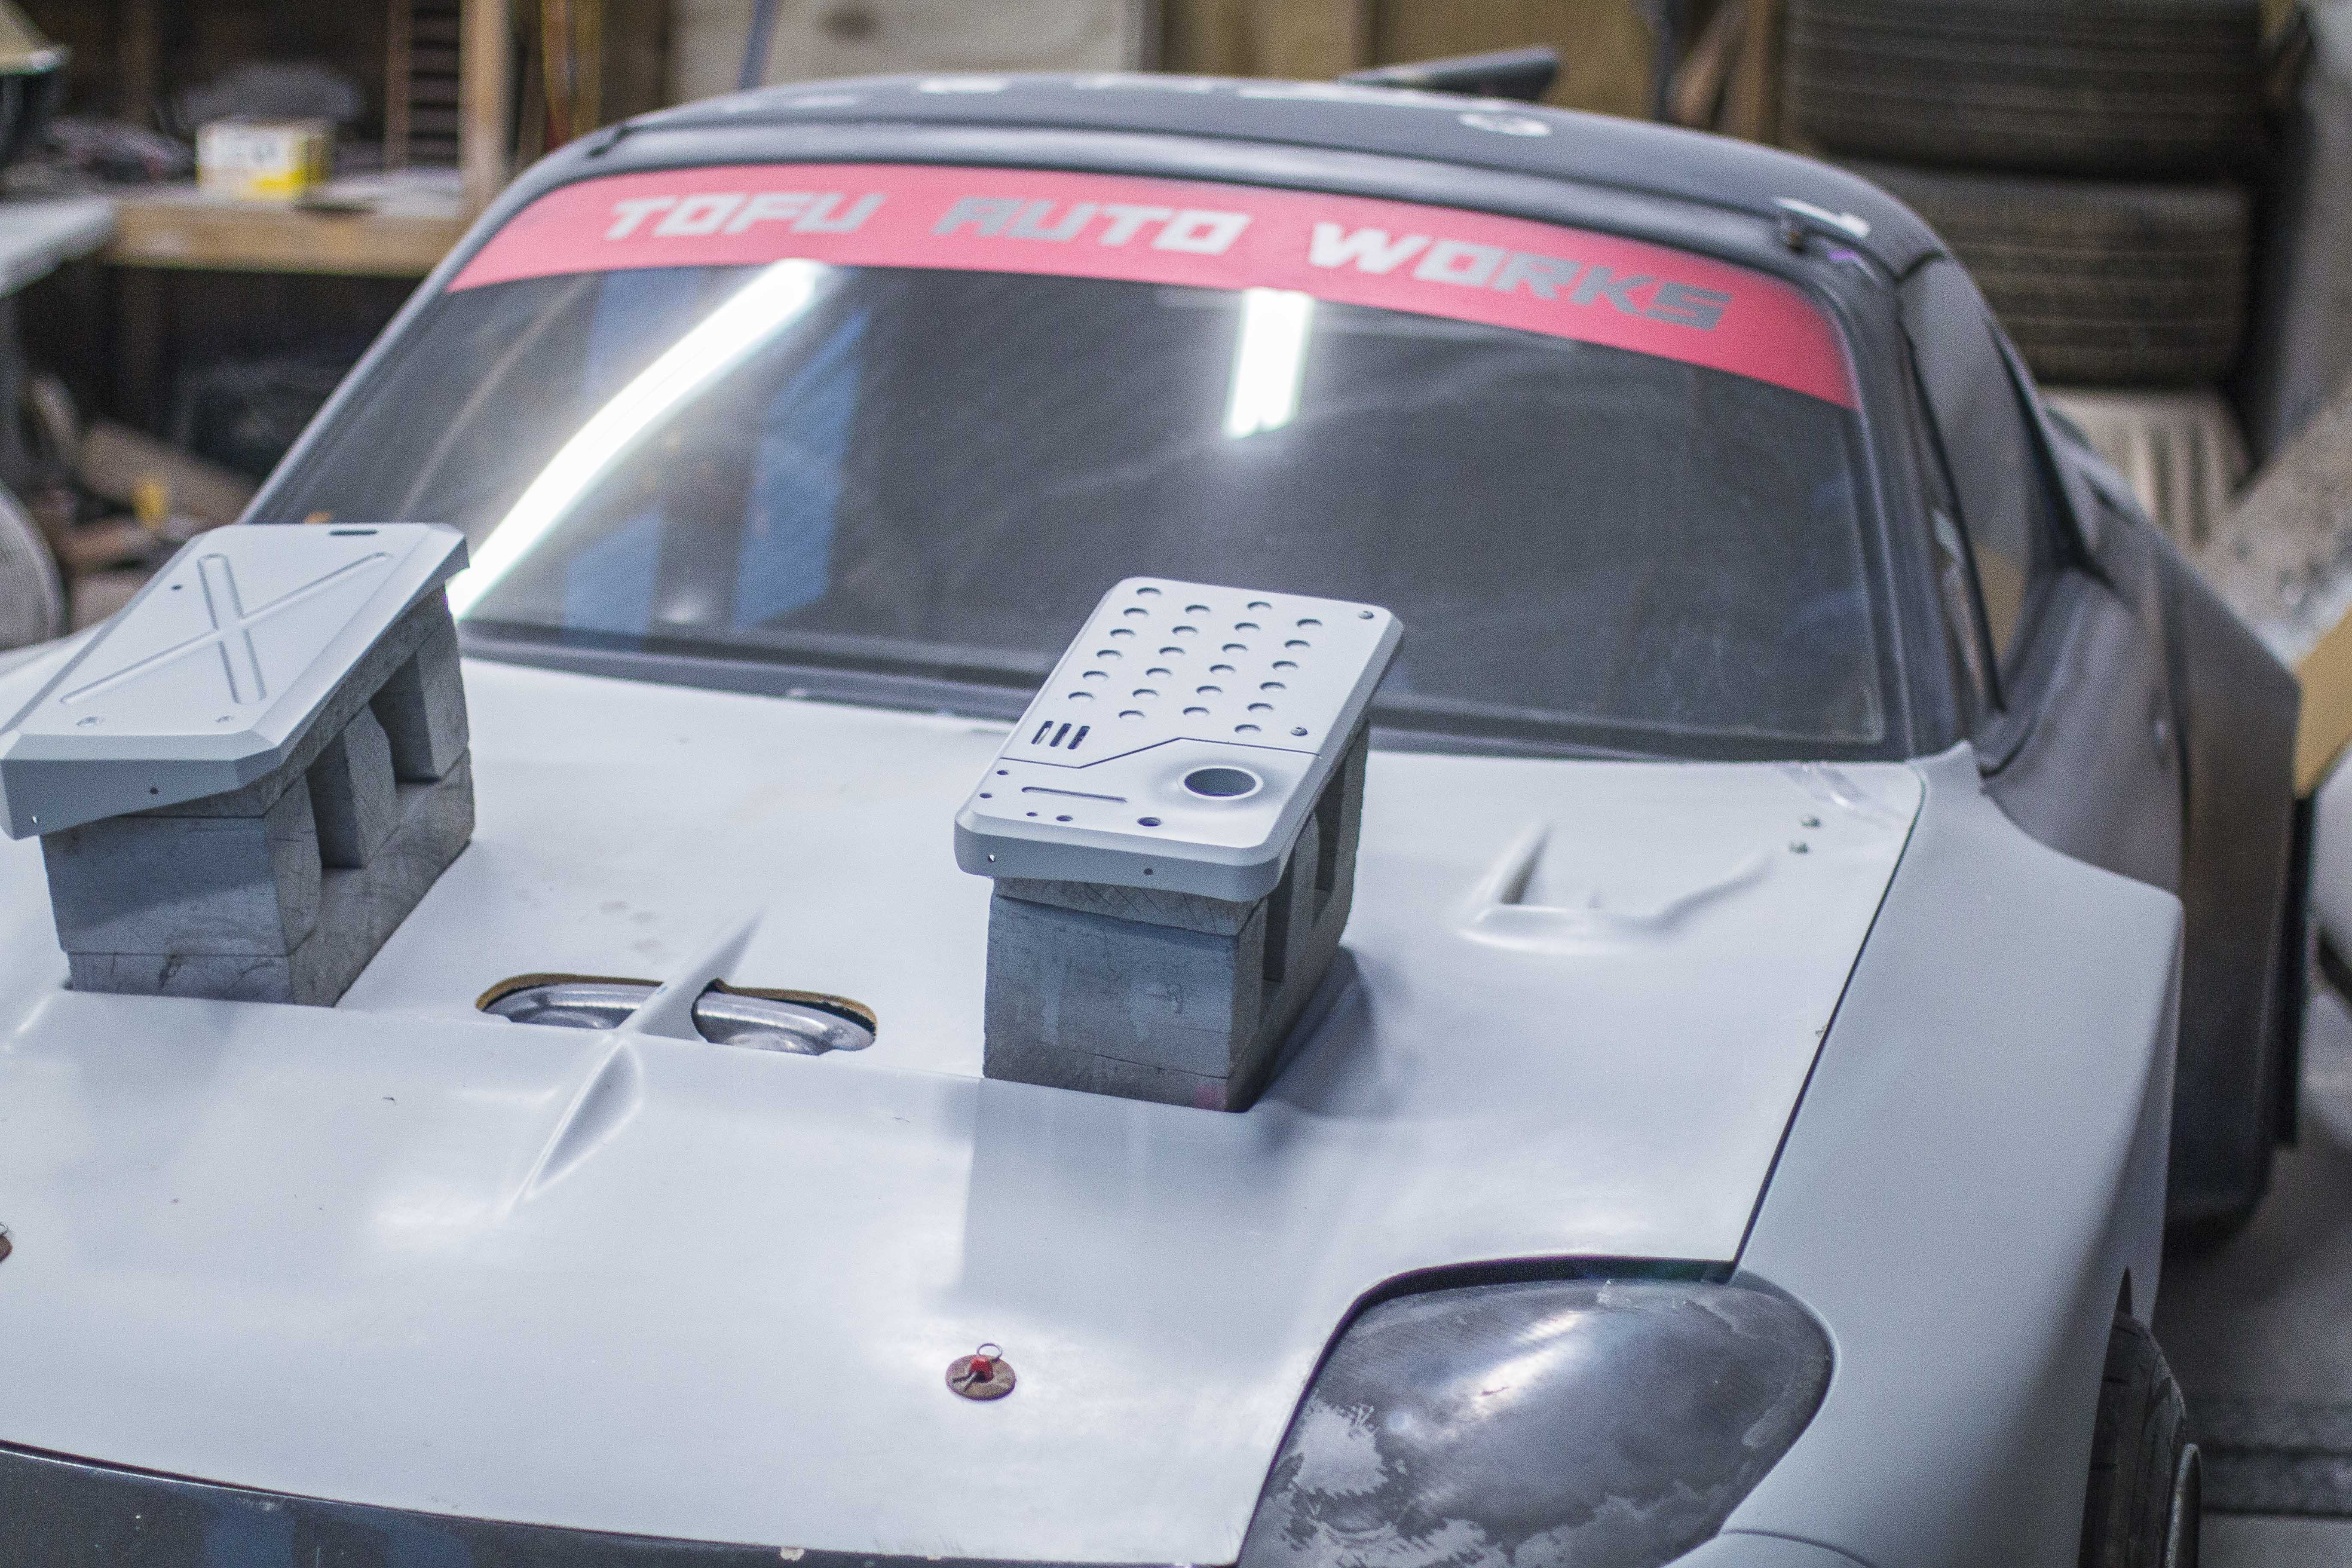
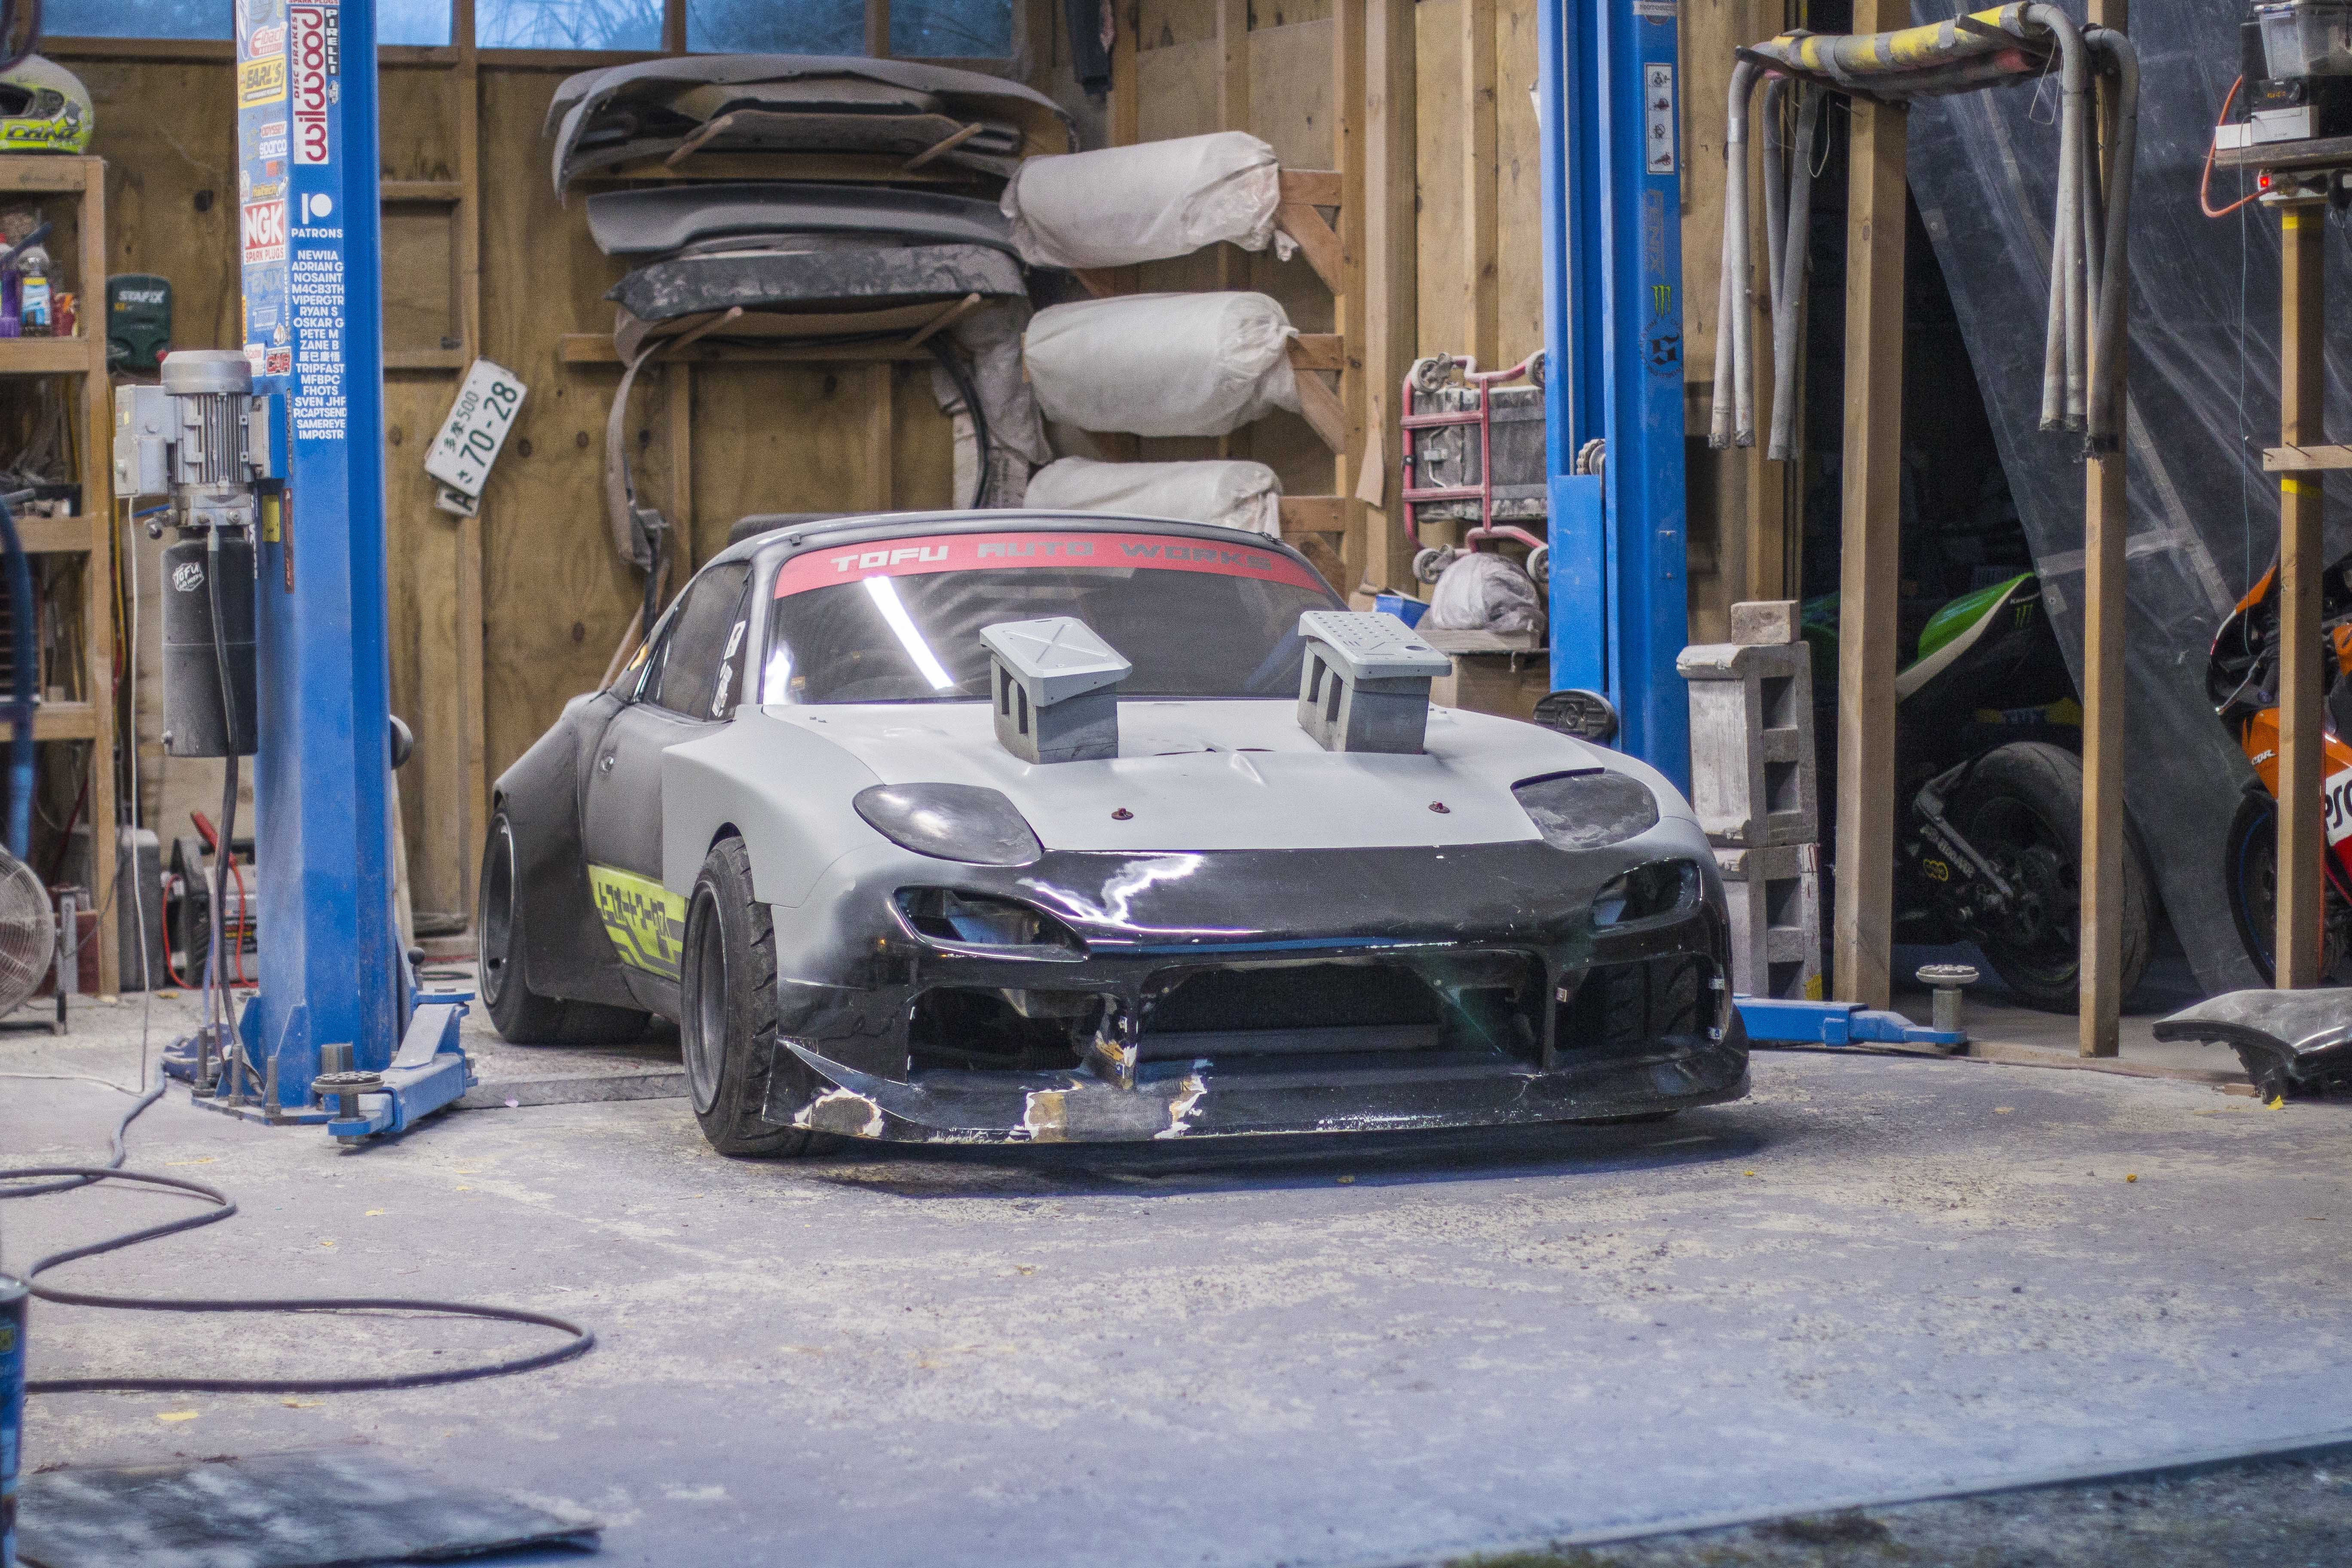
This garage is too small so I had to use the Mx5 as a drying rack while I worked on the Stagea parts on the other side of the two post.
If I'm honest here, I know how this is all going to look when it's done, but as it sits right now I don't really love it. I really wanted to keep these greebles black so they would blend in with the bumper until it could all be painted, the primer makes them stand out a little too much for my tastes. Continuing on with the progress on this Mx5, we move on to the next part of this front end which is the rally light pod for the front. On the old itteration of this build I'd used the headrest from my car creeper as a light bar and bolted 4 LED spot lights to it for a DIY light bar, but for this version I wanted something a little more finished looking.
I'll throw that sketch in again for a quick refresher.
So as you can see, I wanted a more rally inspired pod for the front, rather than just the lights hanging out.
It would have made more sense from the cyberpunk standpoint for this to just be 4 LEDs bolted to a scrap piece of metal, but my thoughts here is that these would have been off the shelf kits you could buy for these cars to upgrade them for working in the smoggy / dusty environments of the post apocalyptic future. And so having this look more sort of tailor made for the vehicle felt alright. An alternate angle could have been to think that this was part of the kit fitted to this car when it was a prototype race car before being abandoned and left in a junkyard until the current owner found it and repurposed it as a courier / getaway vehicle. With the backstory out of the way. I tested out a lot of different designs, starting out by trying to replicate my sketch perfectly, and then realizing that I didn't like the proportions of it in 3 dimensions.
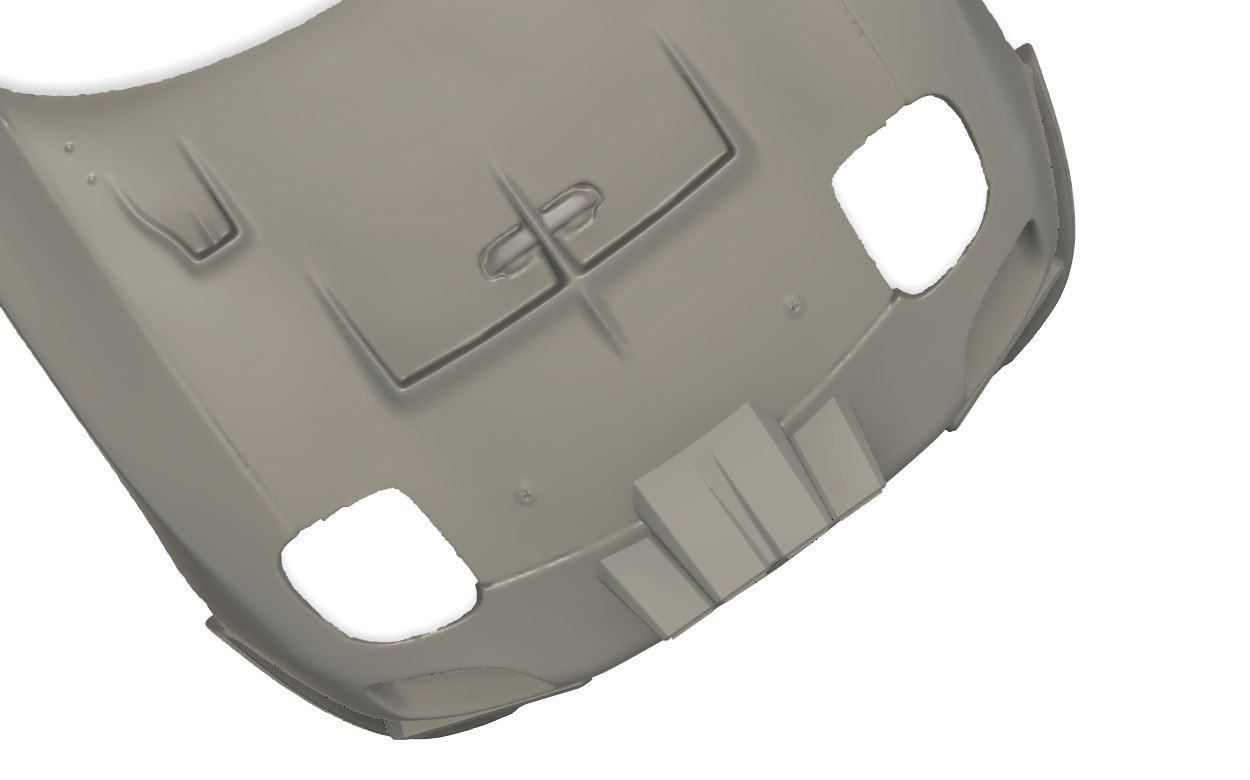
I tested a lot of iterations. Stacked lights with 2 on top and 2 underneath, realized that was too skinny. I tried the 2 center lights further forward and the outer lights further back but that was too pointy.
For a while the leading design was all 4 lights in a line, this was most similar to the common rally light pods you'll have seen in group B and modern light bars and I was very close to picking that, but it just felt to safe and I had in my head the idea of the outer lights being slightly further forward so I played with it until I ended up with this.
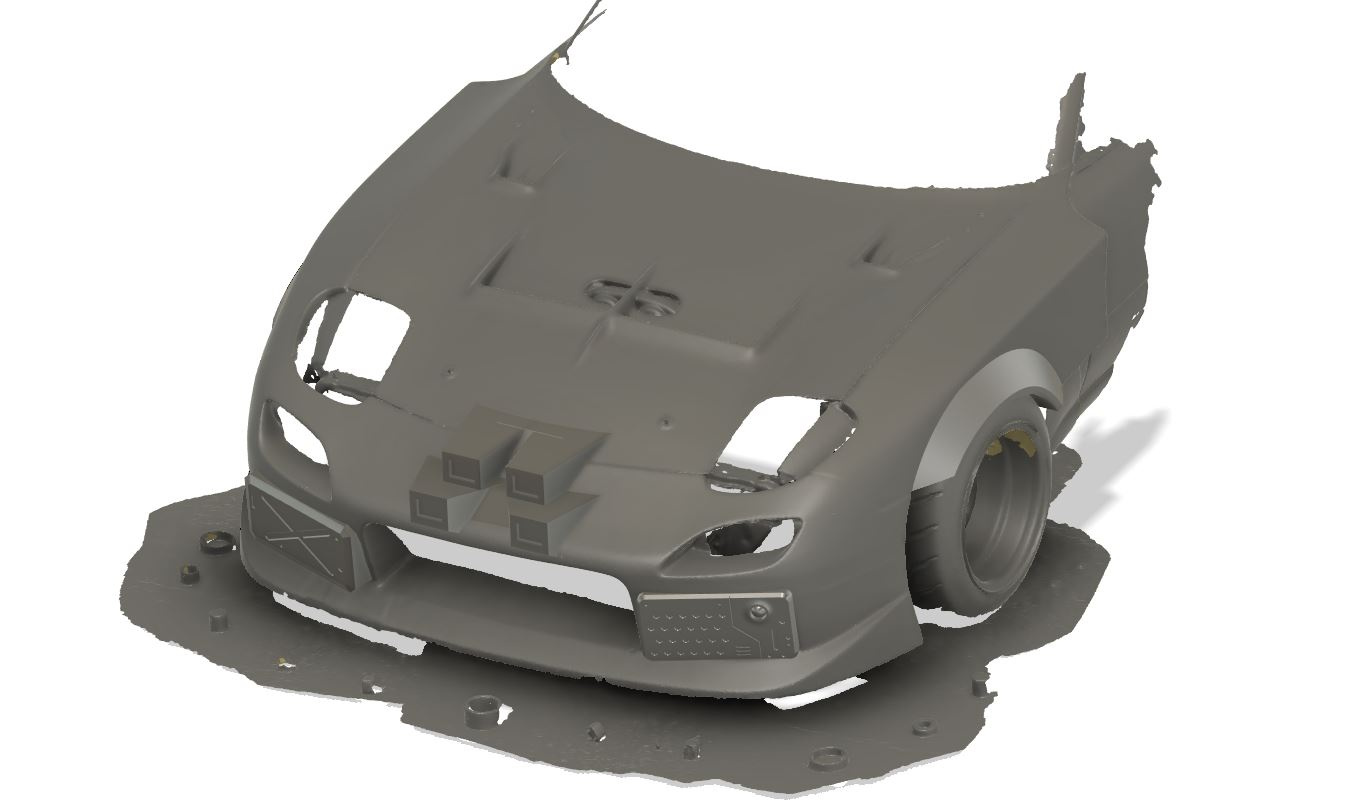
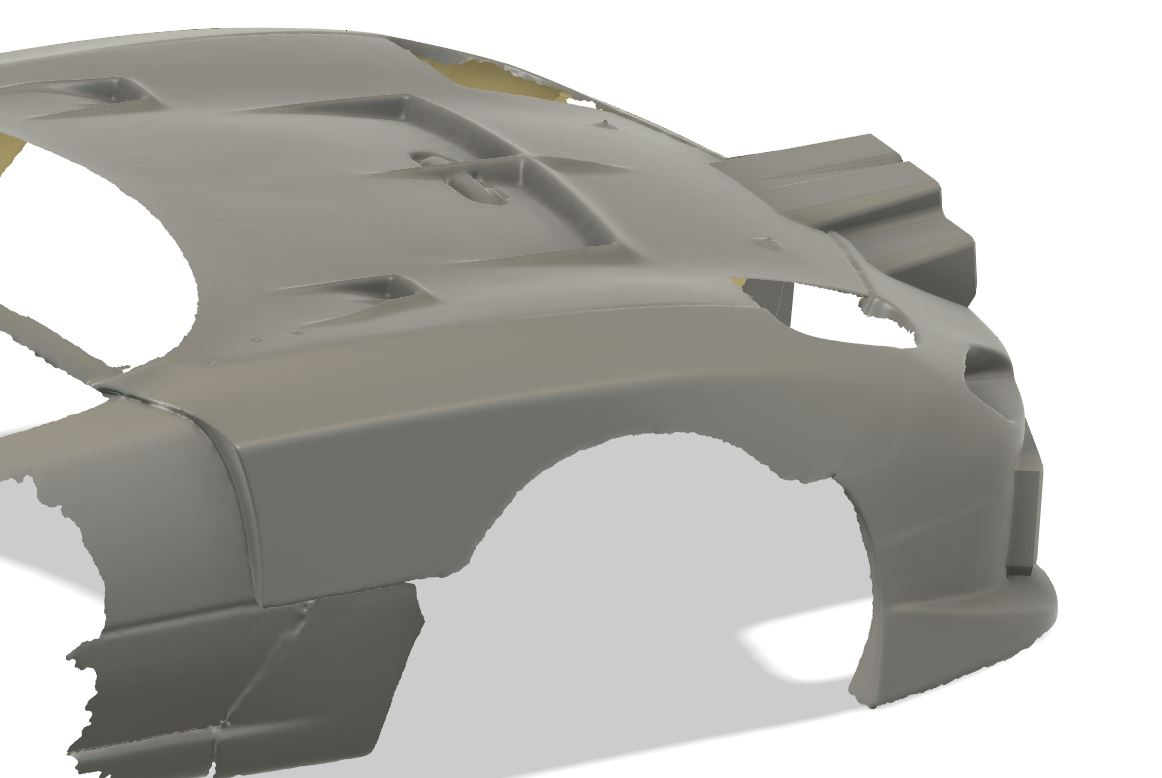
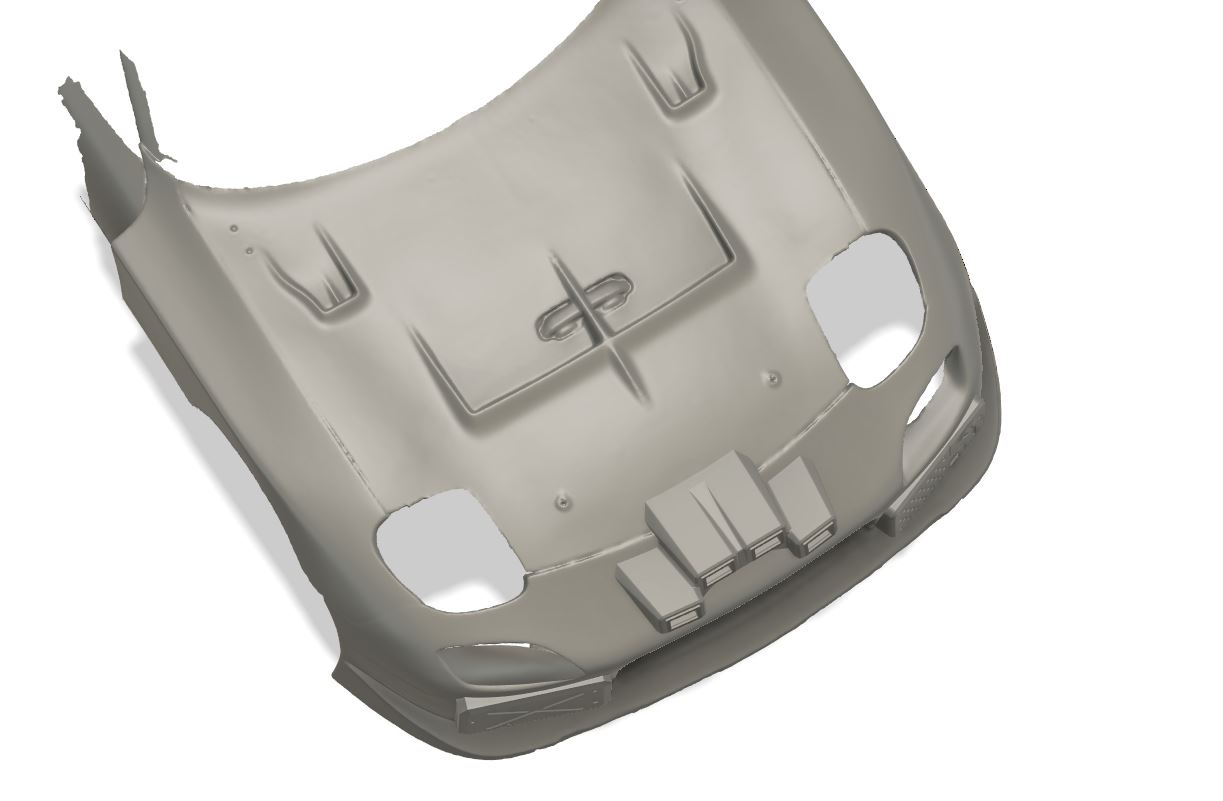
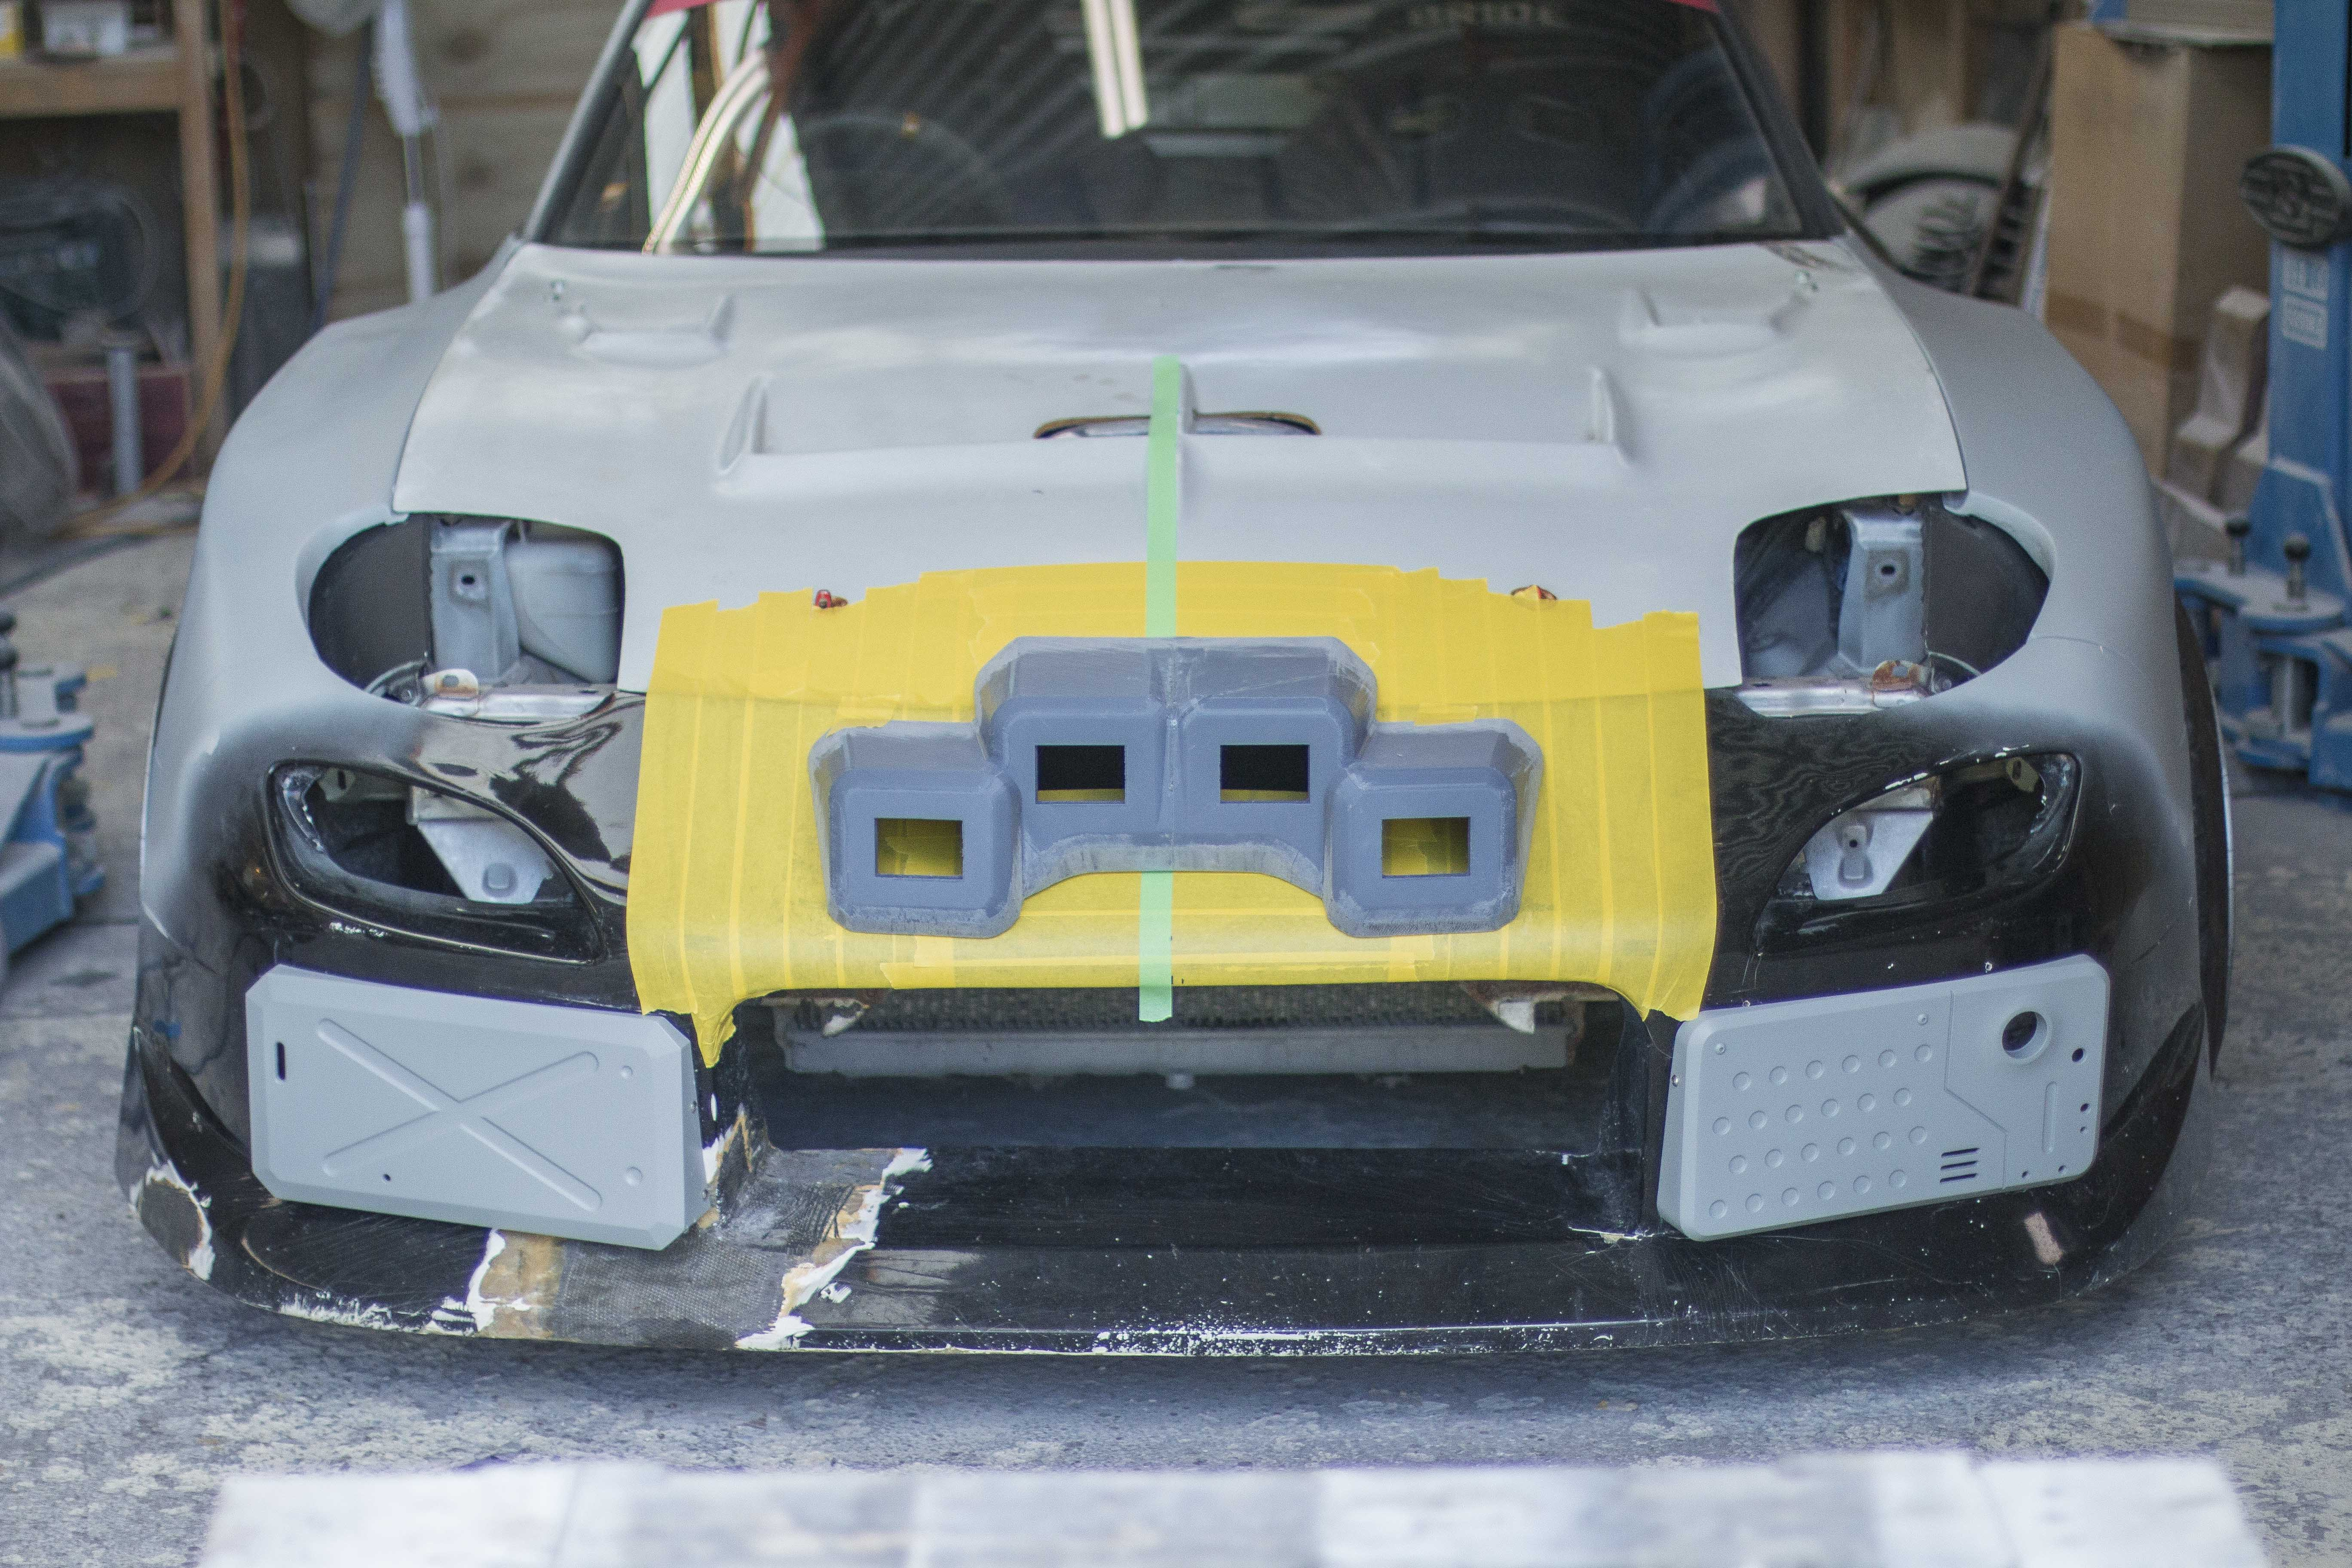
I'm happy with this design, it felt like the best mix of everything I was after and it made the most of the fact that since I'm 3D printing the moulds I can make it as complex as I like. I threw a slight angle on the outer two lights and set the middle ones about 50mm back giving it a very unique shape that I still think looks pretty good.There is still a splitter, bash bar, extra sensor and a whole bunch of other things to add to this front so even if it looks a little strange right now it will hopefully all tie together nicely once it's done.With the CAD out of the way I used the same trick from the front greebles of overlaying the part on the scan file and then cutting it where it intersects to give me the perfect matching contour of the bumper, leaving me with a part that I could then print out a mould of.
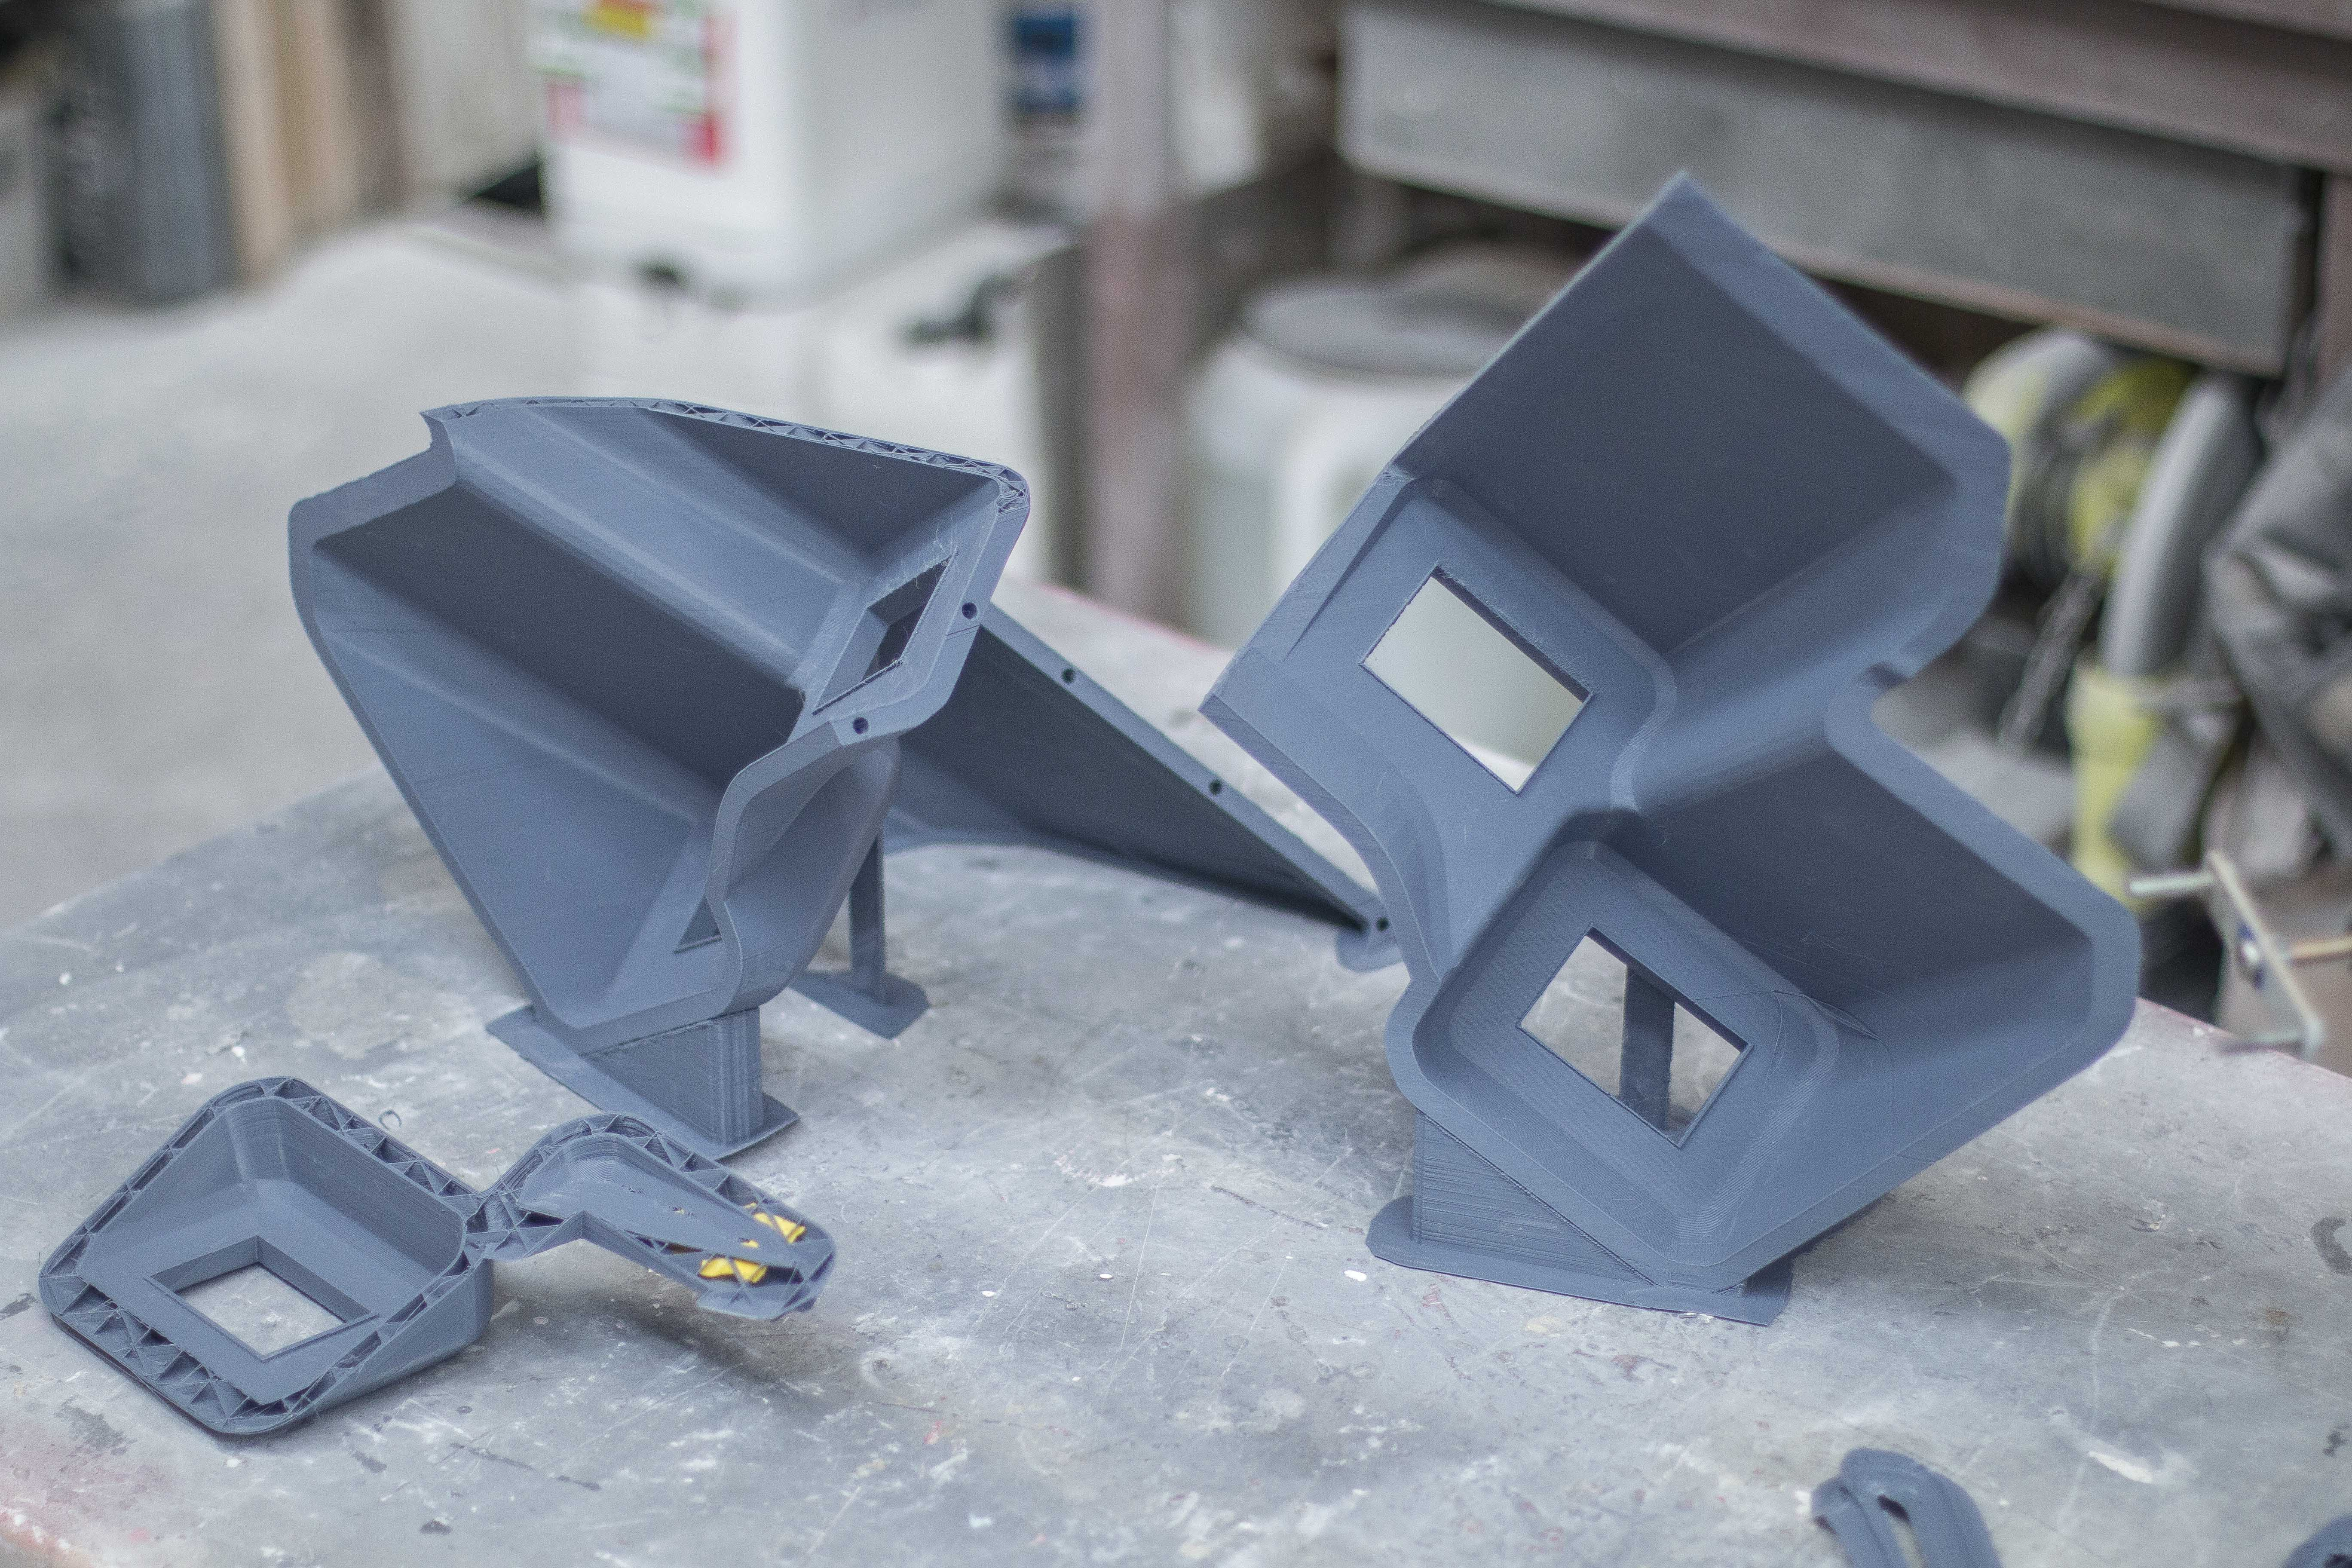
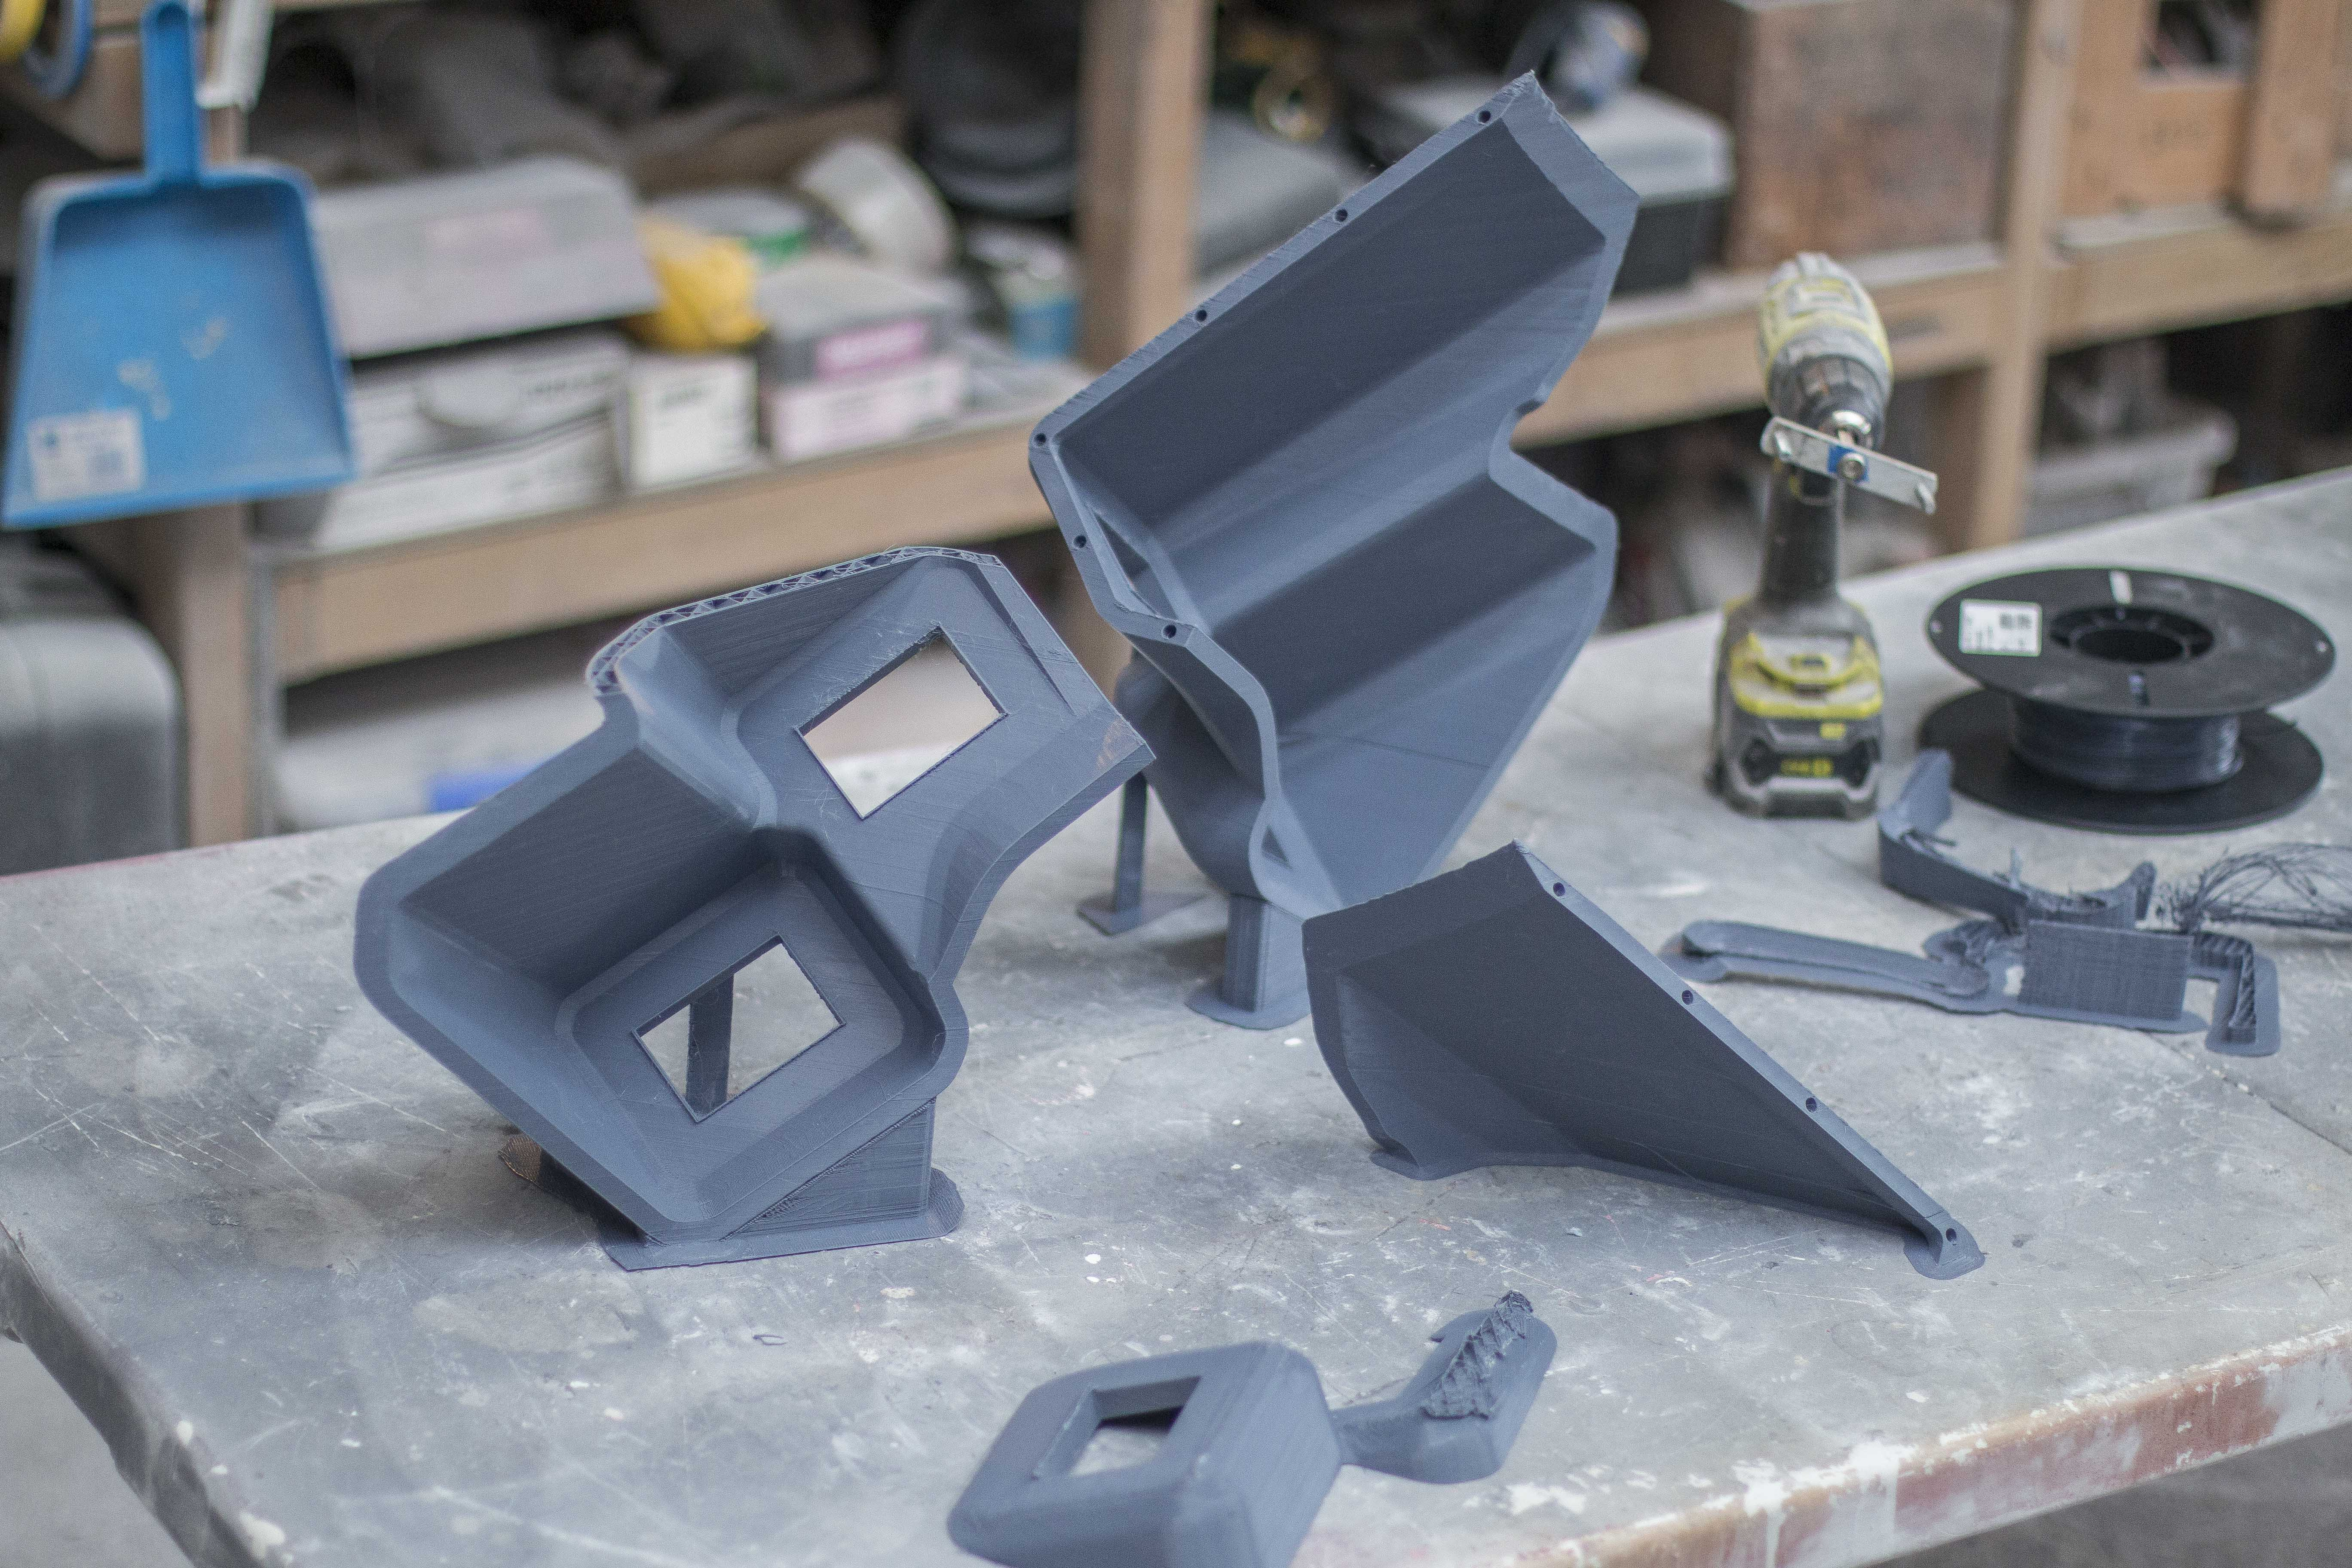
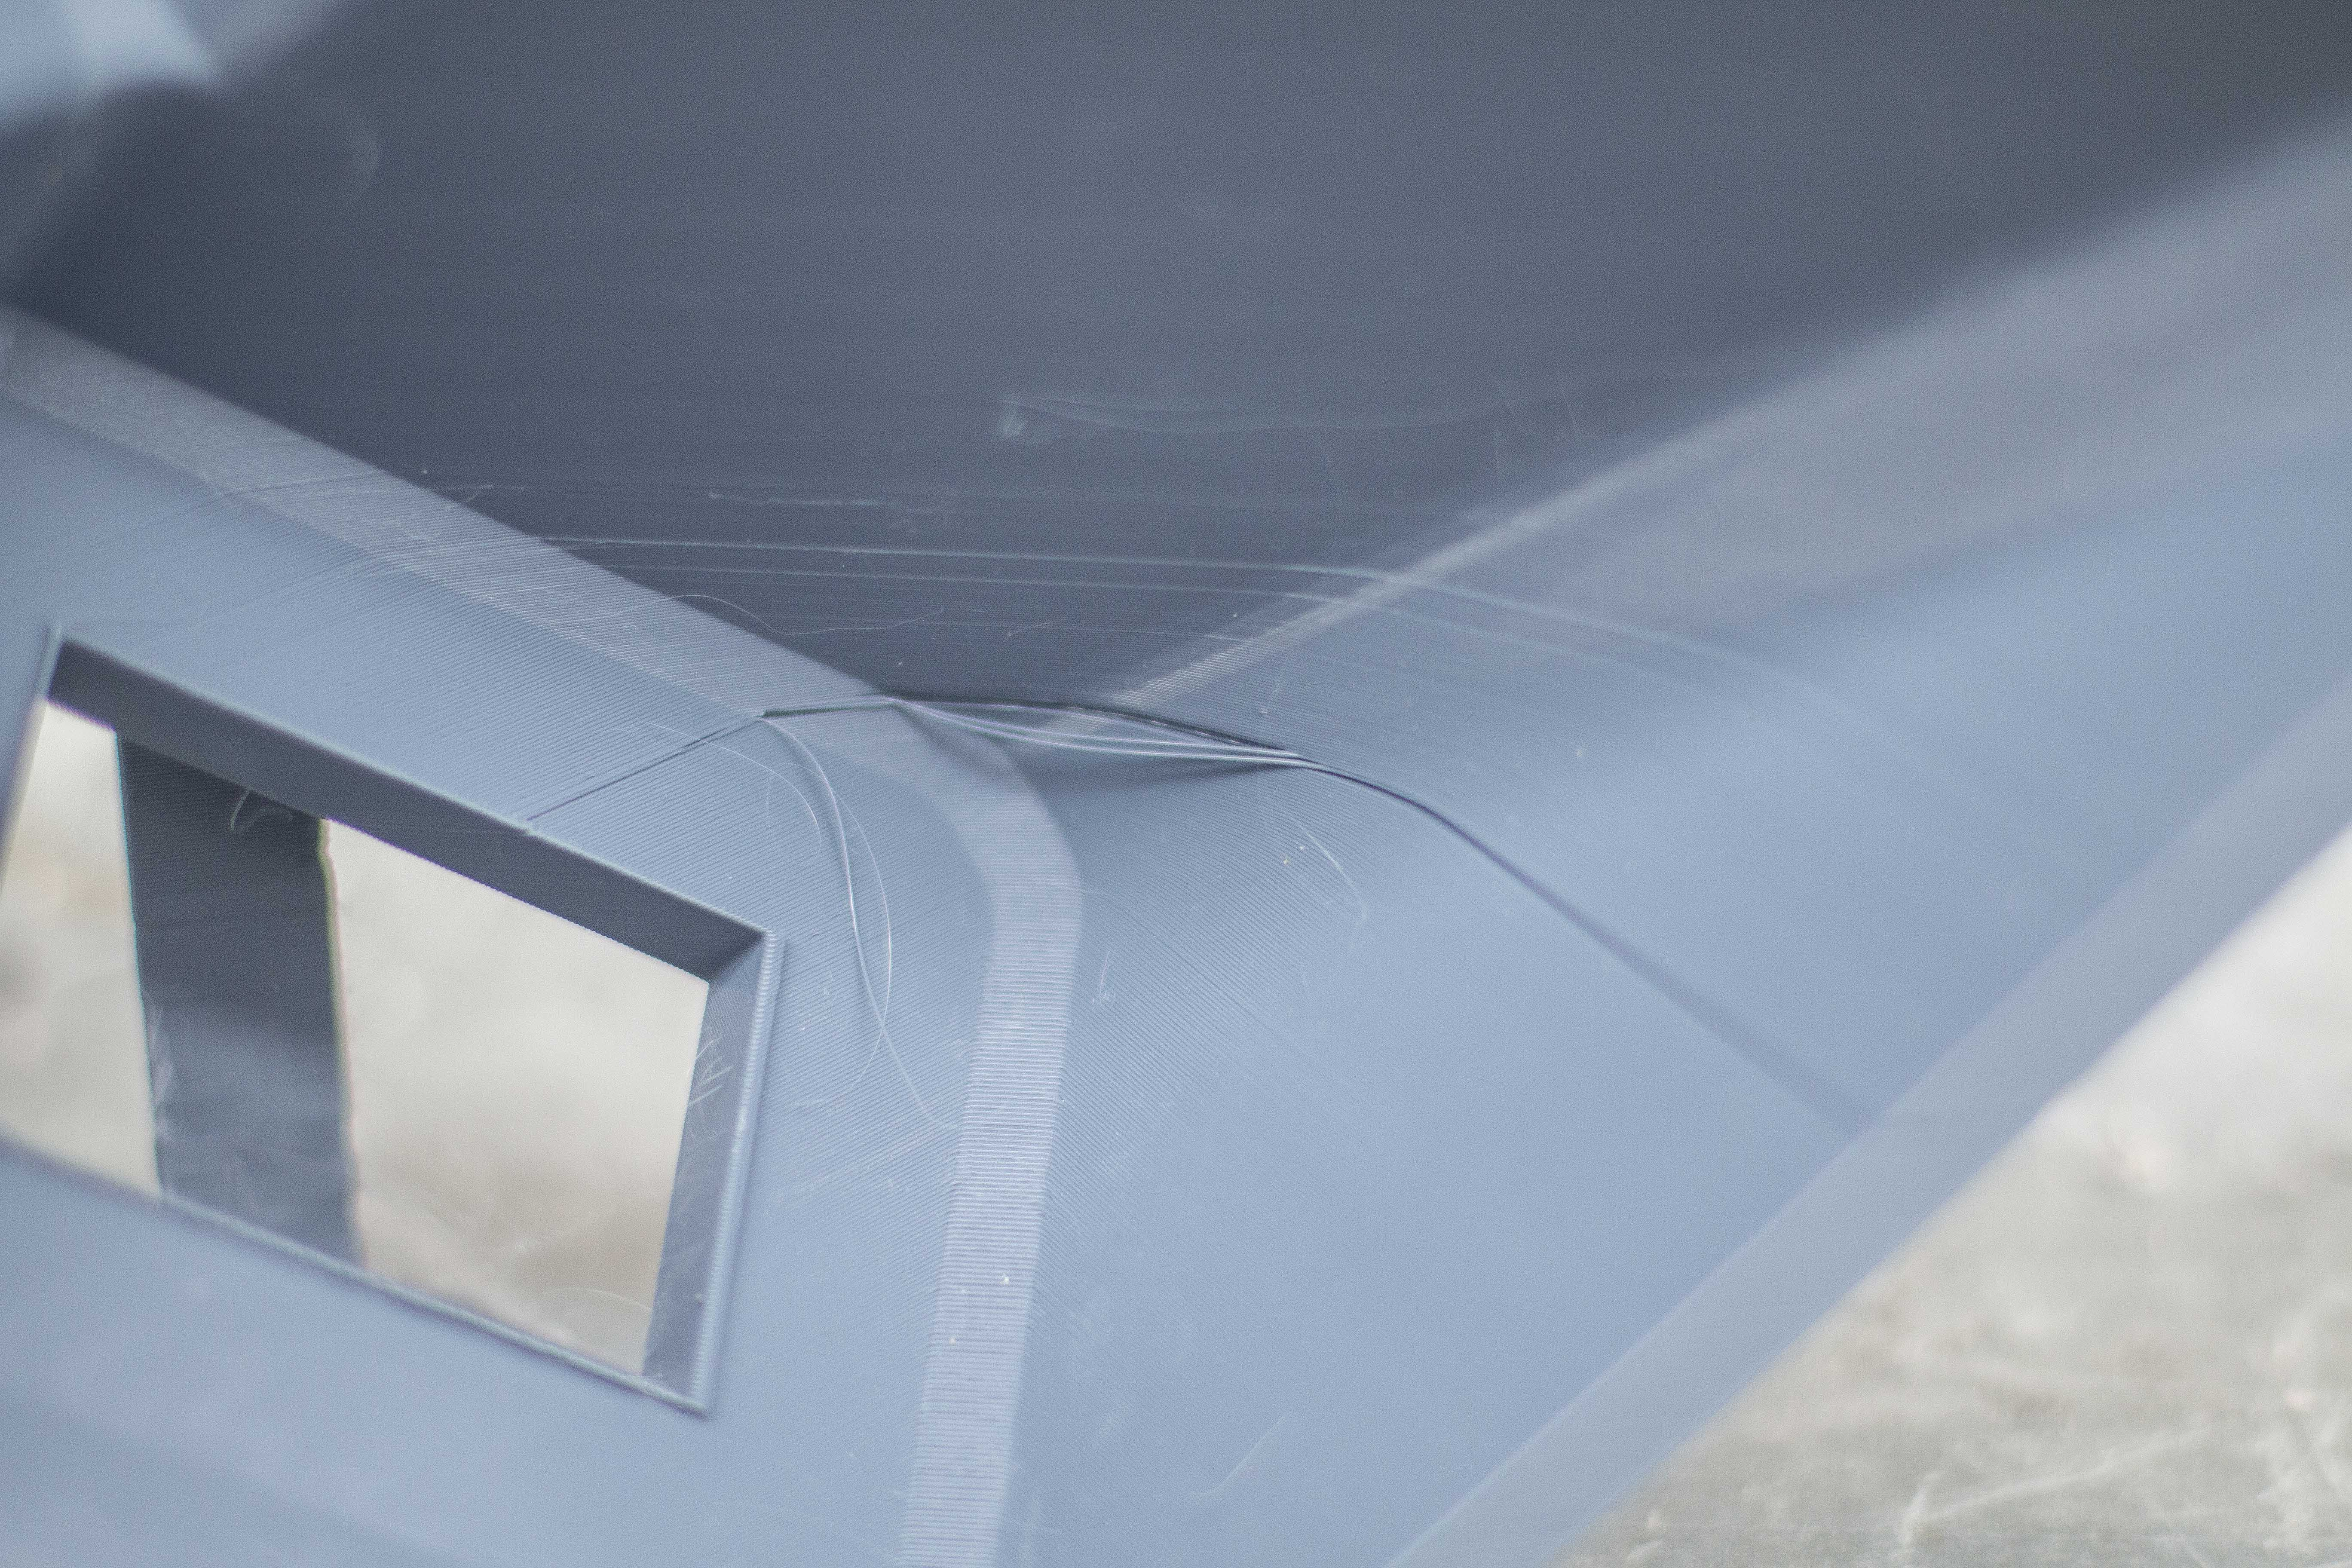
I had no luck with these prints. Every one of them failed in some way and I'm almost certain it's because of the stupid new cardboard spools that eSun is using. They are way too tight and I had 5 different cases printing these where the filament wouldn't come off the spool and it ended up pulling the entire roll into the lid of my dryer box, jamming it and stopping from printing. I was able to salvage the prints with super glue and just printing it off from the failed layer but it's so annoying that I have to respool all my new filament from the cardboard rolls onto one of my old plastic ones. Oh well.
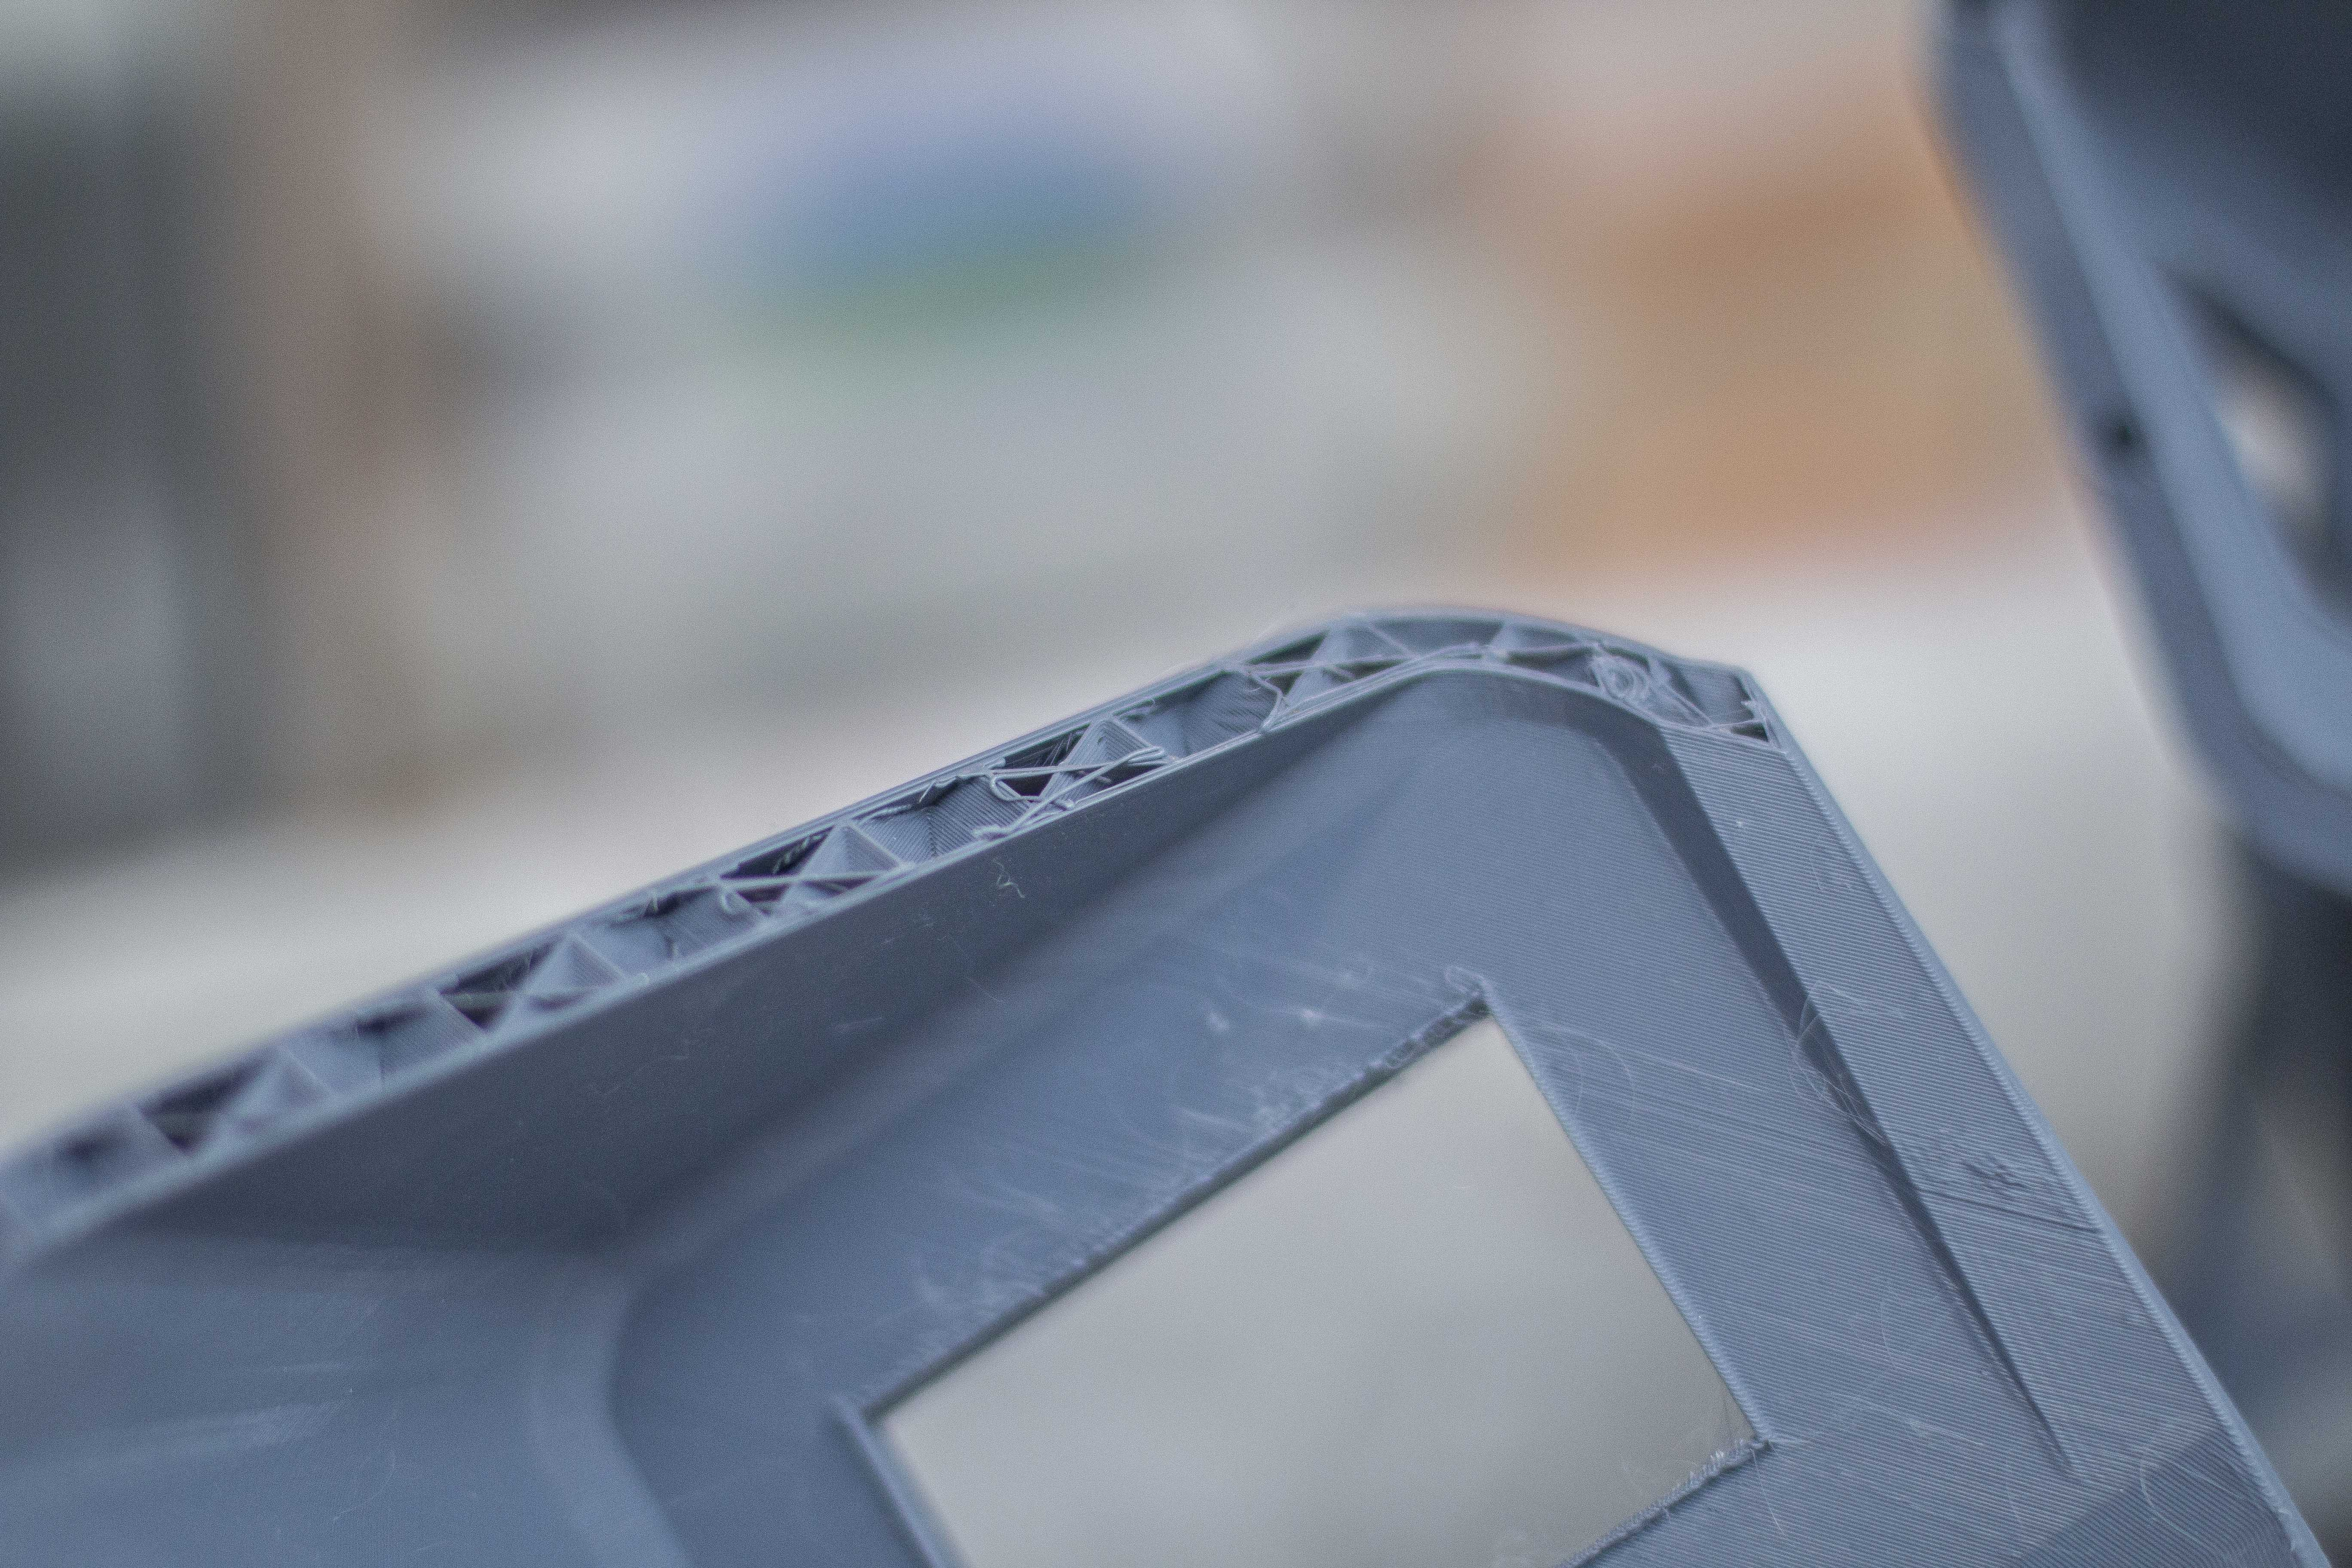
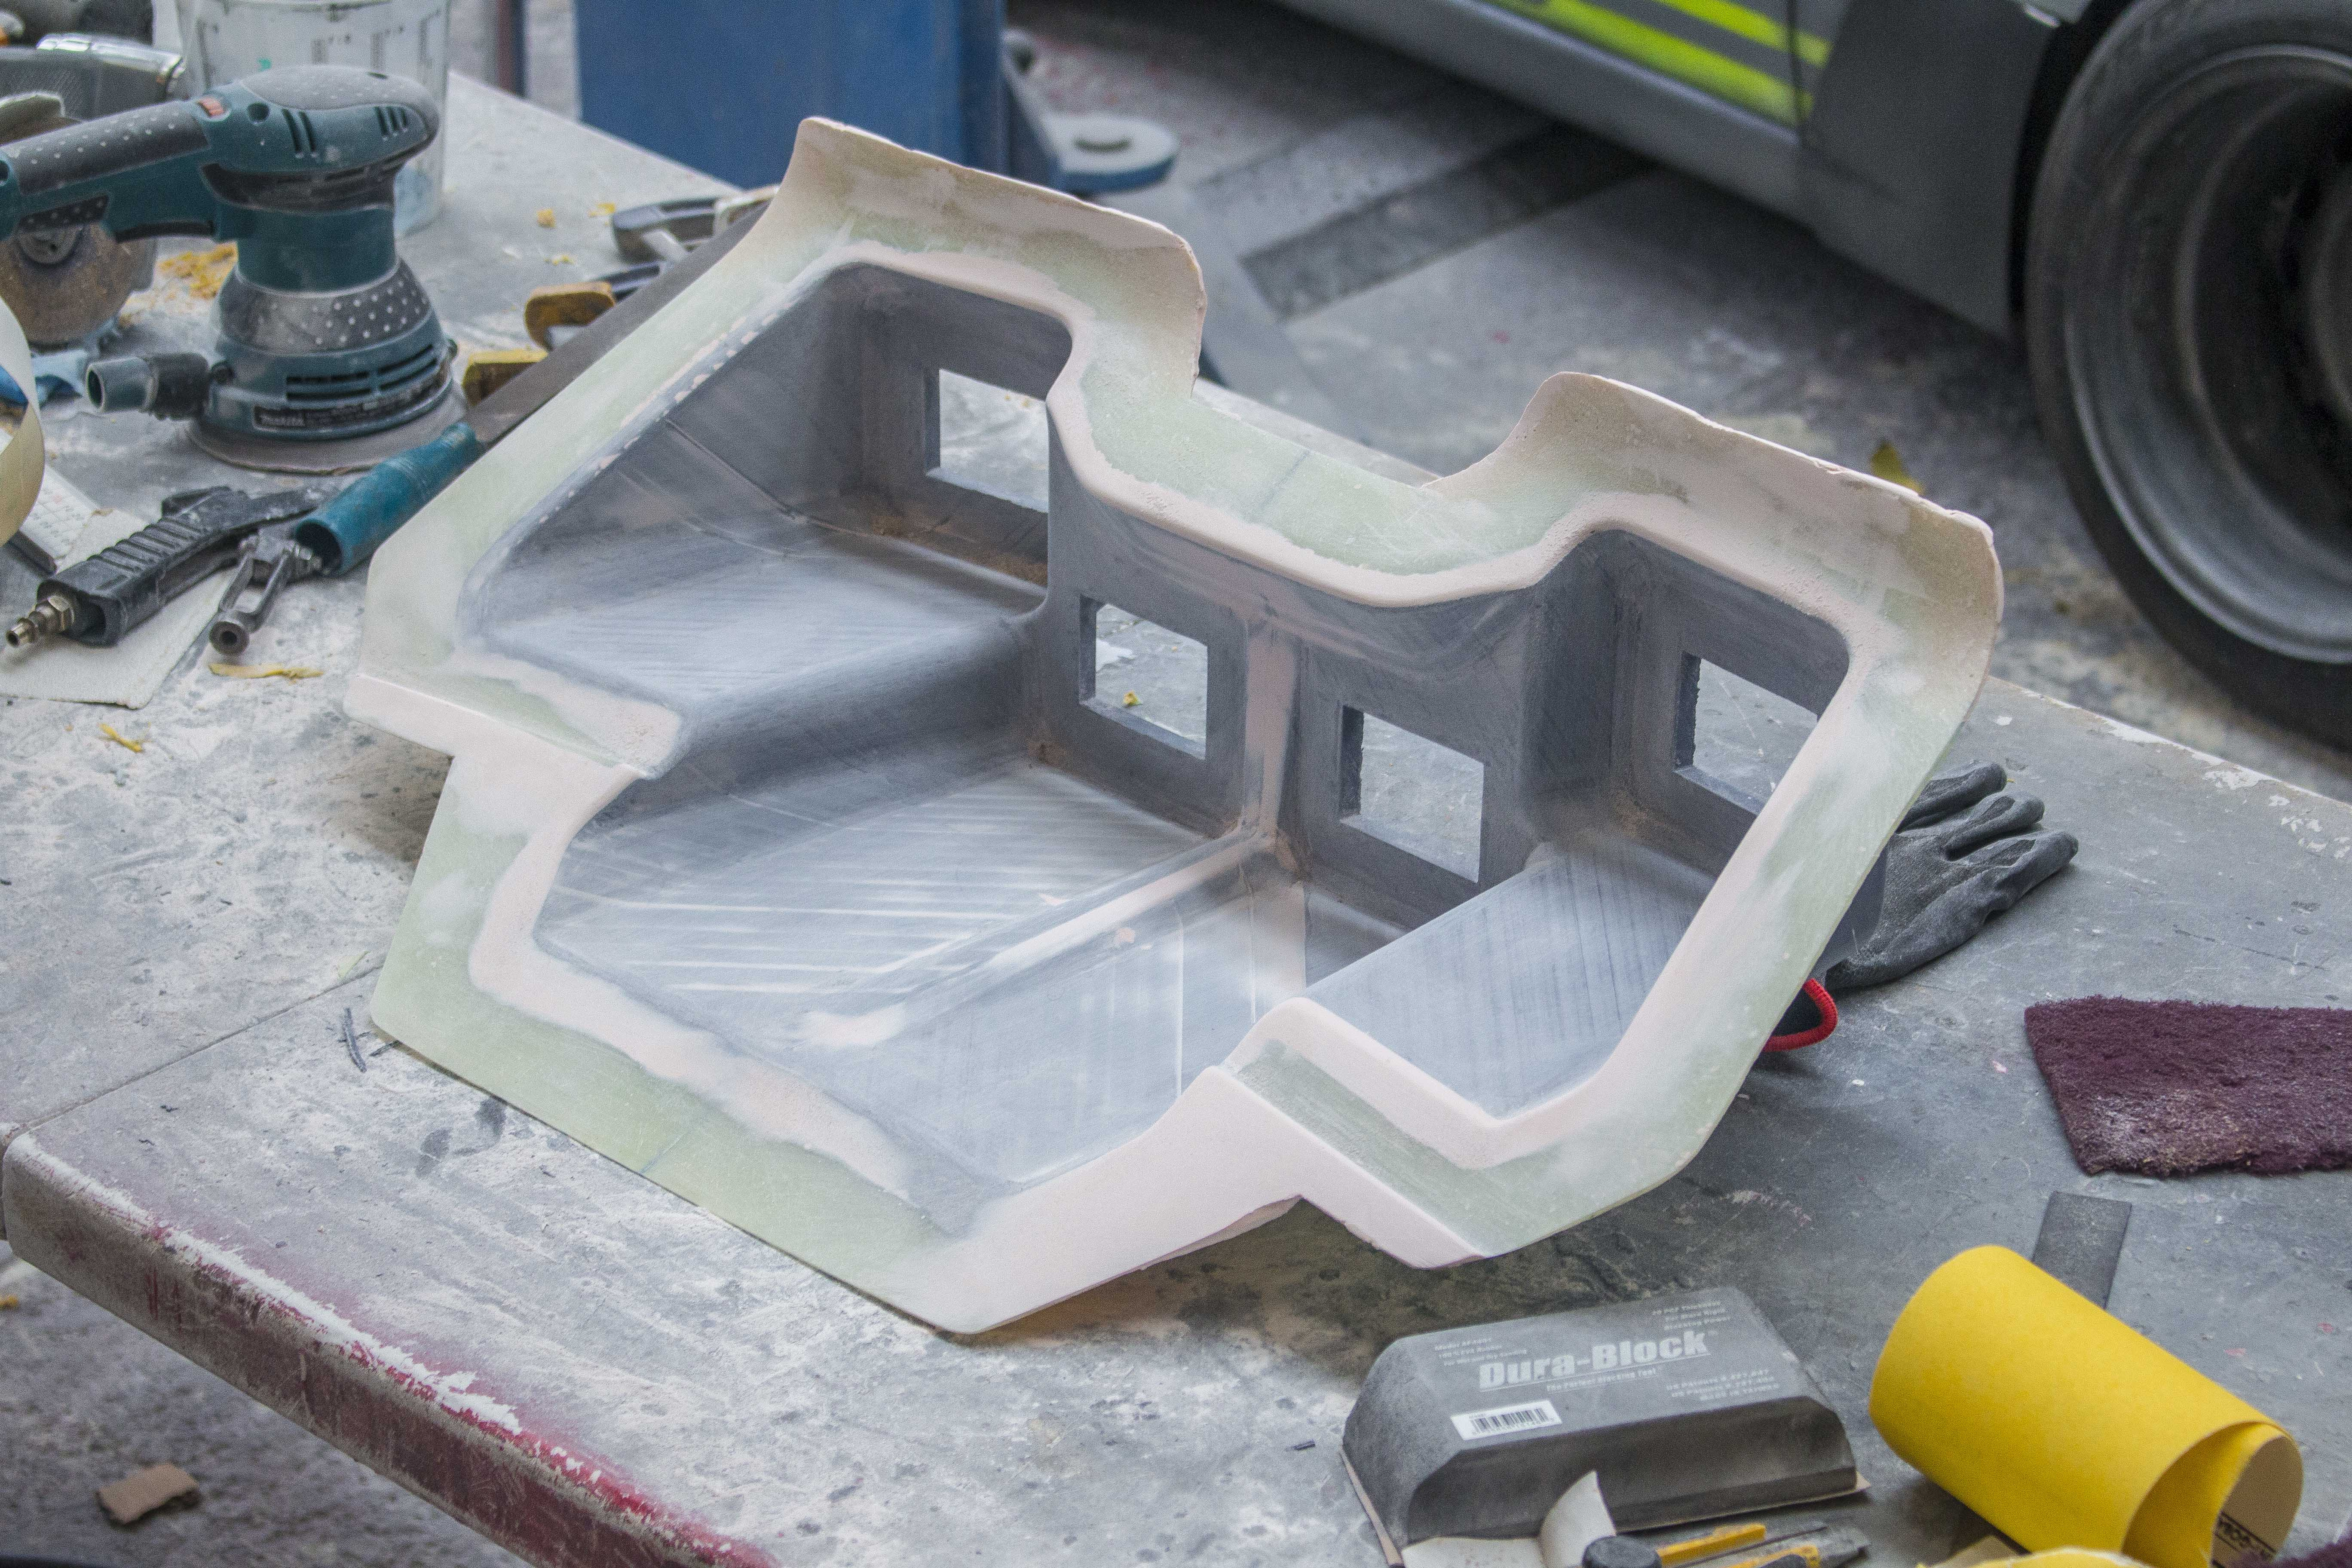
The pod fit almost perfectly which was nice but I still needed some extra flange to make the design I wanted. I wanted about a 40mm lip all around the outside of this pod so that I could screw it down along that flange to the bumper (see sketch) I couldn't really find a nice way of doing that in CAD other than making the entire mould 40mm thick, but at that thickness they would have taken up a crazy amount of time and filament. I decided to just stick with a 10mm thick mould with 12% infill. Slightly thinner than the 15mm mould I had for the stagea fender. But because it was only 10mm I had to add some extra flanges. I did this using epoxy resin and corresponding fiberglass. For those that don't know, chopped strand fiberglass comes in 2 grades. Your default grade is bound together in an emulsion that is broken down by the styrene in polyester resins. This emulsion just helps keep the fiberglass strands in place while you work with the fabric. The other type is powder bound. This is compatible with epoxies because it doesn't rely on the styrene to break down the bond. If you used an emulsion fiberglass with epoxy then you would see it stays slightly cloudy and you wont be able to get it as pliable as the powder bound stuff. The downside of the powder bound is that it's held very loosely in place and it goes absolutely everywhere.
I'm taking a bit more time with this mould because I don't want to have to do any finishing work to the part that comes out of it.After a good bit of filler work the mould was ready for it's first pass with primer
Still a bit more work needed but it looks like it should come out pretty nice when it's done.Tomorrow I'll go out there and carry on sanding. In the mean time a super quick Stagea update.Last time we'd finished making the new fender but since then I've trimmed it off and got it fitted to the old fender. I didn't take too many photos of the process, and by not too many, I mean I took no photos of the process.
The good news is it fits absolutely perfectly, I put the contour gauges on both sides and it has completely fixed the asymmetry as well so a huge relief to have that done. The other good news is I was able to get the panel gaps around the bonnet, door and headlight even better than they were before. So with these new fenders I've just got to tidy up the print lines and get them ready to make moulds from but that was probably the biggest obstacle in the way of finishing off these moulds and getting this kit done.Still a fair bit to do on both of these cars, but chipping away at it!
Files