Home

 Creators
 Search
 Recent
 Random
 Posts
 DMs
 Tags
 Random
 Importer
 Import
 FAQ
 Account
 Register
 Login
 Favorites
 Keys
 Logout
 Telegram

Stagea widebody update (Patreon)
Content
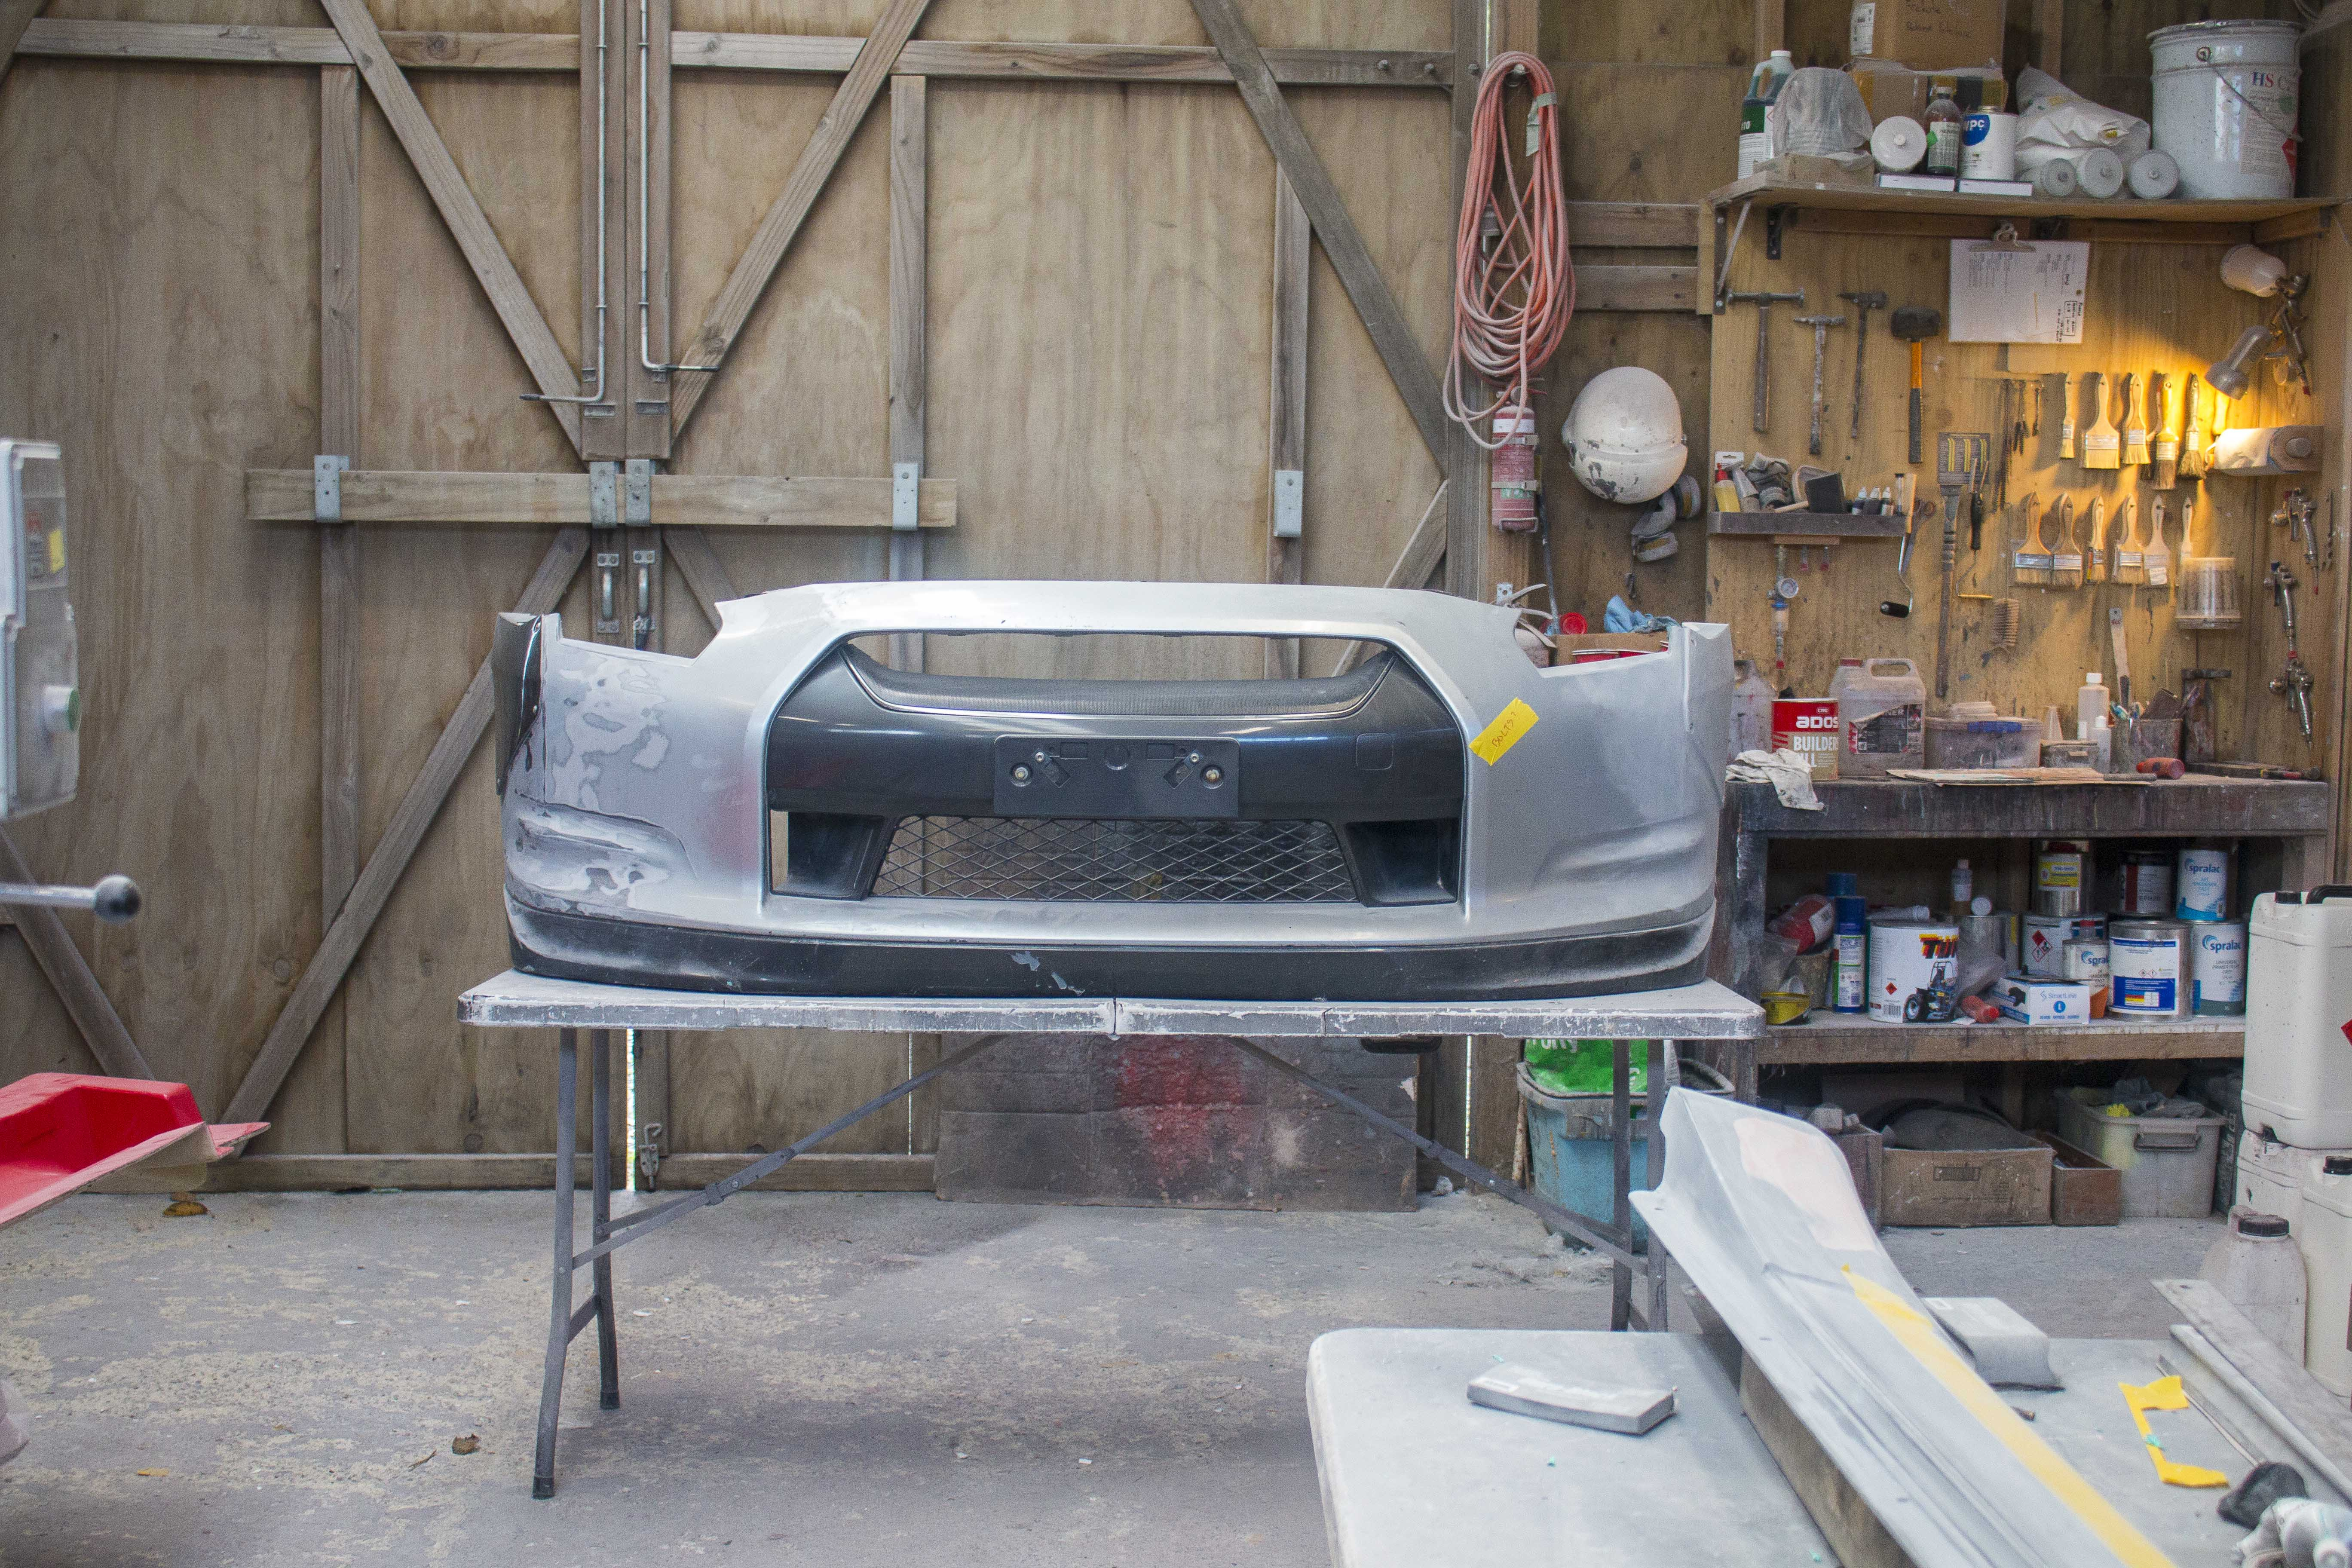
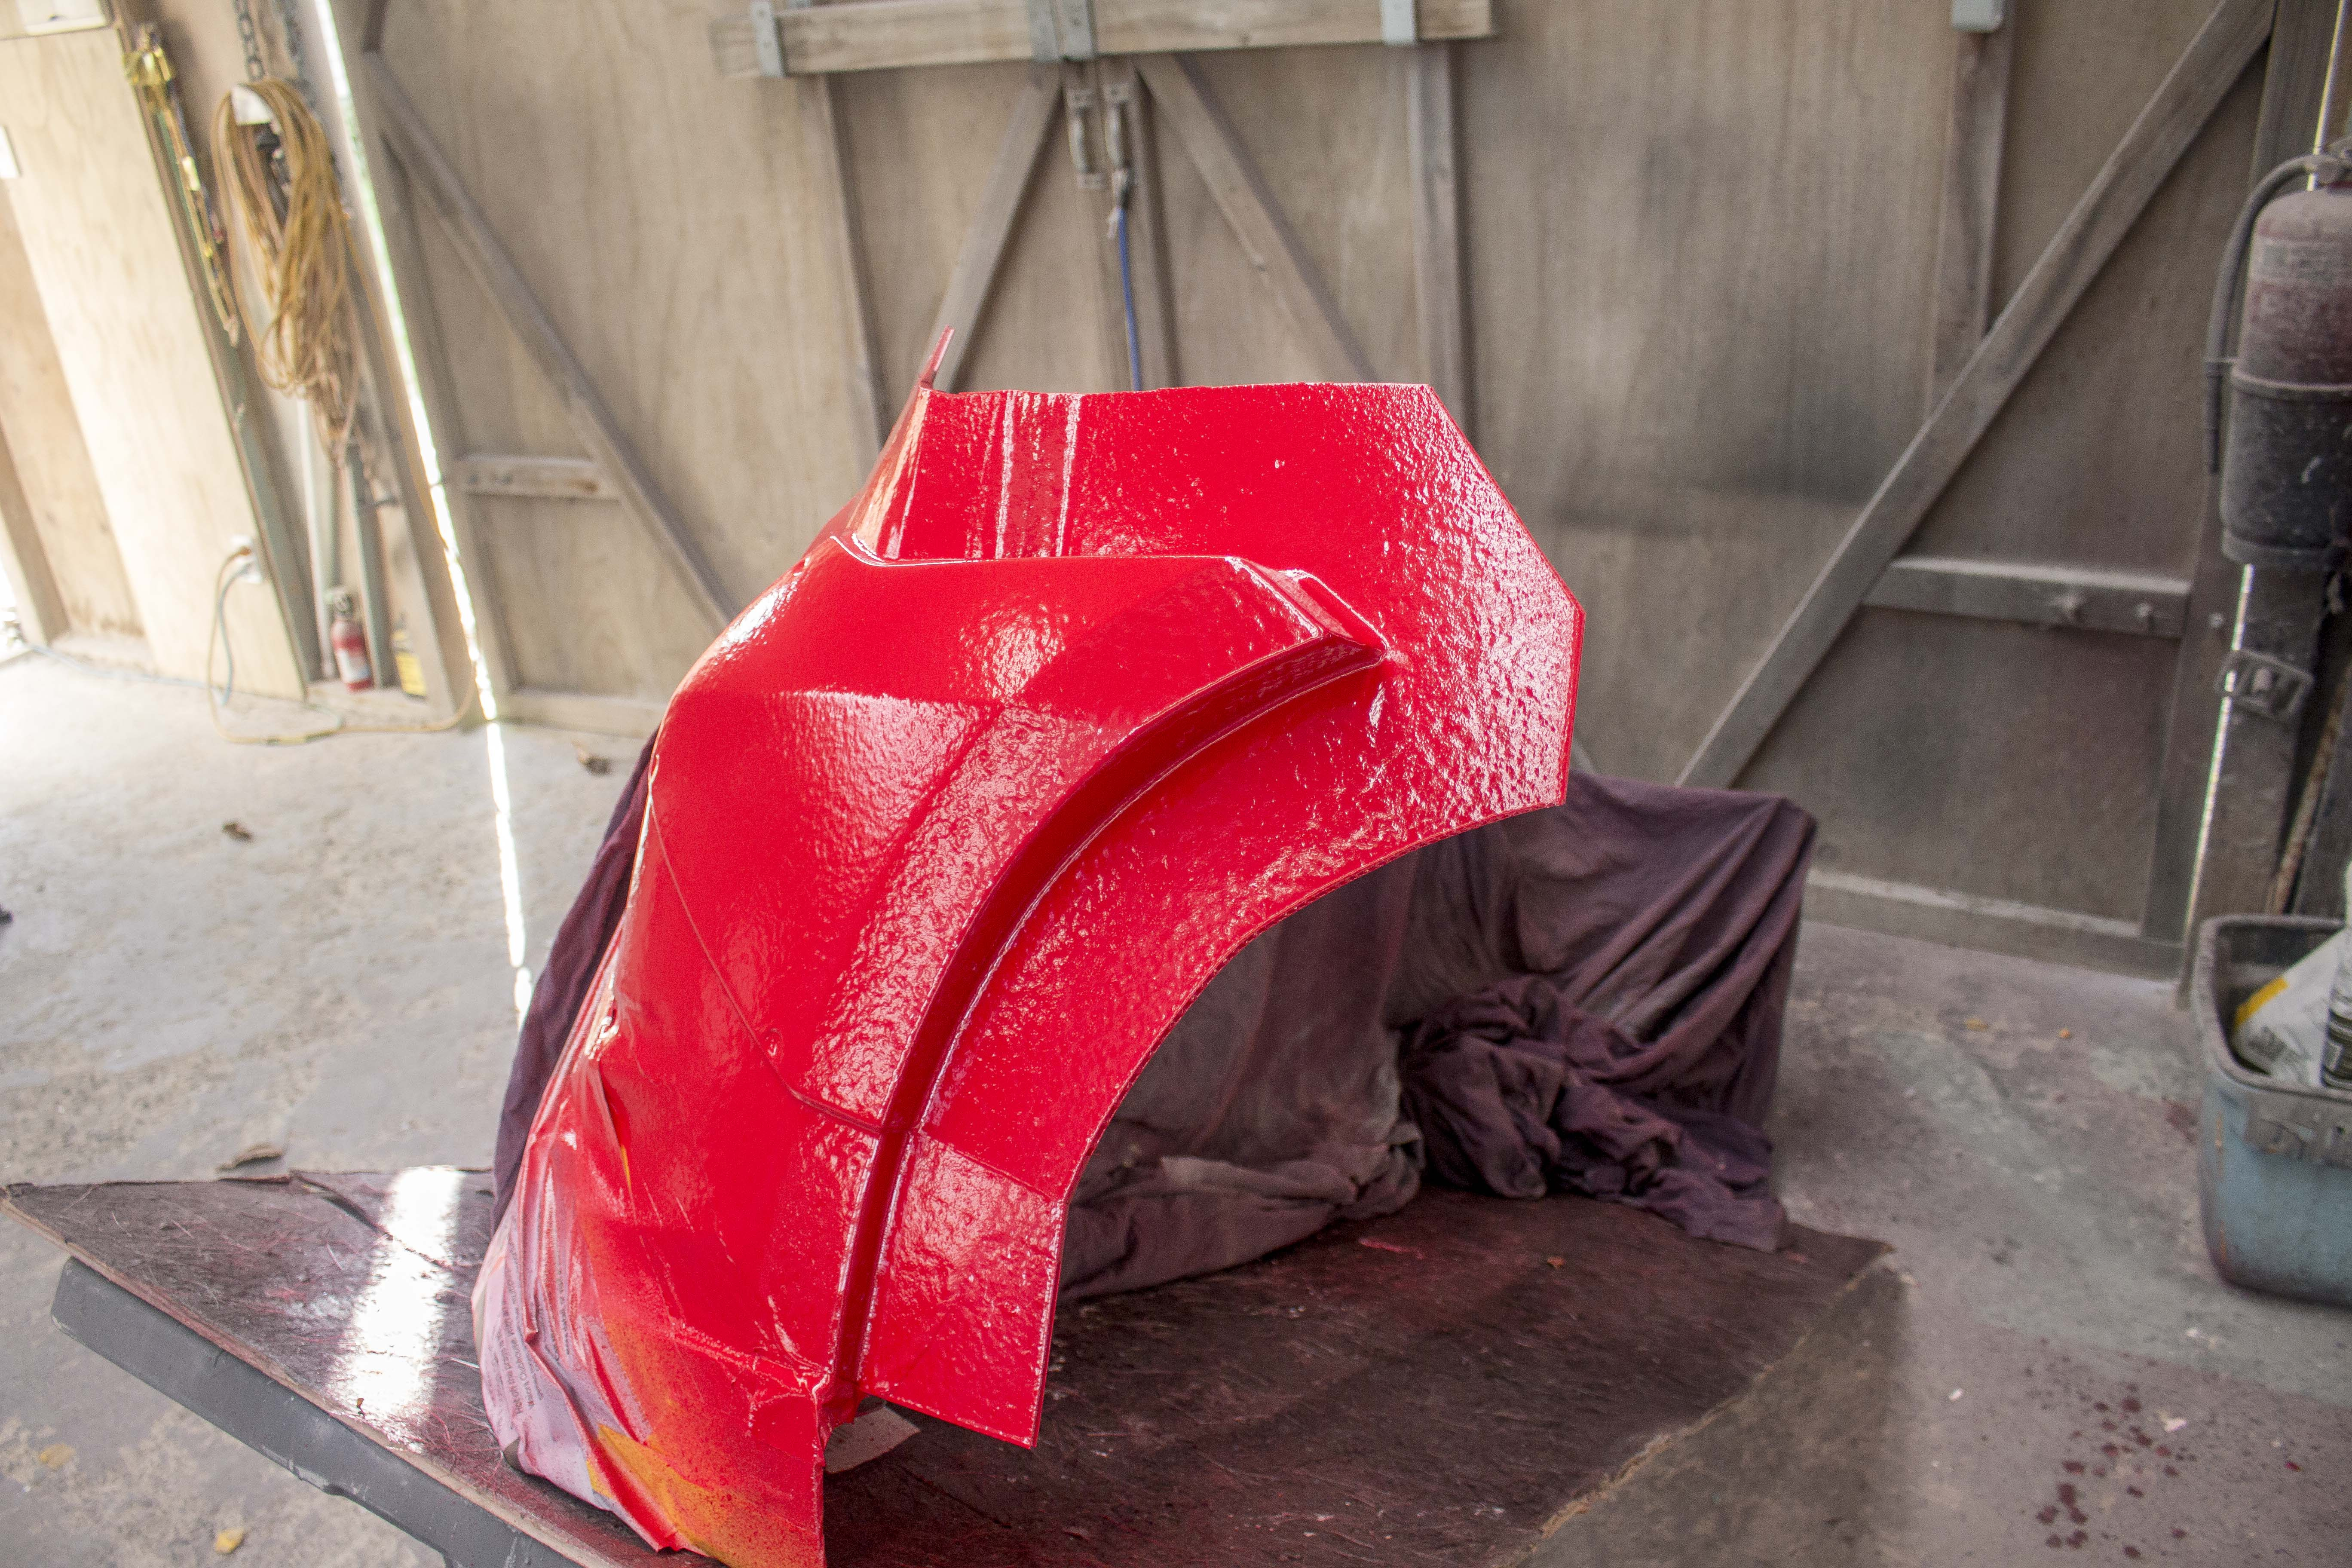
Even with all the fiberglass orders that I've had come in lately I've managed to find time to get some solid progress on the last of these widebody moulds. In my last post and video we finished off the front fender mould, leaving us just the front bumper extension and sideskirt moulds left to go until all the moulds for the widebody (excluding the rear lip) were officially done.With that on my mind I had a lot of motivation to smash these out.Unfortunately this meant repairing what I'd already finished a couple months ago. Because of the heat in the barn, the 3D printed pieces that I had glued on previously had some pretty noticeable warping and so there was a fair bit of extra body filler work to get them looking nice again.
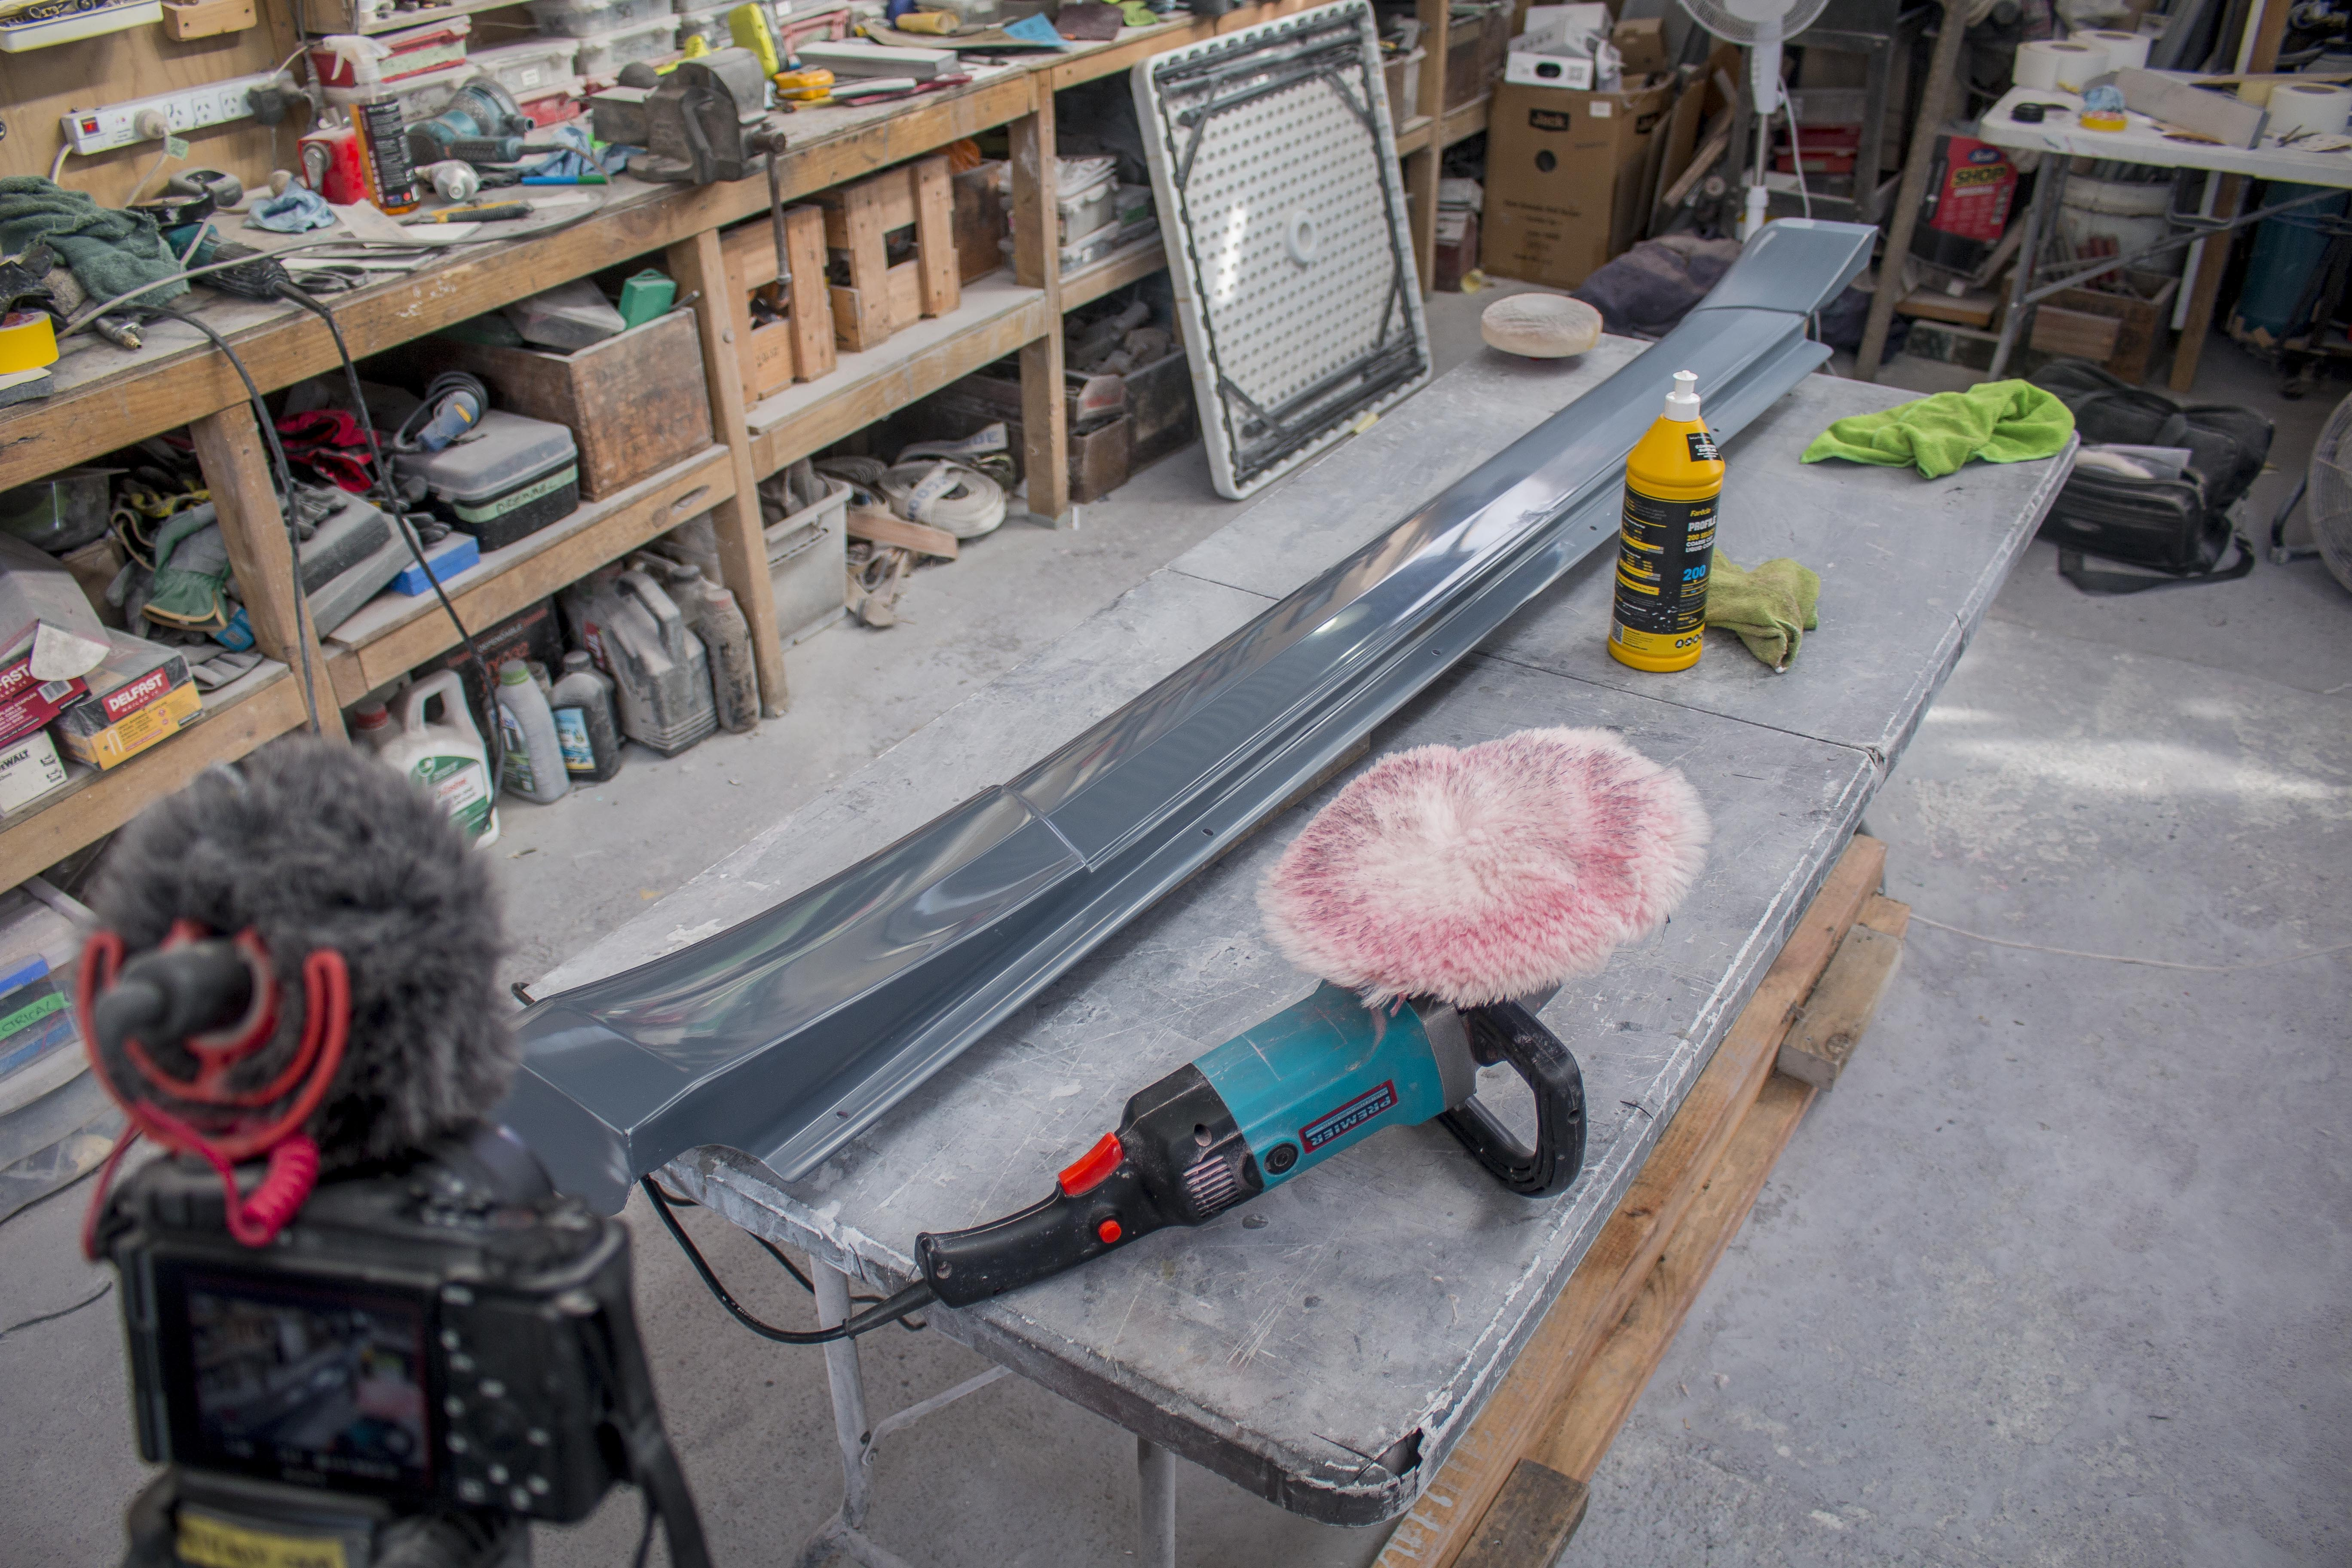
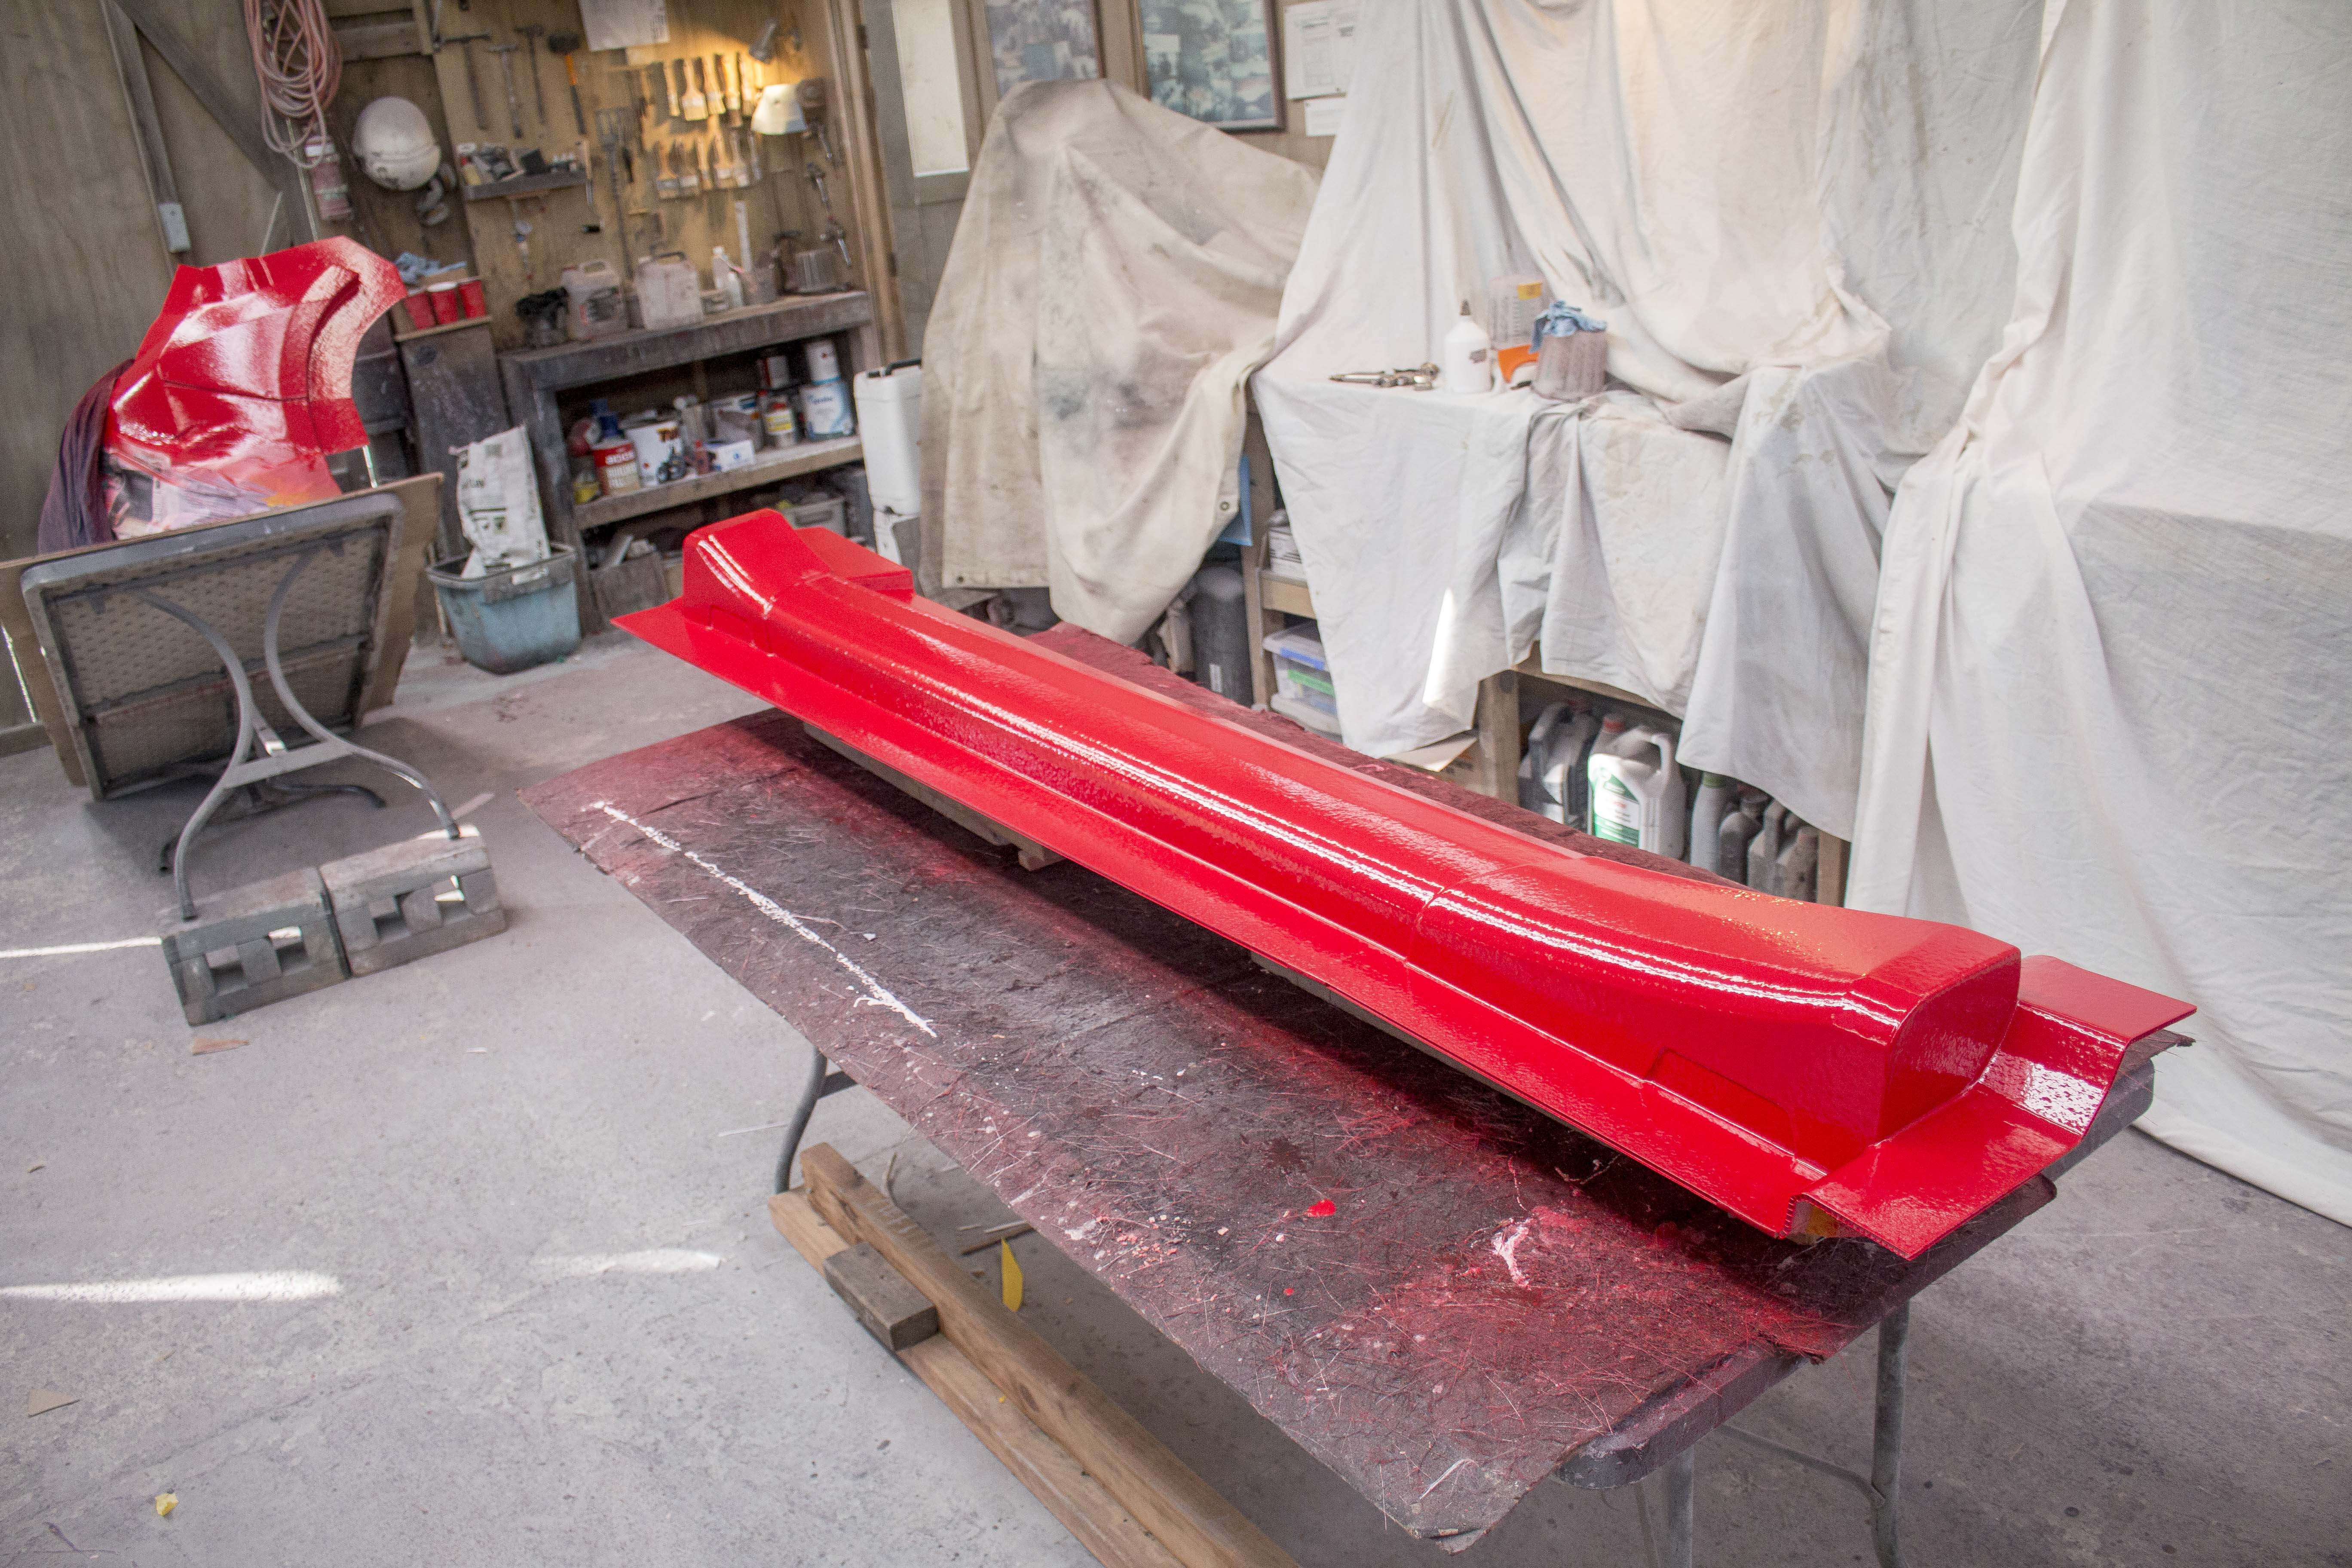
These will most likely be the last time I use 3D printed parts for the actual plugs as working with them and having to keep them away from the sun in fear of them warping was a real nightmare. But after a couple rounds of filler, primer and block sanding I had them perfectly smooth again and ready for the top coat of sealer which was then wetsanded back to 1500 and polished for a nice glossy plug.
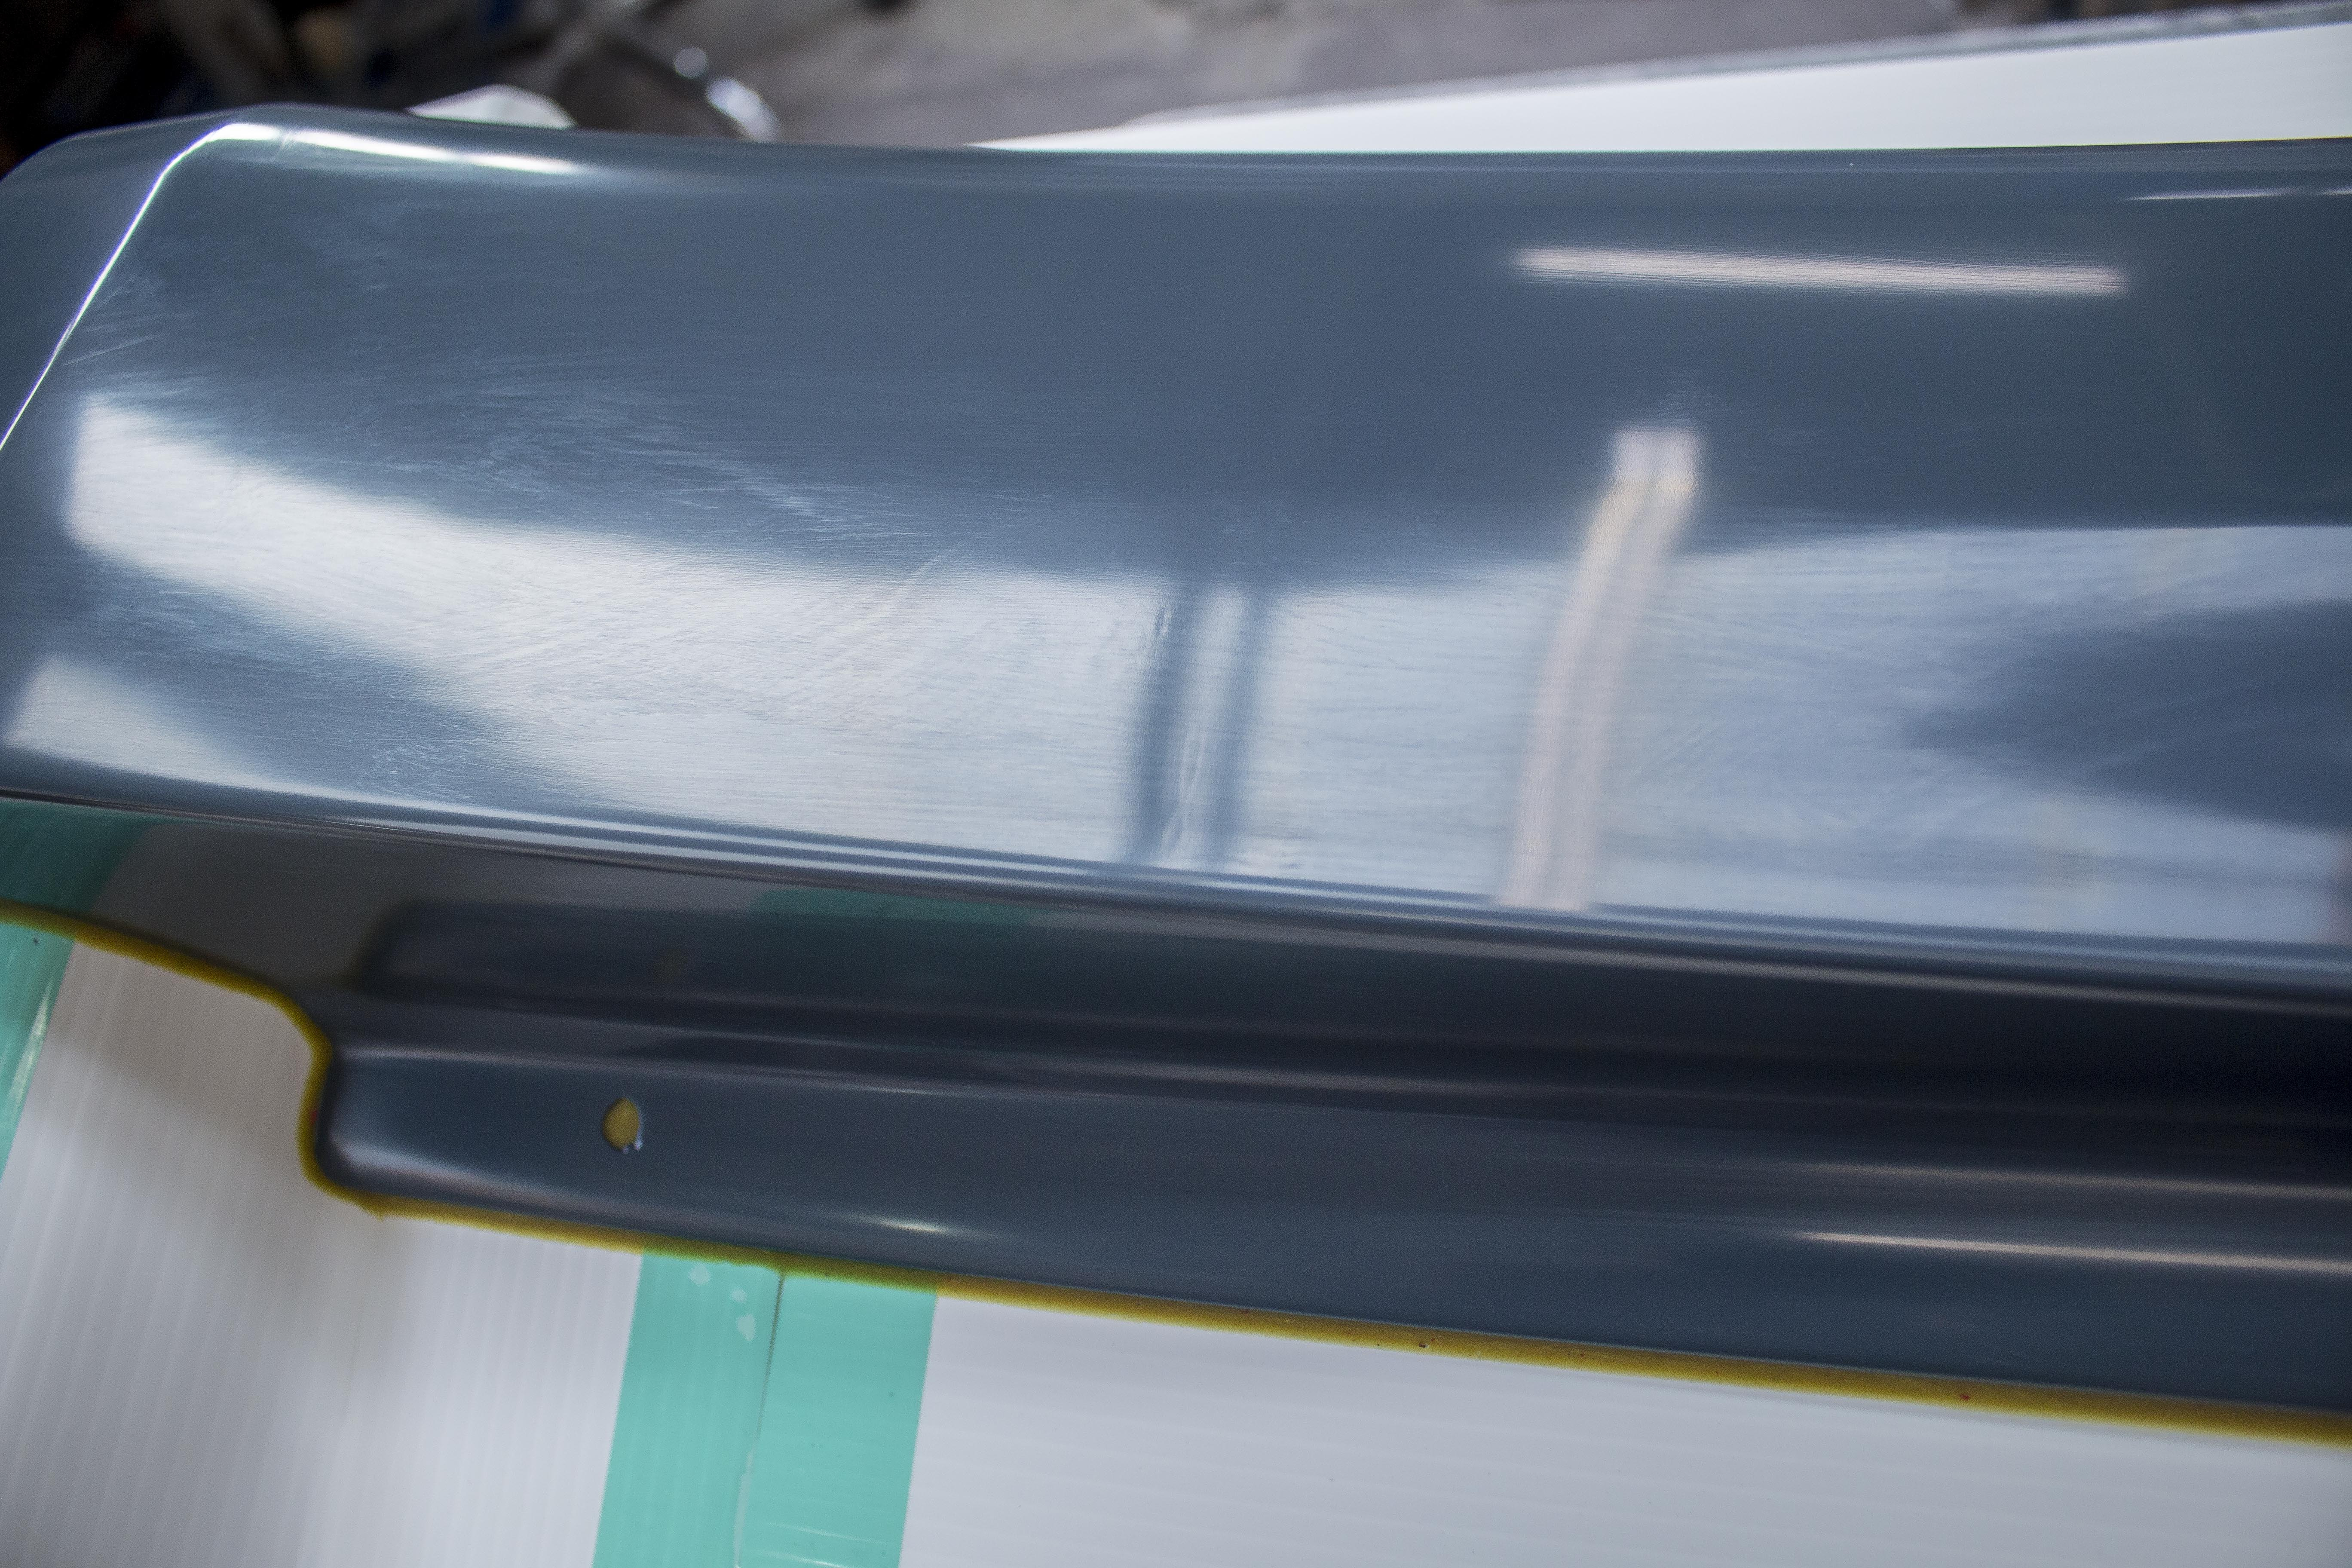
To further drive home my thoughts on 3D printed plugs, after finishing all the wetsanding and polishing, just leaving this sideskirt in the barn with the light coming in was enough for a few imperfections to show up from the 3D print beneath.
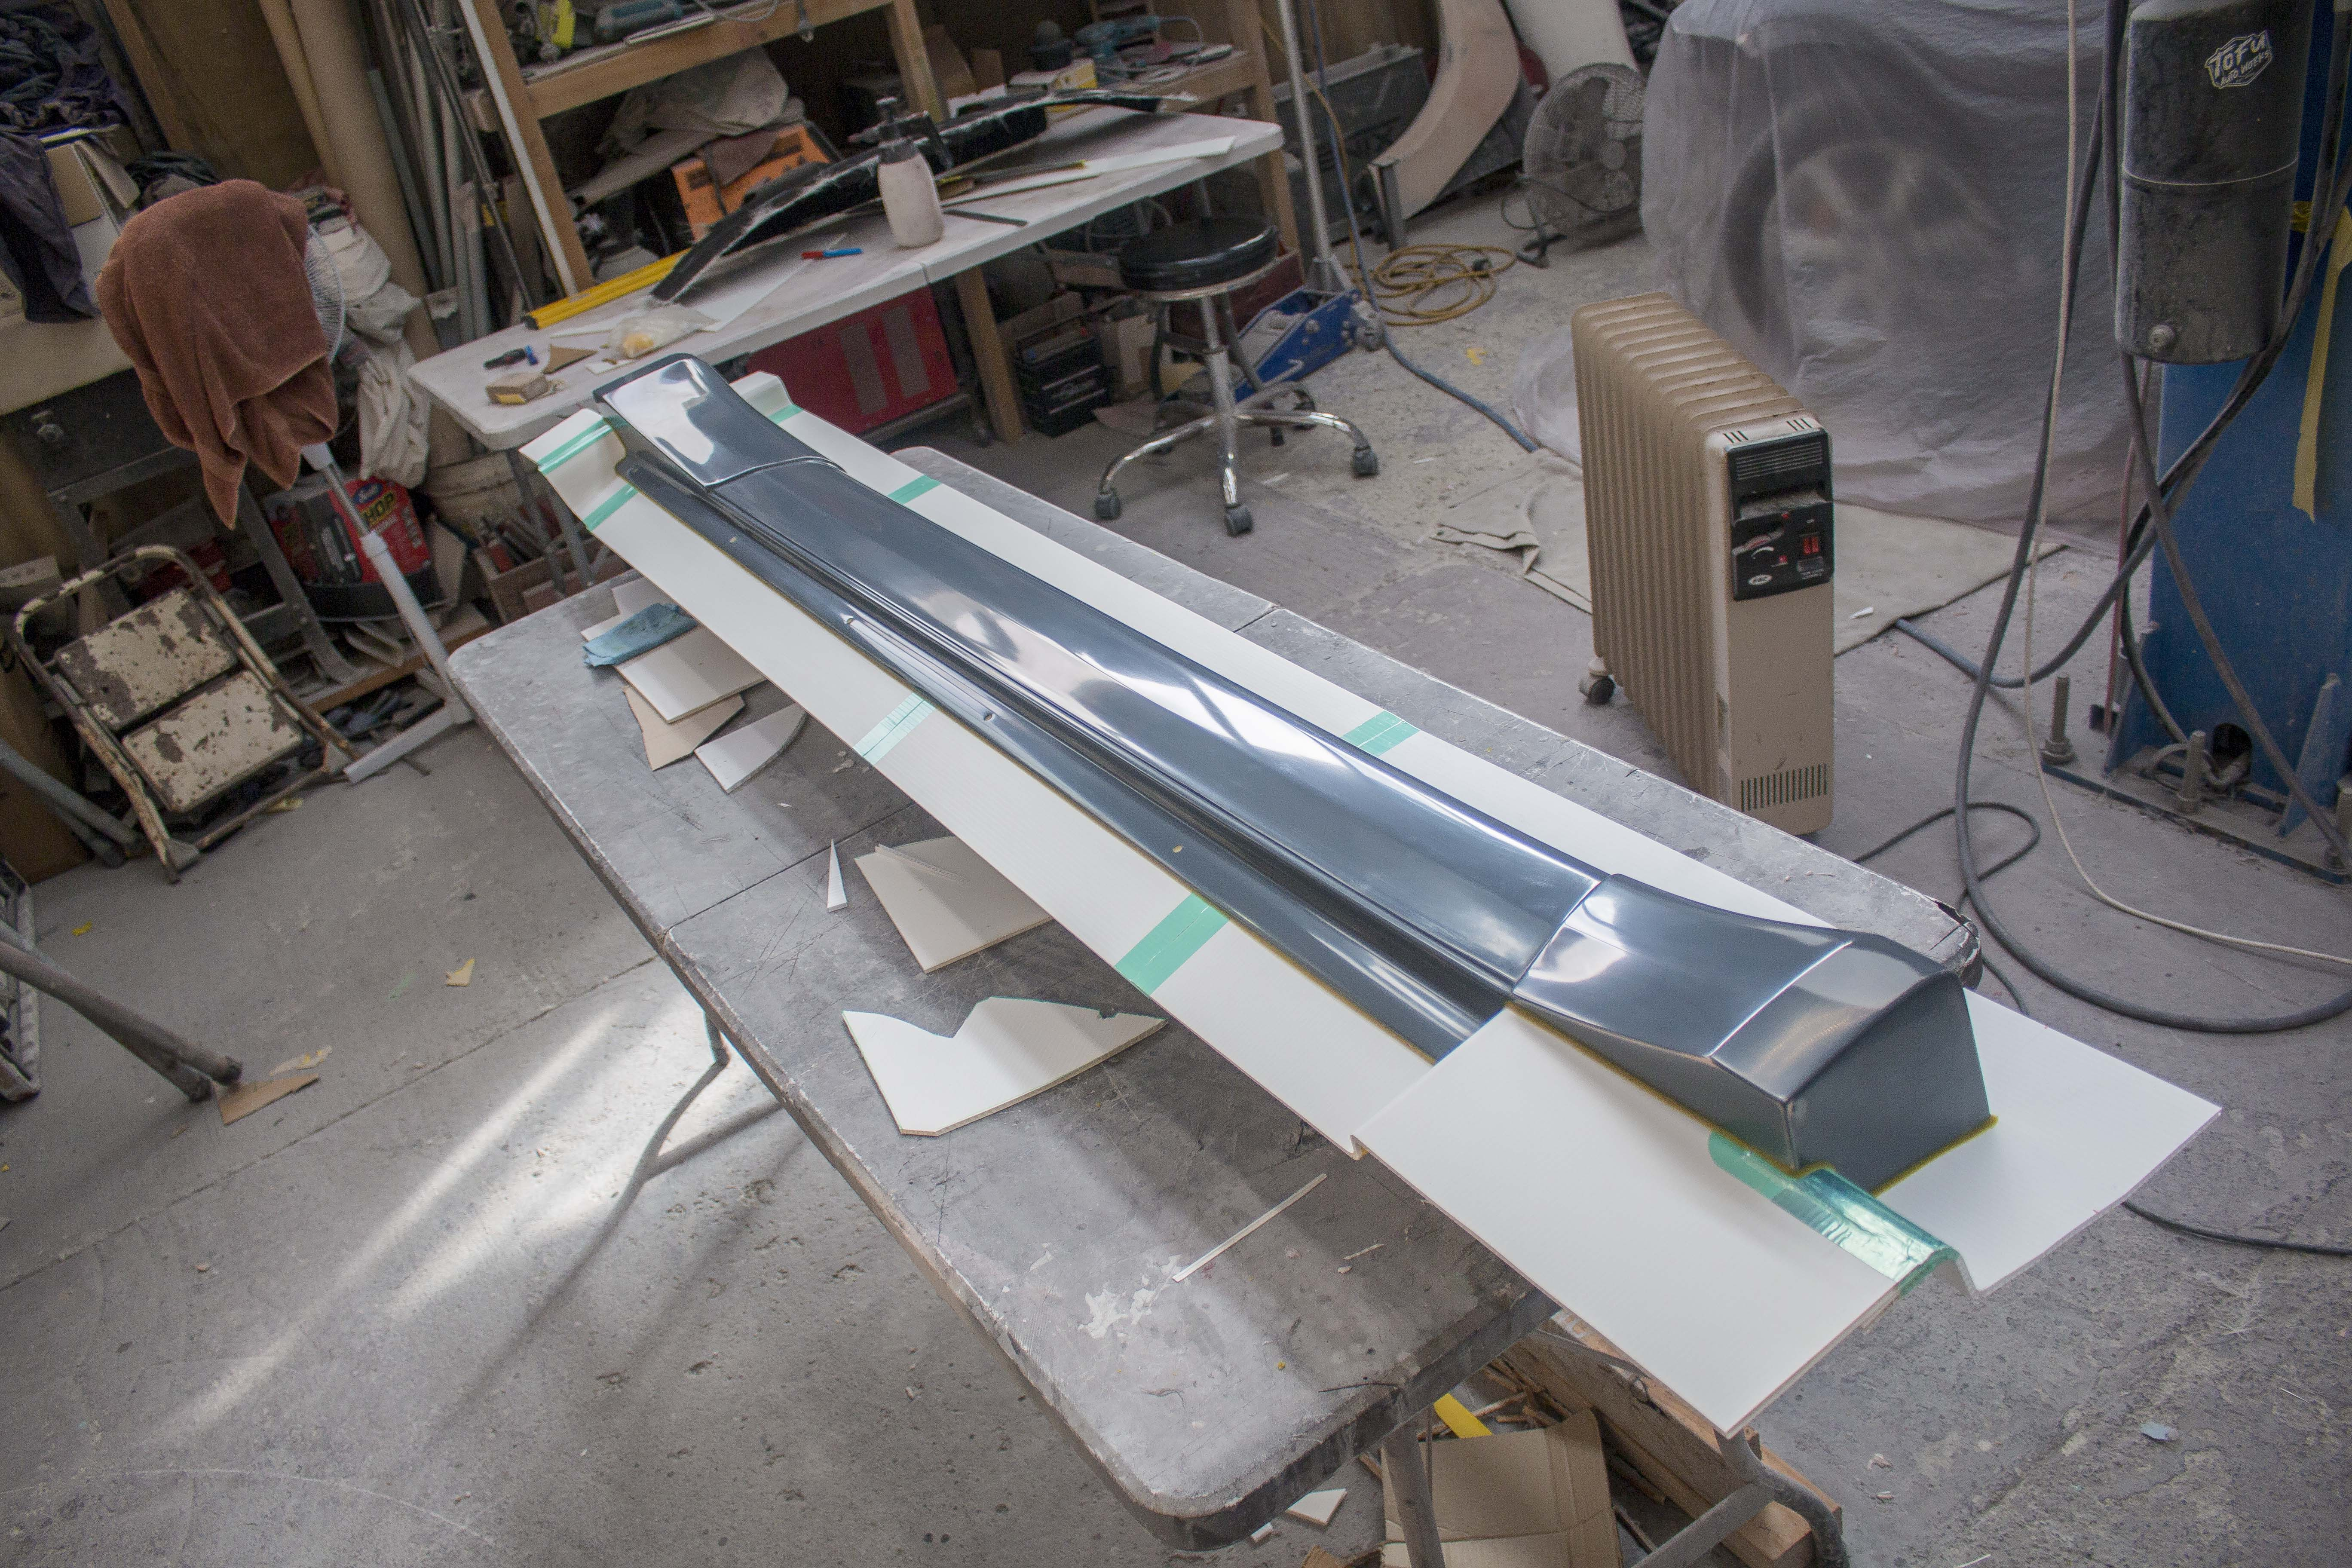
You can just barely make out the marks between the 2 dark lines in the photo above, but these will have to be polished out of the mould once I have a stable fiberglass piece that I don't have to be so careful with.After polishing the moulds and adding the flanges and filleting wax around all the edge, the surface was given the standard 5 coats of TR 910 mould sealer followed by 5 coats of TR 900-FD release agent and then that following evening I sprayed on my vinyl ester tooling gelcoat.For the first time on this channel I actually measured the thickness of the gelcoat to see if what I had been doing by eye this whole time was actually the correct thickness and it ended up bang on 22 - 26 mils (1/2 - 2/3 of a mm)
And by now we all know the formula.
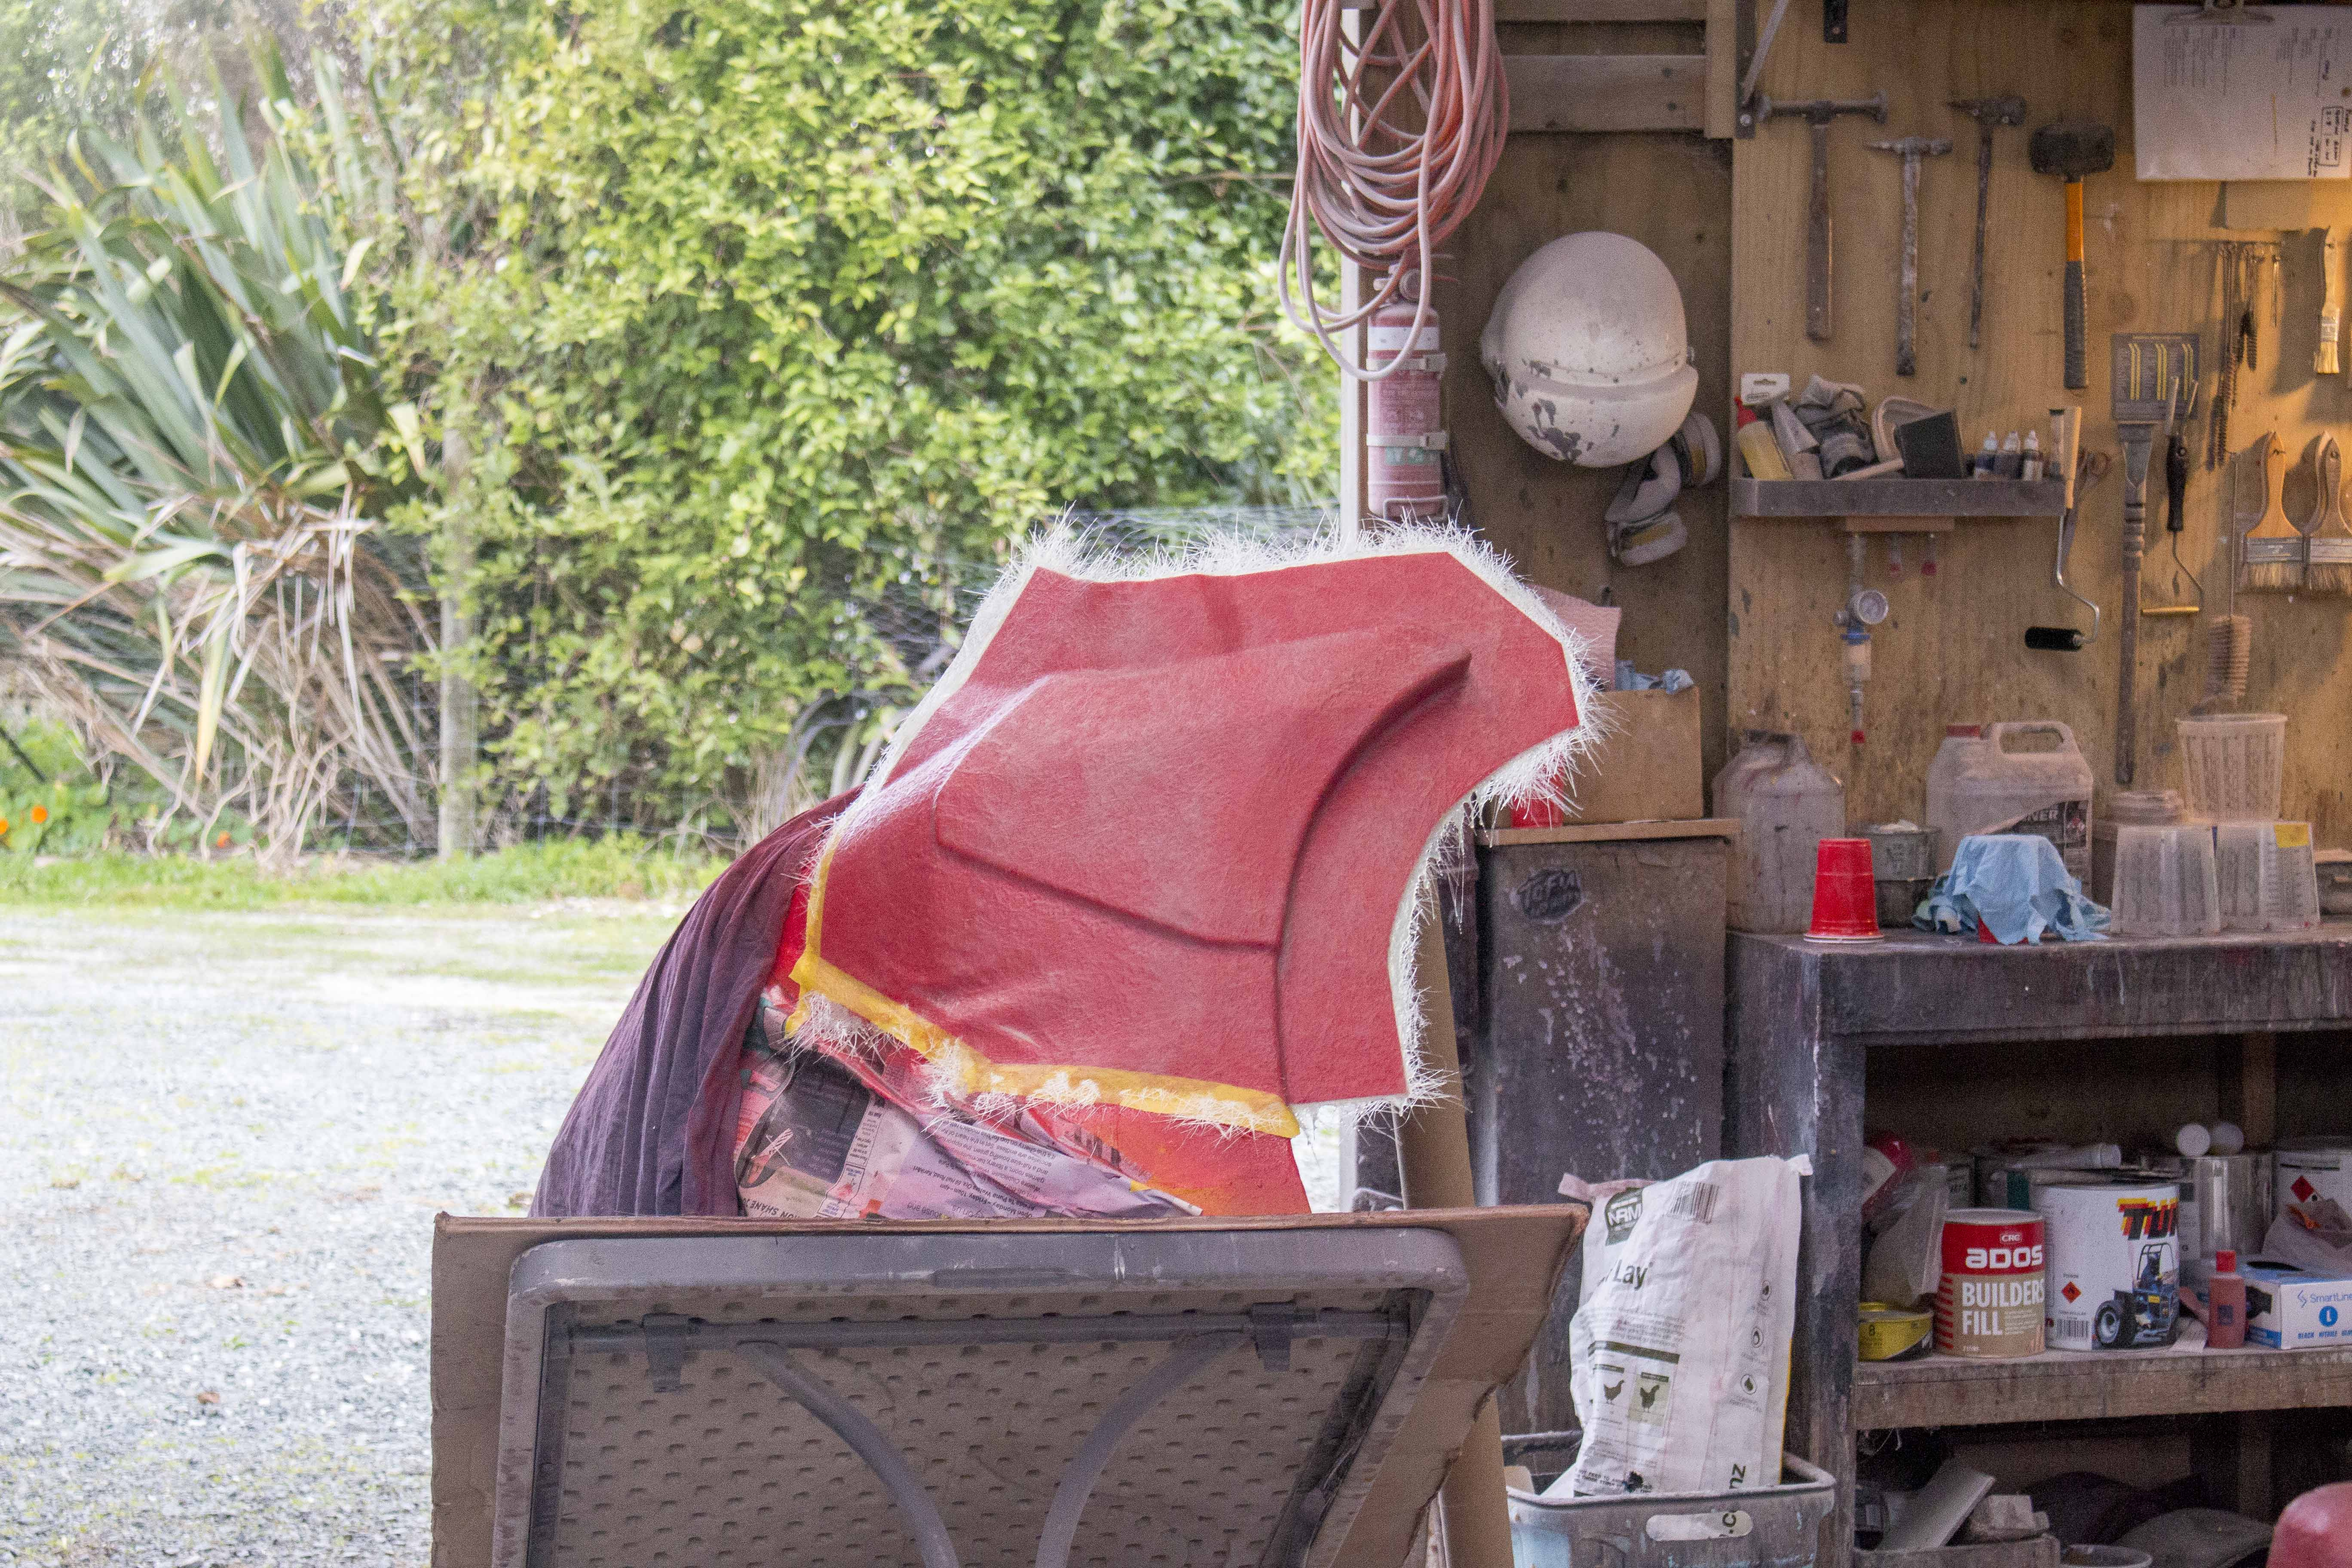
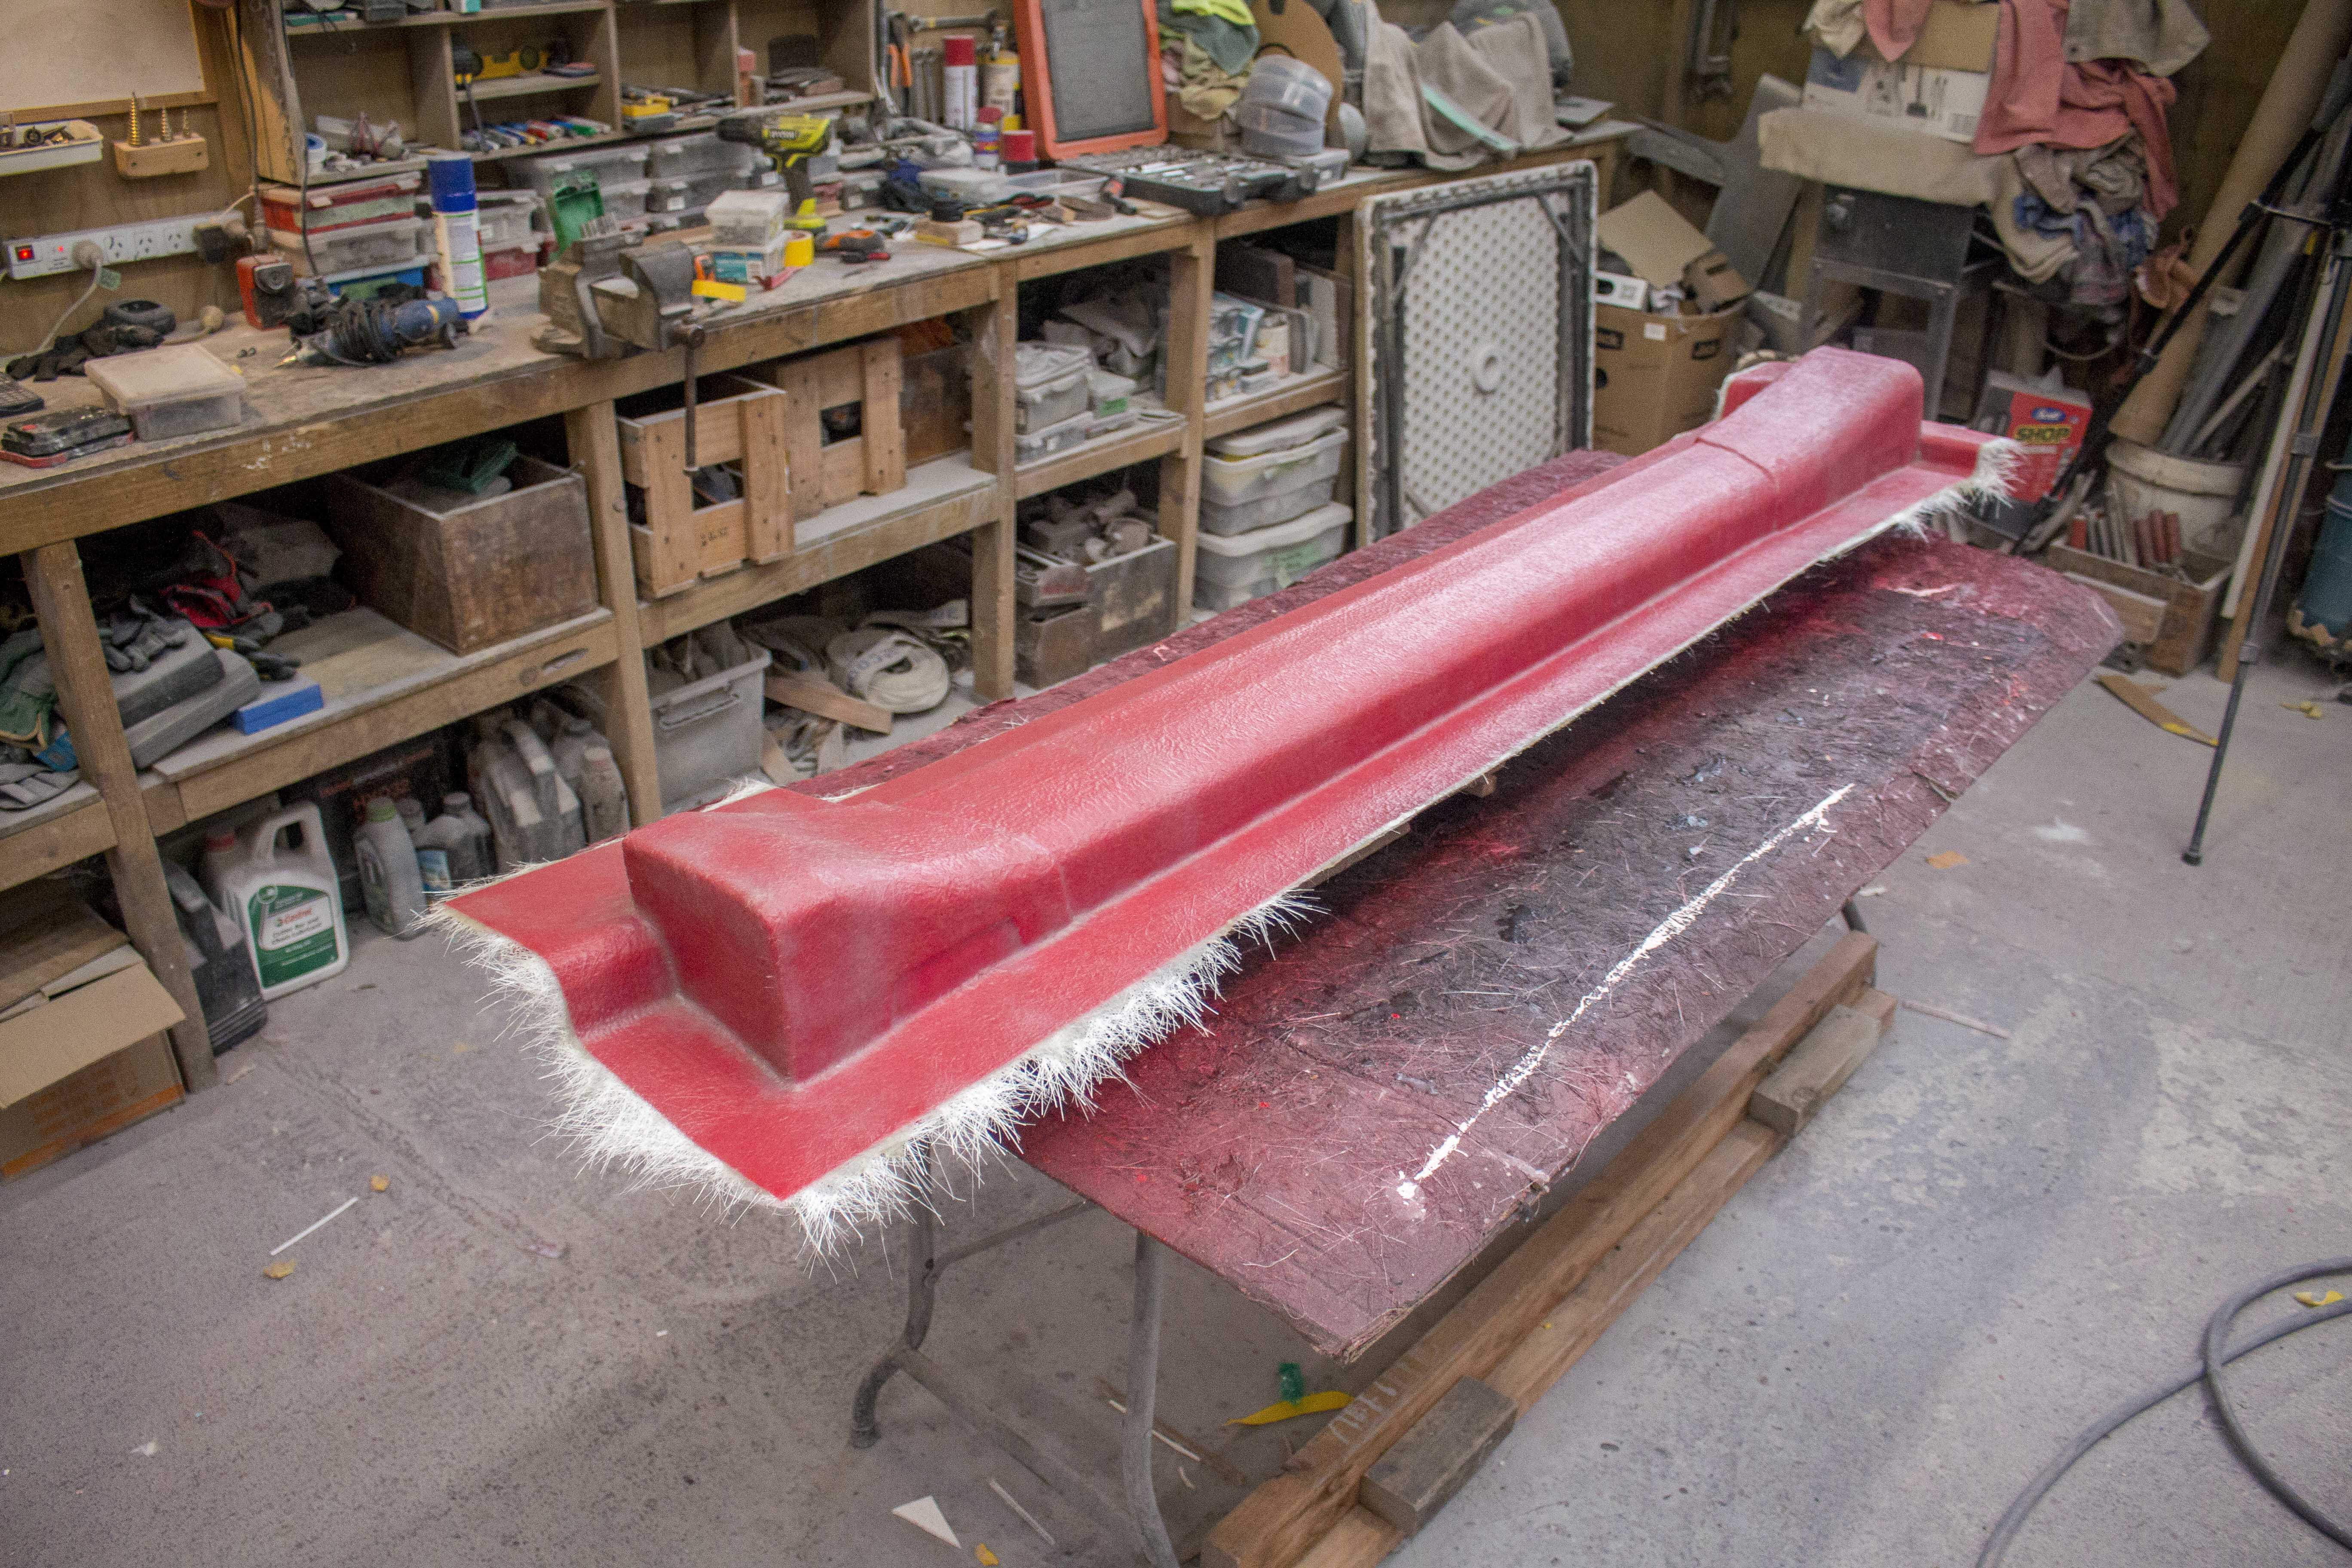
Let the gelcoat cure until it's tacky but doesn't come off on the finger. Then apply the skin coat of 1 layer of tissue / veil followed by 1 layer of 225 gsm chopped strand matt with 413 filler blend in the tighter corners over the tissue.
After that had cured I sanded off all the sharp edges, fixed up any small airbubbles and then spent 4 hours straight hours laying the 4 layers of 450 gsm with tooling resin to finish off the moulds.The photos for that are still on my camera and need editing but that is officially the last of the fiberglass for these widebody moulds done.It's crazy to have this part of the build finally over. Somewhere along the way this widebody turned into one of those projects that I just thought would never end. We take for granted how many of these sort of builds just fade off because people lose interest in them but the pressure of all the people following along did sort of keep me committed haha.
Next up is to smash some fresh fiberglass parts out of these new moulds and then get to work on the last piece of the puzzle which is the rear lip before the car is ready for panel and paint.I'm working with my friend Stan (@stanscustomcreations on instagram) to design the rear lip in cad and then we'll use the same approach as the front fender of 3d printing a mould and making the rear lip straight from fiberglass. But all in all, pretty stoked with how things are coming along. I know it's taken ages but we're on the home straight now. I hope to have the video up for this by this coming Sunday but that's pretty ambitious haha.
Files