Home

 Creators
 Search
 Recent
 Random
 Posts
 DMs
 Tags
 Random
 Importer
 Import
 FAQ
 Account
 Register
 Login
 Favorites
 Keys
 Logout
 Telegram

Cyberpunk Mx5 Build Recap #2 (Patreon)
Content
Carrying on with the recap. After finishing off the wheels, roof, and interior, I got stuck in working on the widebody.
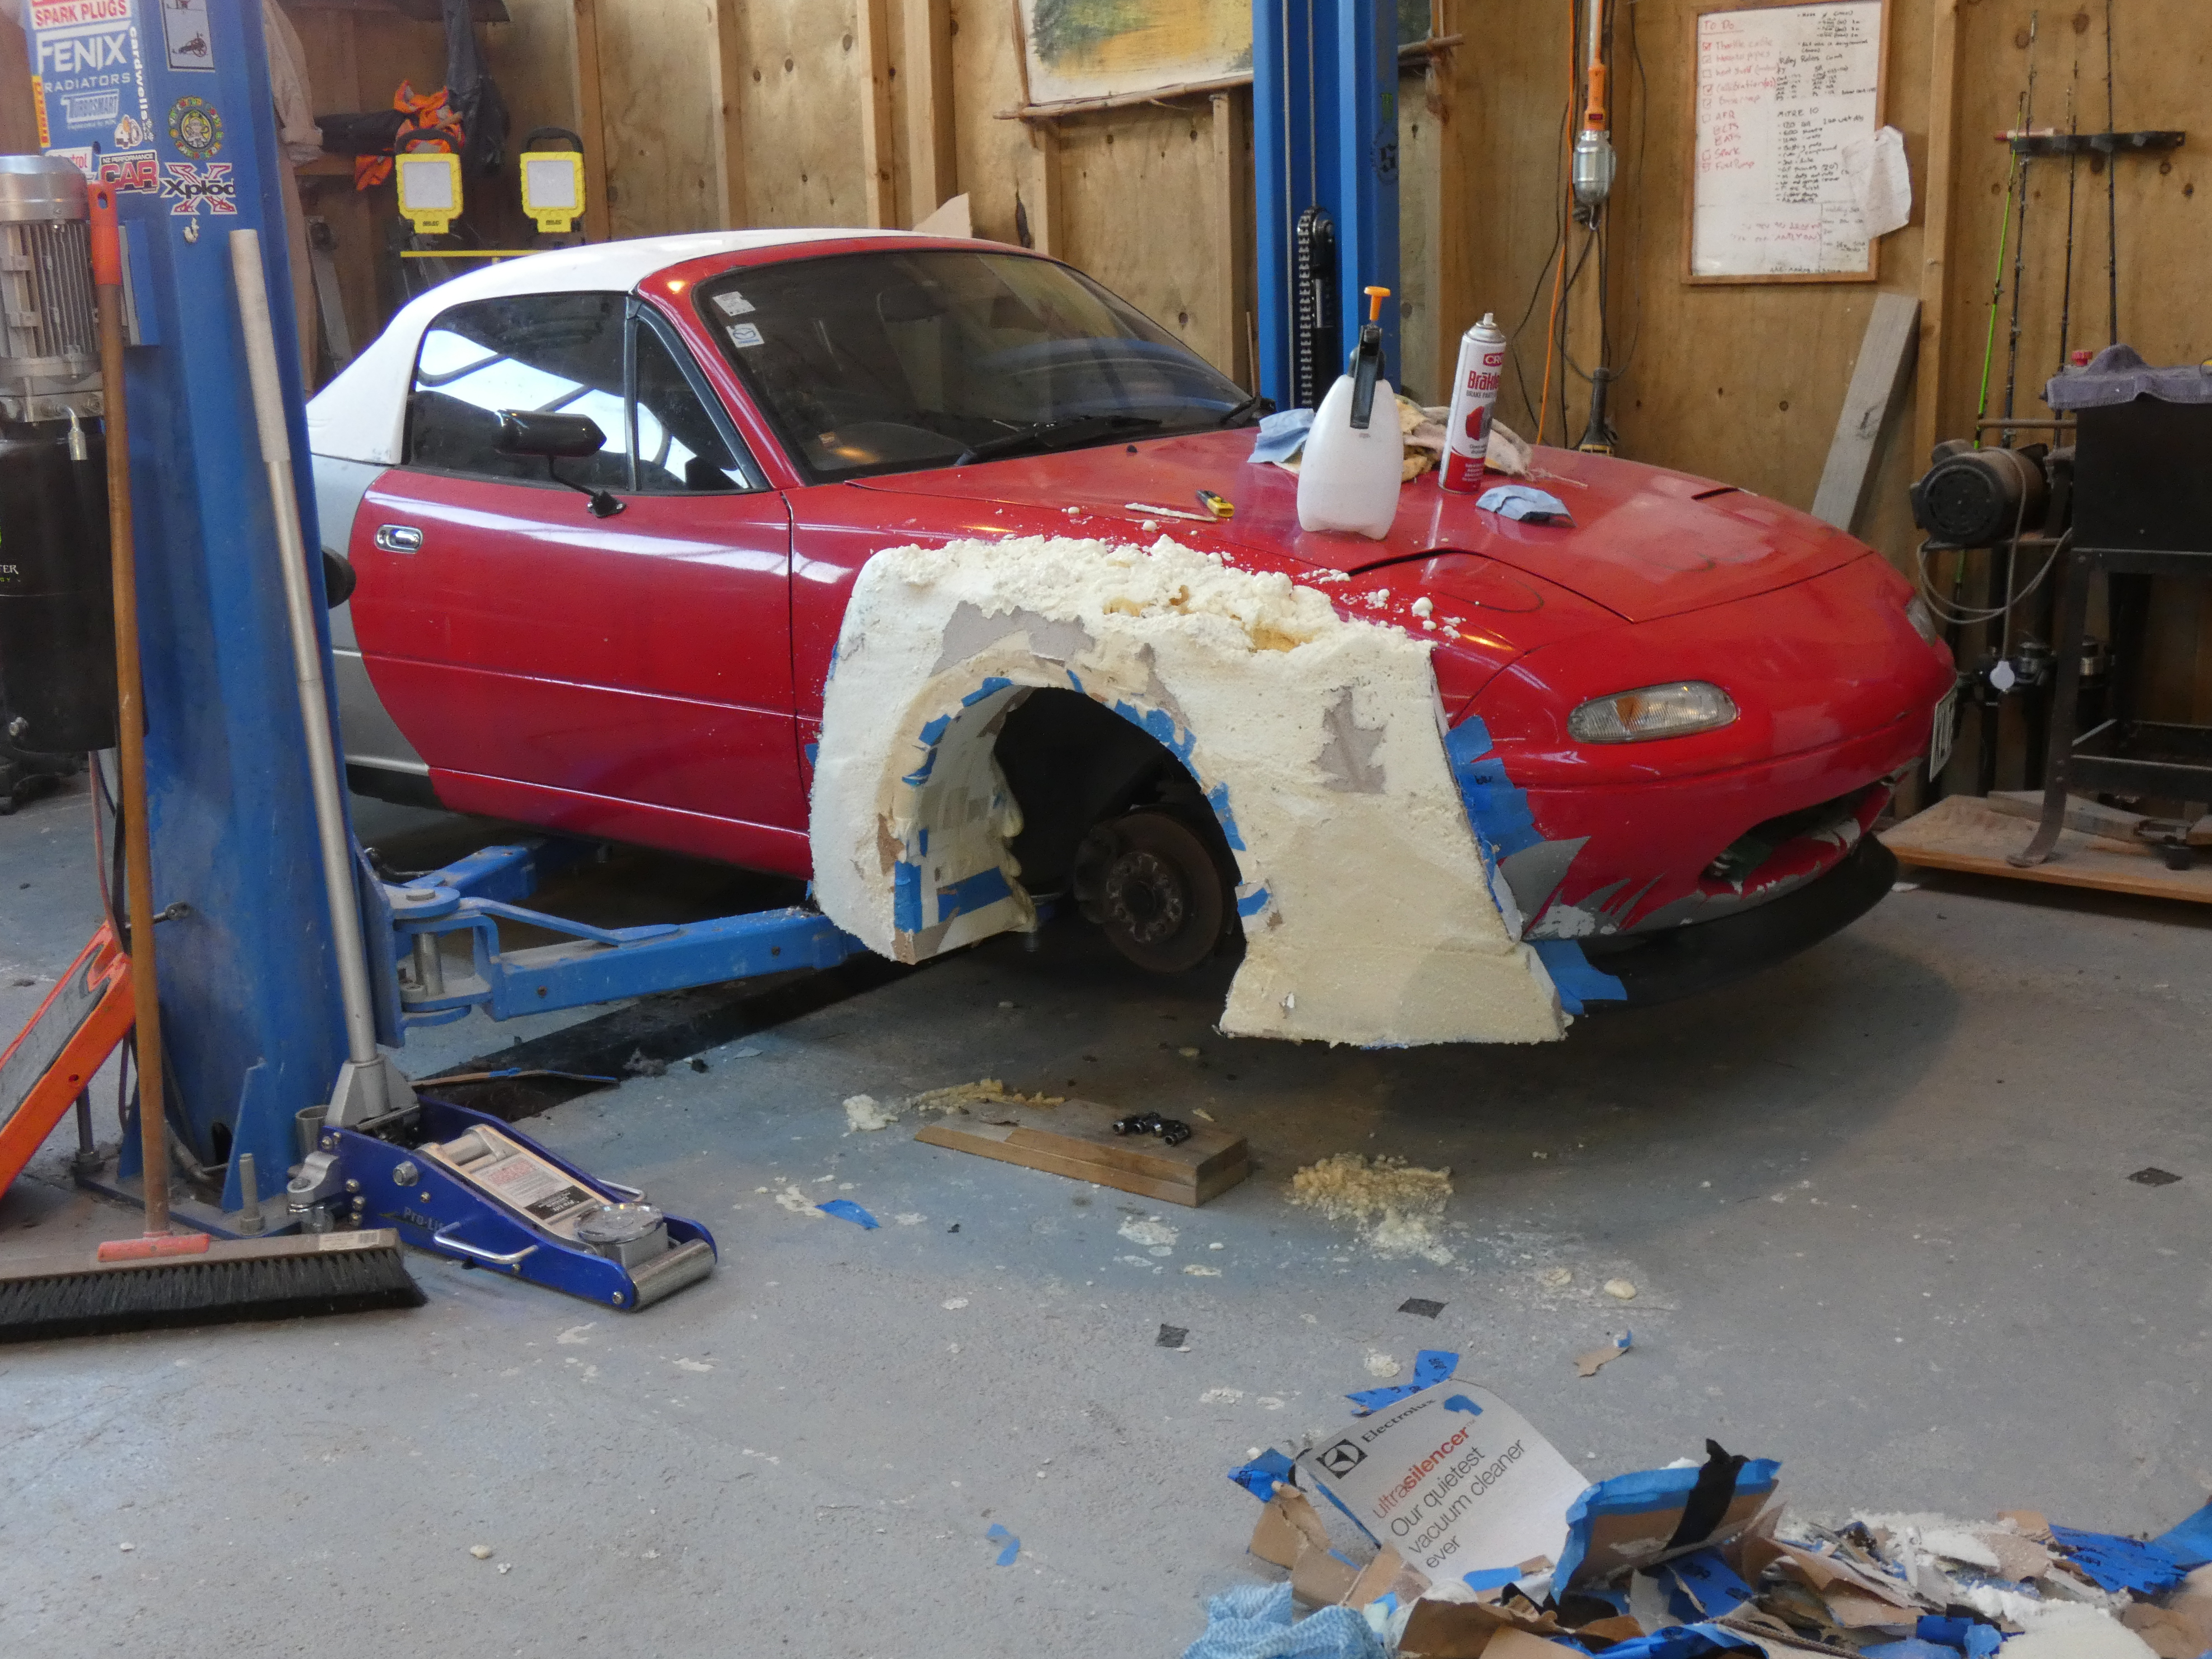
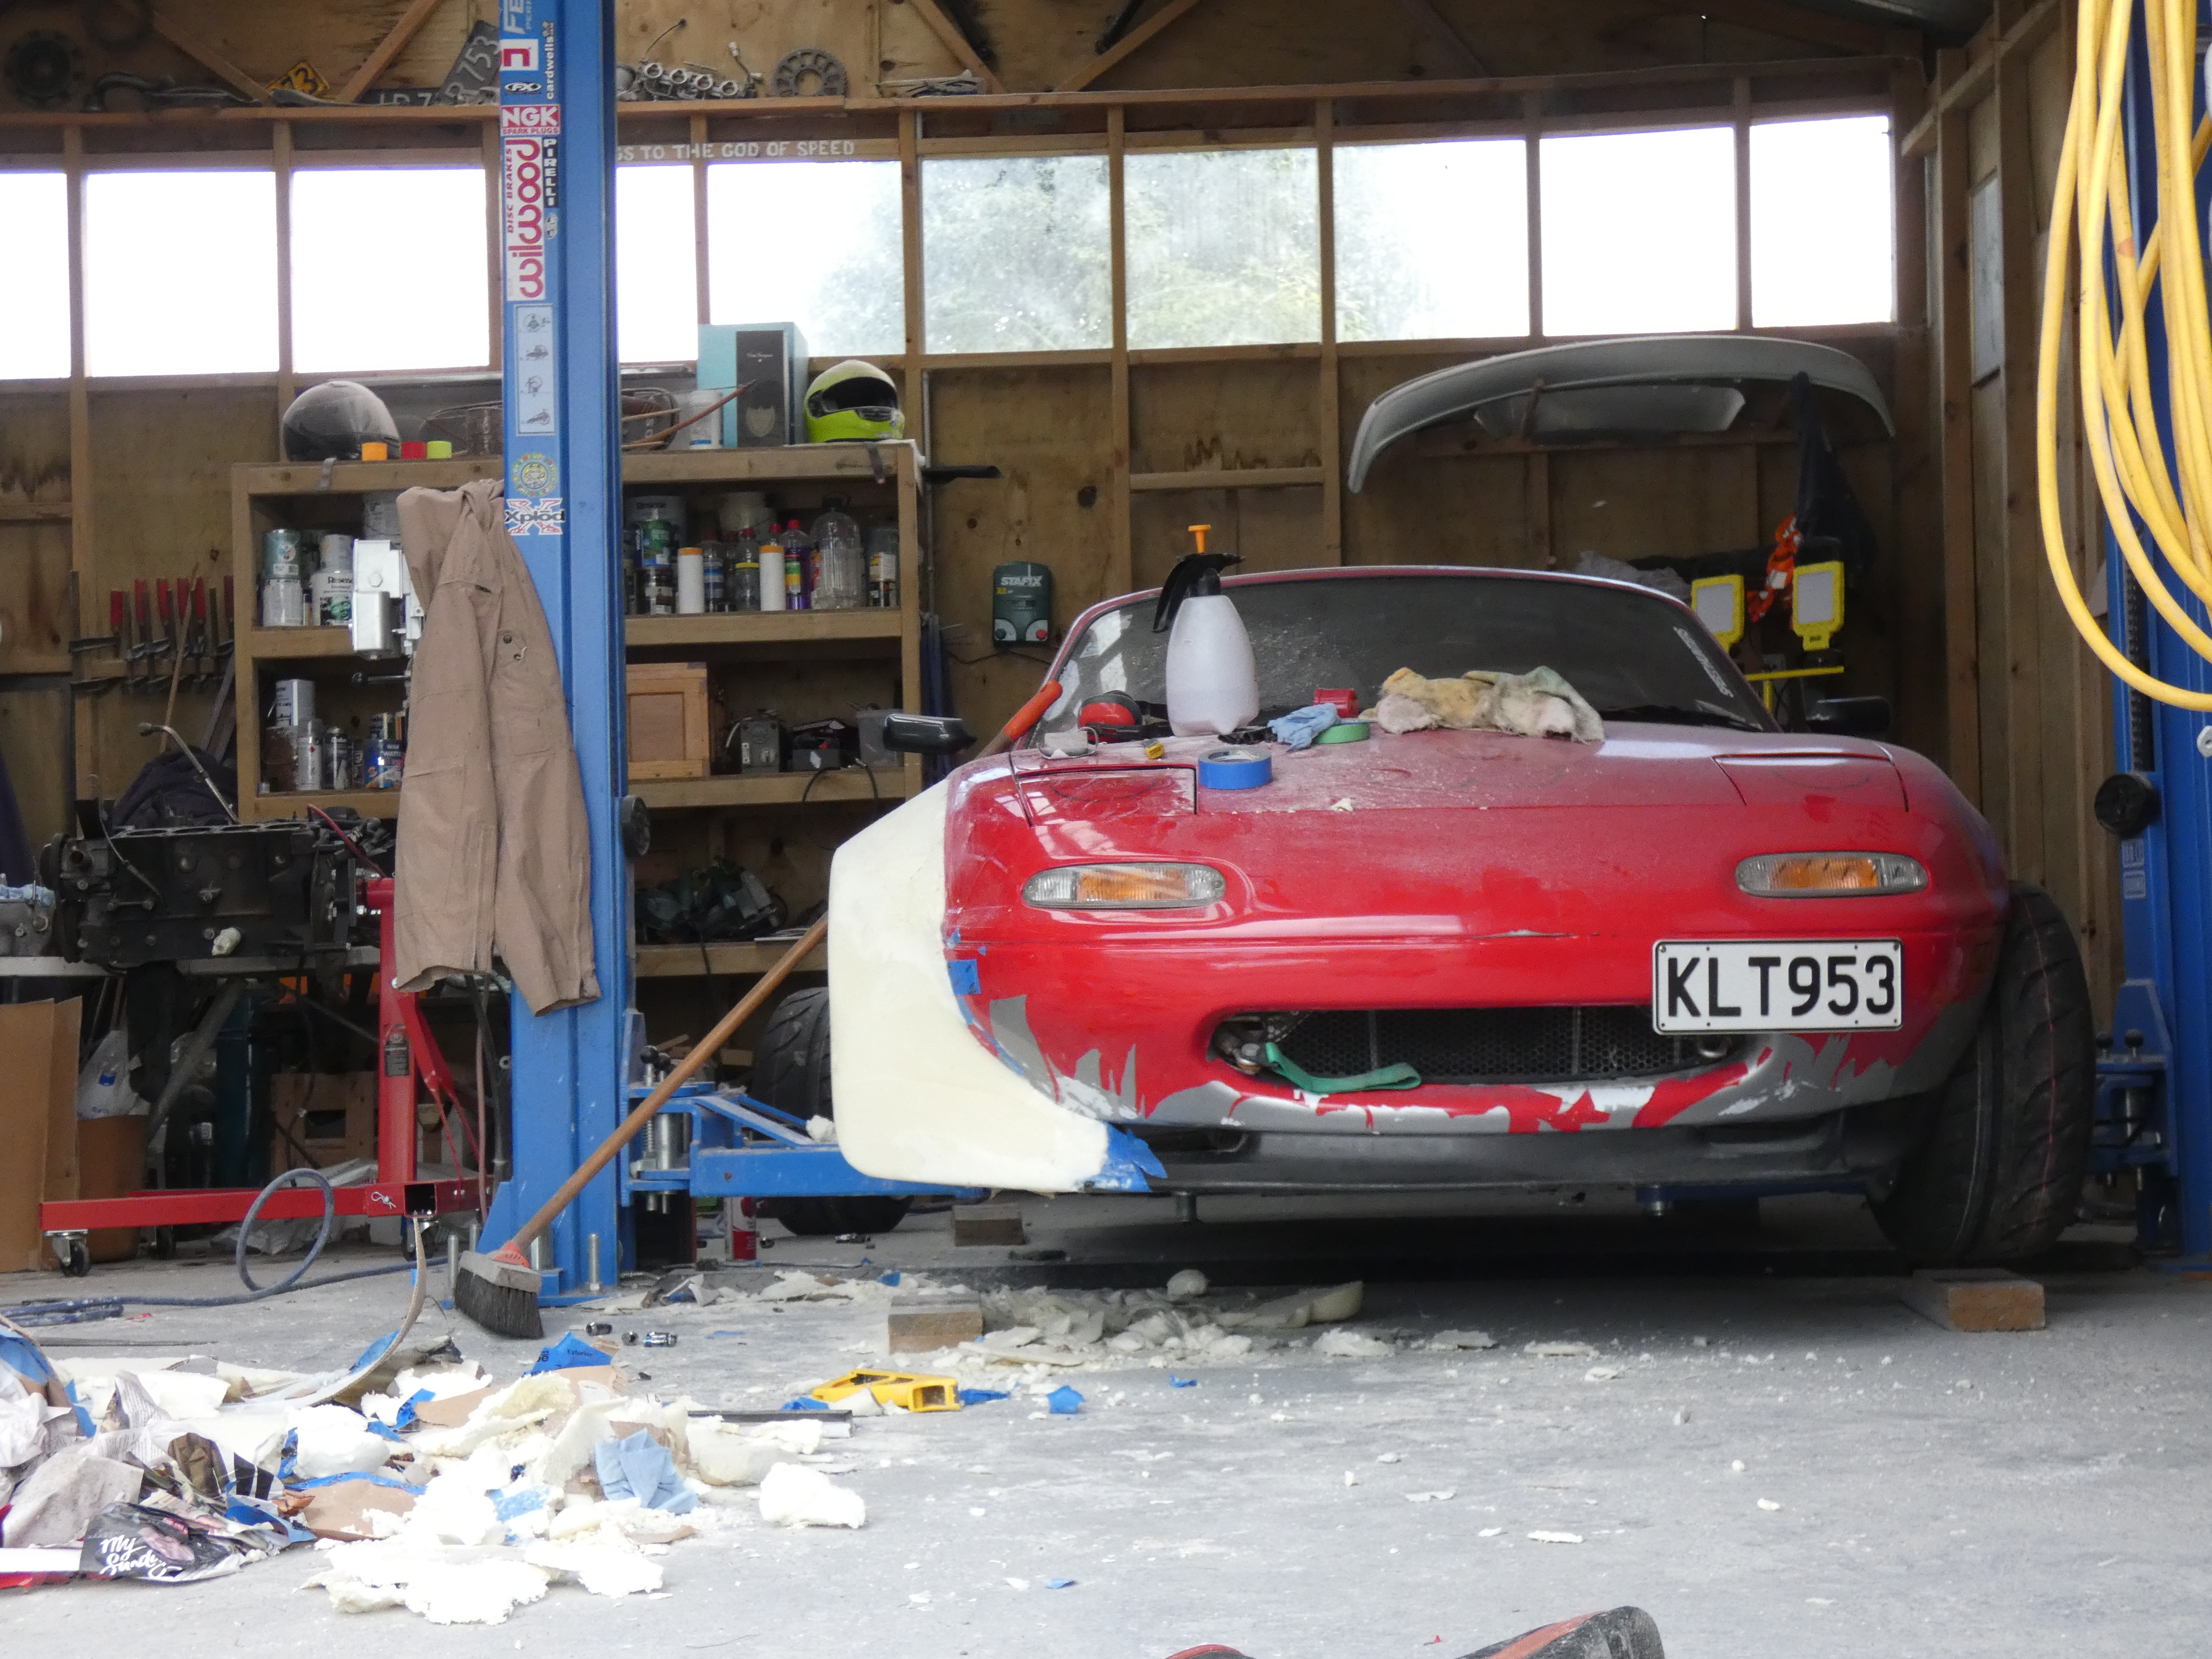
I shaped the front fender using a 2 part expanding foam, but I didn't order enough initially and so I attempted the rears with just spray expanding foam. That was a mistake, spray foam is an absolute pig to try and work with so learn from me and don't do that.
Eventually I started getting somewhere.
With the foam shape now complete, I coated the entire thing in body filler and began refining the shape. If you're familiar with my Stagea build that is happening right now, it's the exact same process except on this one you'll see I hadn't yet learnt to coat the foam in fiberglass.
The laser was a real MVP here. It let me get everything perfectly straight and centered. But with the filler stage done (this took months incase anyone was wondering) I gave it some primer and began figuring out how to make fiberglass moulds.
My first attempt at mould making was pretty shocking. I only think I used 4 layers of 225 gsm chopped strand matt, which is thinner than the PARTS I make these days, so nowhere near thick enough for a mould.
I also found that since I used a 1 part acrylic primer underneath all the wax and release agent, it heated up when the gelcoat and fiberglass were applied and caused some bubbling which transferred into the mould surface.
Nevertheless I was able to use the moulds to make an initial fiberglass part for me to test fitment and everything else.
Once I had a fiberglass part I could break off all the filler and foam and fit the new fiberglass flare.
With the front now done I moved on to the rear and repeated the process.
At this point I also pulled off the vinyl wrap and went back to silver, just to make things easier when it came to paint it eventually.
But because you all know me and I'm a bit of a perfectionist, I wasn't happy with the moulds or the shapes so I ended up making them all over again. This time much stronger and with no defects.
I also added a bonnet vent.
Then we got to the tricky question of how to copy the flares to the other side.My first thought was that I would just have them scanned, and then have the other side machined out of foam so I could make a mould. So that's what I did.
This was were I got into a trap that sort of ruined 3D scanning for me for a long time. The company that scanned them was more than happy to tell me that they do this all the time and that this is how people always make bodykits, but then when they hit me with a bill at the end of scanning that was half of what I paid for the car, and then followed that up by saying "the 3d scan file wont work with any machining programs so we'll need to edit it for you, that'll be another $1,000" and then when I reached out to a machining company to do it, the quote they gave me just to carve it out of foam, even when I would be supplying the foam, was going to bring the total to more than I paid for the entire build, I just walked away with around $2,000 NZD wasted.So after weeks of procrastinating and just being fed up, I decided to just do it by hand. And I'll follow up with this process in the next post.
-to be continued...
Files