Home

 Creators
 Search
 Recent
 Random
 Posts
 DMs
 Tags
 Random
 Importer
 Import
 FAQ
 Account
 Register
 Login
 Favorites
 Keys
 Logout
 Telegram

Leonardo Ninja Turtle plush restoration (Patreon)
Content
ENGLISH/ESPAÑOL
Hello everybunny!Today we bring you Leonardo's restoration finished! :D This is the restoration project we worked on the last few classes, where we showed all the steps needed to levae a plush as new. If you haven't watched them, here's a summary of everything we did 💜
Let's start from the beginning by showing how he arrived. This plush is over 30 years old! His fur was really dirty and matted, and there were also several holes and ripped seams all around the plush, but specially in the head and limbs.
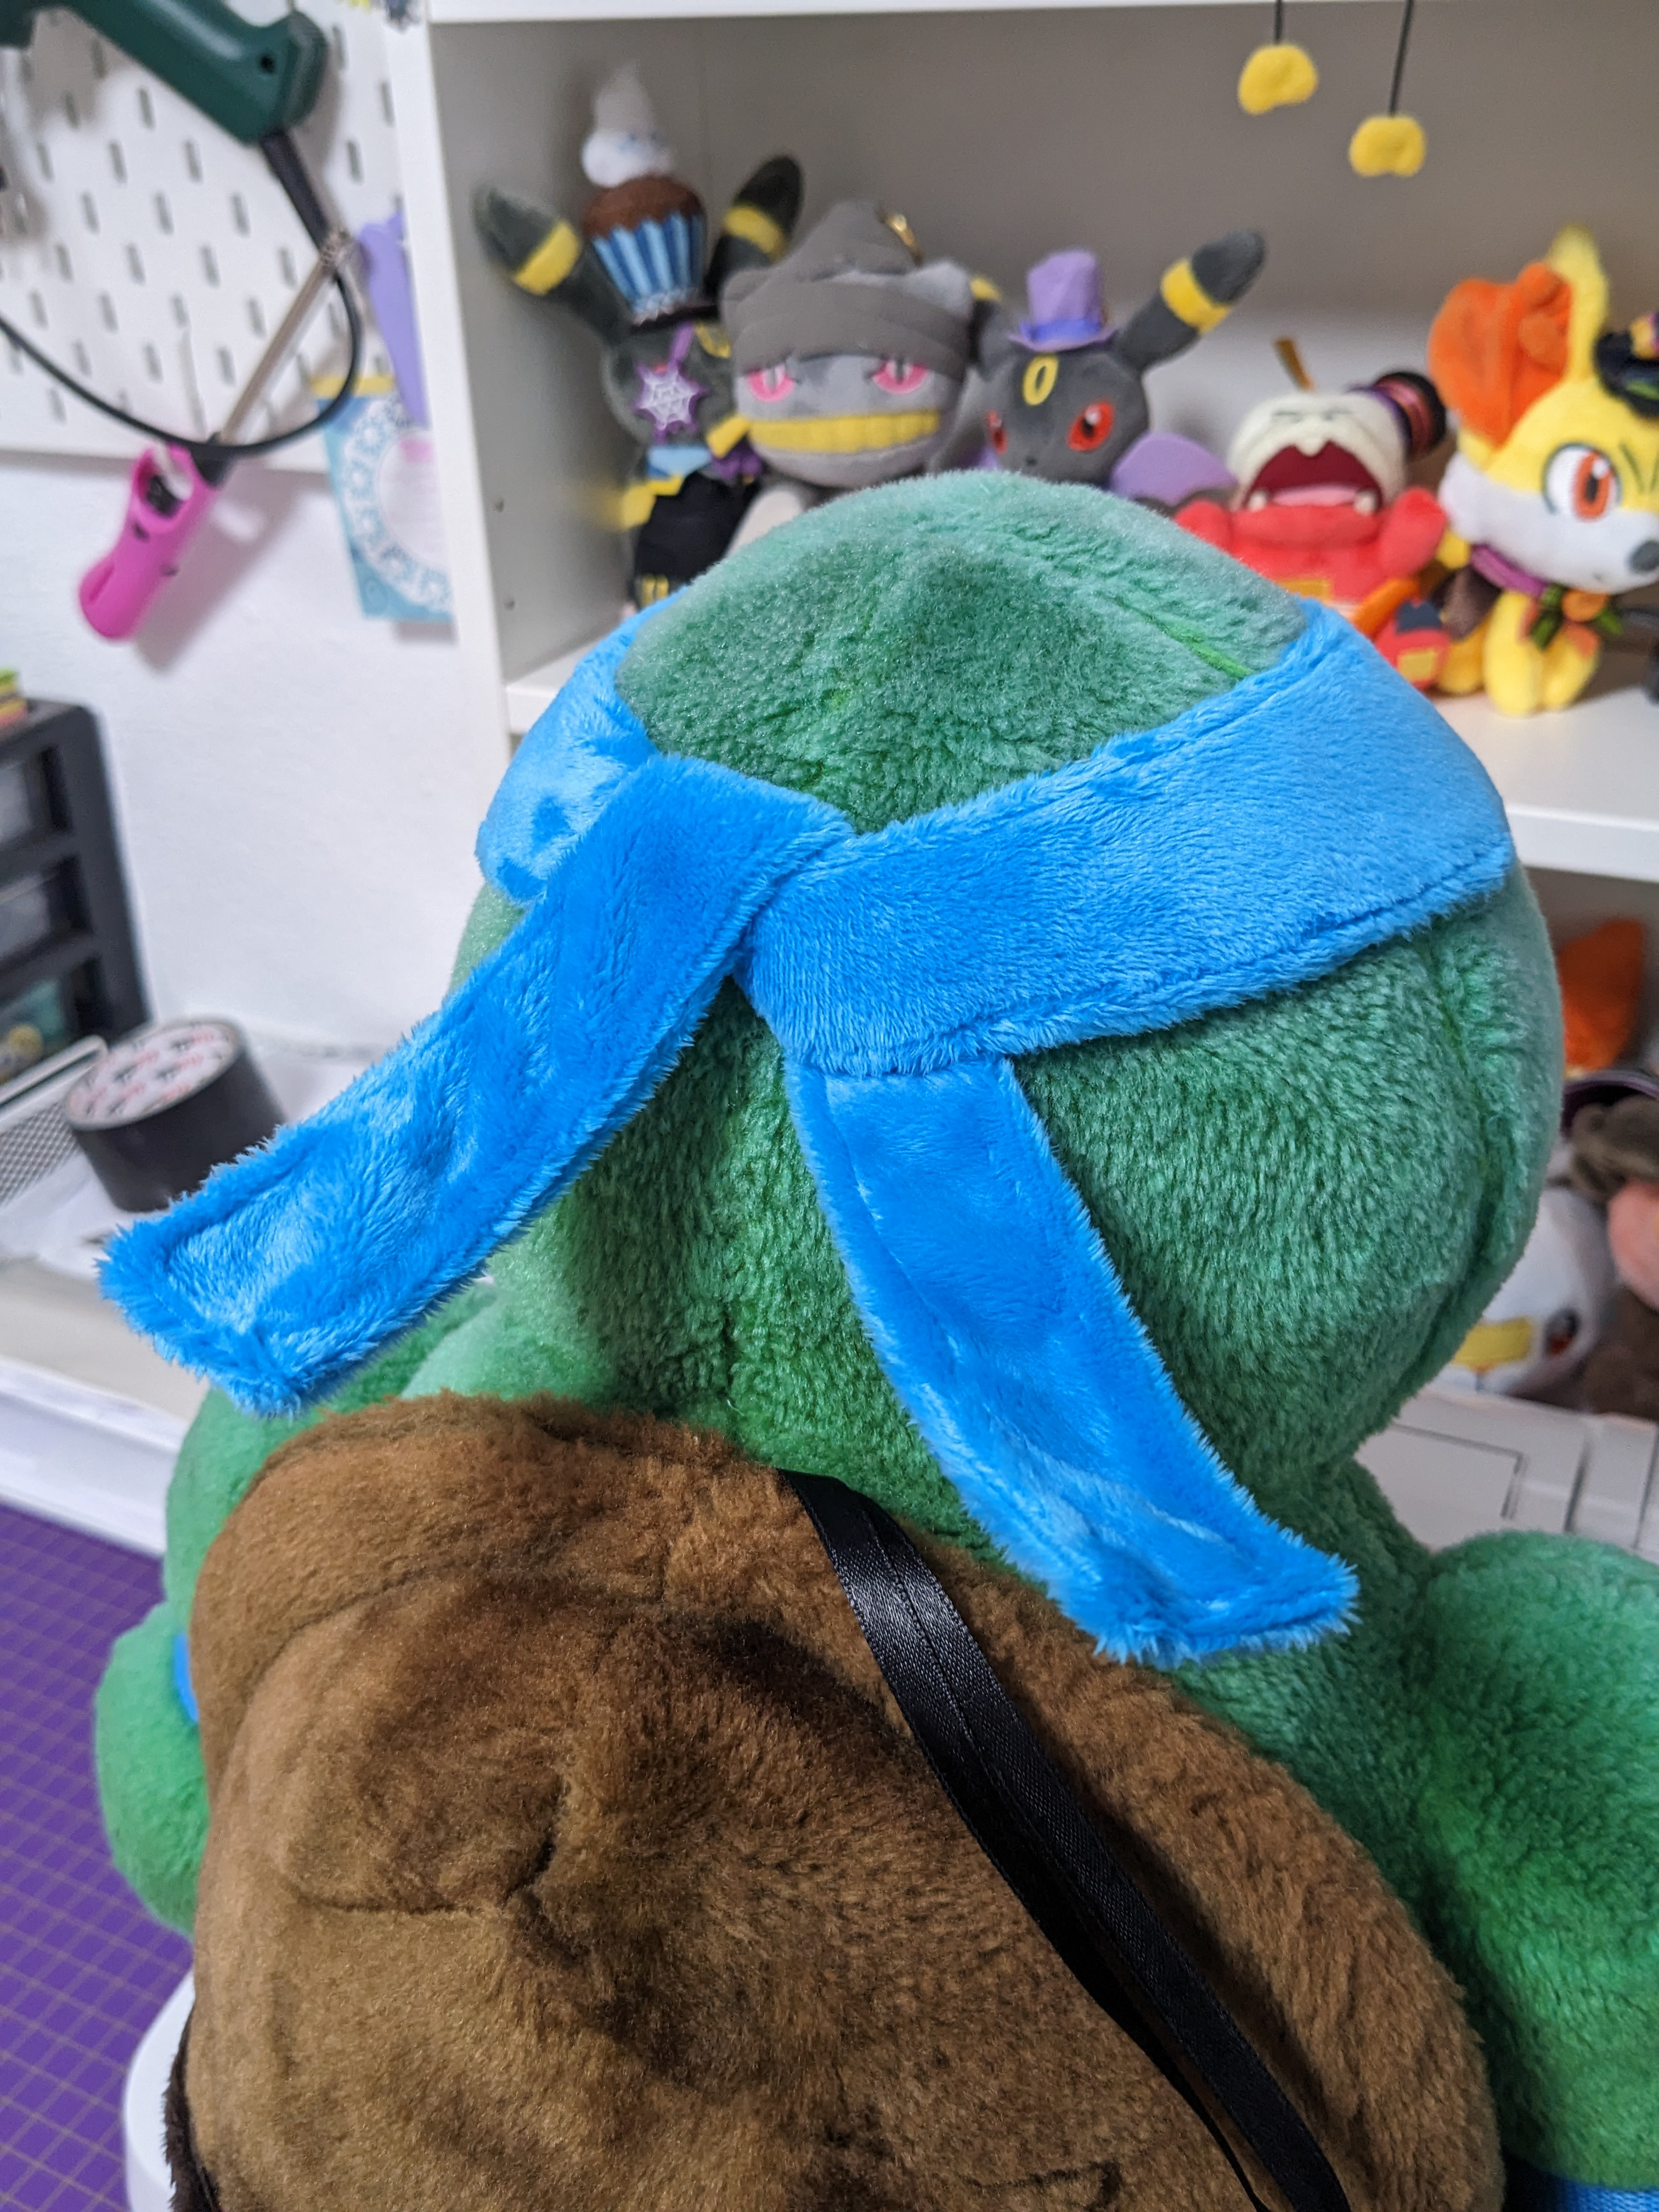
Another important thing is that the plush had lost several pieces though the years; his bandana and belt. The customer asked us to remake them.We also suggested some extra details that the customer agreed on, like remaking the teeth embroidery/thread sculpting. Other suggestions were rejected, like replacing or repairing the eyes. We only did what the customer wanted ^^
Once we knew all the problems he had, it was time to restore him! We unstuffed the plush, throuwing all the old stuffing. Once unstuffed, we turned it inside out and mended all the holes and ripped seams to give the plush as much resistance as possible.
After sewing everything, it was time for the bath. You don't know how dirty the water was after so many years hahaha. But after a few rinses, he was super clean~
Once he was properly dry, we stuffed him with new stuffing anf started the fur treatment. Like in other restorations, we first brushed all the plush, and then we used the steamer for the most affected areas. You can see a great difference between the unbrushed and the brushed fur.
Then we redid the teeth embroidery. The previous thread was barely visible after all these years, so we stitched it again with black thread and they are way more visible! We love the result.
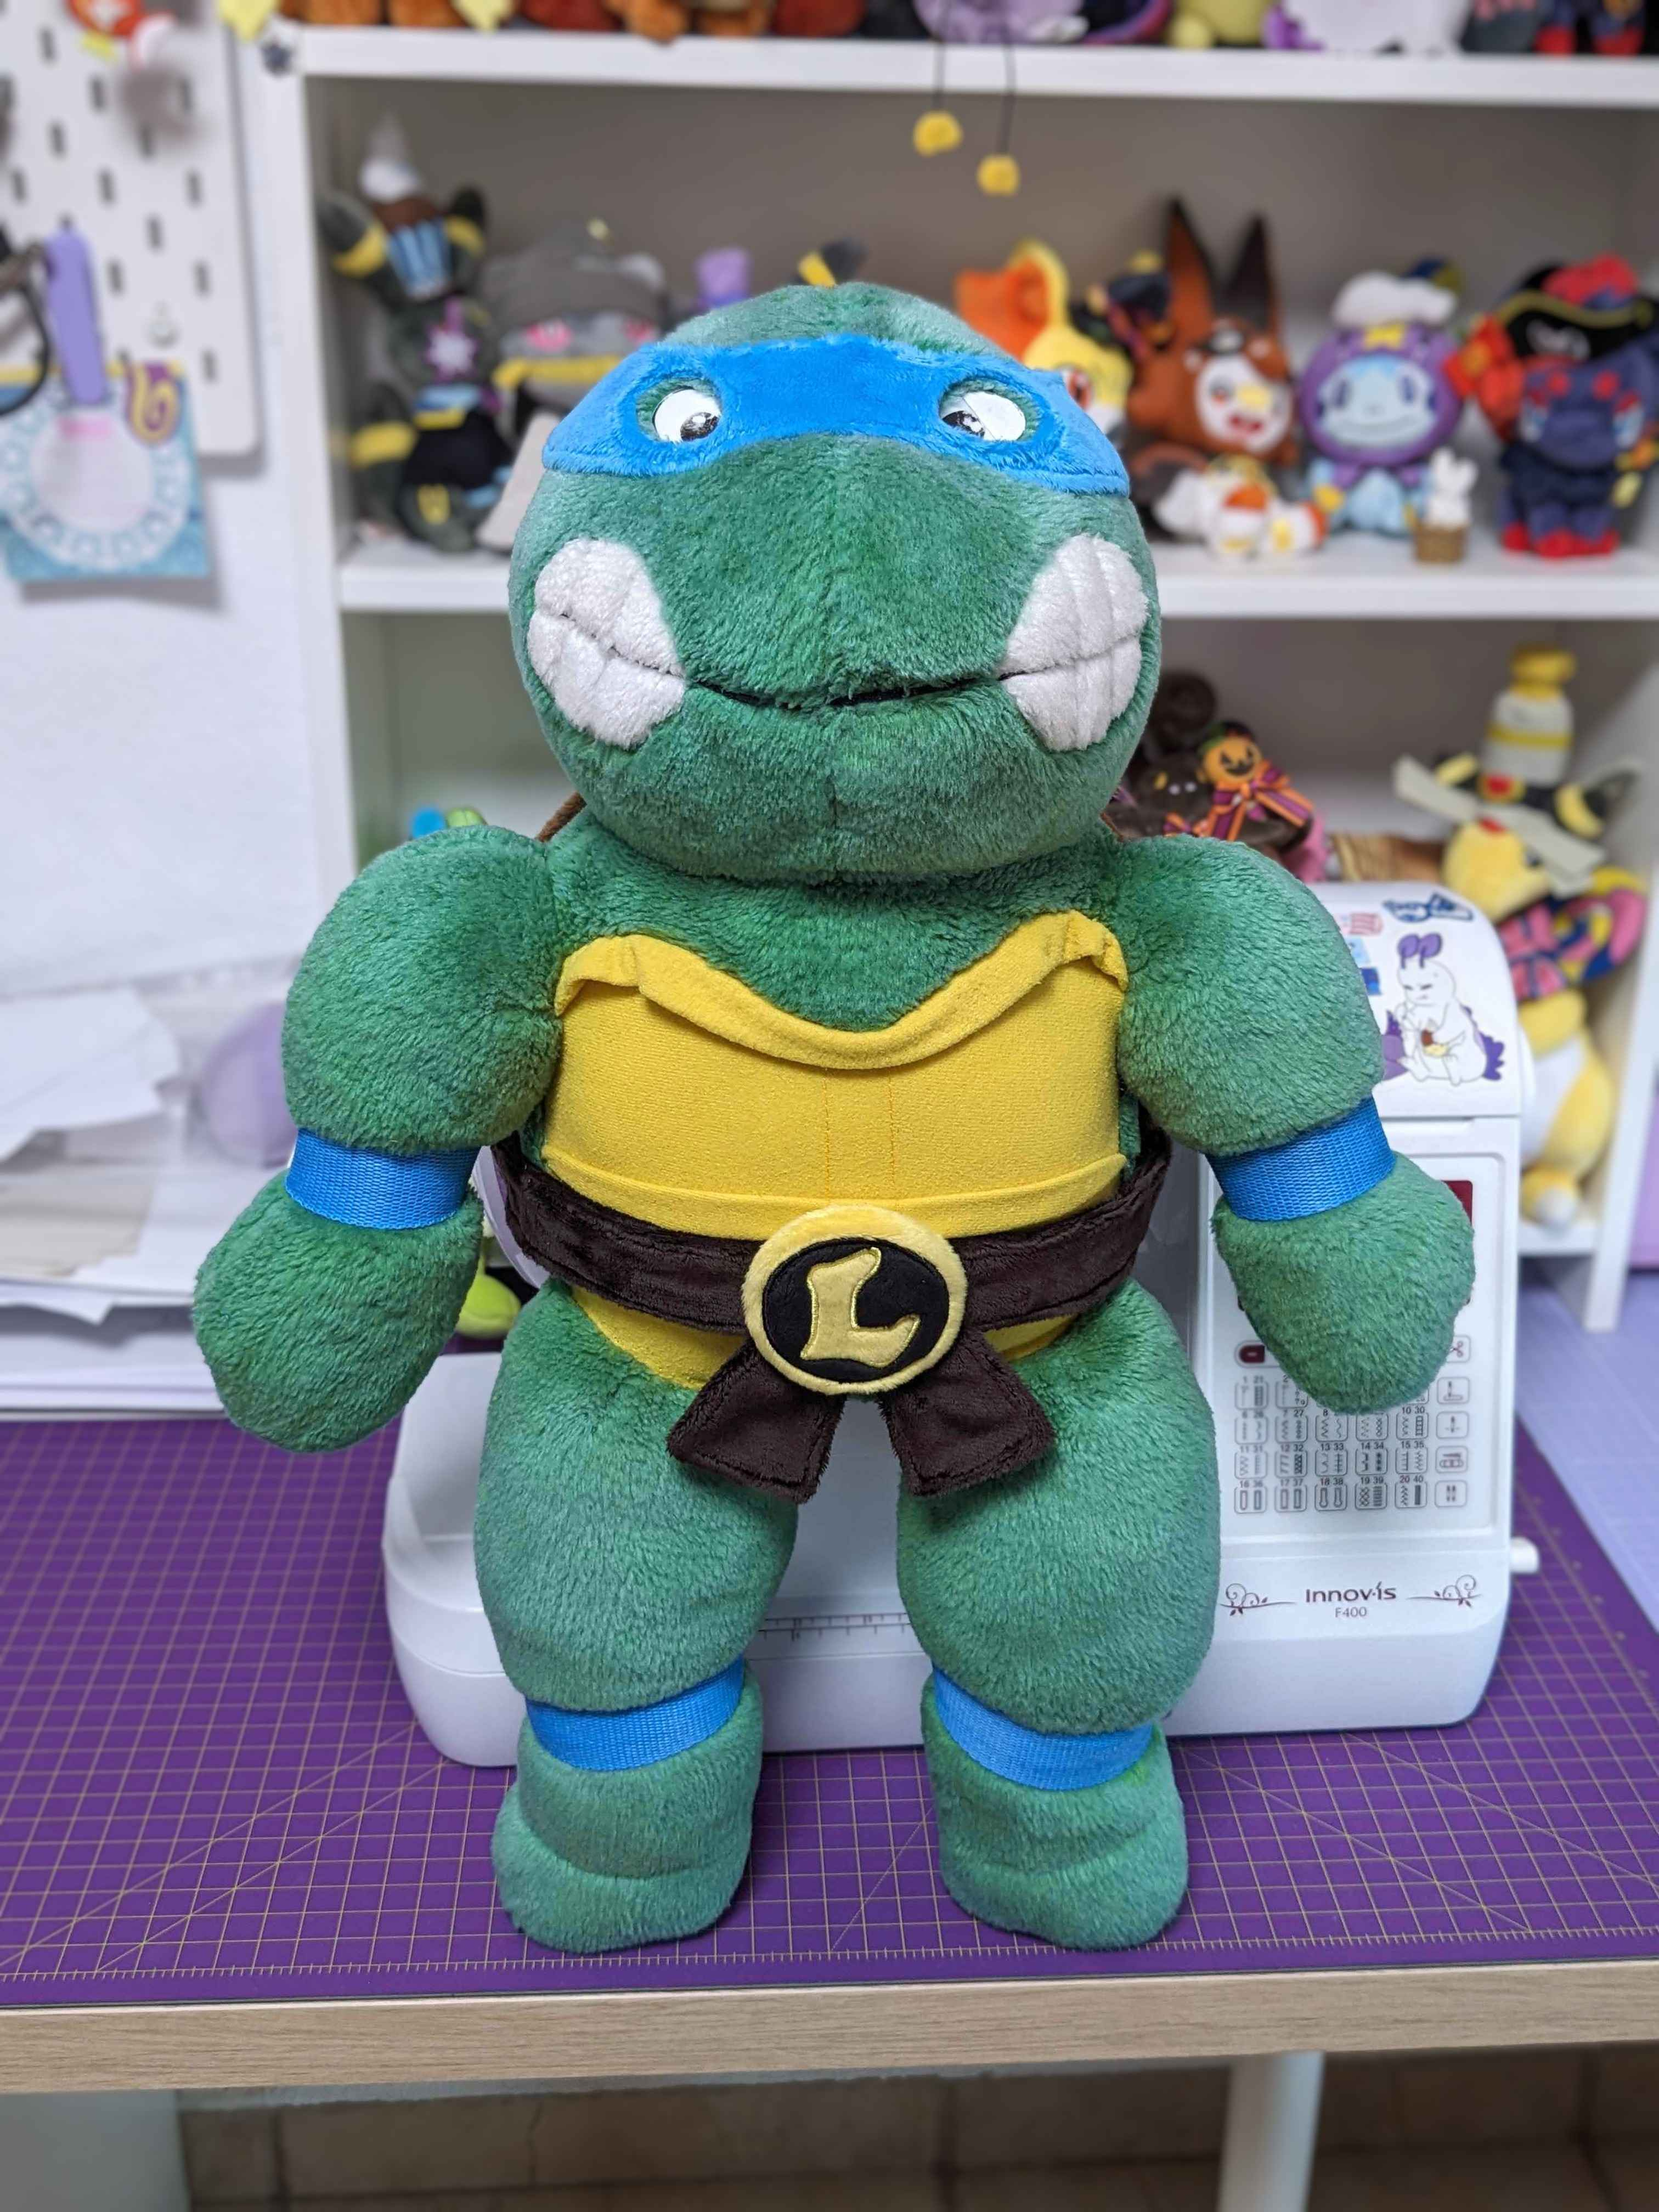
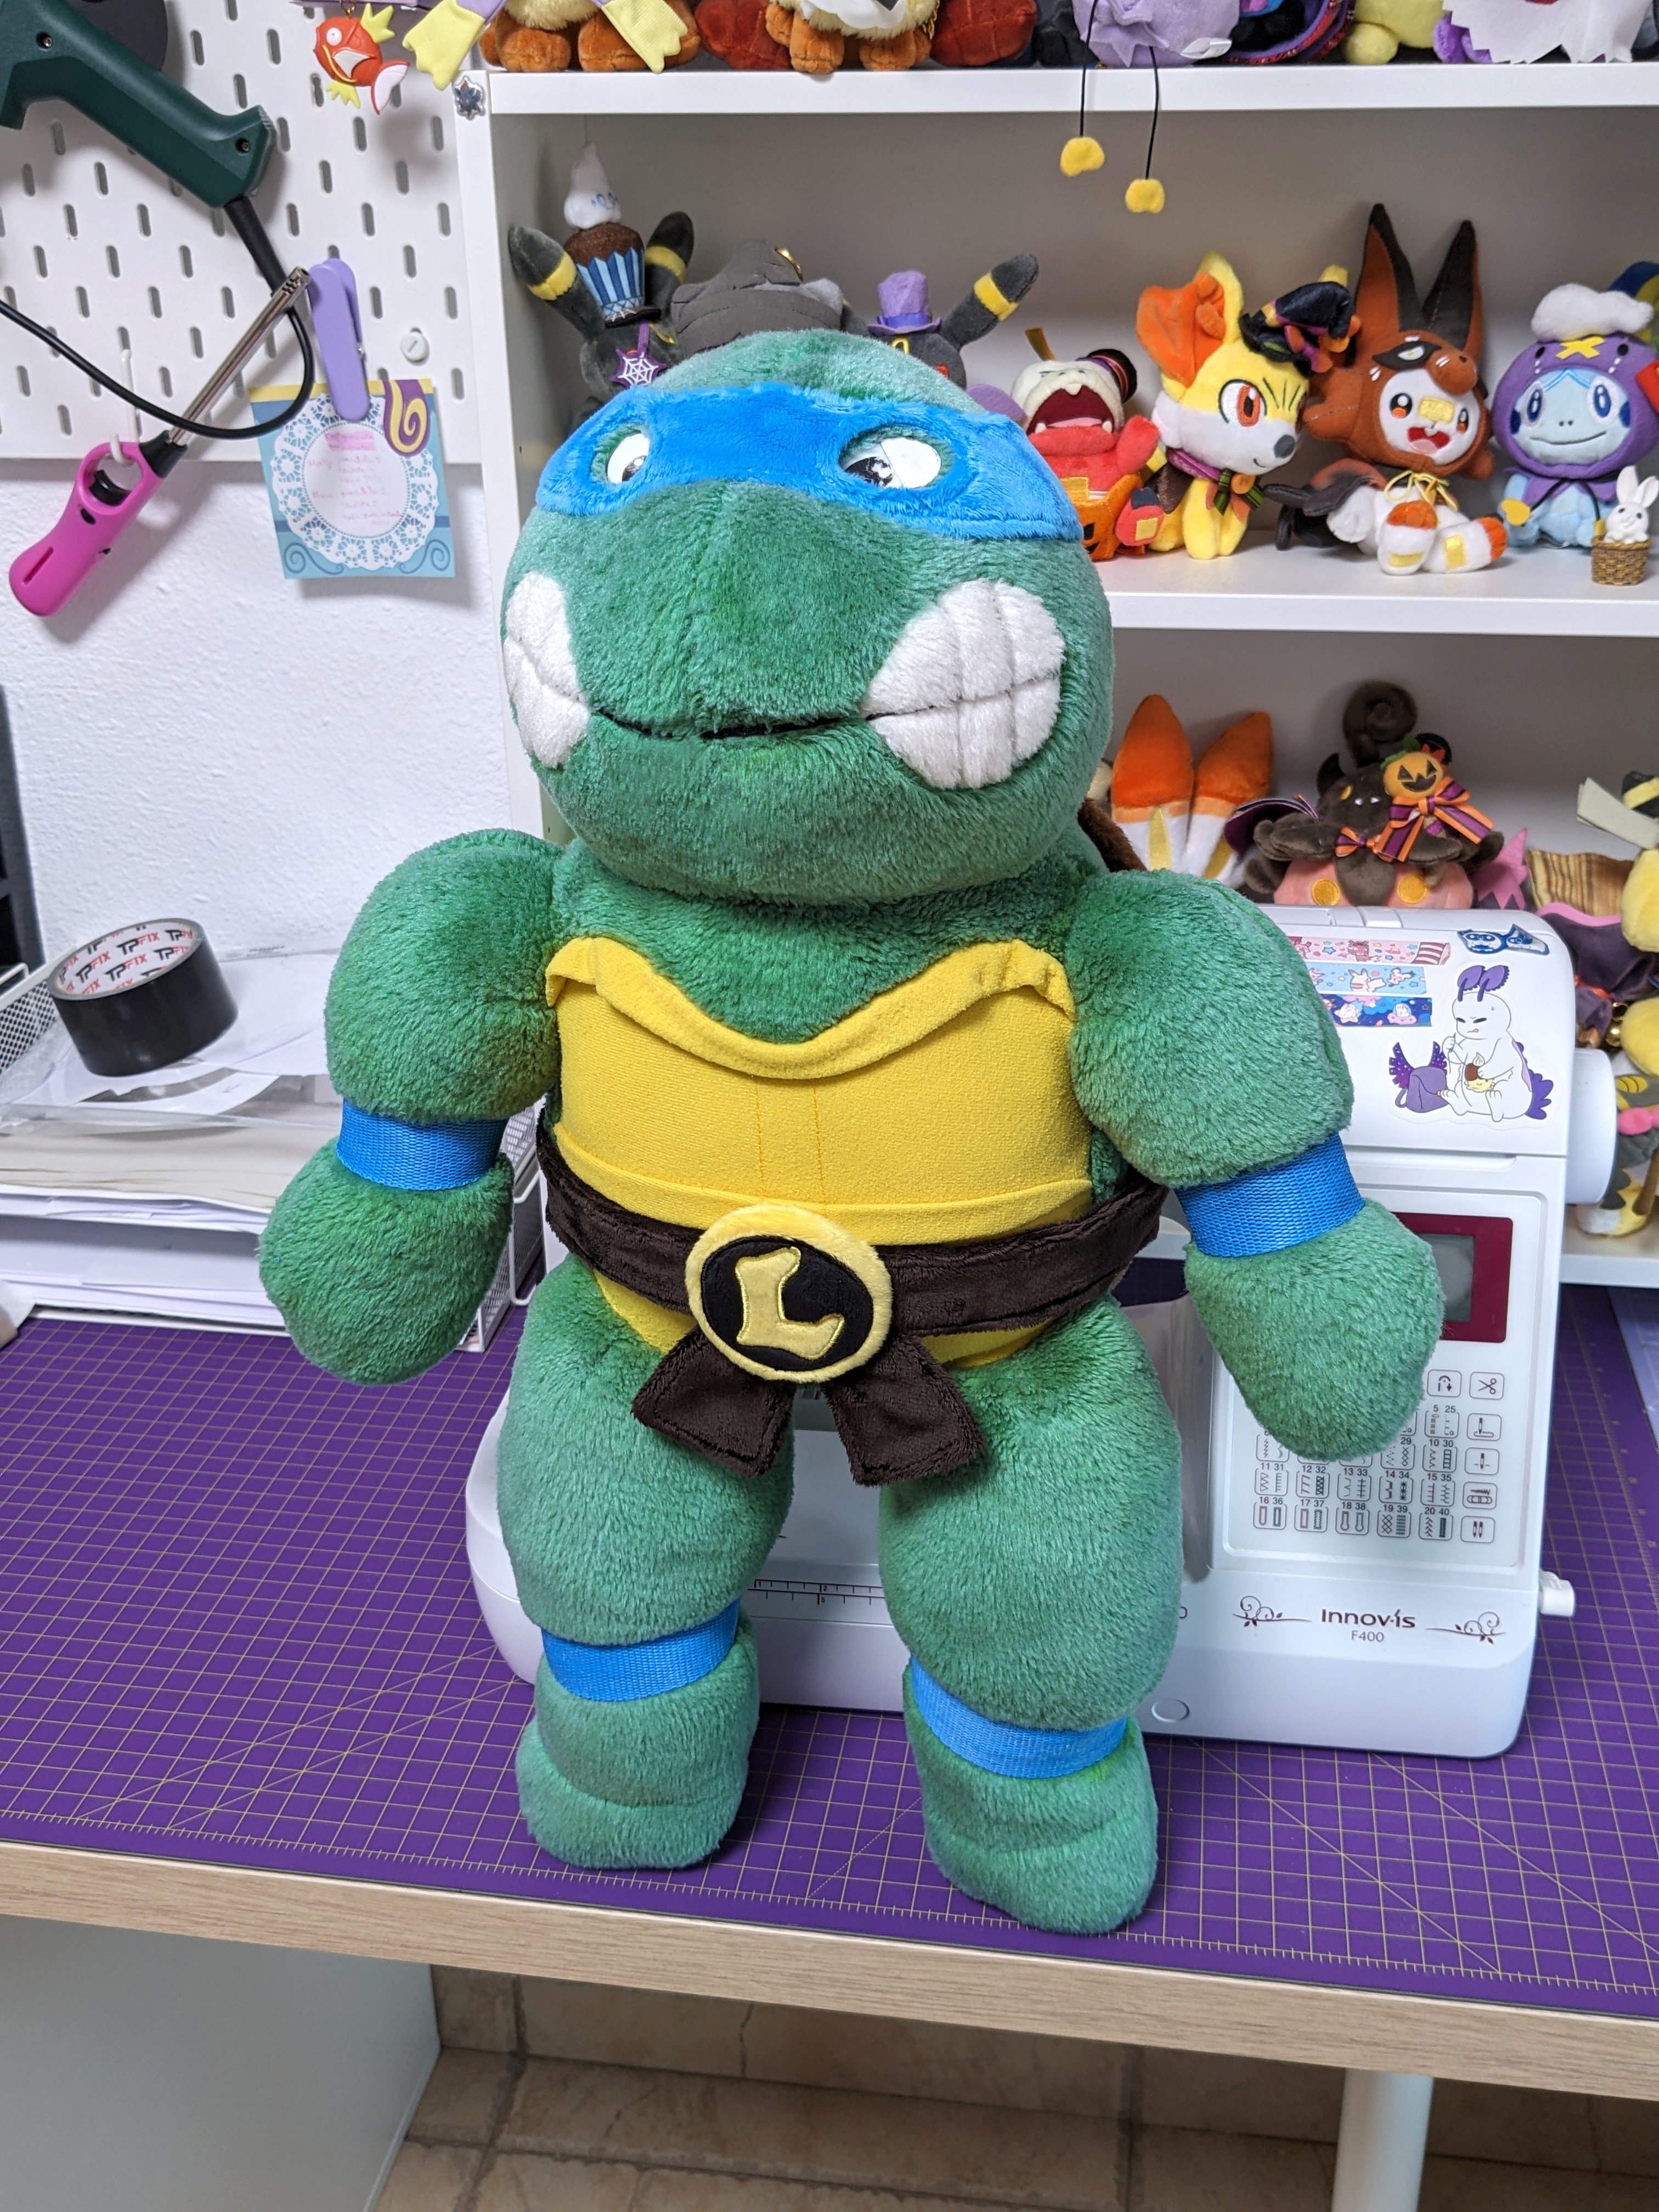
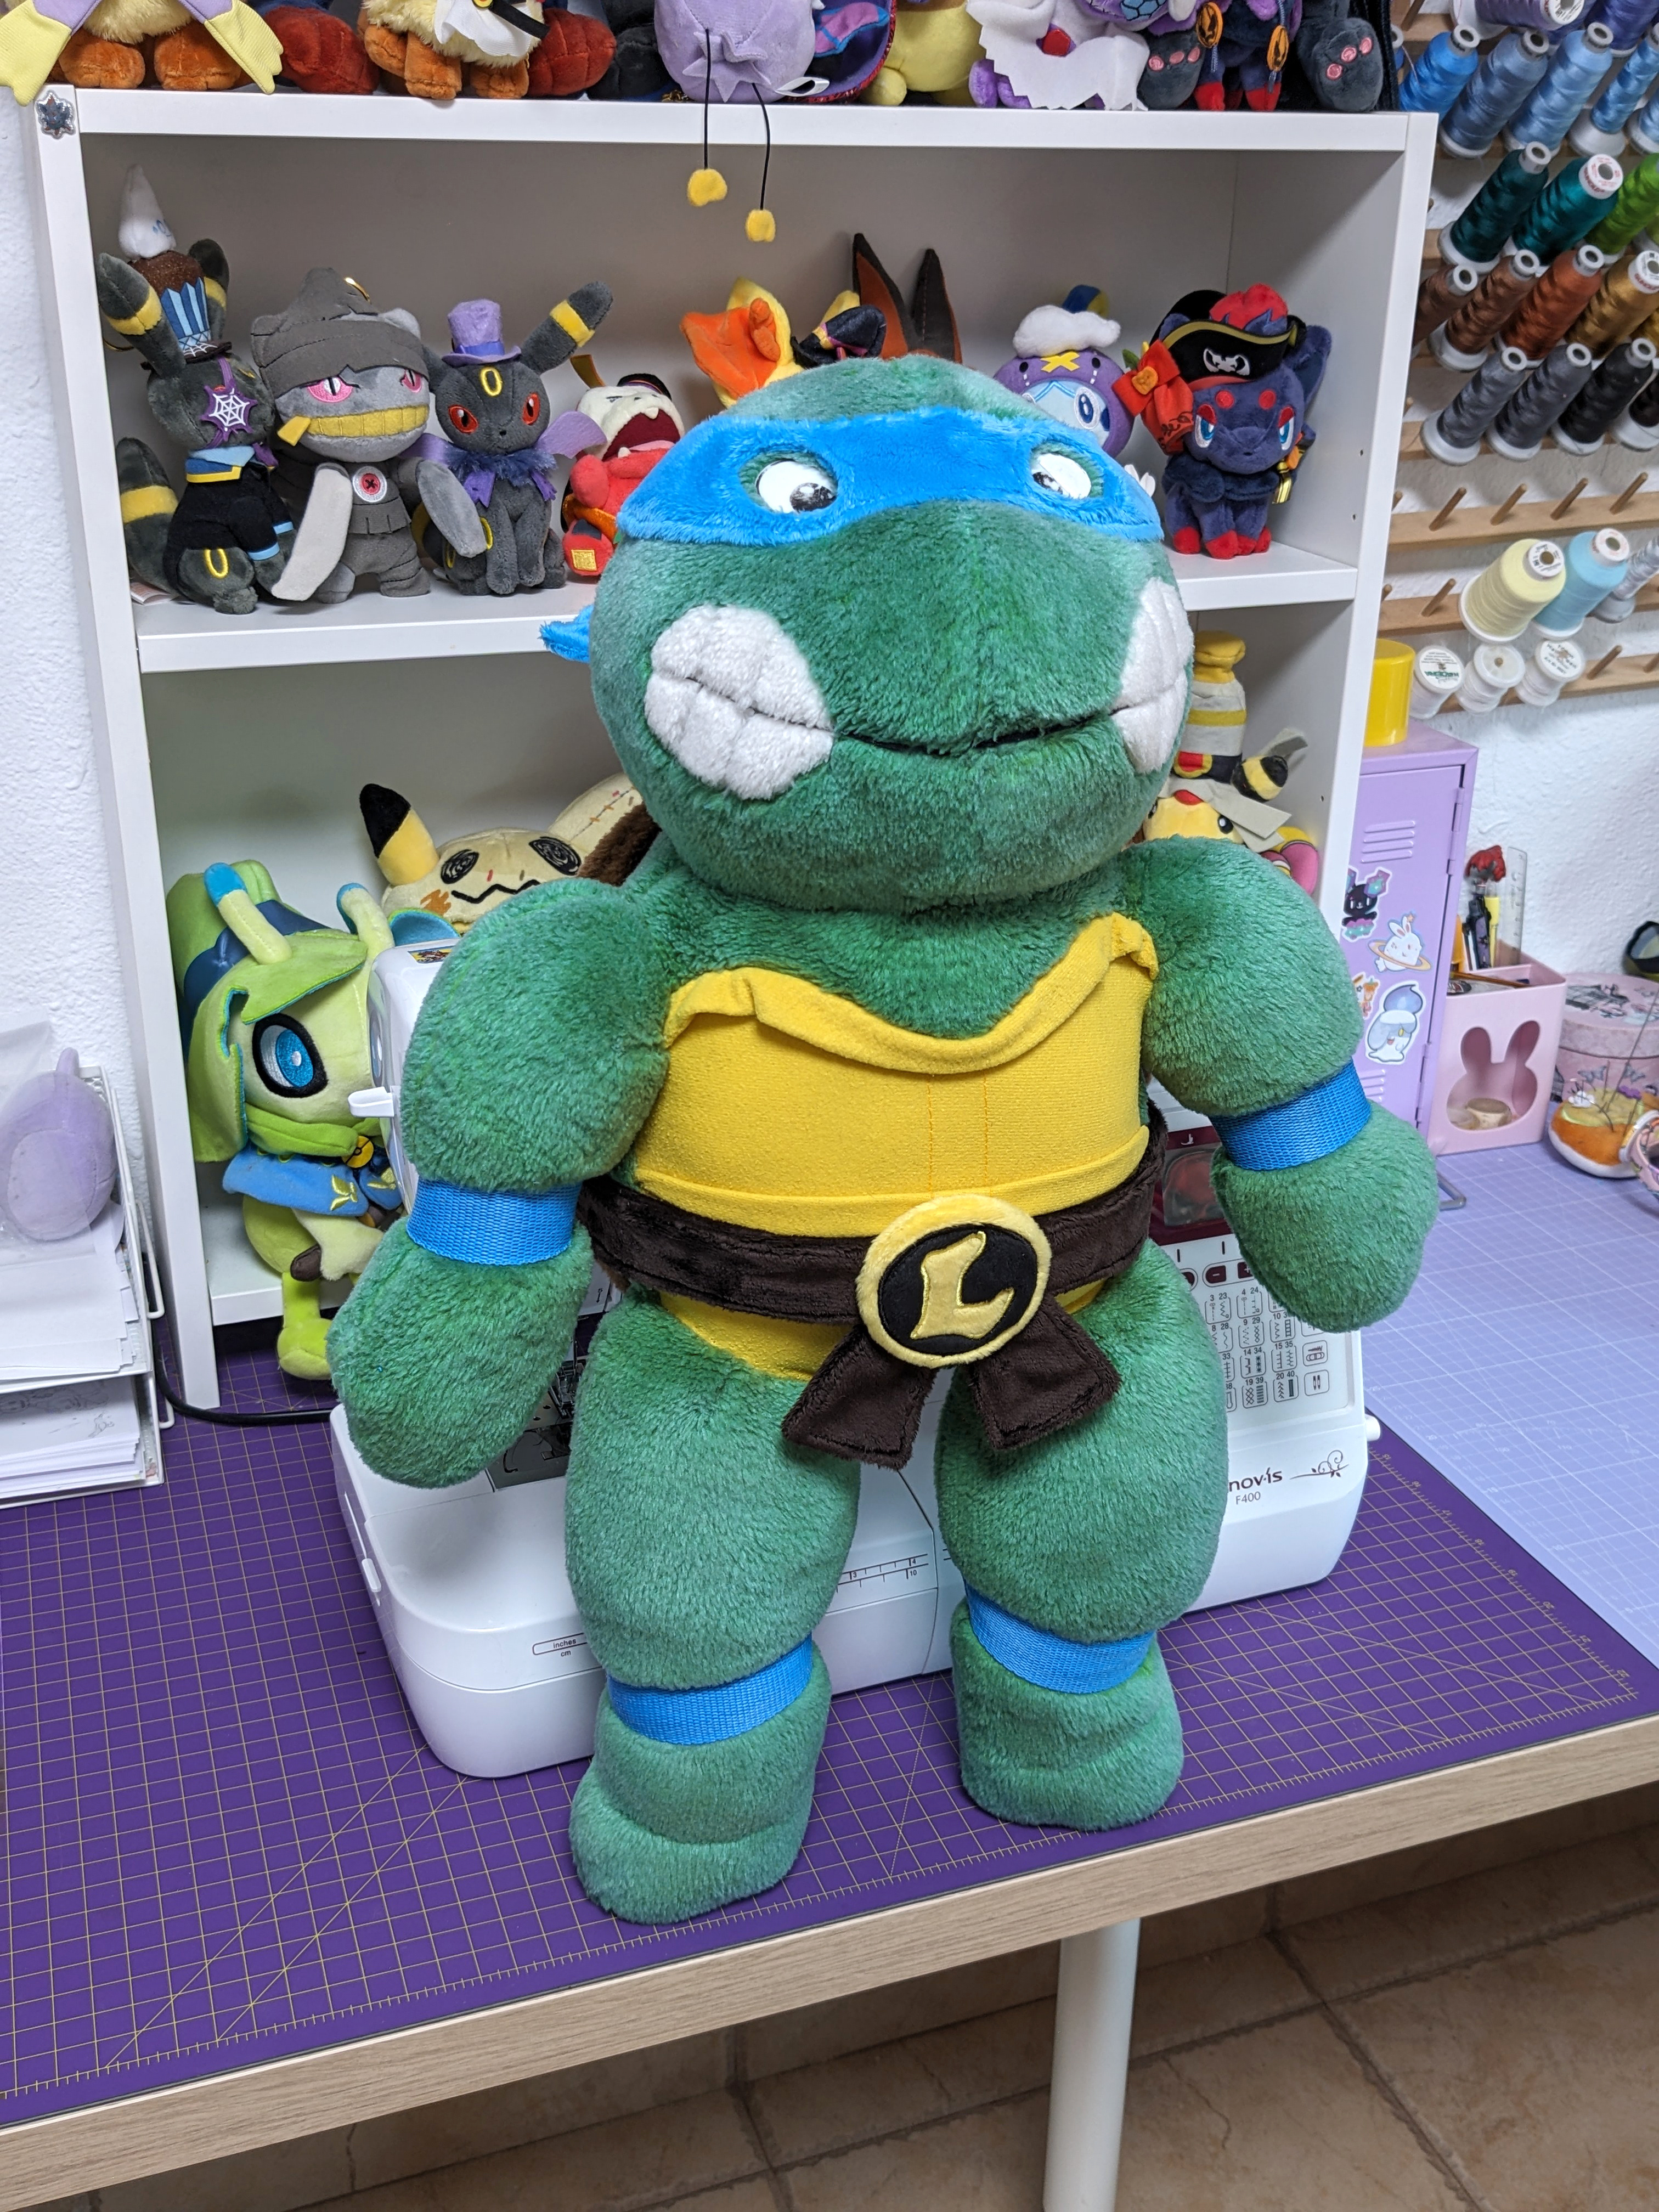
With all this done, there was only the last step left; sewing the extra pieces.First we designed them on paper over the plush and then we sewed them. The most complex part was sewing the bandana's eye holes. We also made a cute belt with an embroidered buckle with a letter "L", his initial.
And now, here's the restored plushie!! The comparation is amazing, right?? We're so happy with the result, we hope the customer is as well. We can't wait to see his reaction when he receives him >w<
Every restoration project is unique and emotional, and we enjoy them a lot. Giving a new life to a friend with so many memories is something we thank people for trusting us with ^^
We hope this baby can live many more years!
----ESPAÑOL----
Hello everybunny!Hoy os traemos la restauración de Leonardo terminada! : D Esta restauración fue el proyecto que hicimos durante las últimas clases de peluches, donde os enseñábamos paso a paso a dejar un peluche como nuevo. Pero por si no lo habéis ido siguiendo, os dejamos una recopilación de todo el trabajo que hemos hecho por aquí 💜
Empezamos por el principio, enseñándoos como nos llegó. Es un peluche que tiene más de 30 años! Por un lado, tenía el pelo muy desgastado y sucio. Por otro lado, había varios agujeros por todo el peluche, sobretodo en las extremidades y cabeza.
Y por último pero no menos importante, el peluche había perdido varias piezas a lo largo de los años; su característico antifaz y el cinturón. Así que el cliente nos pidió si podríamos rehacerlos. Había un par de detalles extra que sugerimos al cliente que aceptó, como repasar el bordado/thread sculpting de los dientes. Otros detalles como cambiar o reparar los ojos no quiso hacerlos, y nos ceñimos a lo que él quería y buscaba ^^
Una vez sabíamos los problemas que tenía, tocaba iniciar la restauración! Vaciamos todo el peluche, desechando el relleno viejo. Una vez vacío, cosimos por dentro todos los agujeros y costuras rotas para darle la mayor resistencia posible.
Cuando acabamos de coserlo todo, llegó la hora del baño. No sabéis lo sucia que salía el agua después de tantos años jajaja. Pero después de unos cuantos aclarados, quedó bien limpito~
Después de dejarlo secar bien, lo rellenamos de nuevo y nos pusimos con el tratamiento del pelo. Como en otras restauraciones, peinamos primero tooodo el peluche y luego usamos el vaporizador en las zonas más afectadas. Podéis ver la gran diferencia del pelo peinado y el que no.
Una vez peinado, nos pusimos a repasar el bordado de la boca. Los dientes se veían muy poco con tantos años, así que cosimos de nuevo el dibujo con hilo negro y quedaron muchísimo más marcados! Nos encantó el resultado.
Y ya con todo esto, lo cerramos y nos pusimos con el último paso; coser las piezas extra. Primero las diseñamos en papel sobre el peluche y luego las cosimos. La parte más compleja fue el antifaz con los agujeros para los ojos. También hicimos un bonito cinturón con el dibujo de la L, su inicial.
Y ahora sí, aquí tenéis el peluche restaurado!! La comparación es increíble verdad?? Estamos super contentas con el resultado, y esperamos que el cliente también. No podemos esperar a ver su reacción cuando lo reciba en persona >w<
De verdad que cada proyecto de restauración es único y emotivo, y lo disfrutamos siempre muchísimo. Darle una nueva vida a un amigo con tantos recuerdos es algo que agradecemos de corazón que nos confíen ^^
Ojalá esté pequeñín viva muchos años más!
Files